manuals.online logo
Brands
  1. Home
  2. •
  3. Brands
  4. •
  5. Eternal Lighting
  6. •
  7. Lighting Equipment
  8. •
  9. Eternal Lighting EventCUBE CW User manual

Eternal Lighting EventCUBE CW User manual

EventCUBE™ CW/WW Eternal Lighting Updated 03/2015
User Manual
EventCUBE™ CW/WW
EventCUBE™ CW/WW Eternal Lighting Updated 03/2015
Introduction:
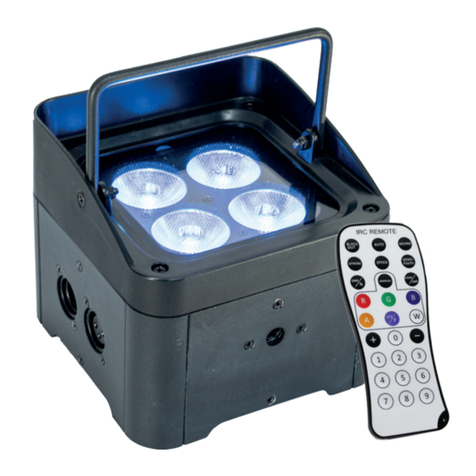
Thank you for your purchase. The EventCUBE™ CW/WW is a DMX intelligent LED Pin Spot
light. This LED Pin Spot light is for the serious production company looking for high
powered LED output with (10) 5 Watt Cool White and Warm White LEDs. The CW/WW
LEDs can be controlled by Wireless DMX, on board push button display, wired DMX cable,
or with the PIN IR Remote (sold separately).
Unpacking: Thank you for purchasing the EventCUBE™ CW/WW light fixture. Every
EventCUBE™ has been thoroughly tested and has been shipped in perfect operating
condition. Carefully check the shipping carton for damage that may have occurred during
shipping. If the carton appears to be damaged, carefully inspect your fixture for any
damage and be sure all accessories necessary to operate the unit has arrived intact. In the
case damage has been found or parts are missing, please contact the manufacturer or your
dealer for further instructions. Do not return this unit to your dealer without first
contacting them.
Each EventCUBE™ CW/WW purchase includes:
•EventCUBE™ CW/WW
•Removable Hanging Bracket
•Charging Cord
•Padded Soft Carry Case for the EventCUBE™
•Adjustable Telescoping Tripod (Maximum Extended Height 8 Feet)
•Carry Bag for the Tripod
Additional item(s) sold separately:
•PIN IR Remote
FIRST CHARGE YOUR FIXTURE FOR 6 HOURS.Plug the IEC power cord into a
power strip connected to a wall outlet that supports 100-220V/50-60Hz. Have the Power
Switch in the OFF position and Receiver Switch in the OFF position. Securely, plug the IEC
power cord in the Power Input on the side of the light fixture. The Battery Charge Indicator
will illuminate Red while charging or illuminate Green when light fixture reaches 80% or
higher battery charge.
NOTE: You can be charging the EventCUBE™ and turn on the Power Switch to use the fixture.
EventCUBE™ CW/WW Eternal Lighting Updated 03/2015
Warning! To prevent or reduce the risk of electrical shock or fire, do not expose this unit to
rain or moisture.
Caution! There are no user serviceable parts inside this unit. Do not attempt any repairs
yourself; doing so will void your manufactures warranty. In the unlikely event your unit
may require service please contact the manufacturer or your dealer.
How Long Does the Battery Last?
The EventCUBE™ CW/WW will last up to 8 hours on a single full charge at full brightness. You
can adjust the brightness of the LEDs by DMX controller or by push button display to
prolong the battery per charge.
Features & Technical Specifications:
•(10) Zoomable Heads, each with (1) 5 Watt Cool White and (1) 5 Watt Warm White LED
•USITT DMX-512 (1CH, 10CH DMX Mode)
•Flicker Free Refresh Rate >400 Hz (HDTV Video, Guaranteed No Flicker)
•Ideal for ideal for HDTV recordings with Flicker Free operation
•16 Digit, 2 Line, Full Text read out Back-Lit LCD Push Button Display
•Power In & Power Out
•3-Pin Input/Output
•Master/Slave Control
•Up to 8 Hours of Battery Life
•Flush Mounted Wireless DMX Antenna recessed to keep the antenna safe
•2.4gHz Wireless DMX Receiver that is also a Transmitter (Up to 300ft Line of Sight)
•Simultaneous master signal transmitting from Master to all other lights in range
•IR Remote control. Also the Signal Received from the IR Remote can transmit to the other
lights by Wireless DMX
•Removable Hanging Bracket
•EventCUBE ™ CW/WW weighs 20 lbs
•Dimensions on EventCUBE™ CW/WW: 35” x 2.5” x 3” (Body) 35” x 2.5” x 10” (Body &
Heads)
•Dimensions on Tripod: 7.2” x 6.5” x 60”
•Beam Angle: 3° to 20° Zoomable Pin Spot Heads
•LED Life Rating: 50,000 hours
EventCUBE™ CW/WW Eternal Lighting Updated 03/2015
Operation Guide:
Start Up Welcome to ETERNAL LIGHTING
Switch to Display Version
DMX addr
CH mode
DMX address: 001-512
CH Mode 01 / 10
Mast/Slave
Mast / Slave
Programs
Program 01, Program 02, Program 03, Program 04
Boot Time/Work Time
Current operating time and total run time
Battery Capacity
Battery Percentage Indicator
(90-100% is Fully Charged, 20-30% is Low to Depleted Battery)
Note: Light will shut off around 20-30% left on Battery Capacity
LCD Display time
10 seconds through 60 seconds or Full on
IR INFA
Enable/Disable for IR Sensor
Menu:
oStart Up – Welcome to Eternal Lighting Screen
oDMX Address and Channel Mode – Press Enter to move up and down between
DMX Addr and CH. Press Down/Up to scroll through choices. Press Enter to save a
command then press Menu to back out.
oMaster/Slave – Press Up or Down to change the command of Master or Slave, Enter
to save the command. (NOTE: In order to use the PIN IR Remote, put the fixture in
Master Mode. The fixture will not respond to the PIN IR Remote if it is in Slave
Mode.)
oPrograms-
oProgram 01: All 10 Heads Warm White. Press Enter and manually control 0-
255 brightness by pressing up and down.
EventCUBE™ CW/WW Eternal Lighting Updated 03/2015
oProgram 02: All 10 Heads Cool White. Press Enter and manually control 0-
255 brightness by pressing up and down.
oProgram 03: Head 1-5 Warm White, Head 6-10 Cool White. Press Enter and
manually control 0-255 brightness by pressing up and down.
oProgram 04: Every other Head is Warm White and Cool White. Press Enter
and manually control 0-255 brightness by pressing up and down.
oBoot Time and Work Time – Current operating time and total run time
oBattery Capacity – Indication of Percentage left on the battery
oLCD Display Time – Choose to have the Display back lit Full On/10sec-60sec
oIR INFA – Enable or Disable
How to use the Wireless Receiver: Turn the wireless Receiver button to the ON position.
There is a Wireless Indicator that illuminates the colors in the ID Code Selector.
ID Code Selector – Red (1), Green (2), Yellow (3), Blue (4), Purple (5), Cyan (6), White (7).
To change to ID Code Selector colors, press the small clickable button next to the ID Code
Selector.
Master/Slave - Have one fixture in Master Mode and the rest of the fixtures in Slave Mode.
Turn on the Receiver button and put all fixtures on same ID Code Color. You now control
only the Master fixture and all the Slave fixtures will do what the Master is doing. The
Master fixture Wireless Indicator will start blinking RED (meaning transmitting signal) and
all the Slave fixture(s) will start blinking GREEN (meaning receiving signal).
Helpful Trick: To Master Reset the EventCUBE™ CW/WW to Factory setting, press Menu
and Enter button at the same time and hold for 5 seconds. The light will go into the
following factory settings. Address will go back to 001, CH mode 01, Manual values to 255,
IR INFA disabled.
Infrared remote control: (PIN IR Remote is Sold Separately)
To use the IR remote control on the EventCUBE™ CW/WW, first ENABLE the IR INFA located
in the MENU selection. Also, turn the fixture into a MASTER. To control the fixture you must
aim the remote at the infrared sensor located by the Display (front and back of fixture).
EventCUBE™ CW/WW Eternal Lighting Updated 03/2015
DMX Values and Functions:
DMX Channel Mode 1ch/10ch
1 CH Mode EventCUBE™ DMX CW/WW
Value
CW/WW 5 Watt LED
CH1
0-255
0-10: OFF
11-61: Warm White all 10 Heads Dim to Bright
62-124: Cool White all 10 Heads Dim to Bright
125-185: Head 1-5 WW and Head 6-10 CW Dim to Bright
186-255: Every other Head CW/WW Dim to Bright
10 CH Mode EventCUBE™ DMX CW/WW
Value
CW/WW 5 Watt LED
CH1 (Head 1) 0-255
0-10: OFF
11-123: Warm White Dim to Bright
124-255: Cool White Dim to Bright
CH2 (Head 2) 0-255
0-10: OFF
11-123: Warm White Dim to Bright
124-255: Cool White Dim to Bright
CH3 (Head 3) 0-255
0-10: OFF
11-123: Warm White Dim to Bright
124-255: Cool White Dim to Bright
CH4 (Head 4) 0-255
0-10: OFF
11-123: Warm White Dim to Bright
124-255: Cool White Dim to Bright
CH5 (Head 5) 0-255
0-10: OFF
11-123: Warm White Dim to Bright
124-255: Cool White Dim to Bright
EventCUBE™ CW/WW Eternal Lighting Updated 03/2015
For more information, please contact Support by email at support@eternallighting.com
CH6 (Head 6) 0-255
0-10: OFF
11-123: Warm White Dim to Bright
124-255: Cool White Dim to Bright
CH7 (Head 7) 0-255
0-10: OFF
11-123: Warm White Dim to Bright
124-255: Cool White Dim to Bright
CH8 (Head 8) 0-255
0-10: OFF
11-123: Warm White Dim to Bright
124-255: Cool White Dim to Bright
CH9 (Head 9) 0-255
0-10: OFF
11-123: Warm White Dim to Bright
124-255: Cool White Dim to Bright
CH10 (Head 10) 0-255
0-10: OFF
11-123: Warm White Dim to Bright
124-255: Cool White Dim to Bright

This manual suits for next models

1

Other Eternal Lighting Lighting Equipment manuals

Eternal Lighting EchoICON User manual

Eternal Lighting

Eternal Lighting EchoICON User manual

Eternal Lighting EliteParHEX User manual

Eternal Lighting

Eternal Lighting EliteParHEX User manual

Eternal Lighting EchoICON User manual

Eternal Lighting

Eternal Lighting EchoICON User manual

Eternal Lighting EchoMATE User manual

Eternal Lighting

Eternal Lighting EchoMATE User manual

Eternal Lighting CUBEecho RGBWA+UV User manual

Eternal Lighting

Eternal Lighting CUBEecho RGBWA+UV User manual

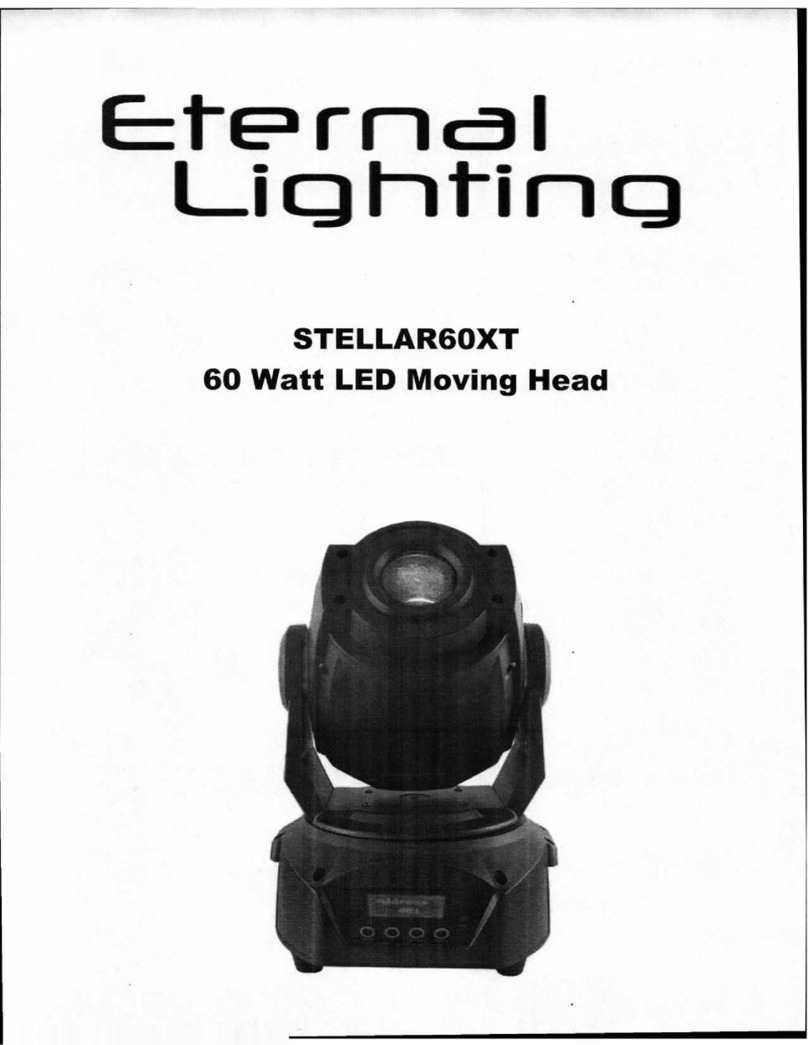
Eternal Lighting STELLAR6OXT User manual

Eternal Lighting

Eternal Lighting STELLAR6OXT User manual

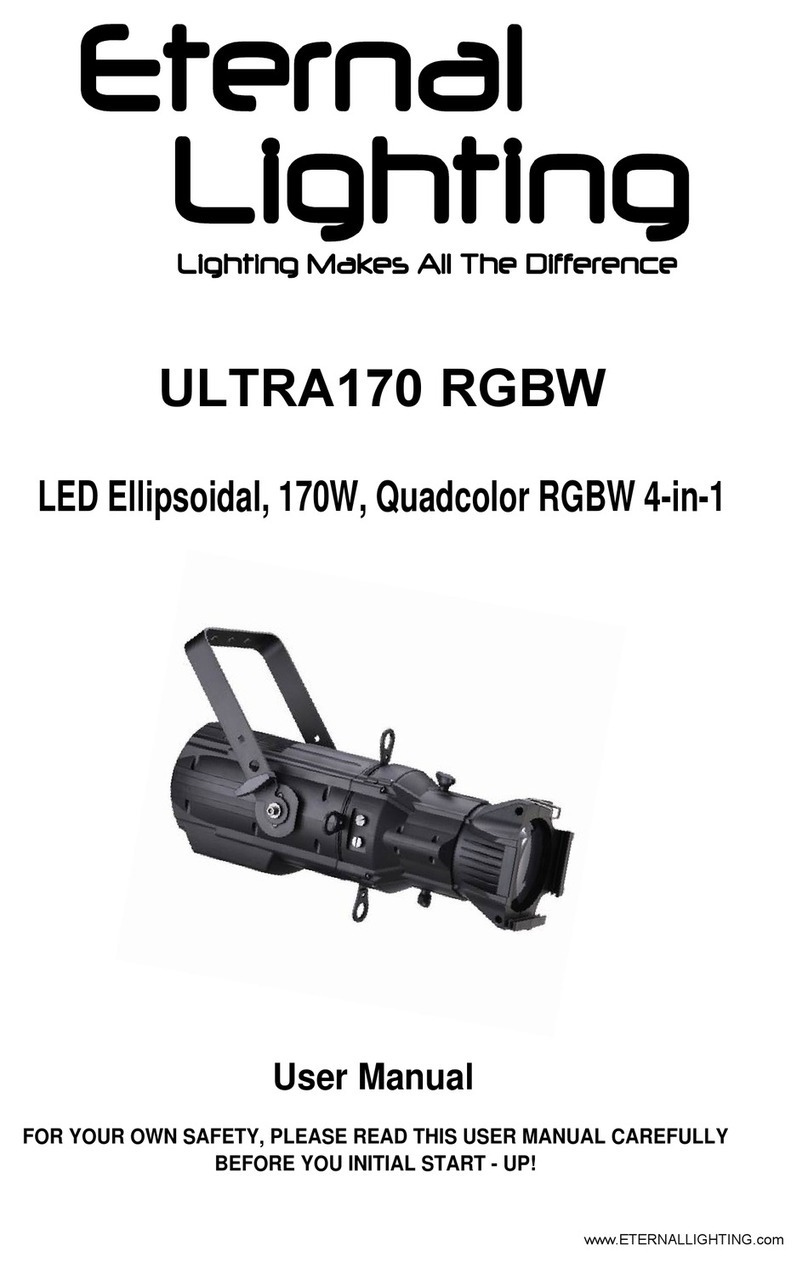
Eternal Lighting ULTRA170 CW/WW User manual

Eternal Lighting

Eternal Lighting ULTRA170 CW/WW User manual

Eternal Lighting CUBEecho RGBWA User manual

Eternal Lighting

Eternal Lighting CUBEecho RGBWA User manual

Eternal Lighting FlatParPro-10W User manual

Eternal Lighting

Eternal Lighting FlatParPro-10W User manual

Popular Lighting Equipment manuals by other brands

Oypla HOME 3395 user manual

Oypla

Oypla HOME 3395 user manual

California Sunbounce MINI operating instructions

California Sunbounce

California Sunbounce MINI operating instructions

Laserworld PL-36000RGB user manual

Laserworld

Laserworld PL-36000RGB user manual

Qtx Tri-Bar user manual

Qtx

Qtx Tri-Bar user manual

Meteor Stem Dext 2.0 Series installation instructions

Meteor

Meteor Stem Dext 2.0 Series installation instructions

Home Accents Holiday TY481-1611-0 Assembly instructions

Home Accents Holiday

Home Accents Holiday TY481-1611-0 Assembly instructions

Lithonia Lighting TWA installation instructions

Lithonia Lighting

Lithonia Lighting TWA installation instructions

Viatek LL03-12PAT-R instructions

Viatek

Viatek LL03-12PAT-R instructions

FORMUFIT PVC manual

FORMUFIT

FORMUFIT PVC manual

Storz 11301 DE instruction manual

Storz

Storz 11301 DE instruction manual

ColorKey WaferPar HEX 12 MK II user manual

ColorKey

ColorKey WaferPar HEX 12 MK II user manual

American DJ Electra 250 User instruction

American DJ

American DJ Electra 250 User instruction

THORLABS CHROLIS Operation manual

THORLABS

THORLABS CHROLIS Operation manual

Chauvet SlimPAR PRO VW user manual

Chauvet

Chauvet SlimPAR PRO VW user manual

STEINEL L 30 S Operation manual

STEINEL

STEINEL L 30 S Operation manual

Elation CUEPIX BLINDER WW2 user manual

Elation

Elation CUEPIX BLINDER WW2 user manual

Cooper Lighting MT250PC instruction manual

Cooper Lighting

Cooper Lighting MT250PC instruction manual

LIGMAN CN-10246-1 installation manual

LIGMAN

LIGMAN CN-10246-1 installation manual

manuals.online logo
manuals.online logoBrands
  • About & Mission
  • Contact us
  • Privacy Policy
  • Terms and Conditions

Copyright 2025 Manuals.Online. All Rights Reserved.