● The protective shield, filters and lens will require weekly cleaning as smoke fluid tends to building
up residues, reducing the light output very quickly.
1. Installation
● When installation, keep the device far away the heat sensitive objects and explosives sensitive
objects, leave at least 50cm of free space around the device.
● When the device put on horizontal place, the device must be placed directly on the place, and
devices must be secured with a mounting bracket.
● When rigging the devices on the truss and the head face to the floor, Screw one clamp each via a
M12 screw and nut onto the mounting holder.
Insert the quick-lock fasteners of the first mounting holder into the respective holes on the bottom of the
device. Tighten the quick-lock fasteners fully clockwise. Install the second mounting holder.And the
safety rope must be used at same time.
● Please use qualified safety-rope, which can hold at least 10 times the weight of the fixture. You
must only use safety-ropes with quick links with screw cap. Pull the safety-rope through the hole on the
bottom of the base and over the trussing system etc. Insert the end in the quick link and tighten the
fixation screw. Asafety rope which already hold the strain of a crash or which is defective must not be
used again.
2. Connection with mains
● The person involved with the power connection must be qualified, and has the electrical
engineering certificate.
● Connect the device to the mains with the power plug.
● The earth has to be connected.
● Power consumption 200W, input power supply AC100V-240V, 50/60Hz.
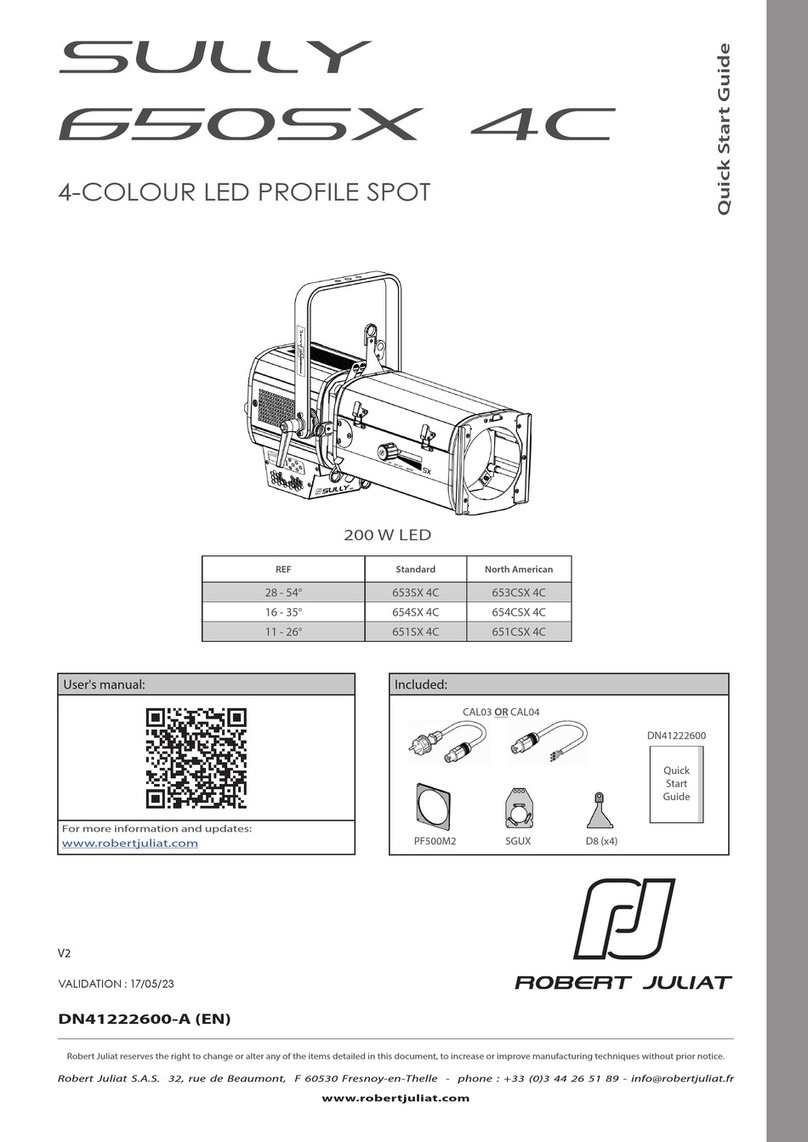
3. The use of gobo frame
●Take out the gobo frame, loose the screws, insert the gobos and lock the screws again
●Insert the gobo in the slot.
4. Use iris
●Iris is not included when the projector leave factory, user can purchase the iris if needed. Loose the
screws and insert the iris.
5. Replacing fuse
● Before replacing the fuse, unplug mains lead.
● Procedure:
Step 1: Unscrew the fuse holder on the rear panel with a fitting screwdriver from the housing
(anti-clockwise).
Step 2: Remove the old fuse from the fuse holder.
Step 3: Install the new fuse in the fuse holder.
Step 4: Replace the fuse holder in the housing and fix it.
6. Focus
●The objective lens cylinder is usually shrinked before leaving factory, after connect the projector to
the mains, user may lose the screws and pull out the lens cylinder, till the white light output circular is
clearly presented, locking tightly the two screws again.
●When the projection distance is changed; user can follow previous operating steps, and focus the
projector.
