Eton ECO Electric Bycyle User manual

E-TON
ECO Electric Bycyle
OWNER’S MANUAL
Copyright ©2008-2009 ETON America, all rights reserved.

Page 2 of 16
WELCOME
Thank you for purchasing an E-TON electrical bike. E-TON takes pride in
a worldwide reputation for quality research, design , production and
service .We wish you have many years of enjoyable and safe riding.
E-TON electrical bike are designed for safety and comfortable. The Users
Manual contains maintenance schedule, maintain procedures you can easily
precede and basic information of daily uses. For replacing parts and
accessories, we strongly recommend using genuine E-TON products because
they’ve been specially designed for your electrical bike and
manufactured to meet E-TON’s demanding standards.
When you need service, please remember that the dealer closest to you
knows your electrical bike best and is interested in serving you
complete satisfaction.
TABLE OF CONTENTS
1. Your responsibilities 1
2. Rescription 3
3. Warning stickers locations
4. Parts Location
5. SerialNumber 5
6. Parts Function 6
7. Derailleur twist shifter 7
8. Brakecontrols 8
9. Main power control switch 9
10. Inspection 10
11. Operation 11
12. Posture and form 12
13. make stop 12
14. How and when to generate transmission 13
15. Charging 14
16. DirectlyCharge 14
17. Dividable charging 15
18. Folding and assembling procedure 17
19. Folding 17
20. Assembling 19
21. Maintenance 22
22. CheckItems 23
23. Specifications 24
24. Warranty 25
25. WiringDiagram 26
Copyright ©2008-2009 ETON America, all rights reserved.

Page 3 of 16
SAFETY PRECAUTION
★ Read this manual and all labels carefully and follow the operating procedures described.
1. Don’t exceed line of minimum insertion as adjusting the seat post.
2. Always inspect all quick-release each time you use it to make sure the electric bike is in
safe operating condition.
3. Don’t dis-assembly by yourself.
4. Don’t make a turn substantially to avoid any possible danger.
5. Always ride slowly and be extra careful when operating on harsh terrain.
6. Don’t dash with lowering your head and never disperse your attention.
7. Don’t operate on excessively icing, slippery or hilly terrain.
8. Never consume alcohol or drugs before or while riding electric bike.
9. Don’t wear long skirt or wide clothing that might be drawn into rotating parts.
10. Never attempt stunts, such as wheelies or jumps. Don’t try to show off.
11. Always keep both hands on the handlebar and both feet on the pedals while riding.
12. Don’t wear high-heeled shoes the some unfavorable ride shoes.
13. Operating electric bike on well paved Bike-Road is recommended.
14. Release throttle grip when riding on downhill road.
15. Be sure of the battery is proper charged before every ride.
16. Do not ride on the electrical bike as if there is anything abnormal.
17. Use genuine spare parts by E –TON.
Please take a note of all warning items written on the owner’s manual.
! WARNING indicates that serious injury or death may result.
!CAUTION indicates possible equipment or property damage could occur.
Copyright ©2008-2009 ETON America, all rights reserved.

Page 4 of 16
DESCRIPTION WARNING STICKER LOCATIONS
(1) Handlebar quick-release warning sticker
(2) Stem quick-release warning sticker
(3) Frame quick-release warning sticker
(4) Seat post quick-release warning sticker
(5) Battery pack pull out sticker
(6)Power Indicator sticker
Copyright ©2008-2009 ETON America, all rights reserved.

Page 5 of 16
PARTS LOCATION
(1) Handle bar
(2) Rear brake lever
(3) Front brake lever
(4) Throttle grip
(5) Speed grip
(6) Safety switch
(7) Handlebars
(8) Handlebars quick- release
(9) Stem quick- release
(10)Front wheel quick- release
(11)Frame quick-release
(12)Seat quick-release
(13)Battery lock ring
(14)Power Indicator
(15)Folding pedals
(16)Tires
(17)Brakes
(18)Mudguard
(19)Kickstand
(20)Battery Pack
(21)Saddle
SERIAL NUMBER
Please record the frame and engine serial numbers
for future reference. The frame serial number is
stamped underneath of the frame where the nick
name is B-B end.
The motor serial number is shown on the left side of
the motor cover with a bar code sticker pasted.
FRAME NO: MOTOR NO:
(1) Frame serial number (2)Motor serial number 7
Copyright ©2008-2009 ETON America, all rights reserved.

Page 6 of 16
PARTS FUNCTION
POWER SWITCH
ECO is driven by electric motor and the power switch is on the right hand side. Turn the switch to position means
power is energized. Turn the switch to , power will be disconnected. 8
! WARNING
The switch can also be used as an emergency switch for safety.
THROTTLE GRIP
The throttle grip is on the right hand side of handlebar and operated by the rider’s palm. Turning the
throttle grip toward rider opens the throttle.
When the throttle grip is released, spring tension shuts the throttle automatically
Copyright ©2008-2009 ETON America, all rights reserved.

Page 7 of 16
SPEED GRIP
Speed grip is on the left handlebar and controls 6-speed
freewheel by hand turn. When numeral a“6”, the chain
engages at the smallest gear of freewheel. If you want to
change speed, just turn speed grip toward rider’s side. If
the chain is engaged on small gear, you have to pedal
heavily and gain higher speed. On the contrary, speed is
slower and pedaling easier if chain is on big gear.
! WARNING
Never turn speed grip by compulsion if the chain located at “1” or “6” gear. Otherwise, it will result parts
damage or cause chain to fall off. It may possible to get rider injured if the condition occurred.
BRAKE LEVER Rear Brake Rear Brake lever is on
the left hand side of handlebar. Pull the rear brake lever to stop
the bicycle by clipping the rim.
Front Brake The front brake is operated by front brake lever
near right hand side of the handlebar.
! CAUTION
There is a contact switch equipped on each of rear and front
brake lever and it will cut off power supply once apply brake
lever. The throttle grip will actuate only after releasing brake
lever. DO NOT rotate throttle grip while applying brake.
Copyright ©2008-2009 ETON America, all rights reserved.

Page 8 of 16
KEY SWITCH
1. The key switch has 3 settings, “ON”, “LOCK”, “OPEN”
“ON” represents power is energized.
“LOCK” represents power is disconnected and battery pack is locked for security.
“OPEN” represents power is disconnected and battery pack is free to take away from bicycle.
INSPECTION
Before riding, please check following items. Mark sure you are familiar with all controls and their
operation. Check the ECO condition before and after every riding. It only takes a few minutes and
could make you riding safely.
1. Check grips whether crack and come off.
2. Check tires pressure and condition.
3. Check throttle grip whether operating smoothly.
4. Check handlebar whether secured.
5. Check brake pad wearing situation.
6. Insure brake parts operating normally
7. Check engagement and tension of the chain
8. Check speed-change gears’ operation.
9. Check each quick release and other securing parts.
10. Check folding pedals if in correct position.
11. Check battery pack if in correct position.
12. Check power indicator if illumination.
13. Check saddle if secure
Copyright ©2008-2009 ETON America, all rights reserved.

Page 9 of 16
OPERATION
TO TURN ON THE POWER
1. Position ECO on flat road and stand on left hand side of the bicycle.
2. Turn the key switch to “ON” position.
RIDING
1. Push bicycle forward slightly and let kickstand bounce by spring.
2. Riding on the saddle.
3. Change power switch to position and make sure the power indicator is illuminated.
4. Check road condition and stamp pedals for 2 rounds.
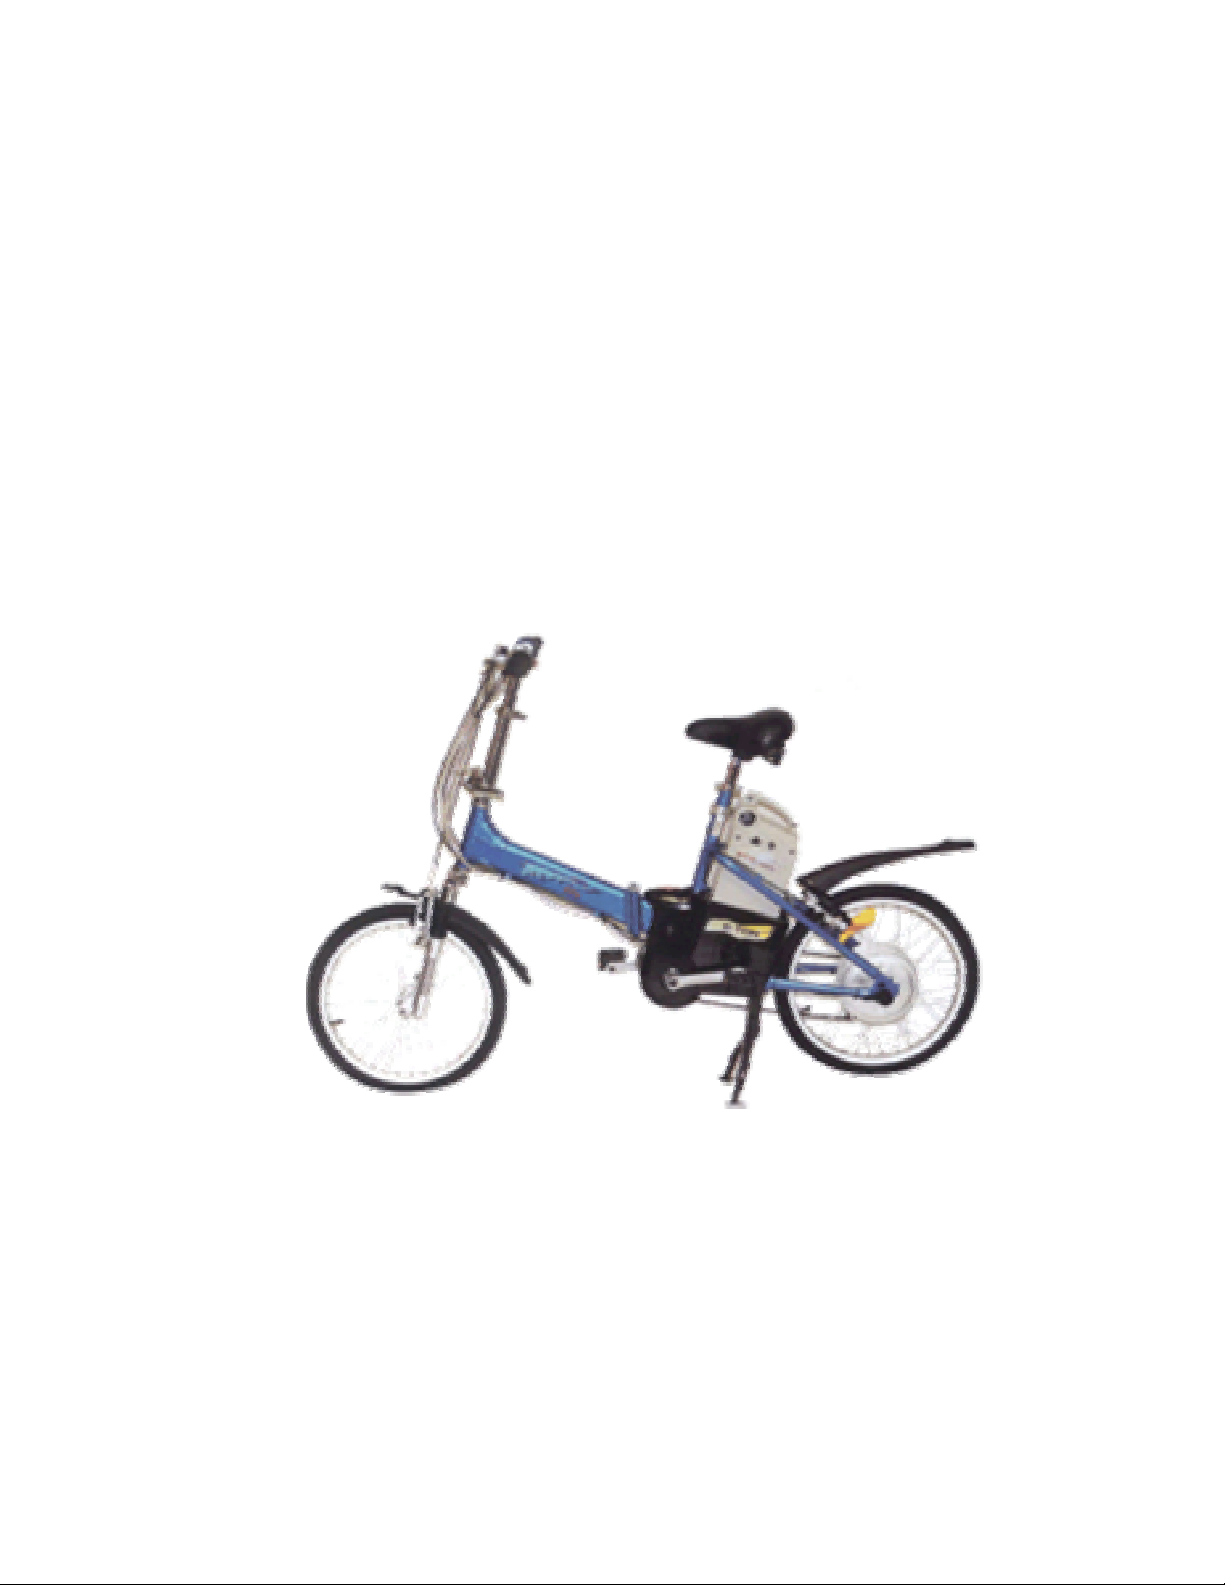
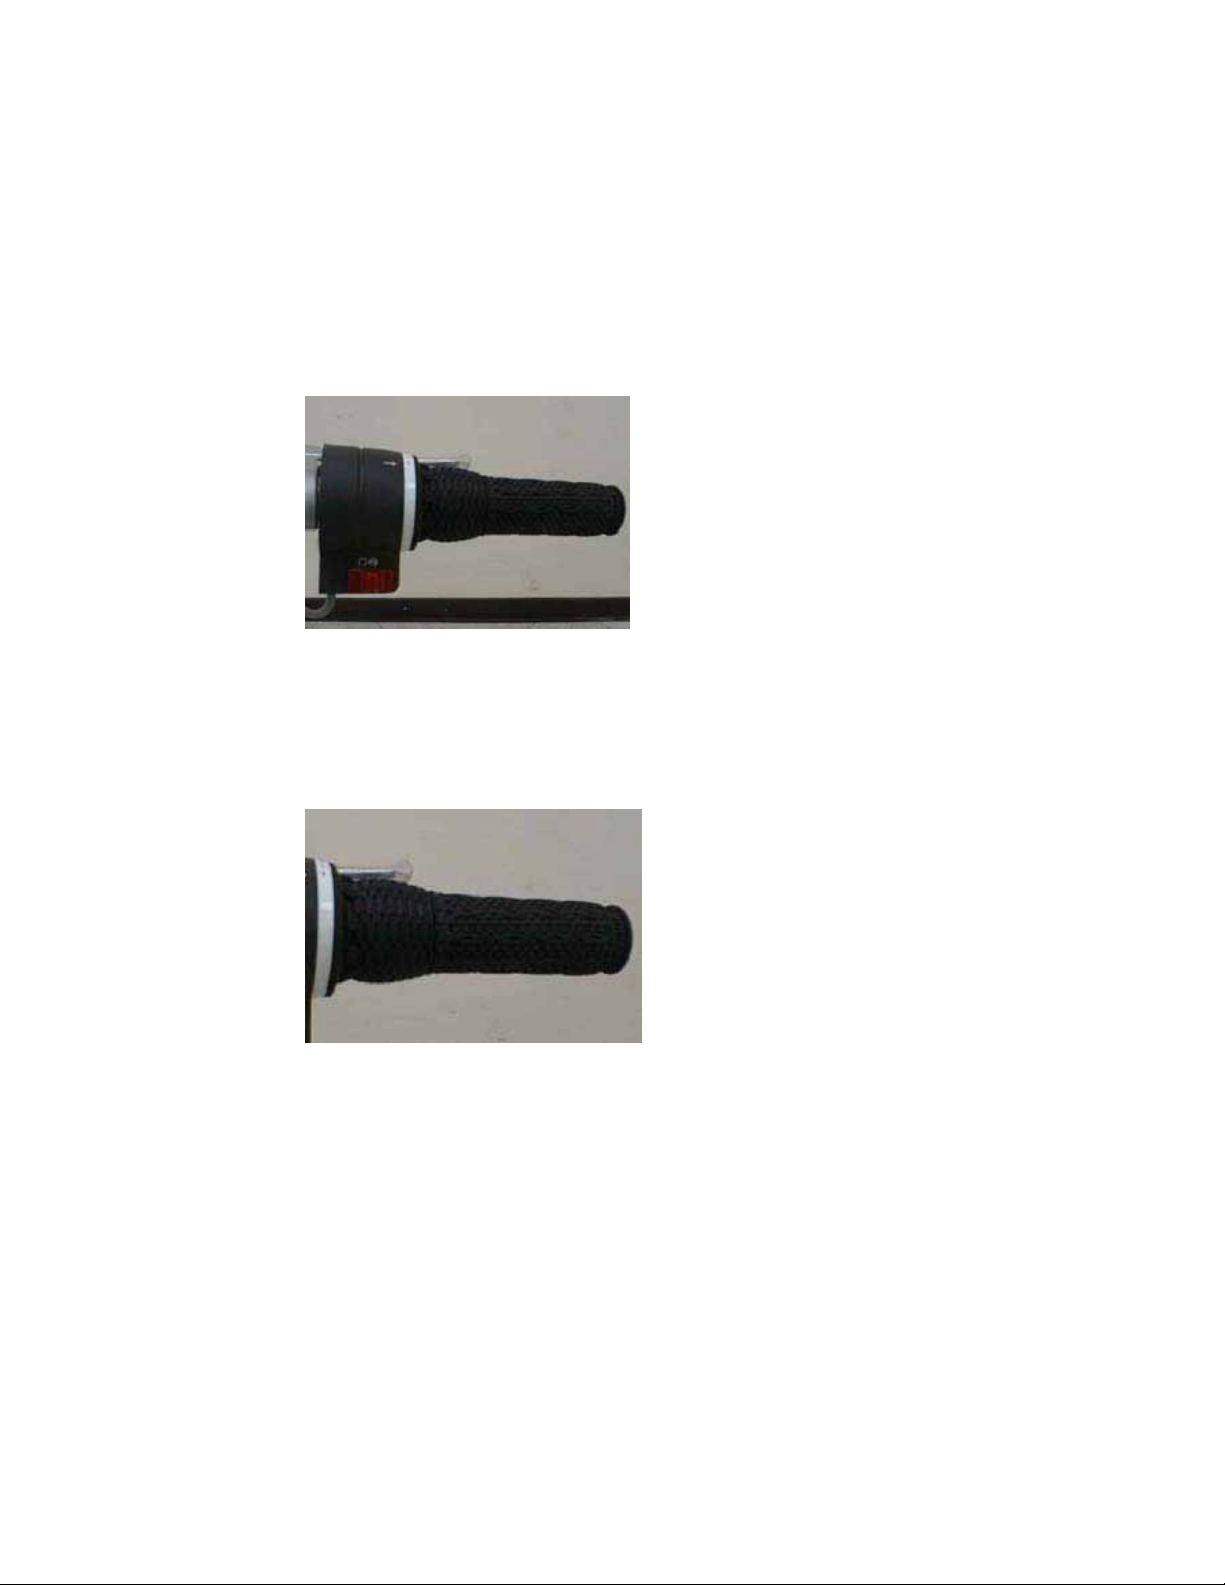
5. Rotate the throttle grip, motor starts running.
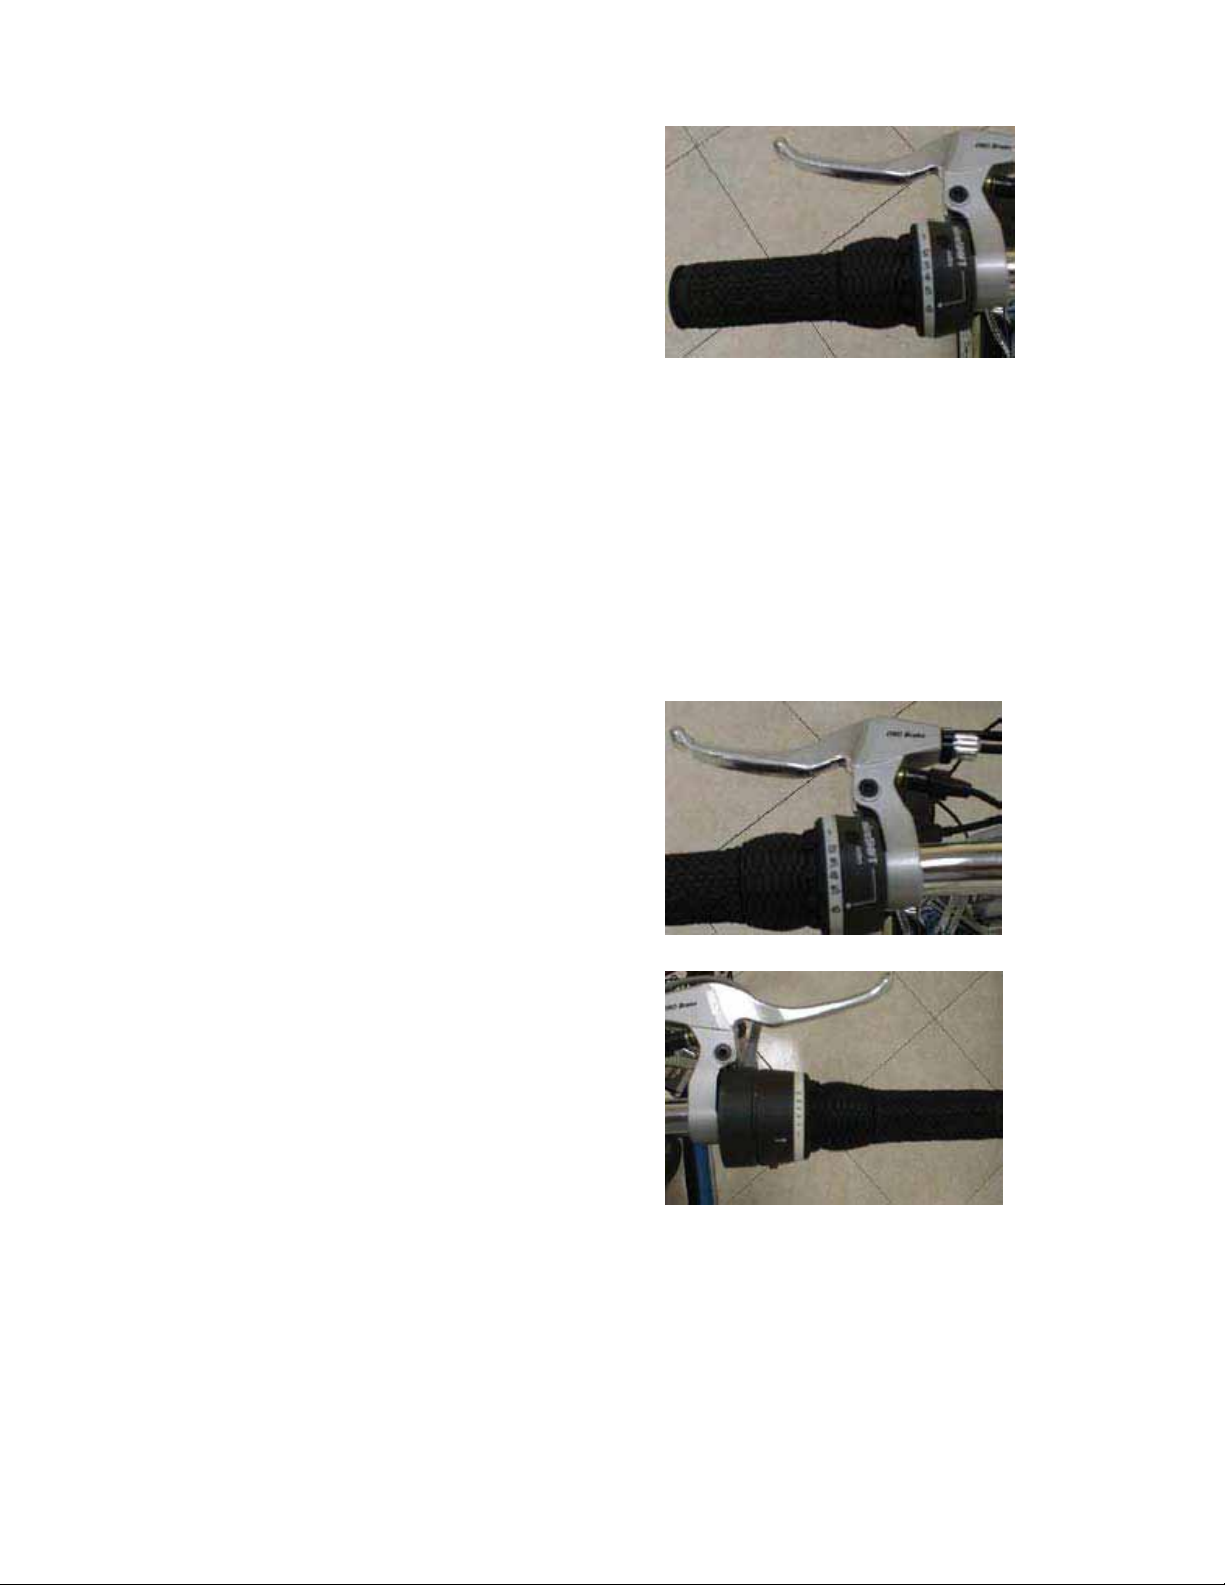
★Power will be cut off when apply front or rear brake. After releasing brake, pedal
again if bicycle’s speed is too slow to 1make throttle grip having no function.
★When power indicator flashes every 1 second, power remains for riding 4-6 km and it
will be cut off within short time if flashes every 1/8 second.
★Keep charging battery whenever you are not riding.
RIDING POSTURE
For comfort, balancing, controlling and safety,
★ Keep head and eyes up, looking ahead, rather than at the ground.
★ Keep shoulders relaxed and back straight.
★ Bend elbows slightly and hold them away from body.
★ Always keep hands on the handlebars..
MAKE A STOP
1.Choosea flat ground.
2.Stand left side of the bicycle.
3. Steps on the kickstand bottom by right foot.
4.Pull bicycle, by both hands, backward and kick up the stand.
! WARNING
1. Under any circumstance, always apply rear brake first and then front brake.
2. Don’t speed up when riding on a downhill path
3. Pay more attention to road condition and obey traffic regulation.
Copyright ©2008-2009 ETON America, all rights reserved.

Page 10 of 16
HOW AND WHEN TO CHANGE SPEED
ECO has a 6-speed (derailleur) system. Rider changes speed only by turning speed rig on the left hand side of
handlebar. Road condition Proper speed
Flat 5 or 6
Gentle slope 3 or 4
Steep or hilly slope 1 or 2
! CAUTION
1. To prevent the chain falling off, do NOT pedal backward while changing speed
2. To prevent the parts damage, do not turning speed grip as the bike stop.
3. To prevent the parts damage, change the gear gradually.
4. For long-term storage, engage speed at 6 for releasing mechanical tension.
CHARGING
ECO can be charged in two ways.
(1) Directly charging: Remain battery pack on bicycle and connecting with charger. Plug charger into
power outlet on wall.
(2) Charging separately from bicycle: take away the battery from bicycle and charging wherever power is
available.
INSTRUCTIONS FOR CHARGING
Directly charging:
(1) Turn the key switch to “LOCK” position.
(2) Connect charger cable to the battery pack and then plug into power outlet.
(3) Turn on the switch of charger.
(4) During charging process, green light goes flashing continuously until battery is fully charged after 4 ~ 5
hours.
Green light illuminates steadily represents charging process has been accomplished.
2. Charging Separately from Bicycle:
(1) Loose the seat quick-release and pull up the seat posts slightly.
(2) Turn the key switch to“OPEN"position and take out the battery pack.
(3) Lay down the battery pack and connect the charging wire.
(4) Put the battery pack back to bicycle and turn the key switch to“LOCK"position.
(5) Lock the seat quick-release firmly after adjusting the seat posts. 2
Copyright ©2008-2009 ETON America, all rights reserved.

Page 11 of 16
! CAUTION
1. The charging process is preceded inadequately if the red light illuminates while charging. Check
connector/wire if red light still illuminates and please contact the dealer closest to you.
2. Keep the battery pack away from direct sunshine, rain or heavy moisture while charging.
3. Keep children free from the area of charging battery.
4. Even though there is a built-in fuse in battery pack, for better life of parts, do not charge battery
continuously more than 24 hours.
5. Make sure switch off power when you are going to inspect or replace fuse.
6. If there is any peculiar smell or high temperature while charging, please stop charging and
contact your dealer for repair.
7. Don’t use the same power outlet with other electric equipment when charging battery.
8. Don’t lift electric socket with wet hand.
9. Don’t let battery pack fall down and neither heavily impact battery pack.
10. Don’t disassemble the battery pack without professional instructions.
Copyright ©2008-2009 ETON America, all rights reserved.

Page 12 of 16
FOLDING AND ASSEMBLING PROCEDURES
Folding
1. Slightly pull the pedals inwards, then fold. 2. Loose the seat quick release and lower the height of the seat.
! CAUTION 3. Release the quick -release of the handlebar and lower it.
As folding any part, please watch out
your hands for the safety reason.
Copyright ©2008-2009 ETON America, all rights reserved.

Page 13 of 16
4. Release stem quick-release and bend. 5. Release the frame quick-release
and press fixing pillar.
6. Folding the frame. 7. Firm the frame with fixed ribbon.
ASSEMBLING
1. Loosen the ribbon. 2. Straight the frame.
3. Secure the frame and fix quick-release
! CAUTION
As folding any part, please watch out your hands for the
safety reason.
Copyright ©2008-2009 ETON America, all rights reserved.

Page 14 of 16
4. Straight and secure the stem quick release 5. Adjust the handlebar to a suitable height.
6. Adjust handlebar angle then fix the quick release
C !
CAUTION
There is “Minimum Insertion” line marked on the
post of seat and handlebar and don’t pull to exceed
it.
7. Adjust the height of seat. 8. Centering the saddle, secure the quick-
release.
9. Reset the pedals.
! CAUTION
Thoroughly inspect again after assembly the
bicycle.
Copyright ©2008-2009 ETON America, all rights reserved.

Page 15 of 16
MAINTENANCE
1. Wipe bicycle by dry cloth and use neuter cleaning agent to clean if necessary.
2. Wiping with thin lubrication oil on metal parts if ever cleaned by water.
3. Wipe plastic, painted parts by dry cloth.
4. Increasing maintenance frequency if riding in heavy moisture or rainy area. Apply greases on the function and
rotating components.
MAINTENANCE
CHECK ITEMS
1 .Check front and rear brake if brake pads having any serious wearing. Check brake cables if rusted or broke.
2. Check wearing condition of rims.
3. Inspect operation of speed change gears if those are normal.
4. Check all quick-release of bicycle if secured firmly.
5. Check tire pressure.
6. Cleaning bicycle and parts.
7. Check power plug and socket if loose or oxidized.
8. Check speed grip if turning normally.
Specifications
Vehicle Model ECO Series EB1
Type Foldable Standards 20”
Total length 1640 mm Total width 550mm
Seat height 860mm ~ 970mm Weight 34kg
Axle Distance 1140 mm Front fork Shock absorb type
Battery type Airtight battery Battery 2 pieces
Battery Power 12V-12Ah Battery durability 6 month
Charging time 4 –8 hour Input voltage 95V – 250V (AC)
Rims size 20"×1.75
Motor type Brushless DC motor
Rated power 200W
Speed change 6 speeds
Max climbing angle 12°
Max speed 25km/hr
Cruising Range 25km
Size after folding Length 860mm Width 890mm Height 460mm
Copyright ©2008-2009 ETON America, all rights reserved.

Page 16 of 16
WARRANTY
OBLIGATION
Under this limited warranty, E-TON will repair or replace, at our option, any part proven to be defective in
material or factory workmanship under normal use for the applicable period stated below. Parts will be
repaired or replaced without cost only during the warranty period.
OBLIGATION OF BICYCLE OWNER
The owner must, at his own expense, perform all the scheduled maintenance in accordance with the
maintenance schedule in this Owner’s Manual to be covered under this warranty.
TERM OF WARRANTY
This warranty covers this bicycle for a period of six months from the date of purchase.
EXCLUSIONS
This warranty does not cover failures other than those resulting from defects in material or factory
workmanship. This warranty does not cover replacement of expendable maintenance items made in
connection with required maintenance services including, but not limited to: tires/inner tubes, brake shoes,
control cables, grips, spokes & nipples, battery. In addition, this warranty does not extend to the bicycle
used for racing, competition, and commercial uses, including rentals.
WIRING DIAGRAM
Copyright ©2008-2009 ETON America, all rights reserved.

ETON America, LLC. ECO
(Electric Bike)
Copyright ©2008-2009 ETON America, all rights reserved.

E‐TONECO
ElectricalBicyle
Page1of12
Page Ref# PartNo. OEM Description
Required
Qty
1 1 E0100‐3JB0‐1700FRAMEASSY.,(SILVER) 1
1 1 E0100‐3JB0‐2200FRAMEASSY.,(RED) 1
,( )
1 1 E0100‐3JB0‐3400FRAMEASSY.,(BLUE) 1
1 2 E012A‐3JB0‐0000FRAMEFOLDINGQUICKRELEASE 1
1 3 G7240‐3JB0‐1000SADDLESTEM 1
1 4 G720A‐3JB0‐0000SEATASSY. 1
1 5 G741A‐3JB0‐0000STEMPOSTQUICKRELEASE 1
1 6 E0121‐3JB0‐0000HOLDERBATTERYBAND 1
1
7
H7144 3JB0 0000
SADDLE STEM WARNING
1
1 7 H7144‐
3
JB
0
‐
0000
S
ADDLE
S
TEMWARNIN
G
1
1 8 H7143‐3JB0‐0000FRAMEFOLDINGWARNING 1
1 9 H7145‐3JB0‐0000STICKER,E‐CO(L) 1
1 10 H7146‐3JB0‐0000STICKER,E‐CO(R) 1
Page1of12

E‐TONECO
ElectricalBicyle
Page2of12
Page Ref# PartNo. OEM Description
Required
Qty
2 1 E030A‐3JB0‐0000HEADPARTS 1
2 2 E3200‐3JB0‐0000SUSPENSIONFRONTASSY., 1
2 3 D3620‐3JB0‐0000V‐BRAKEASSY.,(HJ‐806AD) 1
Page2of12

E‐TONECO
ElectricalBicyle
Page3of12
Page Ref# PartNo. OEM Description
Required
Qty
3 1 E317A‐3JB0‐0000LEFTSHIFTERASSY. 1
3 2 E316A‐3JB0‐0000RIGHTACCELERATORASSY. 1
3 3 E3166‐3JB0‐0000L/RGRIPHANDLE 2
3 4 E3180‐3JB0‐0000BRAKELEVELASSY.(R) 1
3 5 E3170‐3JB0‐0000BRAKELEVELASSY.(L) 1
3 6 E3100‐3JB0‐0000HANDLEBARCOMP 1
3 7 H7141‐3JB0‐0000HANDLEBARWARNINGSTICKER 1
3 8 H7153‐3JB0‐0000POWERINDICATORSTICKER 1
3
9
C1803 3JB0 0000
CHARGER BAG
1
3
9
C
1
803
‐
3
JB
0
‐
0000
C
HAR
G
ERBA
G
1
Page3of12
This manual suits for next models
1
Table of contents