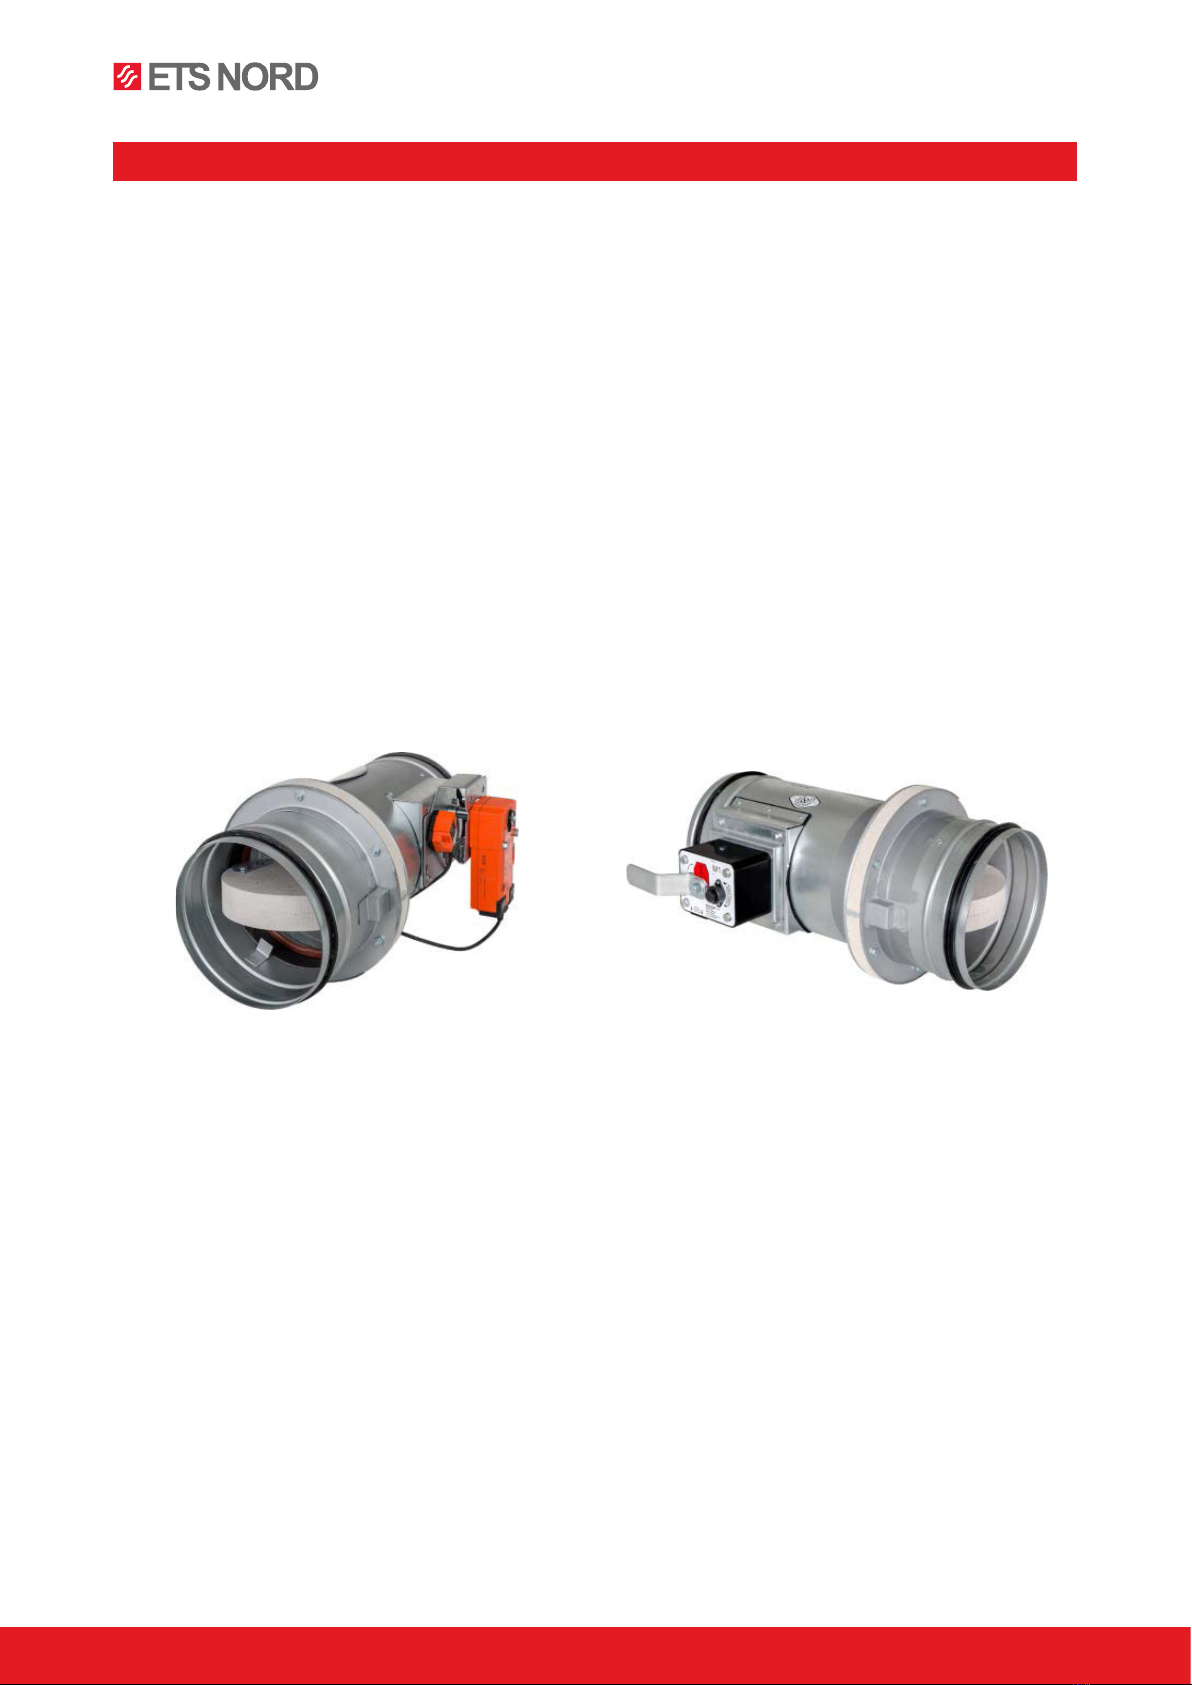
ETS NORD FDMA-PM Series User manual

NORDfire
FDMA-PM Fire Damper
Round fire dampers ø900-1000
CE certified acc. to EN15650
Fire resistance up to EIS 120
External Casig leakage class C, Internal leakage class 2 acc. to EN 1751
Damper actuating mechanical, or electrical
Corrosion resistant according to EN 15650
Cycling test in class C 10 000 according to EN 15650
Maximum air speed through opened damper of 12 m/s and pressure dierence
1200 Pa
Option for explosion hazard environments available

2RDT-43-0921
®NORDfire |FDMA-PM
www.etsnord.com
1. Description
1.1 Fire dampers are shutters in ducts of air-conditioning devices that prevent spreading the fire and
combustion products from one fire segment to the other one by means of closing the duct in the points
of fire separating constructions.
The damper blade automatically closes the air duct using a shutting spring or an actuating mechanism
of back spring. The shutting spring is activated by pressing the start button or by the impulse from the
thermal fuse. The back spring of the actuating mechanism is started when the thermoelectric starting
mechanism BAT is activated, when the reset button on BAT is pressed or when the power supply to the
actuating mechanism is stopped.
After closing the blade, the damper is sealed with a silicon packing against smoke penetration. The
damper can be delivered with a seal without silicone at the customer's wish. At the same time, the
damper blade is embedded in a material which enlarges its volume due to increasing temperature and
hermetically seals the air duct.
The dampers have one inspection hole, as the shutting device and the inspection hole can be set to the
most advantageous position with respect to operation and handling of the control device by turning the
damper a little in case of the spiro model of the dampers.
1.2 Damper characteristics
• CE certified acc. to EN 15650
• Tested in accordance with EN 1366-2
• Classified acc. to EN 13501-3+A1
• Fire resistance EIS 120, EIS 90
• External Casing leakage class C, Internal leakage class 2 acc. to EN 1751
• Cycling test in class C 10000 acc. to EN 15650
• Corrosion resistant acc. to EN 15650
• ES Certificate of conformity No. 1391-CPR-2016/0158
• Declaration of Performance No. PM/FDMA-PM/01/20/1
• Hygienic assessment of fire dampers - Report No. 1.6/pos/19/19b
Fig. 2 FDMA-PM with mechanical
control
Fig.1 FDMA-PM with actuating mechanism
General information

RDT-43-0921 3
®NORDfire |FDMA-PM
Images are for illustrative purposes
We reserve the right to make changes
1.3 Working conditions
Right damper function is secured under the following conditions:
a) Maximum air circulation speed: 12 m/s
Maximum pressure dierence: 1200 Pa
b) The air circulation in the whole damper section must be secured as steady on whole
surface.
Operation of the dampers does not depend on the direction of air circulation. The dampers can
be located in an arbitrary position.
Dampers are suitable for systems without abrasive, chemical and adhesive particles.
Dampers are designed for macroclimatic areas with mild climate according to EN 60 721-3-3.
Temperature in the place of installation is permitted to range from -30°C to +50°C.
2. Design
2.1 Design with mechanical control
Design .01
Design with mechanical control with a thermal protective fuse which actuates the shutting device,
after the nominal start temperature 72°C has been reached. Automatic initiation of the shutting
device is not activated if the temperature does not exceed 70°C. In case that other start
temperatures are required, thermal fuses with nominal start temperature +104°C or +147°C can
be supplied (this requirement must be specified in the order).
Fig. 3 Design .01
Design .11
Design .01 with mechanical control can be complemented with a limit switch signalling of the
damper blade position "CLOSED". Cable is connected directly to limit switch.
Fig. 4 Design .11
Limit switch
“CLOSED”

4RDT-43-0921
®NORDfire |FDMA-PM
www.etsnord.com
Design .80
Design .01 with mechanical control can be complemented with a terminal switches signaling of
the damper blade position “CLOSED” and “OPEN”. Limit switches are connected via damper
casing, cables are connected directly to limit switches.
Fig. 5 Design .80
Fig. 6 Limit switch G905-300E03W1
Nominal voltage and maximal current AC 230 V / 5A
Class of protection IP 67
Working temperature –25 °C...+120 °C
Fig. 7 Change of mechanical design for the motorised one or vice versa
Position:
1- Damper
2- Mounting plate
3- Sealing cover
4- Seal plates
5- Mounting plate cover
6- Thermal fuse
7- Mechanics
8- Actuator
9- Temperature sensor
10- Sensor sticker
This limit switch is possible to connect in
following two versions:
a) CUT-OFF if the arm is moving … connect wire 1+2
b) SWITCH-ON if the arm is moving … connect wire
1+4
1- 1(COM) - black wire
2- 2(NC) - gray wire
3- 4(NO) -
Limit switch
“CLOSED”

RDT-43-0921 5
®NORDfire |FDMA-PM
Images are for illustrative purposes
We reserve the right to make changes
2.2 Design with actuating mechanism
Design .40, .50
The dampers are equipped with Belimo actuating mechanisms with back spring and thermoelec-
tric actuating device, of range BF (hereinafter referred to only as the "actuating mechanism"). After
being connected to power supply AC/DC 24V or AC 230V, respectively, the actuating mechanism
moves the damper blade to "OPEN" operation position and at the same time pre-stretches its back
spring. While the actuating mechanism is under voltage, the damper blade is in the "OPEN" po-
sition and the back spring is pre-stretched. The time needed for full opening of the damper blade
from "CLOSED" position to "OPEN" position is 120 seconds at the maximum. if the power supply
to the actuating mechanism is cut o (due to loss of power supply or by pressing the reset button
on the BAT thermoelectric starting mechanism), the back spring will move the damper blade to
"CLOSED" failure position. The time of moving the blade from "OPEN" position to "CLOSED" po-
sition takes 20 seconds at the maximum. If the power supply is restored (the blade can be in any
position), the actuating mechanism starts to move the damper blade to "OPEN" position again.
A thermoelectrical starting mechanism BAT, which contains two thermal fuses Tf1 and Tf2, is a part
of the actuating mechanism. These fuses are activated when temperature +72°C has been
exceeded (the fuse Tf1 when the temperature around the damper and the fuses Tf2 when the
temperature inside the air-conditioning piping has been exceeded). After the thermal fuse Tf1 or
Tf2 has been activated, the power supply is permanently and irreversibly cut o and the actuating
mechanism, by means of the pre-stretched spring, displaces the damper blade into the breakdown
position "CLOSED".
Signalisation of damper blade position "OPEN" and "CLOSE" is provided by two limit switches.
Fig. 8 Design .40, .50
Fig. 9 Actuating mechanism BELIMO BF 230-TN, BF 24-TN (-ST)
BAT
Actuating mechanism

6RDT-43-0921
®NORDfire |FDMA-PM
www.etsnord.com
Tab 2.2.1. Actuating mechanism BELIMO BF 24-TN(-ST), BF 230-TN
Actuating mechanism BELIMO BF 24-TN(-ST) BF 230-TN
Nominal voltage AC 24 V 50/60 Hz
DC 24 V AC 230 V 50/60 Hz
Power consumption
- motoring
- holding
7 W
2 W 8 W
3 W
Dimensioning 10 VA (Imax 8,3 A @ 5 ms) 12,5 VA (Imax 500 mA @ 5 ms)
Protection class III II
Degree of protection IP 54
Running time
- motor
- spring return
120 sec
~ 16 sec
Ambient temperature
- normal duty
- safety duty
- non-operating temperature
- 30°C … +55°C
The safe position will be attained up to max. +75°C
- 40°C … +55°C
Connecting - motor
- auxiliary switch
cable 1 m, 2 x 0,75 mm²
cable 1 m, 6 x 0,75 mm²
(BF 24-T-ST) with plug-in connectors
Thermal trips Tf1: duct outside temperature Duct +72°C
Tf2/Tf3: duct intside temperature Duct +72°C
3. Dimensions, weighs and eective area
3.1 Dimensions
Fig. 10 Design with mechanical control
Position:
1- Damper casing
2- Mechanics
3- Damper blade
4- Inspection hole covering
5- Sensor sticker
6- Hole for camera

RDT-43-0921 7
®NORDfire |FDMA-PM
Images are for illustrative purposes
We reserve the right to make changes
Fig. 11 Design with actuating mechanism
3.2 Weights and eective area
Tab 3.2.1. Dampers SPIRO
Nominal size ØD [mm] g [mm] h [mm]
Weight
Eective
area
Sef [m²]
Actuating
mechanism Mechanical
conttrol
Design
manual [kg] act.mech.
[kg]
900 84,5 326,5 53,0 56,0 0,5727 BF M4
1000 134,5 376,5 70,9 73,9 0,7147 BF M4
Tab 3.2.2. Dampers with flanges
Nominal size ØD [mm] g [mm] h [mm]
Weight
Eective
area
Sef [m²]
Actuating
mechanism Mechanical
conttrol
Design
manual [kg] act.mech.
[kg]
900 134,5 376,5 56,0 59,0 0,5727 BF M4
1000 184,5 426,5 74,0 77,0 0,7147 BF M4
Position:
1- Damper casing
2- Mechanics
3- Damper blade
4- Inspection hole covering
5- BAT thermoelectrical
starting mechanism
6- Hole for camera

8RDT-43-0921
®NORDfire |FDMA-PM
www.etsnord.com
3.3 Blades overlaps
Tab 3.3.1. Blades overlaps
Blades overlaps Dimension Overlaps
DAMPERS SPIRO
Fig.26
Act. mechanism side "g" Tab. 4.2.1
Side without act.mechanism "h"
DAMPERS WITH FLANGES
Fig.27
Act. mechanism side "e" Tab. 4.2.2
Side without act. mechanism "f"
These values has to be respected when projecting related air-conditioning ducts.
Fig. 12 Blades overlaps SPIRO
4. Placement and Assembly
4.1 The fire dampers are suitable for installation in arbitrary position in vertical and horizontal passages
of fire separating structures. The damper assembly procedures must be done so that all load transfer
from the fire separating constructions to the damper body is absolutely excluded. The back-to-back
air-conditioning piping must be suspended or supported so that all load transfer from the back-toback
piping to the damper flanges is absolutely excluded. The gap between the installed damper and
the building structure must be perfectly filled with approved material all over its volume.
To provide the necessary space for access to the control device, all other items must be situated at
least 350 mm from the control parts of the damper. At least one inspection hole must be accessible.
The damper must be installed so that the damper blade (in closed position) is situated in the fire
separating structure - marked by the label BUILD-IN EDGE on the damper body. If such solution is
not possible, the piping between the fire separating structure and the damper blade must be
protected according to the certified installation method, see Section 6.
During the installation and plastering process, the control mechanism must be protected (covered)
against damage and pollution. The damper body should not be deformed during bricking in. Once
the damper is built in, the damper blade should not grind on the damper body during opening or
closing.
The distance between the fire damper and the structure (wall, ceiling) must be 75 mm at the minimum. If
two or more dampers are to be installed in one fire separating structure, the distance between adjacent
dampers must be 200 mm at the minimum, according to EN 1366-2 paragraph 13.5. For admissible
exceptions see Section 6

RDT-43-0921 9
®NORDfire |FDMA-PM
Images are for illustrative purposes
We reserve the right to make changes
Fig. 13 The distance between the fire damper and the construction
Fig. 14 Built in edge
"Wall edge sticker" indicates the recommended edge of installation of fire damper into the fire
partition structure (wall).
The damper must be installed so that the entire damper blade - in the closed position - is
located inside the fire separating structure (wall) and at the same time the control mechanism
and inspection openings are freely accessible.

10 RDT-43-0921
®NORDfire |FDMA-PM
www.etsnord.com
Fig. 15 Installation opening
Installation opening- round damper Installation opening- round damper
Installation opening- round damper Weichschott system
* For dampers with flanges is valid D + 160 mm
4.2 Examples of fire damper installing
The fire damper can be integrated into a solid wall construction made e.g. of normal concrete/
masonry, porous concrete with minimum thickness 100 mm or into solid ceiling construction made
e.g. of normal concrete with minimum thickness 110 mm or porous concrete with minimum
thickness 125 mm.
The fire damper can be integrated into a gypsum wall construction with fire classification EI 120
or EI 90.

RDT-43-0921 11
®NORDfire |FDMA-PM
Images are for illustrative purposes
We reserve the right to make changes
5. Statement of installations
5.1 Installation method list
Tab 5.1.1.Installation method list
Fire separating constru.
Wall/Ceiling
Installation Fire
resist. Page
Min.thickness
[mm]
Solid wall construction
100 Mortar or gypsum EIS 120
EIS 90 12
100 Battery - mortar or gypsum EIS 90 13
100 Installation next to wall - mortar or
gypsum and mineral wool EIS 90 14
100 Installation next to wall - mortar or
gypsum EIS 90 14
100 Stung box with fire protection
mastic and cement lime plate EIS 90 15
100 Weichschott EIS 90 16
Outside solid wall
construction
100 Mineral wool - mortar or gypsum EIS 45 17
100 Mineral wool - stung box and fire
protection mastic EIS 45 18
100 Mineral wool, stung box, fire
protection mastic and cement lime
plate EIS 90 19
Gypsum wall
construction
100 Mortar or gypsum EIS 120
EIS 90 20
100 Battery - mortar or gypsum EIS 90 21
100 Installation next to wall - mortar or
gypsum and mineral wool EIS 90 22
100 Installation next to wall - mortar or
gypsum EIS 90 22
100 Stung box with fire protection
mastic and cement lime plate EIS 90 23
Outside gypsum wall
construction
100 Mineral wool - mortar or gypsum EIS 45 24
100 Mineral wool - stung box and fire
protection mastic EIS 45 25
100 Mineral wool, stung box, fire
protection mastic and cement lime
plate EIS 90 26
Solid ceiling
construction 110 - Concrete
125 - Aerated
concrete
Mortar or gypsum EIS 120
EIS 90 27
Battery - mortar or gypsum EIS 90 28
Stung box with fire protection
mastic and cement lime plate EIS 90 29
Weichschott EIS 90 30
Mineral wool - mortar or gypsum EIS 90 31
Outside solid ceiling
construction Concrete EIS 90 32

12 RDT-43-0921
®NORDfire |FDMA-PM
www.etsnord.com
5.2 Installation in solid wall construction
Fig. 16 Solid wall construction- mortar or gypsum
EIS 120
EIS 90
Position:
1 Fire damper
2 Solid wall construction
3 Mortar or gypsum
4 Duct
Shown schemes of incorporation and damper are illustrative only!

RDT-43-0921 13
®NORDfire |FDMA-PM
Images are for illustrative purposes
We reserve the right to make changes
Fig. 17 Solid wall construction- battery- mortar or gypsum
EIS 90
Position:
1 Fire damper
2 Solid wall construction
3 Mortar or gypsum
Shown schemes of incorporation and damper are illustrative only!
Notice:
• Installation opening for each damper has minimal dimensions
• D+80 mm (D+160 mm for dampers with flanges)
• Gap between damper and construction is filled by mortar or
gypsum
• Distance between dampers 70 mm
• Flange to flange connection - Up to four dampers can be installed

14 RDT-43-0921
®NORDfire |FDMA-PM
www.etsnord.com
Fig. 18 Solid wall construction- installation next to wall, ceiling- mortar or gypsum and mineral wool
EIS90
Position:
1 Fire damper
2 Mortar or gypsun
3 Stung box (mineral stone wool min. density 140 kg/m³)
Notice:
• Gap between damper and construction is filled by mortar or gypsum and mineral wool
• Wool is fixed to damper body and construction by fire protection mastic.
• Mineral wool thickness = construction thickness + 20 mm or 50 mm
• Installation is valid for ceiling construction
Shown schemes of incorporation and damper are illustrative only!
Fig. 19 Solid wall construction- installation next to wall, ceiling- mortar or gypsum
EIS90
26
≥ 50
≥ 50
≥ 10
D+111+3
≥ D+100
≥ 100
≤ 75
≤75
Position:
1Fire damper
2Fire damper with installation frame R3, R4, R5
3Mortar or gypsum
4Stuffing box (mineral stone wool min. density 140 kg/m³)
5Holder
●Wool is fixed to installation frame and
construction by fire protection mastic.
●Installation is valid for ceiling construction
Fitting with threaded rodsFitting with steel bracket
≥ 100
It is possible to use
corresponding number
of holes and screws
Notice:
• Installation is valid for ceiling construction
Shown schemes of incorporation and damper are illustrative only!
Position:
1 Fire damper
3 Mortar or gypsum

RDT-43-0921 15
®NORDfire |FDMA-PM
Images are for illustrative purposes
We reserve the right to make changes
Fig. 20 Solid wall construction- stung box, fire protection mastic and cement lime plate
EIS 90
Screws has to be fixed in wall/ceiling construction.
(If it is needed use steel bracket).
Position:
1 Fire damper
2 Solid wall construction
3 Stung box (mineral stone wool min. density 140 kg/m³)
4 Fire protection mastic min. thickness 1 mm
5 Cement lime plate min. thickness 15 mm min. density 870 kg/m³
6 Duct
* Fire resistant insulation and fire resistant board can be replaced by another approved fire sealing system
for damper installation with equivalent material properties.
The damper must be anchored to the fire wall construction!
Shown schemes of incorporation and damper are illustrative only!

16 RDT-43-0921
®NORDfire |FDMA-PM
www.etsnord.com
5.3 Installation in solid ceiling construction
Fig. 21 Outside solid wall construction- mineral wool- mortar or gypsum
EIS 45
Position:
1 Fire damper
2 Solid wall construction
3 Mortar or gypsum
4 Stone wool with wired mat on one side, density 66 kg/m³
5 Duct
Used materials - example:**
4 Isover Ultimate Protect Wired MAT 4.0, th. 100 mm ALU1
** The materials for stung box, fire protection mastic, lining and insulation materials can be replaced by
another approved fire sealing system with equivalent properties.
The maximum distance of the fire damper from the structure is not limited and
according to EN 15882-2, the required number of suspensions acc. to EN 1366-1:2014
must be used.
The duct at the point of penetration can be anchored to the fire wall construction!
Shown schemes of incorporation and damper are illustrative only!
* Around the perimeter

RDT-43-0921 17
®NORDfire |FDMA-PM
Images are for illustrative purposes
We reserve the right to make changes
Fig. 22 Outside solid ceiling construction- mineral wool- stung box and fire protection mastic
EIS 45
Position:
1 Fire damper
2 Solid wall construction
3 Mineral stone wool min.density 150 kg/m³
4 Fire protection mastic min.thickness 1 mm
5 Stone wool with wired mat on one side, density 66 kg/m³
6 Duct
Used materials - example:**
3 Promapyr, Rockwool Steprock HD, Hilti CFS-CT B 1S 140/50
4 Promastop - P, K, Hilti CFS-CT
5 Isover Ultimate Protect Wired MAT 4.0, th. 100 mm ALU1
** The materials for stung box, fire protection mastic, lining and insulation materials can be replaced by
another approved fire sealing system with equivalent properties.
The maximum distance of the fire damper from the structure is not limited and according to EN 15882-2,
the required number of suspensions acc. to EN 1366-1:2014 must be used.
The duct at the point of penetration can be anchored to the fire wall construction!
Shown schemes of incorporation and damper are illustrative only!
* Around the perimeter

18 RDT-43-0921
®NORDfire |FDMA-PM
www.etsnord.com
Fig. 23 Outside solid ceiling construction- mineral wool- stung box, fire protection mastic and
cement lime plate
EIS 90
Screws has to be fixed in wall/ceiling construction.
(If it is needed use steel bracket).
Position:
1 Fire damper
2 Solid wall construction
3 Stung box
(mineral stone wool min. density 140 kg/m³)
4 Fire protection mastic min. thickness 1 mm
5 Cement lime plate min. thickness 15 mm
(min. density 870 kg/m³)
6 Stone wool with one side stitched wire fencing
(min. density 105 kg/m³), thickness 180 mm
(e.g. 3x60 mm)
7 Stone wool with one side stitched wire fencing
(min.density 105 kg/m³), thickness 60 mm
8 Duct
Used materials - example:*
3 Promapyr, Rockwool Steprock HD, Hilti CFS-CT B 1S 140/50
4 Promastop - P, K, Hilti CFS-CT
5 Promatect - H
6 Rockwool Wired Mat 105 th. 3x60 mm
7 Rockwool Wired Mat 105 th. 60 mm
* Stung box, fire protection mastic, cement lime
plate and insulation materials can be replaced by
another approved fire sealing system for damper
installation with equivalent material
properties.
** Depends on the distance of the flap from the
construction, when the maximum distance from the
construct is not limited and according to EN 15882-
2 must use the required number of
hinges according to EN 13366-1:2014.
The duct at the point of penetration can be
anchored to the fire wall construction!
Shown schemes of incorporation and damper
are illustrative only!

RDT-43-0921 19
®NORDfire |FDMA-PM
Images are for illustrative purposes
We reserve the right to make changes
5.4 Installation in solid ceiling construction
Fig. 24 Gypsum wall construction- mortar or gypsum
EIS 120
EIS 90
Position:
1 Fire damper
2 Gypsum plate
3 Mineral wool (type depending on the type of construction)
4 Mortar or gypsum
5 Duct
Shown schemes of incorporation and damper are illustrative only!
Installation opening has to be
reinforced by profile (UW, CW).
Profil is fixed by screws ≥3,5 mm
with corresponding length.
Distance between screws ≤200 mm.

20 RDT-43-0921
®NORDfire |FDMA-PM
www.etsnord.com
Fig. 25 Gypsum wall construction- Battery- mortar or gypsum
EIS 90
Shown schemes of incorporation and damper are illustrative only!
Installation opening has to
be reinforced by profile (UW, CW).
Profil is fixed by screws ≥3,5 mm
with corresponding length.
Distance between screws ≤200 mm.
Installation opening has to
be reinforced by profile (UW, CW).
Profil is fixed by screws ≥3,5 mm
with corresponding length.
Distance between screws ≤200 mm.
Position:
1 Fire damper
2 Gypsum plate
3 Mineral wool
(type depending on the type
of construction)
4 Mortar or gypsum
Notice:
• The installation opening for each fire damper has a minimum size of
a x b = (D + 97+3 mm) + 20 mm x (D + 97+3 mm)
or a x b = (D + 97+3 mm) x (D + 97+3 mm) + 20 mm
• Gap between damper and construction is filled by mortar or gypsum
• Distance between dampers 70 mm
• Flange to flange connection - Up to four dampers can be installed
This manual suits for next models
1
Table of contents
Other ETS NORD Fire And Smoke Damper manuals

ETS NORD
ETS NORD NORDfire SEDS-L User manual

ETS NORD
ETS NORD NORDfire FDMB User manual

ETS NORD
ETS NORD NORDfire SEDM User manual

ETS NORD
ETS NORD FDMS Guide

ETS NORD
ETS NORD NORDfire SEDM-L User manual

ETS NORD
ETS NORD NORDfire User manual

ETS NORD
ETS NORD NORDfire FDMS User manual

ETS NORD
ETS NORD NORDfire User manual

ETS NORD
ETS NORD NORDfire User manual