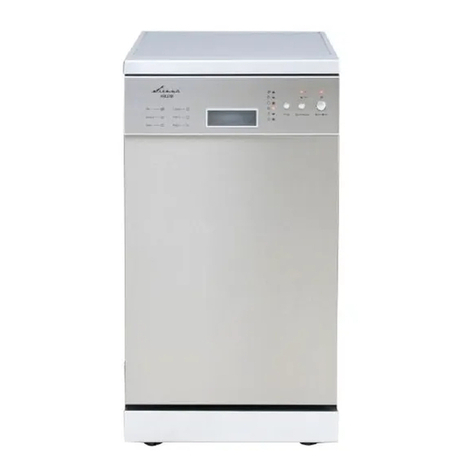
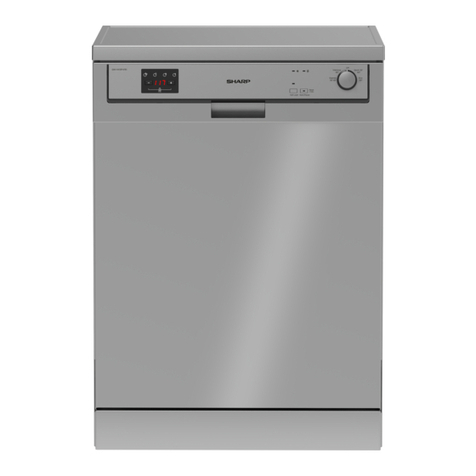
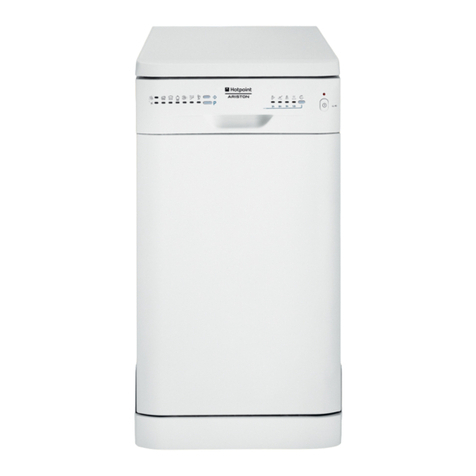
EURO ED60SS User manual

Domestic Dishwasher
ED60SS
ED60WH
Code: 0120503871
GB

.1.
Safety Is Very Important
Close-up View (Control Panel)
A
B
C
D
E
ON-OFF Light
ON-OFF Button
Water heating Indicator Light
Low Rinse Aid Indicator Light "Fast" Button
F
G
H
I
"Eco" Button
"Half Load" Button
A B C D
I H G FE
Knob For Selecting Cycle
Handle For Opening Door
GB
Carefully read the instructions contained in this manual, as they
provide important information which is essential to safe and proper
installation, use and maintenance of this appliance.
This appliance complies with the following EEC
directives:
-73/23/EEC of 19/02/73 (Low Voltage) and subsequent
modifications;
- 89/336/EEC of 03/05/89 (Electromagnetic Compatibility) and
subsequent modifications.
- Carefully dispose of the packing material.
- After removing the packing, check to make sure that the appli-
ance is not damaged. If in doubt, contact a qualified professional.
- The dishwasher must only be used by adults for the washing of
household dishes and cooking utensils.
- The appliance is not intended for use by young children or
inform persons without supervision.
- Young children should be supervised to ensure that they do
not play with the appliance.
- Keep detergents out of the reach of children.
- This appliance cannot be installed outdoors, not even if the
area in which it is installed is covered by a roof; It is also very
dangerous to leave it exposed to the rain and elements.
- Do not lean or sit on the door when it is open as this could
overturn the dishwasher.
- Do not touch the heating element during or after a wash cycle.
- If the appliance malfunctions turn off water supply to the appli-
ance and disconnect the plug from the wall socket. Refer to
the section entitled, "Troubleshooting". If you cannot solve
the problem, contact a authorised service centre.
- Only specialised personnel are authorised to make repairs.
- Appliances which are no longer being used must be made inoper-
able by cutting the power supply cord and removing the door lock.
- If the supply cord is damaged, it must be replaced by a special
cord or assembly available from the manufacturer or its ser-
vice agent.
- This appliance is intended for built-in and must be installed ac
cording to the installation instruction and in particular, it is re-
quired to have the plug accessible after installation.
- Rules to follow when using this appliance:
* Never touch the dishwasher when barefoot or with wet hands;
* We discourage the use of extension cords and multiple sockets;
* During installation, the power supply cord must not be exces-
sively or dangerously bent or flattened;
* If the appliance is not operating properly, maintenance must
be performed, disconnect the appliance from the power supply.
Warning: Dishwasher detergents can be extremely dangerous
if swallowed. Avoid contact with skin and eyes and keep chil-
dren away from the dishwasher when the door is open. Check
that the detergent receptacle is empty after completion of the
wash cycle.
To maintain the EFFICIENCY and SAFETY of this appliance,we
recommend:
- call only service centres authorised by the manufacturer.
- always use original Spare Parts

.2.
Close-up View (Interior)
A
B
C
D
Upper Rack
Rack Height Adjustor
Top Spray Arm
Lower Rack
E
F
G
H
Washing Filter
Bottom Spray Arm
Detergent and Rinse Aid Dispenser
Technical Characteristics
Width 60 cm
Depth 60 cm
Height 85 cm
Capacity 12 standard place settings
Mains water pressure 0.03-0.6MPa
Power voltage 240V~ 50Hz
2200W
Total absorber power
GB
Third Sprayer

.3. GB
Detergent and Rinse Aid
Detergent
Detergent specifically intended for use with dishwashers must
be used. The dispenser must be refilled before the start of each
wash cycle following the instructions provided in the "Wash Cycle
Table." The detergent dispenser is located on the inside panel
the door.
Loading the detergent
To open the "A" cover on the dispenser, press the "B" button.
The detergent for the wash cycle should be poured into the "C"
compartment.
After the detergent has been placed in the dispenser, close the
cover and press down until it clicks in place.
NOTE: To facilitate closing the cover, remove any excess de-
tergent on the edges of the dispenser.
Rinse Aid
This product makes dishes sparkle and helps them to dry with-
out spotting. The dispenser is located on the inside panel of the
door and should be filled after every 80 wash cycle (or when the
rinse aid indicator light comes on for models with this feature).
Loading the Rinse Aid
To open the dispenser, turn the "C" cap in an anti-clockwise
direction and then pour in the rinse aid, making sure not to overfill.
The amount of rinse aid used for each cycle can be regulated by
turning the "F" dosage adjuster, located beneath the "C" cap,
with a screwdriver. There are 6 different settings; the normal
dosage setting is 3.
Important
Proper dosage of the rinse aid improves drying.
If drops of water remain on the dishes or spotting occurs, the
dosage adjuster should be turned to a higher setting.
If the dishes have white streaks, turn the dosage adjuster to a
lower setting.
C
B
A
C
C
F

.4.
GB
Loading the Dishwasher
Before placing the dishes in the dishwasher, remove any large
food particles to prevent the filter from becoming clogged. A clogged
filter will result in reducing performance.
If the pots and pans have baked-on food that is extremely hard to
remove, we recommend that they be allowed to soak before they
are washed. This will eliminate the need for extra wash cycles.
Pull out the rack when loading the dishwasher.
How to Use the Lower Rack
We recommend that you place the most difficult to clean items on
the lower rack: pots, lids, serving dishes and bowls, as shown in
the figure to the right.
It is preferable to place serving dishes and lids on the sides of the
racks in order to avoid blocking the rotation of the top spray arm.
- Pots, serving bowls, etc. must always be placed face down.
- Deep pots should be slanted to allow the water to flow out.
- The silverware basket can be doubled (see fig.A) so that only
one section may be used when the silverware load is light. This
also makes space for additional pots and pans, and it can also
be placed in the upper rack.
- Silverware should be placed in the silverware basket with the
handles at the bottom. If the rack has side baskets, the spoons
should be loaded individually into the appropriate slots. Long uten-
sils should be placed in the horizontal position at the front of the
upper rack.
How to Use the Upper Rack
The upper rack is designed to hold more delicate and lighter
dishware, such as glasses, cups and saucers, as well as plates,
small bowls and shallow pans. It is recommended that dishes
placed in the upper rack are not too dirty .
Position the dishes and cookware so that they do not get moved
by the spray of water.
The upper rack can be adjusted for height by using the knobs
located on the sides of the rack itself (see fig.B).
Lower Rack Upper Rack
Load for 12 Standard Settings
fig.A fig.B
2
1
34
This manual suits for next models
1
Table of contents
Other EURO Dishwasher manuals
