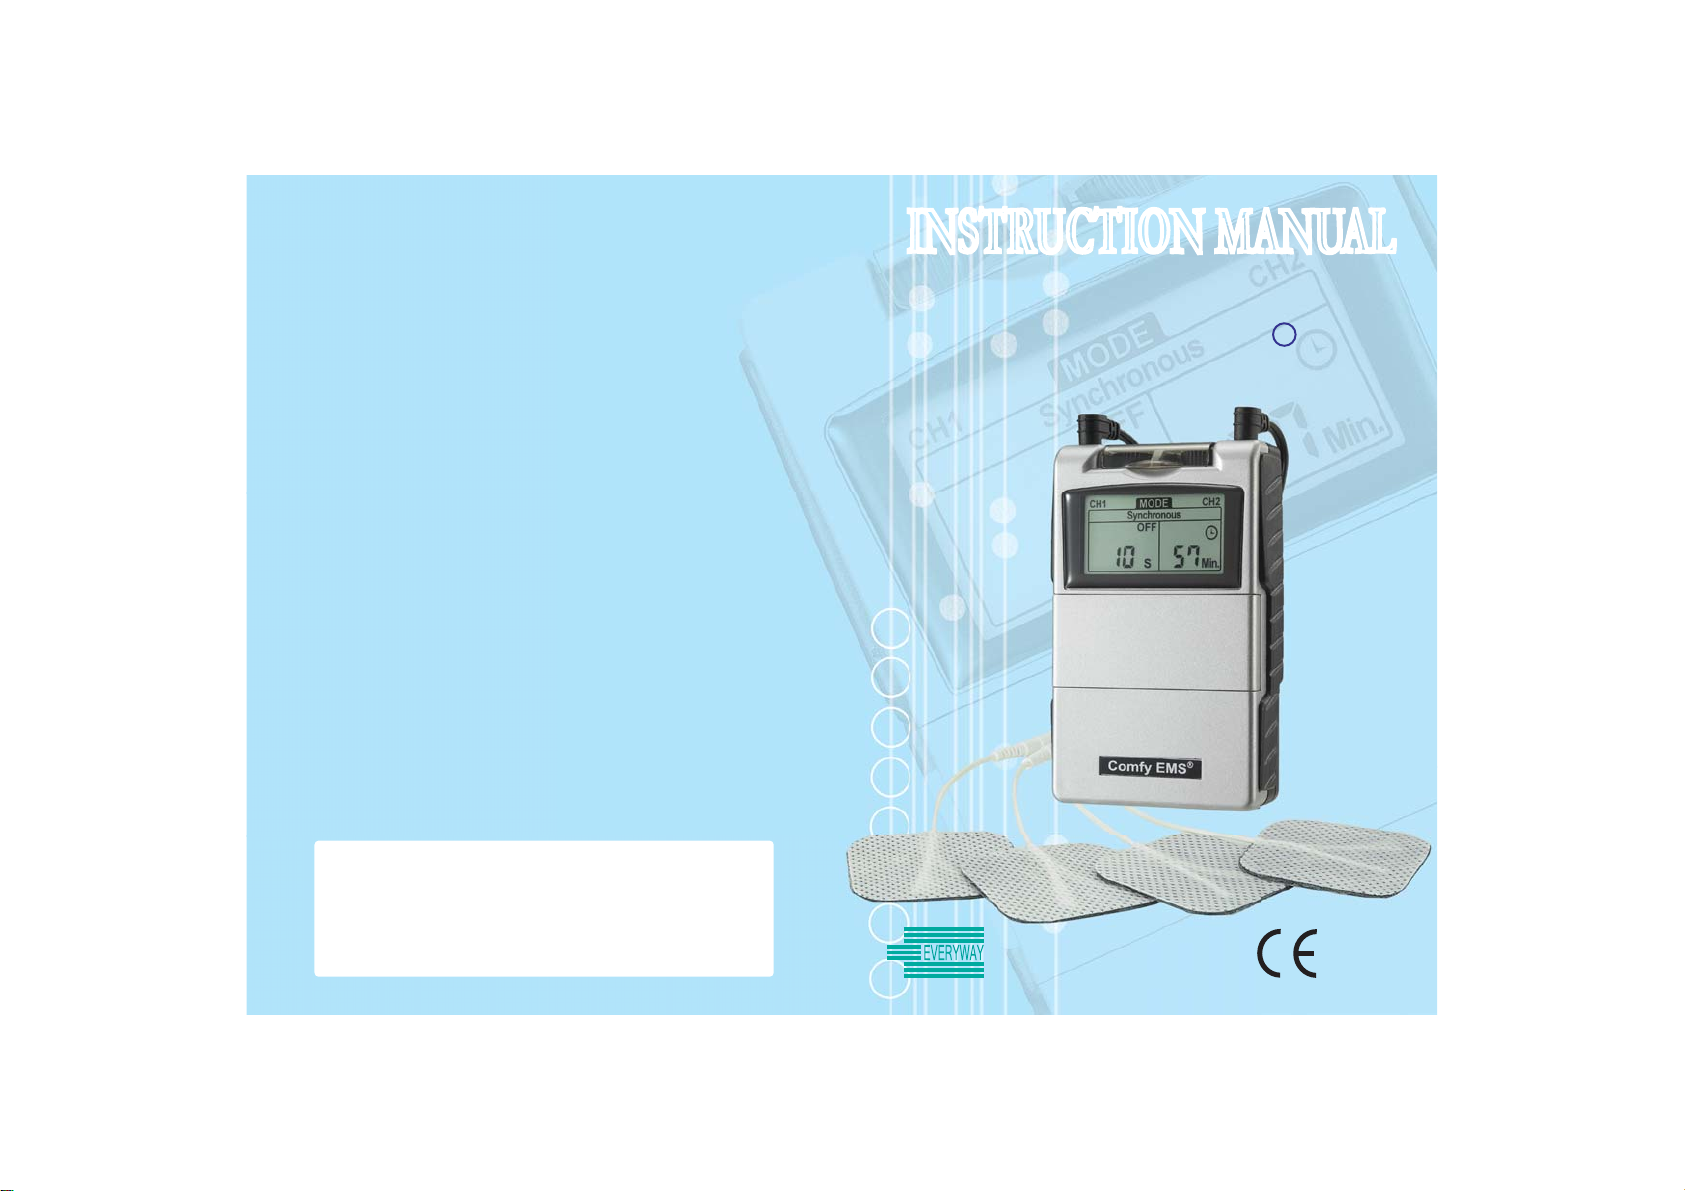
Everyway Comfy EMS User manual
0434
Comfy EMS R
FOR THE
INSTRUCTION MANUAL
INSTRUCTION MANUAL
Distributed by:
V1.1

1
INDEX
1. Introduction .......................................................... 1
2. Cautions ................................................................ 3
3. Warnings ............................................................... 4
4. Contraindication ................................................... 5
5. Adverse Reactions ............................................... 5
6. General Description ............................................. 5
7. Construction ......................................................... 6
8. Technical Specifications ...................................... 8
9. Replaceable Parts................................................. 10
10. Accessories.......................................................... 10
11. Graphic Symbols .................................................. 11
12. Operating Instructions......................................... 11
13. AttachmentofElectrodes Lead Wires ............... 12
14. Lead Wire Maintenance ....................................... 13
15. Electrode Options ................................................. 13
16. Electrode Placement ............................................ 13
17. Tips For Skin Care ................................................ 14
18. Application of Re-usable Self
Adhesive Electrodes ............................................ 15
19. Adjusting the Controls ........................................ 16
20. BatteryInformation .............................................. 22
21. Maintenance, Transportation and Storage ......... 23
22. SafetyControl ....................................................... 24
23. Malfunctions ......................................................... 24
24. Conformityto SafetyStandards.......................... 25
25. Warranty ................................................................ 25
Manufacturer ....................................................... 25
Representative in the EU..................................... 25
Appendix .............................................................. 26
Chapter Contents Page

32
IMPORTANT SAFETY INFORMATION
Read instruction manual beforeoperation. Be suretocomplywith all
CAUTIONS”and WARNINGS”in the manual. Failure to followin-
structionscan cause harmtouser or device.
Chapter 2: CAUTIONS
1. Federal law(USA) restricts this device to sale by or on the order
ofaphysician
2. Safety of powered musclestimulators for use during pregnancy
has notbeen established.
3. Caution shouldbe used for patientswith suspected or diagno-
sed heart problems.
4. Caution shouldbe used for patientswithsuspected or diag no-
sed epilepsy.
5. Caution shouldbe used in the presenceof the following:
a.Whenthereisa tendencytohemorrhage followingacutetrauma
orfracture;
b.Following recentsurgicalprocedureswhen musclecontrac-
tion may disrupt the healing process;
c.Over the menstruating or pregnant uterus; and
d.Over areas of the skin whichlack normal sensation.
6. Somepatients may experience skin irritation or hypersensitivity
due to the electrical stimulation or electrical conductive medium.
The irritation can usually be reduced by using an alternate con-
ductive medium, or alternate electrode placement.
7. Electrode placement and stimulation settings shouldbebasedon
the guidanceof the prescribing practitioner.
8. Powered muscle stimulators shouldbe kept out of the reachof
children.
Chapter1: INTRODUCTION
EXPLANATION OF EMS
ElectricalMuscleStimulationisan internationally accepted and proven
wayoftreatingmuscularinjuries. Itworks bysendingelectronic
pulses tothe muscle needing treatment; thiscauses the muscleto
exercise passively.
It is a product derived fromthe square waveform, originally invented
by John Faraday in 1831. Through the square wave pattern it is able
towork directly on muscle motor neurons. TheComfy EMS has low
frequencyand this in conjunction with the square wave pattern
allows direct work on musclegroupings. This is being widely used in
hospitals andsports clinicsfor the treatmentofmuscular injuries
and for the re-education of paralyzed muscles, to prevent atrophy in
affected muscles and improving muscle tone and blood circulation.
HOW EMS WORKS
1. Relaxation of muscle spasms
2. Prevention or retardation of disuse atrophy
3. Increasing local blood circulation
4. Musclere-education
5. Immediate post-surgical stimulation of calf muscles to prevent
venousthrombosis
6. Maintaining or increasing range of motion
TheEMSunits send comfortableimpulsesthrough the skinthat stimu-
late thenerves in the treatment area. When the muscle receives this
signalit contractsasifthe brainhas sentthe signalitself. Asthe
signal strength increases, the muscle flexes as in physical exercise.
Then when the pulse ceases, the muscle relaxesand the cycle
starts over again,(Stimulation,Contraction and Relaxation.)Pow-
ered muscle stimulators should only be used under medical supervi-
sion for adjunctivetherapy forthetreatment of medicaldiseases
and conditions.
54
Chapter4: CONTRAINDICATION
Poweredmusclestimulatorsshould not beused on patientswith
cardiacdemand pacemakers.
Chapter 5:ADVERSE REACTIONS
Skin irritation and burns beneath the electrodes have been reported
with the use of powered muscle stimulators. If skin irritation occurs,
discontinue useand consultyour physician
.Chapter 6:GENERAL DESCRIPTION
The Comfy EMS is a battery operated pulse generator that sends
electrical impulses through electrodes tothe body and reaches the
underlying nerves or muscle group. The device isprovided with two
controllableoutputchannels, eachindependent ofeachother.An
electrode pair can be connected to eachoutput channel.
The electronics of the Comfy EMS create electricalimpulseswhose
Intensity, Pulse Width, Pulse Rate,Contraction,RelaxationandRamp
may be altered withthe switches.Press buttonsare very easyto
use and the panelcover prevents accidental changes in the setting.
9. Powered muscle stimulators shouldbe used only with the leads
and electrodes recommended for useby the manufacturer.
10.Portable powered muscle stimulators shouldnot be used while
driving, operating machinery, or during any activityinwhichin-
voluntary muscle contractions may putthe user at undue risk of
injury.
Chapter 3: WARNINGS
1. The long-term effects of chronic electrical stimulation are
unknown.
2. Stimulation should not be applied over the carotid sinus nerves,
particularlyinpatientswithaknown sensitivity to the carotid
sinusreflex.
3. Stimulation should not be applied over the neck or mouth. Severe
spasm of the laryngeal and pharyngeal musclesmay occur and
the contractionsmay be strong enough toclose the airway or
cause difficulty in breathing.
4. Stimulation should not be applied transthoracically in that the in-
troduction of electrical current intothe heart may causecardiac
arrhythmias.
5. Stimulation should not be applied transcerebrally.
6. Stimulation should not be applied over swollen, infected, or in-
flamed areas or skin eruptions, e.g., phlebitis, thrombophlebitis,
varicoseveins, etc.
7. Stimulation should not be applied over, or in proximity to, cancer-
ouslesions.
76
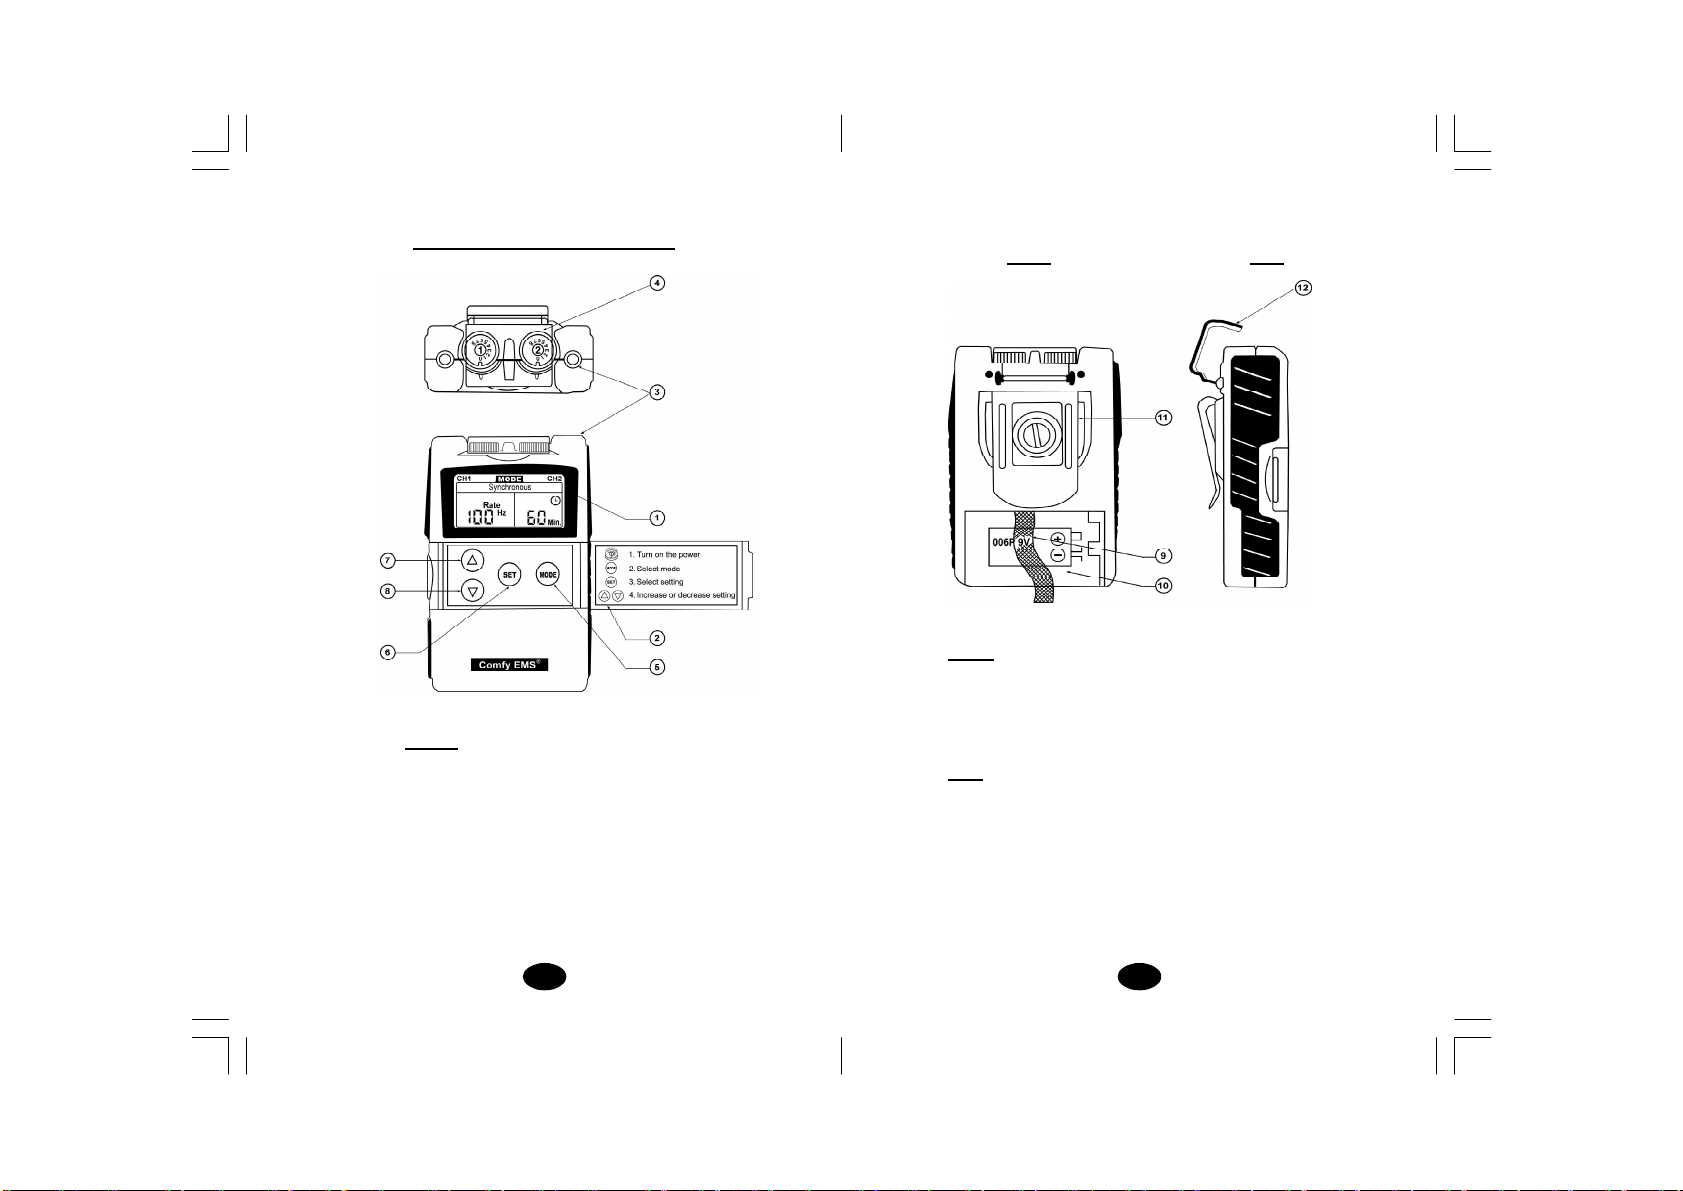
BACK
(9) BATTERYSTRIP
(10) BATTERYCASE
(11) BELTCLIP
SIDE
(12) PROTECTIVE COVER
BACK SIDE
FRONT
(1)LIQUIDCRYSTICALDISPLAY
(2)PANELCOVER
(3)LEADCONNECTOR
(4)INTENSITY CONTROL
(ON/OFF SWITCH)
(5)MODECONTROL
(6)SET CONTROL
(7)INCREMENTCONTROL
(8)DECREMENTCONTROL
Chapter 7 : CONSTRUCTION
Table of contents


