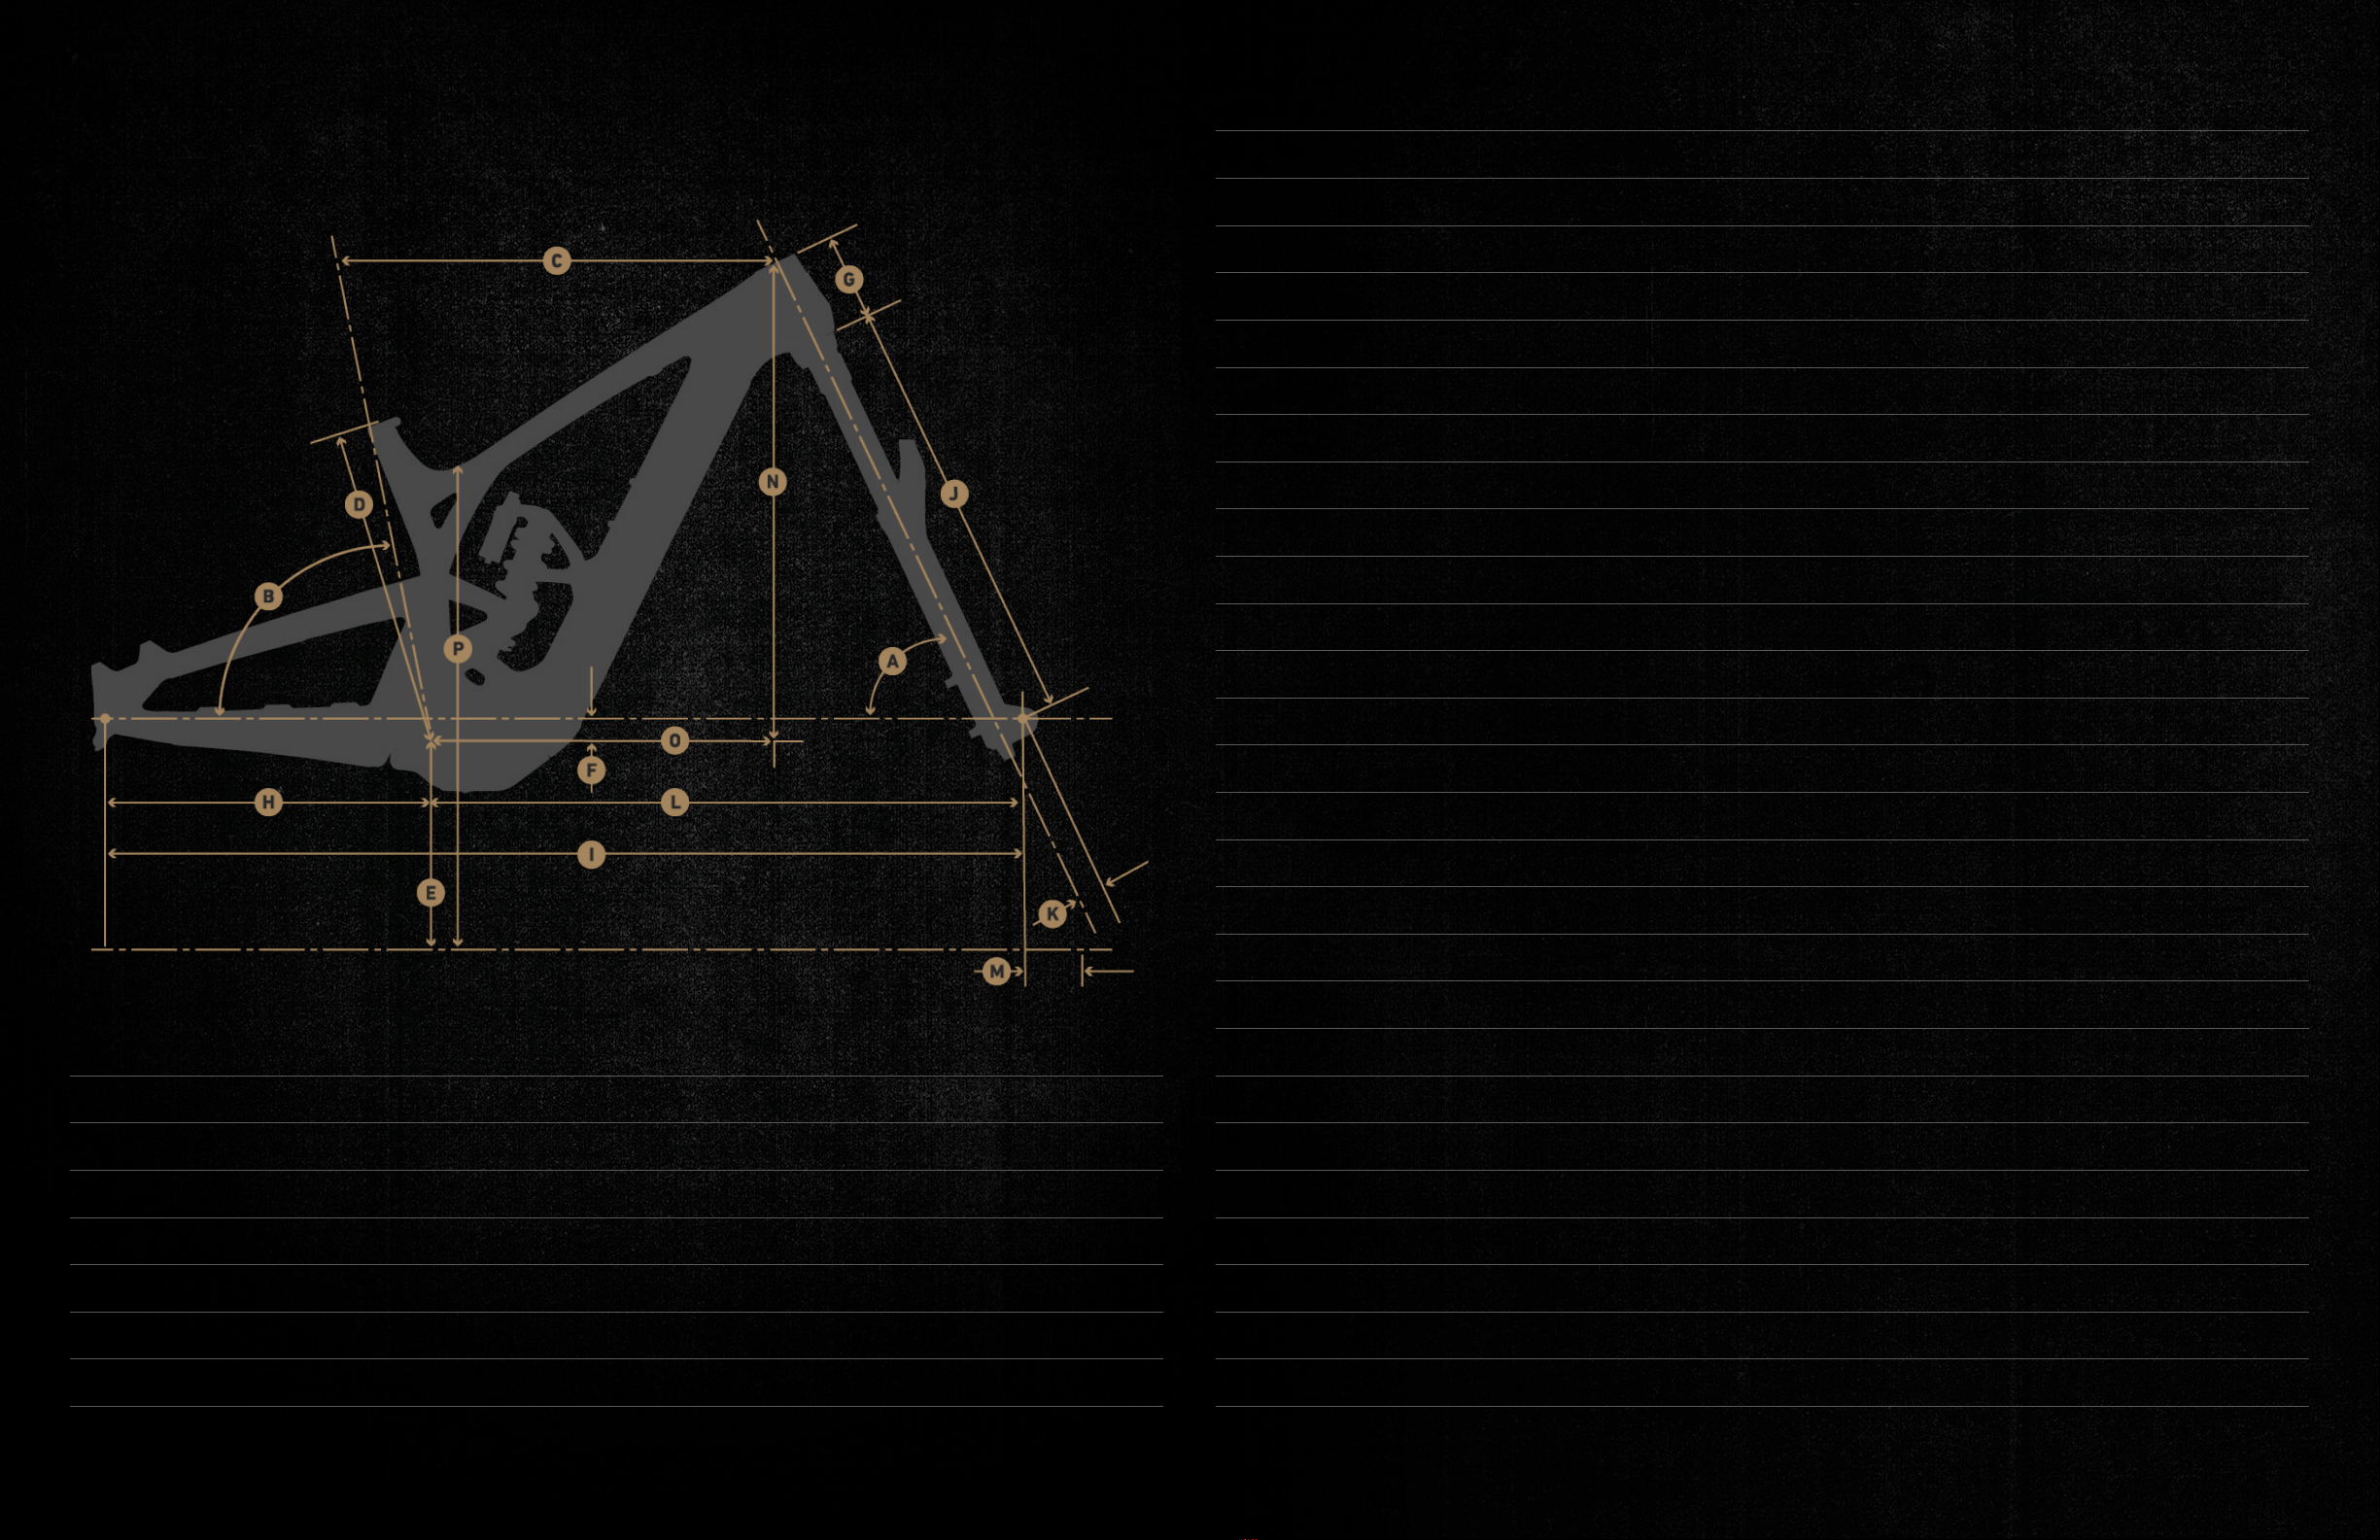
LIGHTNING
IN A BOTTLE
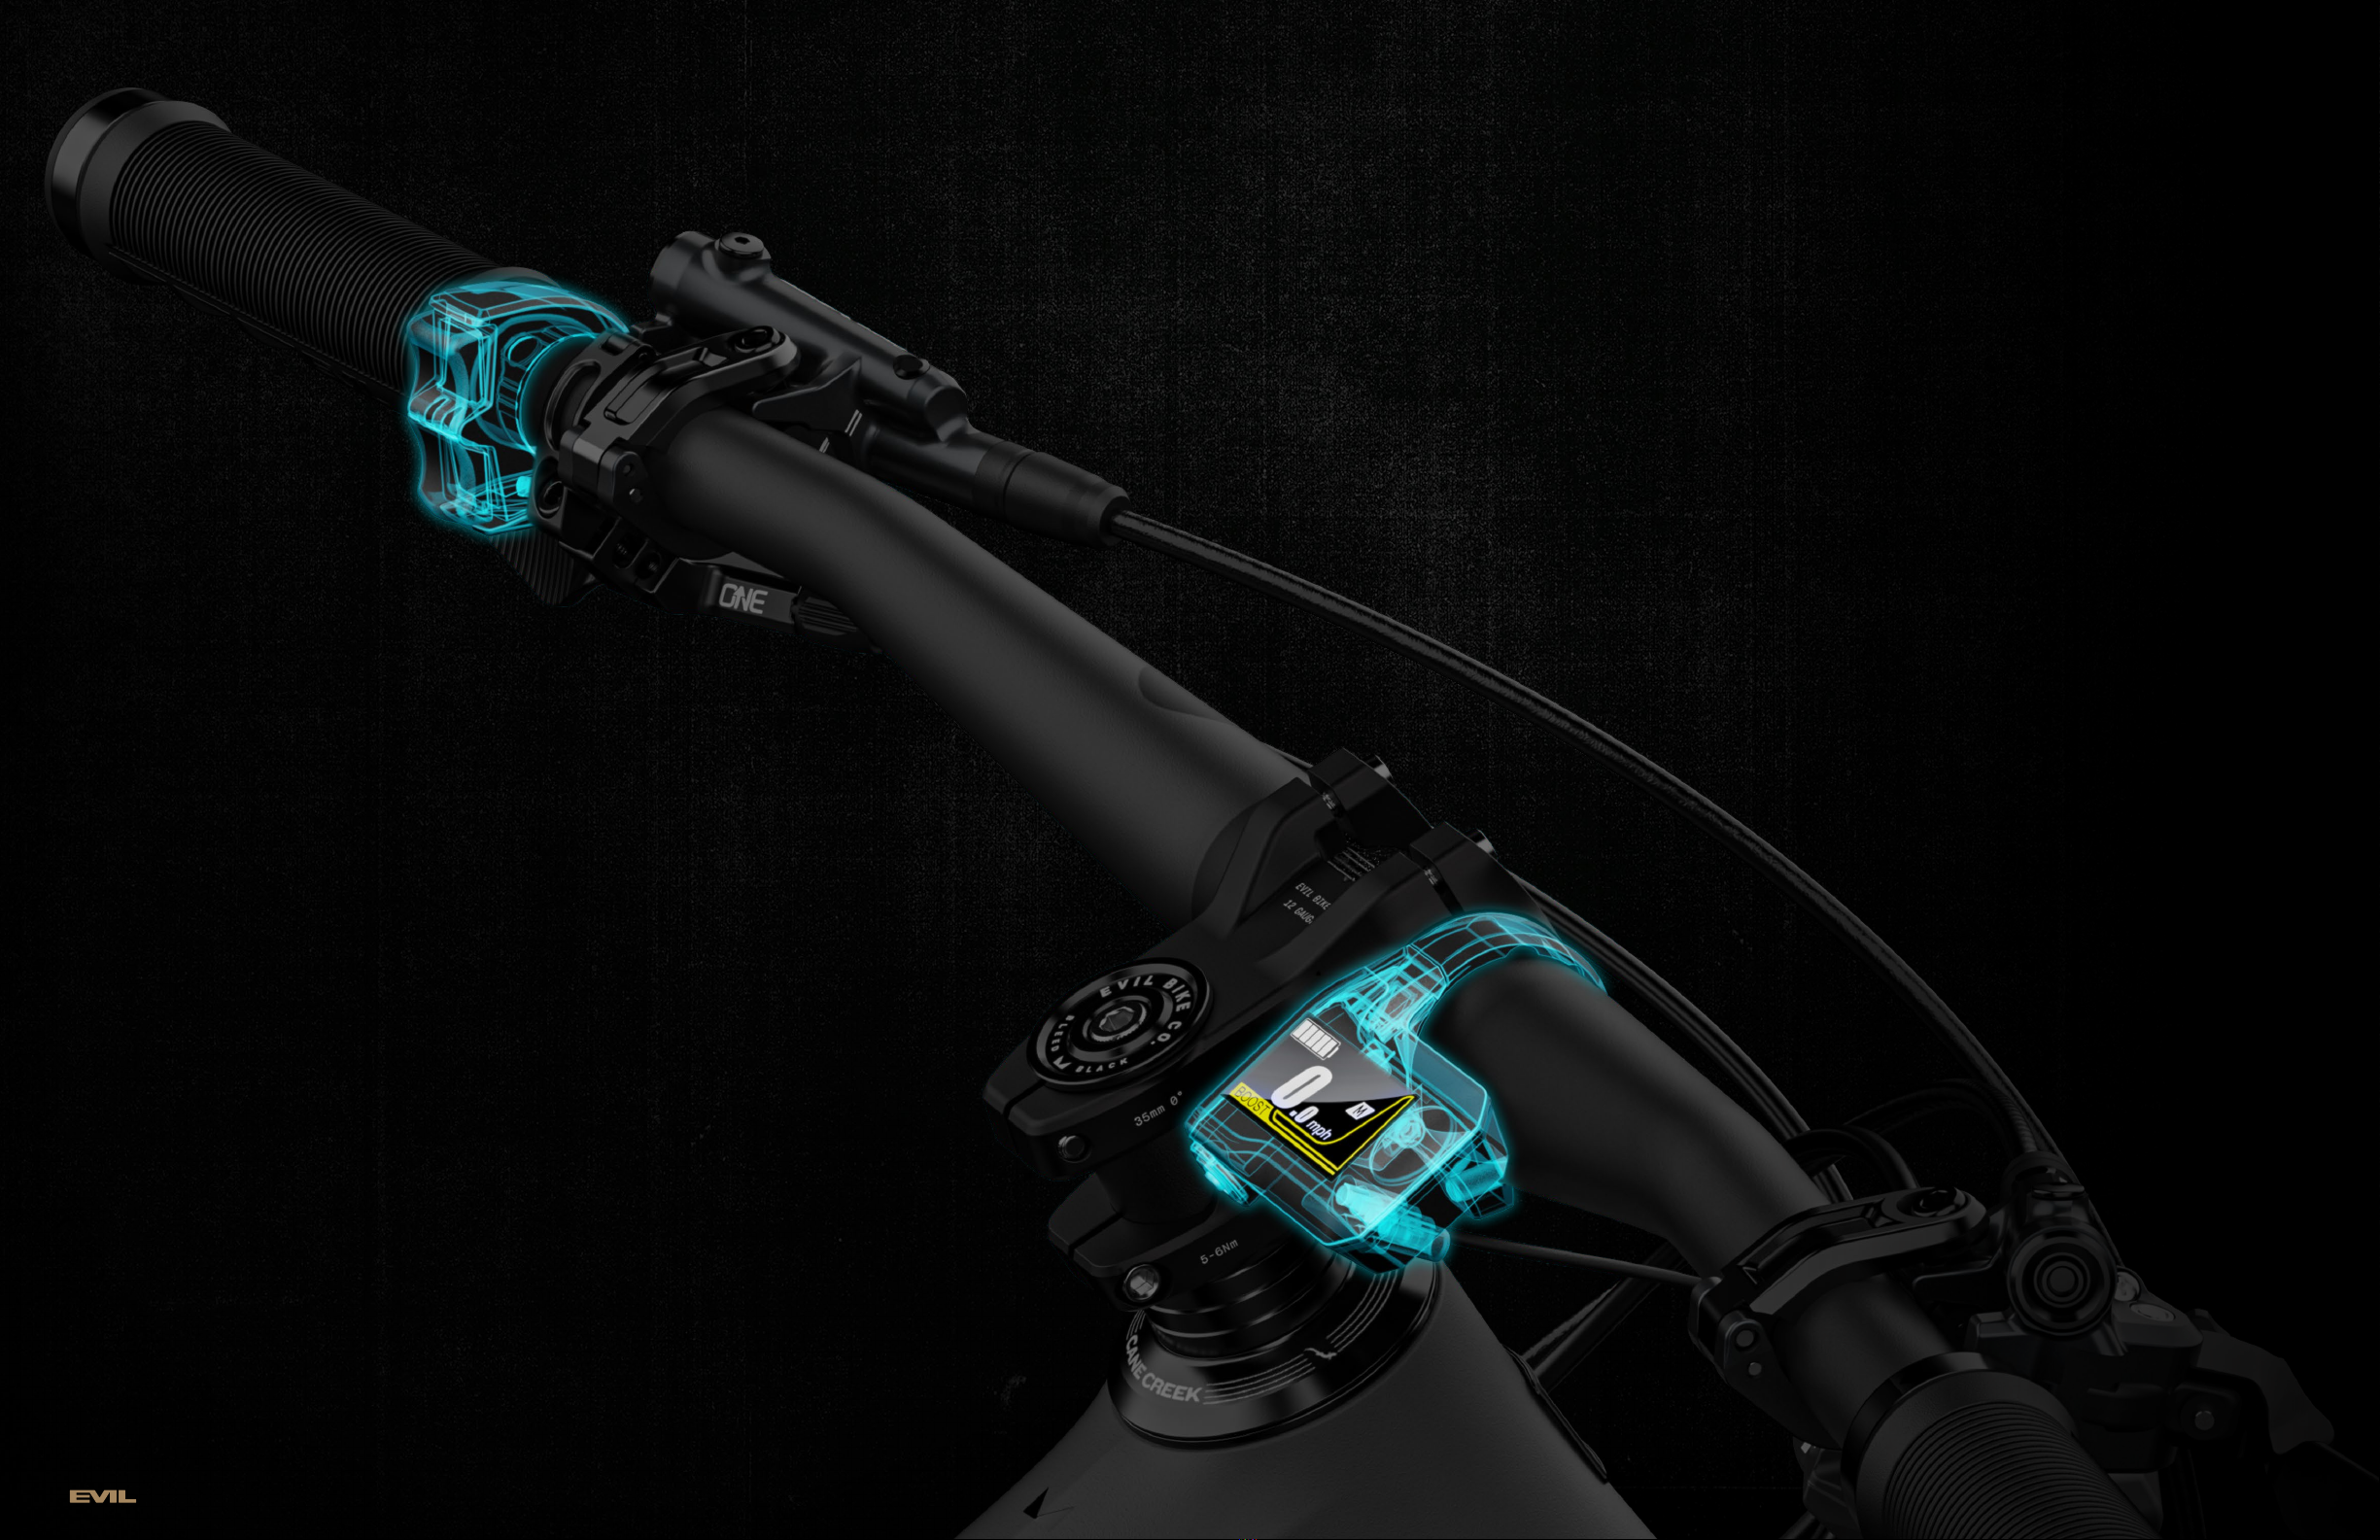
HOW DO I CHARGE MY BIKE?
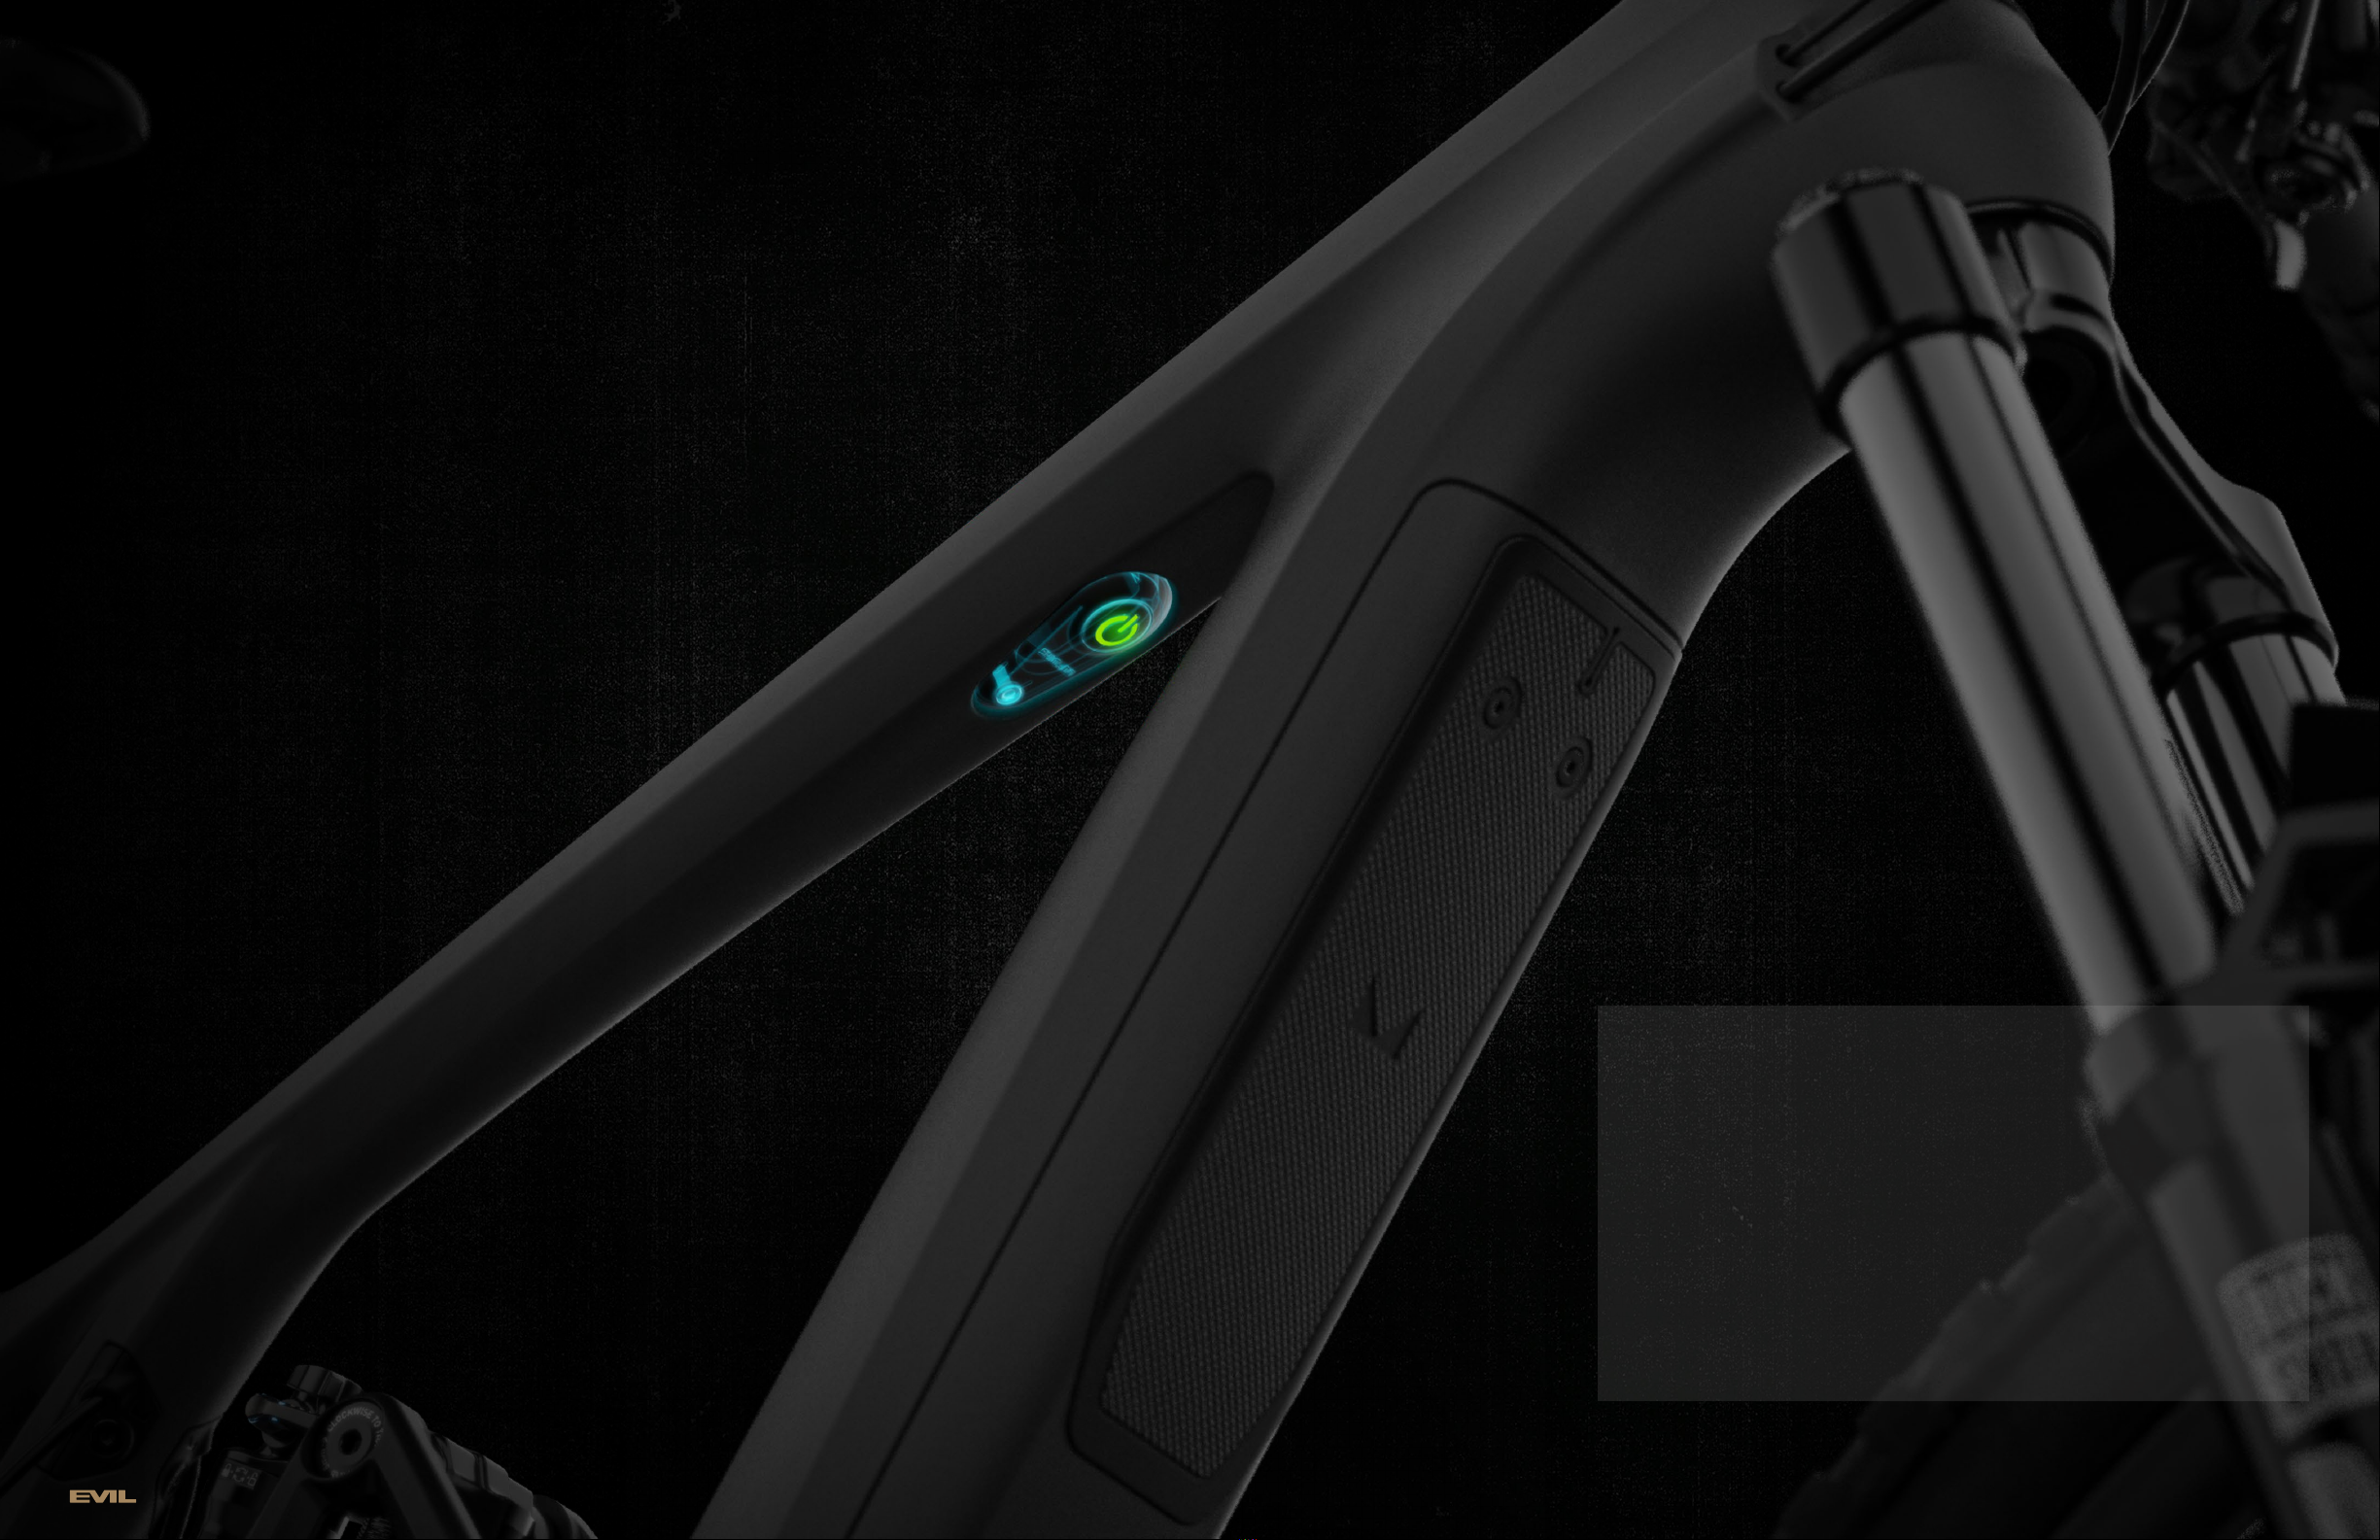
1. Unlatch the charging cover from the charging port. Do not remove completely. The
cover will stay connected to the charging port.
2. Before installing the charging plug, ensure the charging port is free of dirt, water,
and debris. Ensure correct alignment of charger plug.
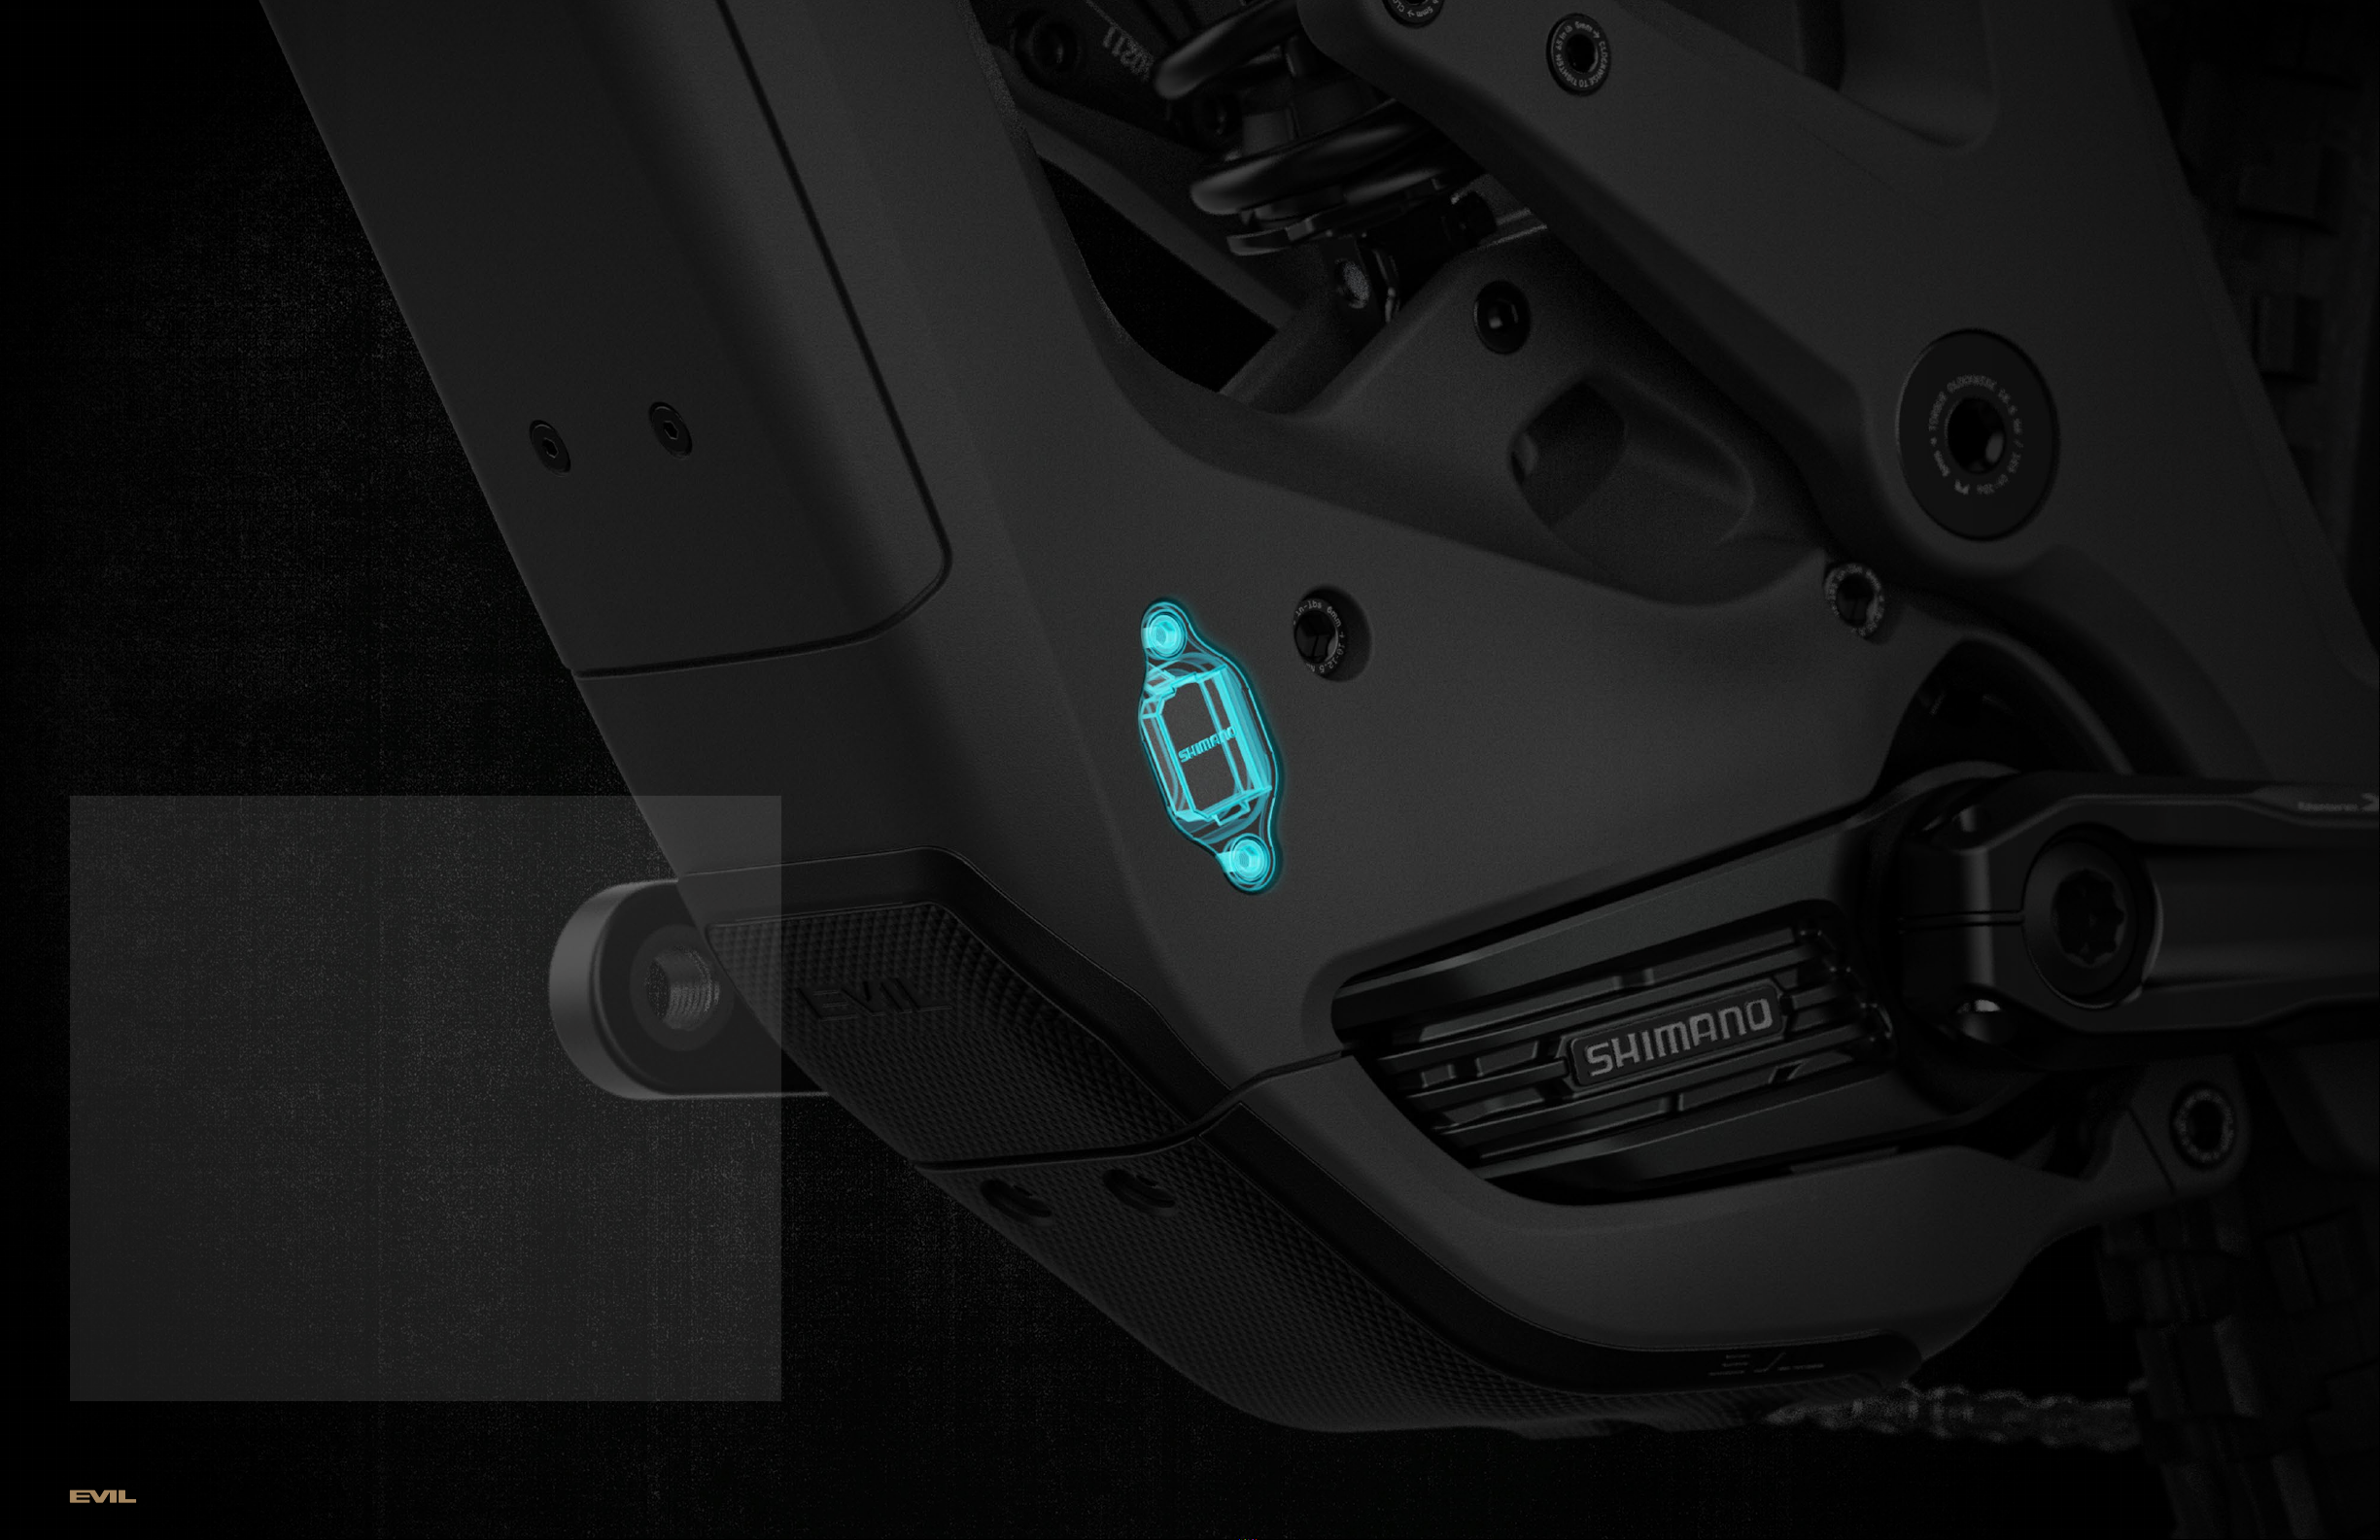
3. When the charger plug is installed correctly, the EP8 system will turn o and you
will hear an audible beep from the cycle computer. An orange light will be visible
on the charger when the system is being properly charged.
4. Charging time will vary based on the starting battery charge level. With the correct
EC-60002 charger, charging can take up to 6 hours to reach a full charge from a
completely exhausted battery.
5. After battery is completely charged, remove charger plug from charging port and
reinstall the charging port cover. Ensure cover is correctly installed to keep out
dirt and debris.
BEFORE YOU BEGIN
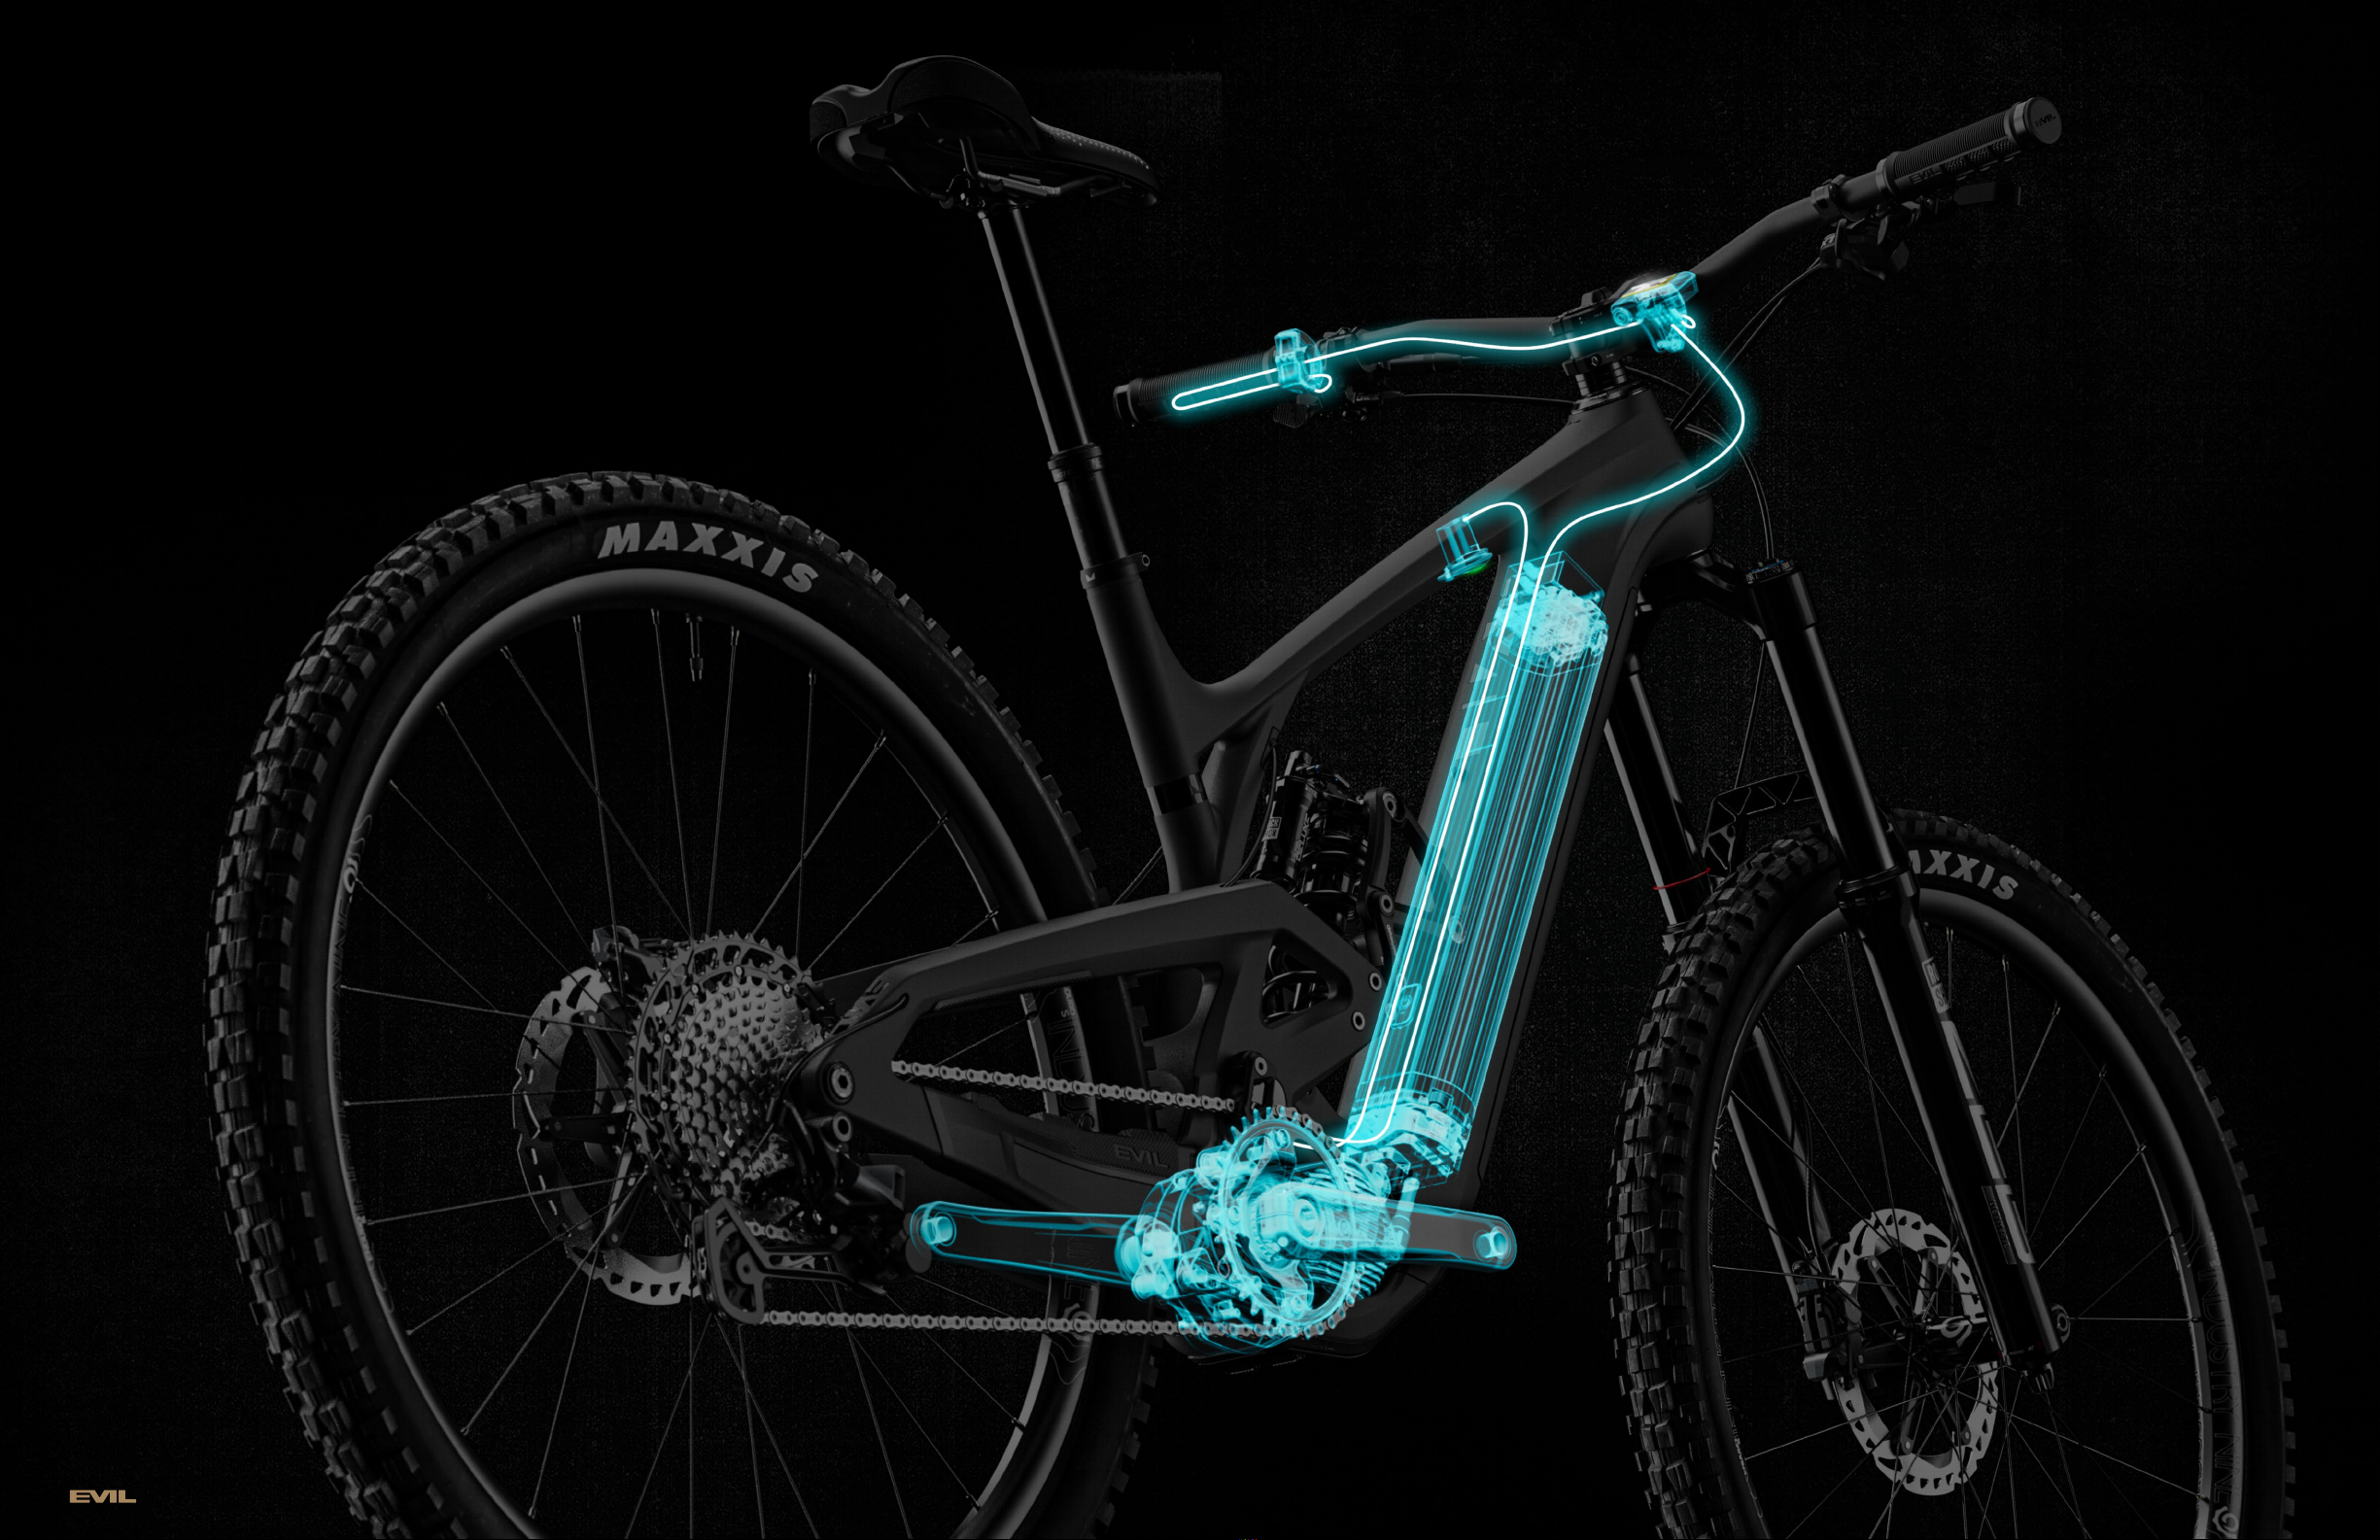
The EP8 630Wh battery ships installed in SLEEP mode with a 30% partial charge. The
battery must be fully charged prior to first use.
You can only charge your Shimano battery with a certified Shimano STEP’s battery
charger that is included with the purchase of your Epocalypse.
Only charge the Epocalypse in a dry, temperate place. Do not charge the Epocalypse
in rain, snow, or excessive heat or cold. Do not charge the Epocalypse overnight or for
extended periods of time after the battery has reached a full charge. This could cause
damage to the battery and/or charger.
Do not attempt to charge the system while the Epocalypse is being ridden. The system
will not turn on while the charger is connected. Do not pedal bike, or move cranks while
charger is connected. This will cause damage to the charger head.
Even though your Shimano battery is waterproof, please do not submerge it in water or
directly spray any electronic components with water. If the battery becomes damaged,
do not charge, use, or transport in any way. Although highly unlikely, use a class D fire
extinguisher to extinguish any flames from a battery fire.
7
7