Evolution EVO12 User manual

Owners Manual for Models:
EVO12
EVO16

E L E C T R I C B A L A N C E B I C Y C L E U S E R M A N U A L
Page 1
Contents
1. Cautions------------------------------------------------------------------------------------------------------------------------------------------------------------2
2. Vehicle structure--------------------------------------------------------------------------------------------------------------------------------------------------3
3. Bike Assembling-----------------------------------------------------------------------------------------------------------------------------------------------4-6
4. How to use-----------------------------------------------------------------------------------------------------------------------------------------------------7-10
5. Daily maintenance------------------------------------------------------------------------------------------------------------------------------------------11-18
6. Warranty-----------------------------------------------------------------------------------------------------------------------------------------19
PLEASE READ MANUAL CAREFULLY BEFORE OPERATING
For more information, please visit:
www.evolution-bicycles.com

E L E C T R I C B A L A N C E B I C Y C L E U S E R M A N U A L
Page 2
Cautions
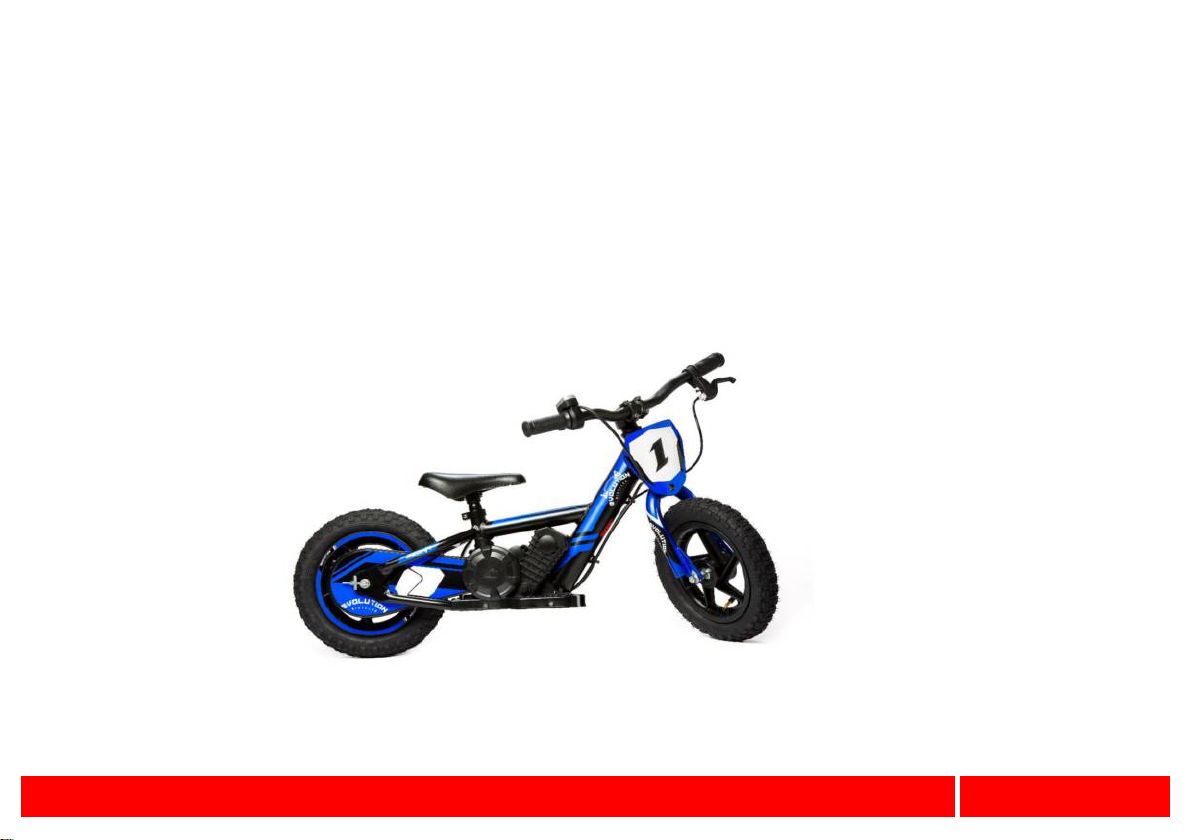
1. Note: the product pictures are for illustration purpose only. These pictures may not reflect the exact out looking of
actual product. Specifications may change.
Before using the bike, please must read the manual carefully and inspect whether the parts are in good conditions, to ensure
children and riding safety. If there is any problem, please contact the dealer immediately.
2. Children are required to use the bike under the supervision of parents or adults.
3.The bike should be parked in a dry and ventilated place. Do not rinse the bike with water. It is recommended to wipe it with a cloth.
4. Please comply with local laws or regulations; Please slow down and increase the braking distance in rainy/snowy day or slippery
road, to sure the safety.
5. Non-professional maintenance persons are prohibited from disassembling and replacing parts.
6. The bike is forbidden to do stunt riding.
7. Please inspect and sure all screws are tight before riding.
8. The controller is equipped with an overload protection function. It will cut off the power automatically once overloaded. And when
the power turns to normal, the power will turn on.
9. When the bike is with electricity but cannot drive, please turn off the power in time in case of electric components damage.
10. Please turn off the power when you get down from the bike or you are pushing it, in case that when riders push the throttle
unintentionally , the bike starts suddenly and get hurt.
11. Never operate the bike if side cover and chain cover are not installed.
Do not allow hands, feet, body, clothing or other similar items to come into contact with any rotating or moving parts.
Ride at your own risk and use common sense.
Not intended for children under the age of 3 or heavier than 75lbs. Make sure the childs feet can safely reach the floor; able to
follow instructions.
12. Use proper riding attire. Always wear a helmet, shoes, knee and elbow covers and gloves.

E L E C T R I C B A L A N C E B I C Y C L E U S E R M A N U A L
Page 3
22
Vehicle structure
1. Front wheel 2.Tire 3.Front fork 4.Stem 5. Frame 6.Saddle 7. Seat post 8.Inner tube 9.Rear wheel
10.Jack11.Chain cover 12.Side cover 13.controller 14.battery 15.seat post release 16.Right grip 17.throttle
18.Handlebar 19.Left brake lever 20.Left grip 21.Braking cable 22. Rear drum brake
1
2
3
4
5
6
7
8
9
10
11
12
14
13
15
16
17
18
21
19
20

E L E C T R I C B A L A N C E B I C Y C L E U S E R M A N U A L
Page 4
Bike Assembling
1. Please take out the bike from carton, remove the packing and fix the handlebar on the stem tightly with a hex wrench.
QUICK START

E L E C T R I C B A L A N C E B I C Y C L E U S E R M A N U A L
Page 5
Bike Assembling
2. installation requirements:
2.1 Handlebar needs to be symmetrical

E L E C T R I C B A L A N C E B I C Y C L E U S E R M A N U A L
Page 6
Bike Assembling
2.2 Correct the horizontal angle, the brake level is about 45°horizontally
45°

E L E C T R I C B A L A N C E B I C Y C L E U S E R M A N U A L
Page 7
Yellow light: Medium power
How to use
1. Please wear personal protective equipment, like helmet, protective glass, sneaker, glove, elbow pad, knee pad etc.
2. Throttle/Display instruction
3. Press power switch button, battery indicator light is on;
Press power switch button, battery indicator light is off;
4. Use the finger to push the throttle to control the power
5. In order to protect the safety of children, after the power switch is turned on, the display shows that the power is on, and the
switch has a 5-second slow start function.
Green light: Full power, high battery
Red light: Low power
Power switch
Throttle

E L E C T R I C B A L A N C E B I C Y C L E U S E R M A N U A L
Page 8
How to use
6. Speed conversion instructions :
In order to protect children and prevent riding speed from being too fast, the figure below shows the controller plug-in
connection speed limit line. The plug-in speed limit line is disconnected and turned on to realize two speed modes:
Mode 1: The speed limit line is disconnected, the bike speed is 13KM/H.
Mode 2: The speed limit line is connected, the bike speed is 6.5KM/H.
The operation of this speed change switch requires an adult to operate

E L E C T R I C B A L A N C E B I C Y C L E U S E R M A N U A L
Page 9
How to use
6.1. Detail operate process :
1). Find the speed limit line at the bottom of the frame to insert or remove to change the speed.

E L E C T R I C B A L A N C E B I C Y C L E U S E R M A N U A L
Page 10
How to use
2). Open the power switch, push the throttle to check whether the speed changes or not.
7. Start-up process: sit, push, push the throttle, brake, practice (Please wear personal protective equipment in the open air or safe
place under the supervision of an adult)
Unpowered training:
7.1. Turn off the power.
7.2. Adjust the seat cushion position according to the height of the rider.
7.3. Use your feet on the ground to promote learning and balance.
7.4. Practice gliding and practice to control the turn.
7.5. Use the brakes to safely stop while maintaining balance.
Electric mode:
7.6. Turn on the power switch.
7.7. Turn the display to normal.
7.8. Place your feet on the ground, let the rider slowly move forward and practice twisting the handle and slowly accelerate.
7.9. Let the rider practice opening and closing the switch and safely control the brake to stop.
7.10. When the rider is skillful in controlling the throttle and brake skills, place your feet on the pedals.
7.11. Please keep a safe distance between the rider and the obstacles. Pay attention to avoiding pedestrians and pay attention
to controlling the speed.
7.12 Pay attention to the car and then turn off the power before you can get off.
8. The bike can increase the auxiliary wheel to speed up children to learn riding

E L E C T R I C B A L A N C E B I C Y C L E U S E R M A N U A L
Page 11
Daily maintenance
1. Chain loosing: adjust the jack screw to adjust the chain

E L E C T R I C B A L A N C E B I C Y C L E U S E R M A N U A L
Page 12
lock nut
Daily maintenance
2. After riding the bike for a period of time, if there is a wheel lock or wobble, please fine-tune the wheel lock nut
lock nut

E L E C T R I C B A L A N C E B I C Y C L E U S E R M A N U A L
Page 13
Daily maintenance
3. Braking performance adjustment: please fine-tune the brake nut
fine-tune the brake nut

E L E C T R I C B A L A N C E B I C Y C L E U S E R M A N U A L
Page 14
Daily maintenance
Or fine-tune the braking nut on braking lever.
fine-tune the brake nut

E L E C T R I C B A L A N C E B I C Y C L E U S E R M A N U A L
Page 15
Daily maintenance
4. Charging battery: please open the waterproof cover of charging port, plug the charger DC head into charging port and fit the plug
to the power supply.

E L E C T R I C B A L A N C E B I C Y C L E U S E R M A N U A L
Page 16
Daily maintenance
5. Adjusting the saddle height: The seat post is prohibited from exceeding the security line.
security line.

E L E C T R I C B A L A N C E B I C Y C L E U S E R M A N U A L
Page 17
Daily Maintenance
6. Lubrication is an important part of the maintenance of electric balance bicycle. The front axle, rear axle, and sprocket should be
scrubbed every six months.
Maintenance Item
Maintenance cycle
Tools and Remark
Head parts set
One year
Grease
Front and rear axles
One year
Grease
Chain
Six months
Lubricating oil
Battery
Two months
Recharge the battery every two
months if long time storage
Tyre pressure
One month
The tires should be inflated
with compressor equipment if
the air pressure is low

E L E C T R I C B A L A N C E B I C Y C L E U S E R M A N U A L
Page 18
Daily maintenance
6.1. Do not drain the battery completely every time,please charge the battery when the display shows red light, which can increase
the cycle life of the battery.
6.2. Please clean the bike regularly, to ensure the safety riding of children and also to keep the bike in the best state.
6.3. Please always check the performance of the brakes and ensure it’s good.
Attention: please increase the braking distance in rainy,snowy days or downhill riding.
6.4. After each riding, please charge the battery to keep it in the best condition.
6.5 The front and rear wheels should adjust the lock nut regularly to prevent the wheels from locking or wobbling.
Warranty
Frame and Fork - Six Years.
Non-electrical systems components - 18 Months.
Electrical System components, including battery and charger - 6 months.
This limited warranty will be void if the product is not used in accordance with the owner's manual.
Warranties are only valid to original purchaser and requires proof of purchase. Non transferable.
Evolution Bicycles warranties this product to be free from defects from date of purchase.
For more information please visit: www.Evolution-Bicycles.com
Children's Product Certificate provided at website above.

This manual suits for next models
1
Table of contents
Popular Bicycle manuals by other brands

Kayoba
Kayoba 005018 operating instructions

Green Bike Electric Motion
Green Bike Electric Motion Legend HD HF 201-48N instruction manual

Trojan
Trojan PACE 360 Care instructions and assembly manual

Rider
Rider E shopper User guide and assembly instructions

LMX Bikes
LMX Bikes LMX 64 user guide

AmTryke
AmTryke 1020 instruction manual