EXALite EXL-IP65 User manual

EXL-IP65 Batt/W Par25° RGBWAUV
User manual
EXALITE

1A
Catalog
1. Precautions ...........................................................................................................2
2. Features...................................................................................................................2
3. Menu structure..................................................................................................... 2
3.1Menu................................................................................................................... 3
3.2 Operation......................................................................................................... 4
4. DMX.......................................................................................................................... 7
4.1 built-in program control............................................................................ 7
5. DMX512 channel list...........................................................................................7
2A
1. Caution
PCBA Please take care for it, not stackable, do not litter, prevent PCBA deformation, component damage,
such as the loss of the pad.
The power input DC 12V voltage, positive and negative can not be reversed.
When assembling, you should take the edge of the PCB board. Do not try to carry out the lifting operation
on a certain component for the sake of convenience. Avoid the situation that the pad is dropped or
damaged due to force.。
There are connection terminal should be connected according to the process requirements and the correct
way, pay attention to distinguish the direction and polarity。
Please not operate with live or plug the cable to avoid short circuit or component damage。
Please do a good job of anti-static treatment.
2. Features
Item No:ELP-9*15W
Input voltage : 90-240V AC, 50/60Hz
Light source :9pc 18W RGBWA UV 6in1 leds
IP rate: IP65
Lamp life: 100000 hrs
LED angle: 25/45degree
Control channels: 6/11CH
Battery power & wireless DMX,Wireless DMX-512 protocol
Battery working time: All leds on 6 hrs, Auto mode: 12-14 hrs, One color on: 20 hrs
Built in 2.4G receiver/ transmitter for wireless DMX operations
Control mode: DMX512, master/slave, auto, sound active
Automatic model(by function button) : color change, color strobe, color dimmer, color gradual change/color
jump change
Operation menu: 4 digit digital LED display
Connection: IP65 PowerCon connection & 3pin DMX in/out
Product size: 240X240X200mm
N.W: 5.5kg
3. Menu
Menu
Up/Down
Enter
"Addr"
"A001"
SAVE
"A512"
"Chnd"
" 6Ch"
SAVE
" 10Ch"
"SLAu"
"SLAU"
Please read over this manual before operating.

3A
"StAt"
X=0-255
"rXXX"
"GXXX"
"bXXX"
"UXXX"
"yXXX"
"PXXX"
X=0-20
"StXX"
"CoLo"
"xx=1-32"
CLxx
"Auto"
"xx=1-99"
SAVE
"FAdE"
"xx=1-99"
SAVE
"SnAP"
"xx=1-99"
SAVE
"Soud"
"Sou1"
"SE00~SE99"
"Sou2"
"Sou3"
"SySt"
"tESt"
"on/oFF"
"rF24"
"Fr 1~Fr 7"
"FrEq"
"WIFI"
"on/oFF"
"LEd"
"tEst"
"rEd"
"GrEE"
"bLuE"
"Whit"
"yELL"
"PurP"
3.1 Display
1.Display;
2. Button:
MENU
Choose Menu or function exit
UP
Increase the value
DOWN
Decrease the value
ENTER
Current show menu or enter into the current selected
function
4A
3.2 Operation
About the off & on operation:
In the off state, after pressing the MENU button for 3 seconds, the digital tube is turned on, and the
required function operation can be performed. If the lamp is not connected to the commercial power, the
battery power can be checked by pressing the MENU button.
In the power on state, after pressing the MENU button for 3 seconds, the digital tube displays the font
“OFF”, then goes out in the off state, which will cut off the battery power supply. If the lamp is connected to
the commercial power, the digital tube will display the corresponding amount according to the battery charge
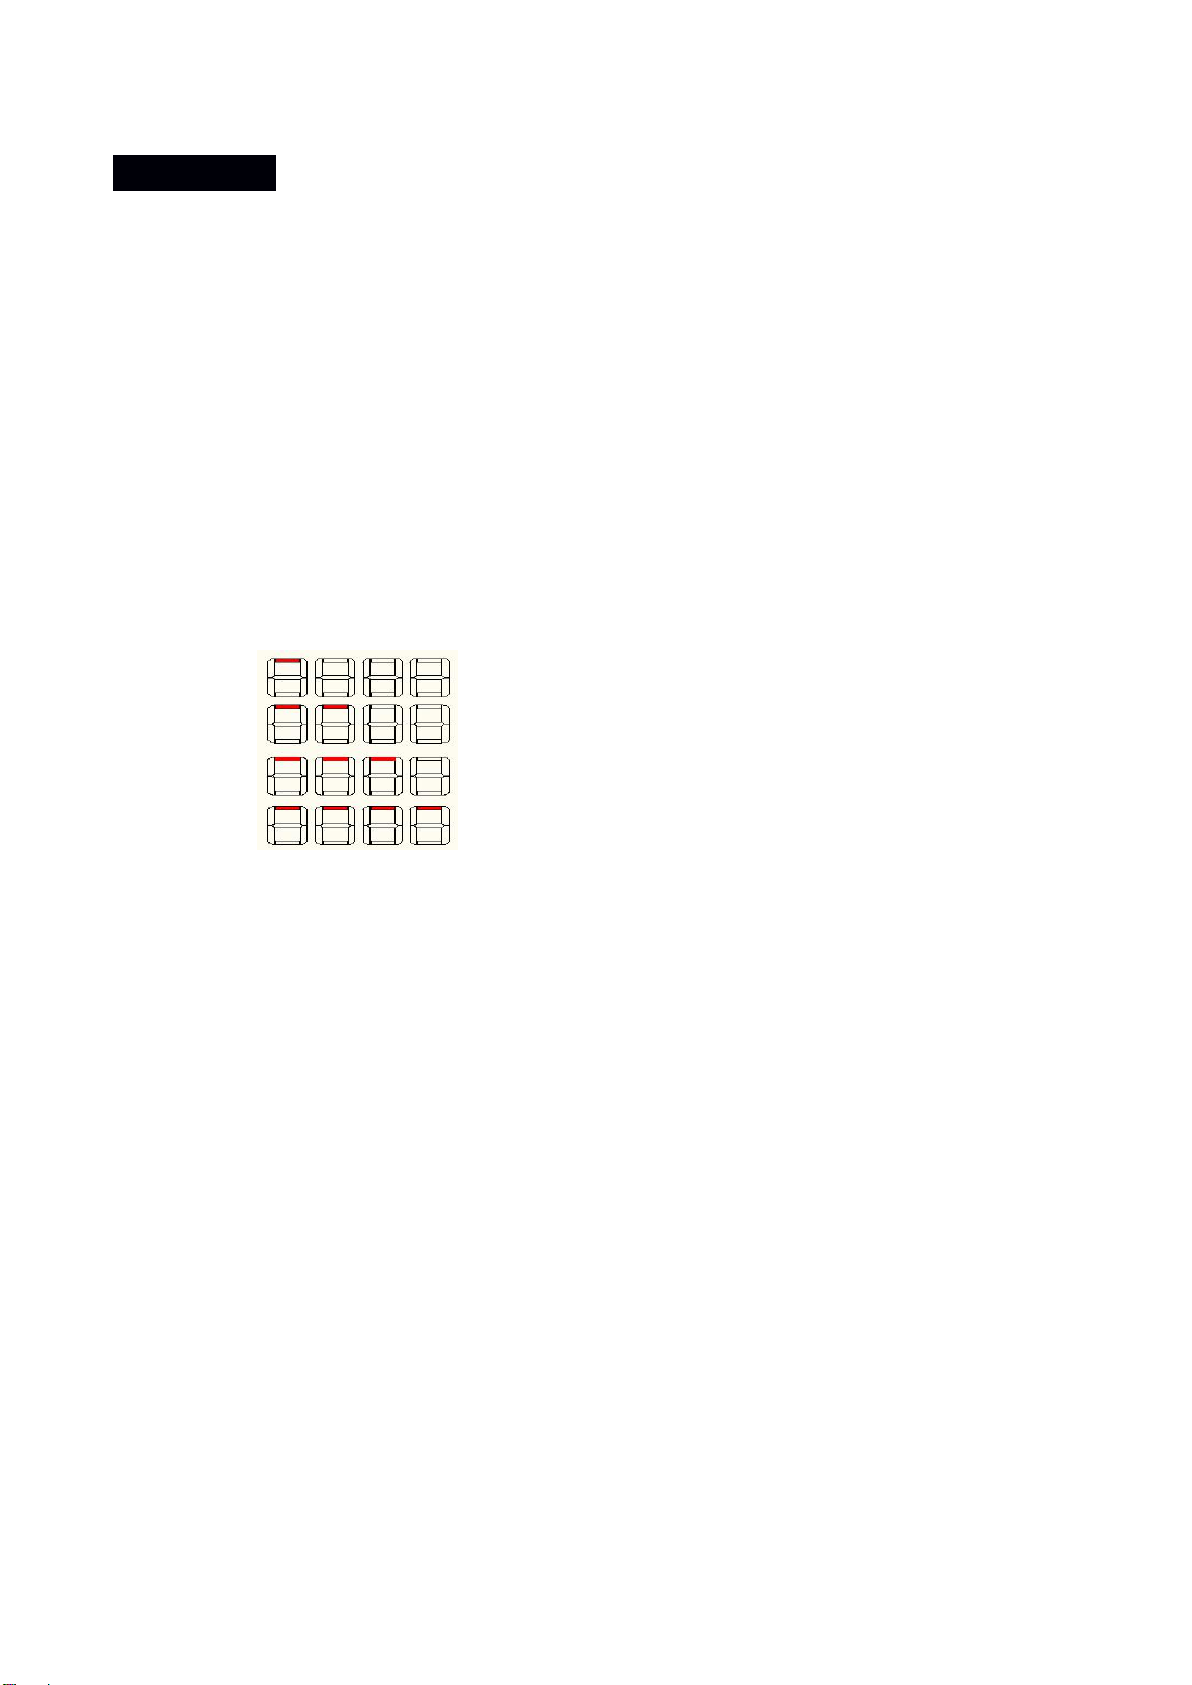
level. symbol:
25% 50% 75% 100%
Functional operation:
To select a preset function, press the MENU button to enter the main menu. The display will show the
corresponding menu function. When the MENU button is pressed again, the next menu function is selected. If
you press the MENU button repeatedly, you will continue to select each menu function. In the main menu mode,
you can use UP/DOWN to set the parameters. After the selection is completed, press the ENTER button to save
or enter the next menu function.
"Addr" DMX512 address code setting
Select “Addr”(DMX512 address code setting), press ENTER button to confirm, the display will show the
corresponding address code value. Use the UP/DOWN keys to adjust the desired address code from 1 to 512.
After selecting, the parameters will be automatically saved. If you press the ENTER or MENU button, the display
will exit to the previous menu mode.
"Chnd" channel mode
Select “Chnd”(channel mode) and press the ENTER button to confirm. Use UP/DOWN button to select “6Ch”

5A
(6 channels mode), “10Ch”(10CH channel mode). After selecting channel, the parameters will be saved
automatically. If you press ENTER or MENU button, the display will exit to the previous menu mode.
"SLAu" accessory mode
Select “SLAu”(Slave mode) and press the ENTER button to display “SLAU”, indicating that the Slave has
entered the receive mode of the slave. After confirmation, the parameters will be automatically saved. If you
press the MENU button, the display will exit to the previous menu mode.
"StAt" static color setting
Select “StAt”(static color setting), press the ENTER button to enter the next level menu, the display will show
the corresponding color value. Press the ENTER button repeatedly, the display will switch back and forth
between the 6 colors (“rxxx”,“Gxxx”,“bxxx”,“Uxxx”,“yxxx”,“Pxxx”) and the strobe (“Stxx”) ,
When displayed in a color or strobe value ("xxx" = 0-255, "xx" = 0-20), use the UP / DOWN button to adjust the
desired setting value between 1 and 255. The greater the brightness is, the faster the strobe speed is, and the
static color parameters are not saved. The default value is 255. If you press the MENU button, the display will
exit to the previous menu mode.
"CoLo" color selection mode
Select “CoLo”(color selection mode) and press the ENTER button to go to the next menu. Use the UP/DOWN
button to select “CL01”(color 1) to “CL32”(color 32). After the selection, the parameters will be saved
automatically. If the ENTER button is pressed, the display will exit to the previous menu mode. If you press the
MENU button, the display will advance to the next main menu mode.
"Auto" automatic transition mode
Select “Auto”, press ENTER button to enter the next menu adjustment speed, display “SPxx”(“xx”=01-99),
use UP/DOWN button to adjust between 1 and 99. The value to be set, the greater the value, the faster the
speed. After the selection, the parameter will be automatically saved. If you press the ENTER button, the display
will exit to the previous menu mode. If you press the MENU button, the display will advance to the next main
menu mode.
"FAde" color gradient mode
Select “FAde”(color fade mode), press ENTER button to enter the next menu adjustment speed, display
“SPxx”(“xx”=01-99), use UP/DOWN button to adjust between 1 and 99 The set value, the higher the value,

6A
the faster the speed. After the selection, the parameter will be saved automatically. If you press the ENTER
button, the display will exit to the previous menu mode. If you press the MENU button, the display will advance
to the next main menu mode.
"SnAP" color mutation pattern
Select “SnAP”(color abrupt mode), press the ENTER button to enter the next menu adjustment speed, display
“SPxx”(“xx”=01-99), use the UP/DOWN button to adjust between 1 and 99 The set value, the higher the
value, the faster the speed. After the selection, the parameter will be saved automatically. If you press the
ENTER button, the display will exit to the previous menu mode. If you press the MENU button, the display will
advance to the next main menu mode.
“Soud”sound mode
Select “Soud”(sound mode),ENTER button to enter the next menu voice control mode selection, display
"Soux" ("x" = 1-3), use the UP / DOWN button to select a different voice control mode between 1 and 3, "Sou1"
voice control jump, " Sou2”Sonic Pulse + Strobe, Sou3 Strobe, the parameters will be saved automatically. If
you press the ENTER button, the display will enter the voice sensitivity setting “Sexx”, (“xx”= 00-99). The
UP/DOWN button is between 0 and 99. Select the voice control sensitivity according to different requirements.
Press the ENTER button again to exit to the previous menu mode. If you press the MENU button, the display will
advance to the next main menu mode.
"SySt" system setting mode
Select “SySt”(system setting mode), press ENTER button to enter the next menu, display “teSt”, use
UP/DOWN button to select different between “rF24”,“FrEq”,“UIFI”and “Led”The setting, when selecting
"teSt" display, press ENTER button to confirm, the system will enter self-test mode, the display will be in "red",
"Gree", "blue", "UhIt", "yeLL", "PurP" Automatic switching between "FuLL", the display of the corresponding color
of the menu lamp will also light up, if you press the MENU, ENTER button to exit to the previous menu mode. At
this point, the self-test mode stops.
When the select “rF24”on display, press the ENTER button, the system will control the power of the 2.4G
wireless module, turn on the power when “on”is displayed, and turn off the power when “oFF”is displayed.
Press the MENU, ENTER button to exit to the previous menu mode. The parameters will be automatically saved
after exiting. If you use the 2.4G wireless module to receive signals, you must select "rF24" in the "on" state.
When selecting “FrEq”display, press ENTER button to enter 2.4G wireless module band selection, use
UP/DOWN button to select between “rF 1”~“Fr 7”bands, press MENU, ENTER Press to exit to the previous

7A
menu mode. The parameters will be automatically saved after exiting.
When select the "UIFI" on display, the system turns on the power of the WiFi mode and enters the mobile
phone dimming control mode. If you press the ENTER button, press the MENU button to exit to the previous
menu mode, and the parameters will be automatically saved after exiting. Open the WIFI setting page of the
mobile phone and click the link with the WLAN name "LEDxxx". After the link is successful, open the LedWIFI
software to scan and select a single point of control to perform the corresponding operation interface.
When the “Led”display is selected, after press the ENTER button, use the UP/DOWN button to select “on”
or “oFF”. When “on”is selected, the display is always on, if “oFF”is selected, when there is no button
The display will automatically turn off in approximately 15 seconds when pressed, and the display will not
turn on until a key is pressed again.
4. DMX512 Control
Press the MENU button until “Chnd” is displayed on the screen (channel mode),Then ENTER
Use the UP/DOWN button to select “6Ch” (6 channels mode) or “10Ch” (10CH channel mode) as
required, press the ENTER button to exit to the previous menu “Chnd”, then press the DOWN /UP
button to select “Addr” "(DMX512 address code setting), press ENTER button to confirm, the display
will show the corresponding address code value. Use the UP/DOWN button to adjust the desired setting
of the address code from 1 to 512. In this case, you can receive the DMX512 console control signal.
If you want to use this feature, please refer to the following diagram to set the DMX512 address of the
first 4 fixtures:6CH Mode:
1:A001,2:A007,3:A013,4:A019
10CH Mode:1:A001,2:A011,3:A021,4:A031
4.1 Main and auxiliary machine built-in program control
When connecting multiple fixtures using the master/slave mode, select "SLAu" (auxiliary
mode) for the other fixtures except for the first fixture.
The first luminaire is used as a host, and all show modes can be selected. The slave will be
controlled by the host to perform the same action.
5. DMX512 Channel
6CH mode:
CH
Value
Channel
1
0~255
Red dimmer
8A
2
0~255
Green dimmer
3
0~255
Blue dimmer
4
0~255
While dimmer
5
0~255
Amber dimmer
6
0~255
UV dimmer
10CH mode:
CH
Value
function
1
0~255
General Dimmer,the 9th CH(0~9)
2
0~255
Red dimmer
3
0~255
Green dimmer
4
0~255
Blue dimmer
5
0~255
White dimmer
6
0~255
Amber dimmer
7
0~255
UV dimmer
8
0~9
Strobe off
10~255
Strobe
9
0~9
Dimmer mode
10~49
Color choose:for 10th CH
50~89
Color jump change:Speed control by 10th CH
90~129
Color gradual change:Speed control by 10th CH
130~169
Color mutation change:Speed control by 10th CH
170~209
Sound active
210~239
Sound active +Strobe
240~255
Sound active strobe
10
0~255
Dependon value of 9th CH
Color choose when 10~49
Color jump change, Color gradual change,Color mutation change
when 101~250
Speed:0-255
PRODANCE, s.r.o.
Osadní 799/26, 170 00 Praha 7
T: 220 806 054 E: i[email protected]
www.prodance.cz
Other manuals for EXL-IP65
1
This manual suits for next models
1
Other EXALite Spotlight manuals

Popular Spotlight manuals by other brands


Greentek
Greentek Non-DALI Series installation guide

American DJ
American DJ FS-2500 DMX User instructions

Brinkmann
Brinkmann 800-2200-B Owner's manual & operating instructions

LITELINE
LITELINE CL-3JC20X installation instructions

Wetelux
Wetelux 84 28 91 instruction manual

Braun
Braun 64757 Owner's manual & safety instructions