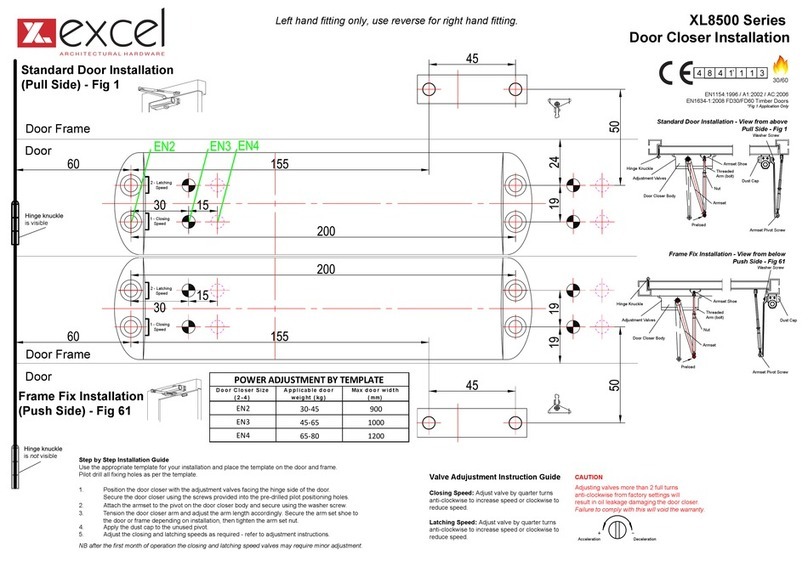
Excel Encasa 207-001-10 User manual

920359 - Ed07
1/8
INSTALLATION GUIDE
INDOOR DISCREET CABLING SOLUTION
Required tools
Driller Ø12.00 drill Phillips screwdriver
Table of contents
Overview _______________________________________________________________________________________________________________________2
Step 1 : Cable Routing __________________________________________________________________________________________________________3
Step 2 : Corner Protection Installation___________________________________________________________________________________________3
Step 3 : Preparation of cavity wall transition_____________________________________________________________________________________3
Step 4 : Installing the Outlet ____________________________________________________________________________________________________4
Step 5 : Unwinding Cable inc Wall Transition_____________________________________________________________________________________4
Step 6 : Installing the cable _____________________________________________________________________________________________________5
Step 7 : Completing the Installation _____________________________________________________________________________________________7
Indoor Discreet Cabling Solution - Installation Guide
www.excel-networking.com

920359 - Ed07
2/8
INSTALLATION GUIDE
INDOOR DISCREET CABLING SOLUTION
Overview
The indoor discreet cabling solution is an extension system of optical outlet adaptable for any housing.
Marker Designation Marker Designation
A
Optical outlet with 30m of
unwindable cable pre terminated
with SC/APC connectors
E Syringe of glue
BCavity wall transition protections
(Ø of drill: 12mm) FCavity wall transition tool
(connector & cable)
C Outside corner cable protections G Strip of hooked cable
duct (inc adhesive strip)
D Inside corner cable protections H Screws & Rawlplugs
A
B
F
C
G
D E
H
Indoor Discreet Cabling Solution - Installation Guide
www.excel-networking.com

920359 - Ed07
3/8
INSTALLATION GUIDE
INDOOR DISCREET CABLING SOLUTION
▪Find the best location for installation of the unwindable outlet (A)to be installed, generally near the internet
router.
▪Determine the cable route from the unwindable outlet (A) to the outlet (B).
▪Ensure clear pathway for routing of cable for optimum installation.
▪Ensure surface is clean and dry.
Outside corner
protection
Breakable positionning strip
Inside corner
protection
Dotted = Finished wall transition plug and cover
Ø12mm drill
▪Peel off the cover on adhesive strip on corner protection.
▪Use the strip to position the corner protection.
▪Break the strip after installing the corner protection.
▪Use both inner and outer corner protections at all 90° angles of the cable route.
▪Drill at point minimum of 10mm clearance between wall and skirting/door frame
to ensure transition plug cover can be fitted.
▪Drilling Ø12mm for holes.
NB : If you are faced with a door frame affixed to a metal stud (e.g. placostil ®) you
should avoid drilling through it.
Step 1 : Cable Routing
Step 2 : Corner Protection Installation
Step 3 : Preparation of cavity wall transition
B
A
10mm
10mm
Indoor Discreet Cabling Solution - Installation Guide
www.excel-networking.com

920359 - Ed07
4/8
INSTALLATION GUIDE
INDOOR DISCREET CABLING SOLUTION
Step 4 : Installing the Outlet
Location on the wall
Front view
Bottom
Top e.g. At Aerial socket level
Cable exits from the bottom
Minimum height of 8cm above floor level
(with or without skirting) 80mm
Or
▪At the rear of outlet, remove the Velcro adhesive strip.
▪Then stuck the outlet at the desired location.
First you must open the cover over the
connector.
▪Unwind the cable following the route it will be
installed up to the outlet (B).
▪Fix the outlet at the desired location, and mark the 2
holes (botton left and top right) with a pencil.
▪Remove the outlet and drill the two holes in the wall
and insert the rawlplugs.
▪Re-fix the outlet to the wall and insert the two screws
to secure it in place.
Step 5 : Unwinding Cable inc Wall Transition
Indoor Discreet Cabling Solution - Installation Guide
www.excel-networking.com

920359 - Ed07
5/8
INSTALLATION GUIDE
INDOOR DISCREET CABLING SOLUTION
Step 5 : Unwinding Cable inc Wall Transition (continue)
Wall Transition management
▪Place the connector inside the tool provided.
▪Insert the tool through the wall.
▪On the other side of wall pull the cable through using
the tool.
▪Once tool is completely through wall unplug the
connector.
Step 6 : Installing the cable
Cable is to be installed from the outlet (B) to the unwindable outlet (A).
▪Stick the cable vertically up to the end outlet (A).
▪Cut the adhesive hooked cable duct at the desired length (LG) and remove strip.
▪Stick the strip in place under the outlet.
▪Insert the connector into the outlet.
▪Insert the cable inside the hooks on the adhesive strip.
Before applying glue and setting cable in place you should stick the adhesive hooked cable duct between the outlet (B) and the
skirting board.
Apply Glue all along the cable route from the outlet (B) to
unwindable outlet (A).
Before applying the glue make sure surface is both clean
and dry.
Follow the instructions on the syringe.
Shortly after applying glue stick the cable in place, you
have a maximum of 6 minutes to adjust cables final position
before glue sets.
Remove any excess glue with a soft cloth.
Indoor Discreet Cabling Solution - Installation Guide
www.excel-networking.com

920359 - Ed07
6/8
INSTALLATION GUIDE
INDOOR DISCREET CABLING SOLUTION
Step 6 : Installing the cable (continue)
1 4
LG
Bend the cable
outlet - configuration 1 outlet - configuration 2
LG
Bend the cable
60mm 60mm
Ensure all four connectors from No1 Red to No4 Yellow are
able to connect to outlet prior to gluing the cable in place.
Corner protections management
▪Apply the glue.
▪Stick the cable.
▪Insert the cable into the corner protections.
Inside corner protection Outside corner protection
Indoor Discreet Cabling Solution - Installation Guide
www.excel-networking.com

920359 - Ed07
7/8
INSTALLATION GUIDE
INDOOR DISCREET CABLING SOLUTION
Step 6 : Installing the cable (continue)
Cavity Wall Transition Management
▪Insert the cable through the notch of both wall plugs and
then insert into the wall.
▪Glue the cable on the outlet side (B).
▪Continue gluing the cable towards the extractable
cable outlet.
▪Cut the desired length (LG) of adhesive hooked
duct.
▪Stick the duct underneath the extractable cable
outlet.
▪Place the cover over the wall plug and adjust
its position for the cable exit groove.
LG
Step 7 : Completing the Installation
Indoor Discreet Cabling Solution - Installation Guide
www.excel-networking.com

920359 - Ed07
8/8
INSTALLATION GUIDE
INDOOR DISCREET CABLING SOLUTION
Step 7 : Completing the Installation (continue)
▪Wind the remaining cable back into the outlet.
▪Once completed clip the inner cover back over
the connector to secure in place.
▪Insert the cable inside the adhesive duct strip.
▪Clip the outlet cover in place to complete the
installation.
At the end of the operation, please discard the syringue with the remaining glue in a waste recycling center.
Indoor Discreet Cabling Solution - Installation Guide
www.excel-networking.com
Table of contents
Other Excel Door Opening System manuals
Popular Door Opening System manuals by other brands

S4A
S4A ED100 quick start guide

Langer & Laumann
Langer & Laumann QKS6 user manual

ENFORCER
ENFORCER Enforcer E-942FC-1K3SQ Technical specifications

Langer & Laumann
Langer & Laumann Otis 6970 user manual

Allegion
Allegion Von Duprin QEL9447 installation instructions

Dormakaba
Dormakaba MUNDUS PREMIUM GK 40 Mounting instruction

Feuling Parts
Feuling Parts 4095 installation instructions

FlexiForce
FlexiForce force60BS Installation & maintenance

Dormakaba
Dormakaba Muto Premium XL150 installation instructions

Assa Abloy
Assa Abloy DC340DA Product information

Powermatic
Powermatic R100 FITTING INSTRUCTION

Nice
Nice F210S Installation instructions and warnings