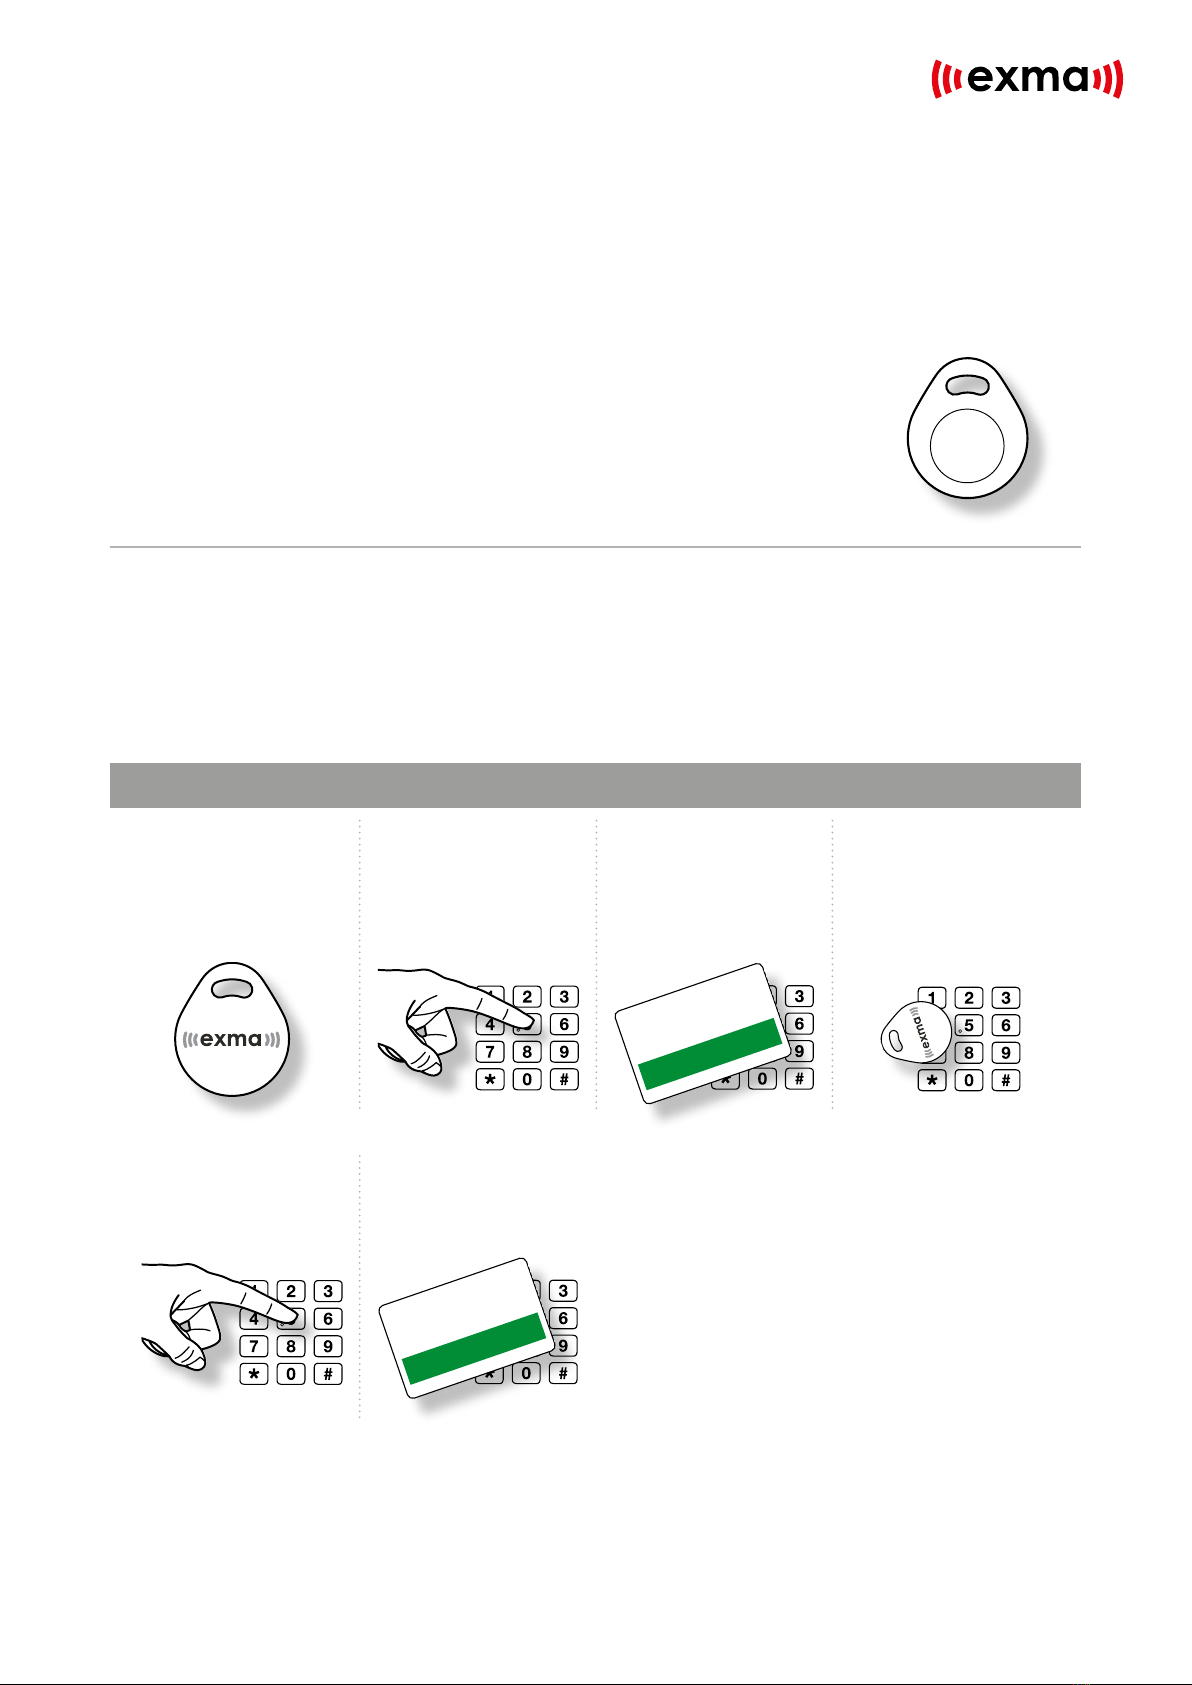
exma Duo User manual

User guide
Duo
The Swedish made locking system
exma.se

Thank you & welcome
Exma Säkerhetssystem AB would
like to thank you for choosing us and
welcome you as customer. You are
now the owner of a locking system of
the highest possible quality – made
in Eskilstuna, Sweden.

System overview .......................................................... 4
LED signals .................................................................. 4
Audio signals................................................................ 4
System card kit ............................................................ 5
System activation ......................................................... 6
Tag management ......................................................... 7
Adding and removing tags ........................................... 7
Personal PIN codes...................................................... 9
Emergency code.......................................................... 9
Day open mode ......................................................... 10
Security levels .............................................................11
Code lock .................................................................. 12
Booking function ........................................................ 12
Contents

4
Key pad where personal
PIN codes are entered.
This is also where the
tag should be held
against, with a distance
of a few centimetres.
LED indicating the cur-
rent status of the lock.
The lock may always
be key operated.
For increased safety,
the lock may also be set
so that a key is required
also from the inside.
Lock button on top.
The door handle also
works as a door knob.
Pull the handle upwards
to lock.
Battery hatch.
Door inside
Door outside
System overview
LED Meaning:
If the right LED flashes, the lock
may be opened with an approved
tag.
If the outer LED:s flash, both tag
and PIN code is required to open
the lock.
The middle LED flashes green
when an approved tag has been
used. When the lock is open, the
green LED will stay lit.
The middle LED flashes red when
an unapproved tag has been
used. When the lock is locked, the
red LED will stay lit.
If the left LED flashes red, code
lock mode is activated.
LED signals Audio signals
When the unit is in standby mode, both LEDs first
quickly flash and then display the current status of
the lock.
For extra clarity, the system generates different
sounds.
Short beep
Each press of a button or reading of a tag is
confirmed with a short beep.
Three short beeps
Confirm that the lock is put in the highest security
level (tag + PIN).
Longer beeps
Occurs when programming the unit, confirming
that the requested action is performed.
Advice! The Exma Mobile App offers
additional features.

111091
5
System card kit
The different cards
The Exma Duo system requires a set of cards, that
has to be ordered separately. Each of these has its
own specific function and colour: yellow, green, red
and blue.
Green
Add card
Red
Remove card
Yellow
System card
Blue
Admin card Tags Exma Mobile App
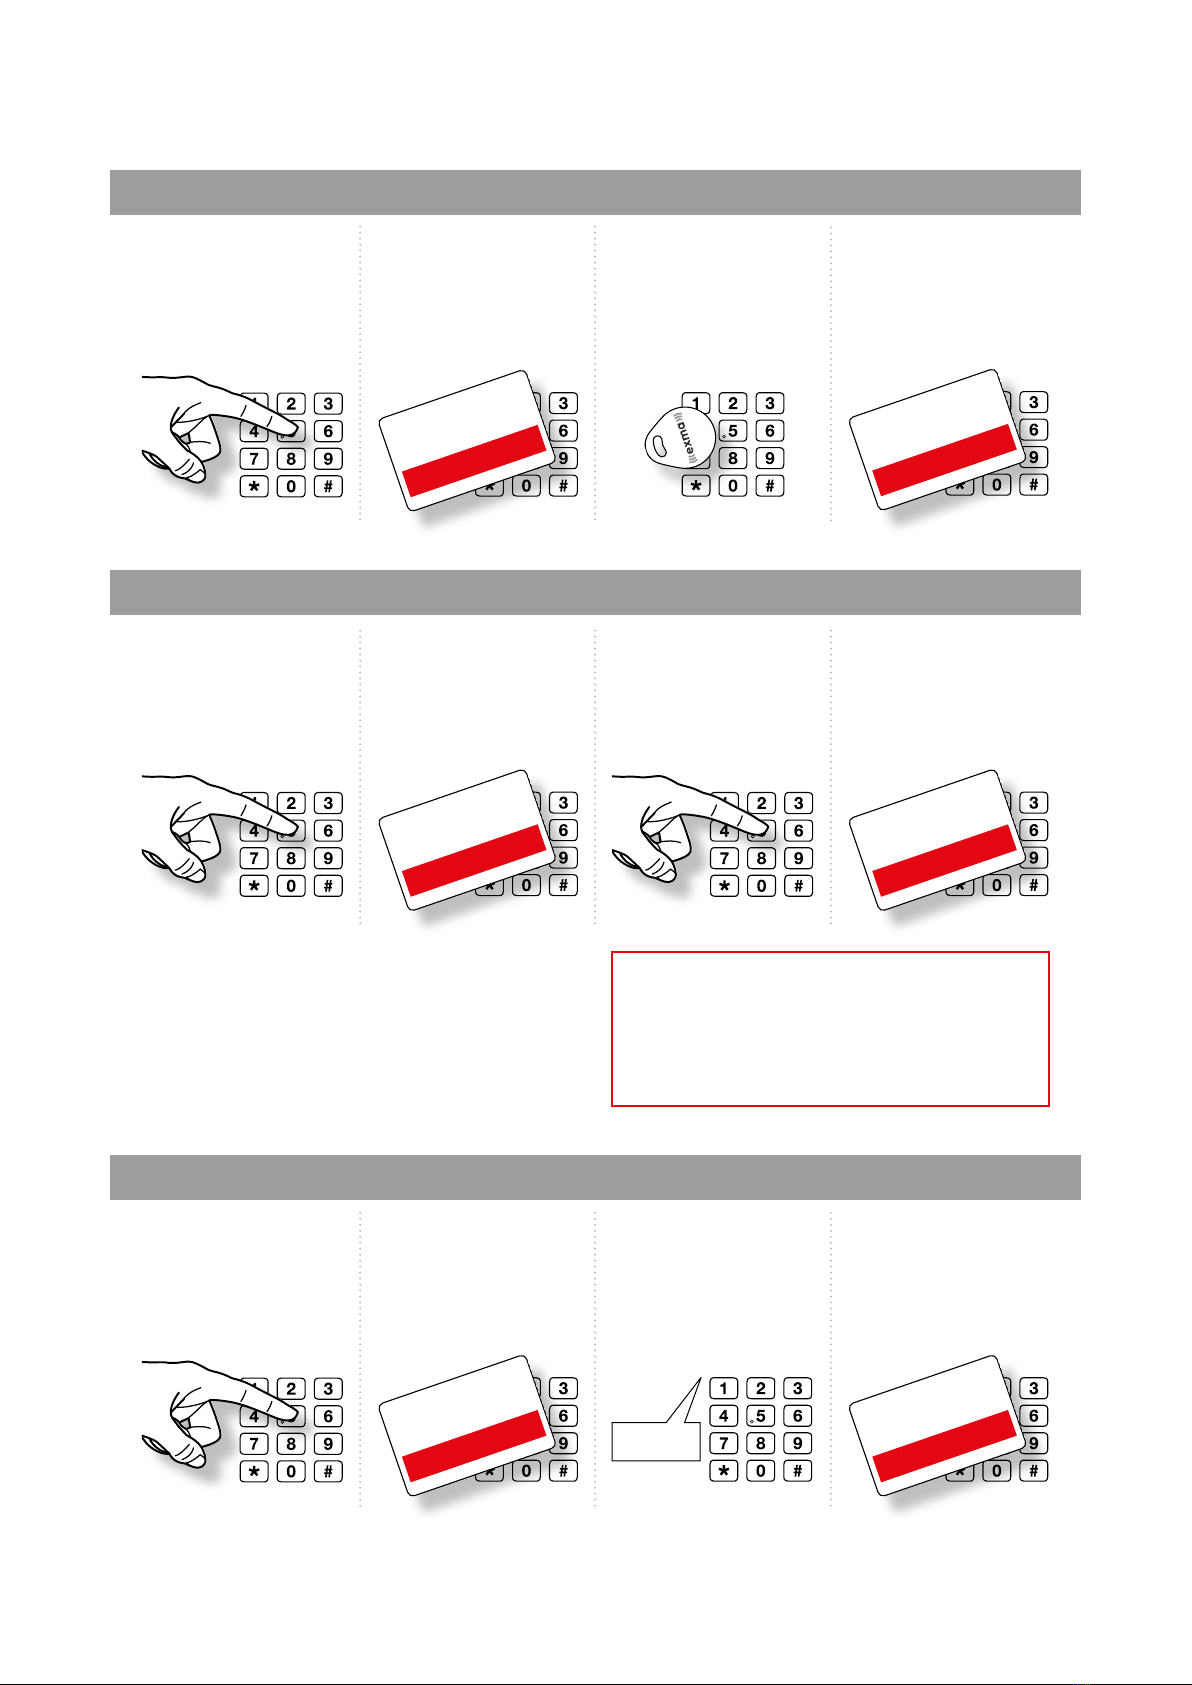
The yellow System card contains
your locking systems unique
identity and should therefore be
considered a valueable docu-
ment.
Keep the card as safe as possi-
ble, preferably in a safe.
The blue Admin card is used
when handling NFC cell phones.
The system tags must be of
MIFARE type and activated
before they will work in the
system.
The green Add card is used
when adding tags to the current
lock.
The red card is used when
removing tags from the current
lock.
The Exma Mobile App for
Android is available from
www.exma.se. In addition to
turning your cell phone into a
key for your lock, the app also
offers other administrative
functions.
Like traditional key tags, the
app communicates with the
lock by using NFC technology.
In this case with extra encrytp-
tion, based on the unique IMEI
number of your phone.
Important! A single card kit may be used
with several locks or readers within the
same system. I.e: you only need one kit for
each system.

6
System activation
The lock responds with
a beep and by flashing
the LEDs.
The system is now
ready for the program
cards
The lock responds with
a beep and by flashing
the LEDs.
Move on to the next
step.
The lock responds with
a beep and by flashing
the LEDs.
Move on to the next
step.
The lock responds with
a beep and by flashing
the LEDs.
Move on to the next
step.
The lock responds with
a beep and by flashing
the LEDs.
Move on to the next
step.
The lock responds with
a beep and by flashing
the LED’s.
The system is now
activated and you may
add tags as electronic
keys.
Important! The system cards are valueable
documents, not to be perished since anyone
with access to the cards is in control of the
locks. The system cards must be stored in
the safest way possible.
On delivery, the electronic locking system is unacti-
vated and may only be handled with a physical key.
System activation is achieved by using the different
cards in the order stated below.
Step 1 Step 2
Step 5 Step 6
Step 3 Step 4
Put the lock in standby
mode by pressing the
keypad.
Hold the yellow
System card against
the keypad.
Hold the blue Admin
card against the key-
pad.
Finish by holding the
yellow System card
against the keypad
again.
Hold the green
Add card against
the keypad.
Hold the red Remove
card against the key-
pad.
Important! After system activation, the lock
operates like a code lock and will open by
entering 0000. In order to change this, the
security level must be changed (see page 11).

111091
7
Tag management
Adding and removing tags
Step 1
Step 4
Step 2
Step 5
Step 3
Whenever a tag is added it must also be given
a position in the system. This position is always
entered with three digits, followed by a #.
Put the lock in standby
mode by pressing the
keypad.
Enter 001# on the
keypad.
Hold the green Add
card against the keypad
to activate program-
ming mode.
Confirm by using the
green Add card again.
Hold the tag in front of
the keypad.
If a tag is to be add-
ed to position 001,
proceed as follows:
Add tags
It is cruicial that the admin ensures the correct
allocation of each tag and keeps an updated file of
each position in each lock.
Each tag in the system is provided
with its own ID number.
If there are any doubts, we
recommend removing and
reinstalling all tags.
Before you start adding tags to the system, it is im-
portant that you’ve made clear what their intended
functions will be.
Each lock holds 999 positions, which in turn are
divided into two levels.
001-499= can change the security level
500-999= can NOT change the security level,
these only have passing rights
Each position can only hold one tag. If you try to
add a second one, the reader will warn you and
prompt you to choose another position.
Advice! If you need to add several tags at the
same time; repeat step 3-4 until you’re done.
Then, confirm all tags by finishing with step 5.

Beep
8
Step 1
Step 1
Step 1
Step 3
Step 2
Step 2
Step 2
Step 4
Step 4
Step 4
Step 3
Step 3
Put the lock in standby
mode by pressing the
keypad.
Put the lock in standby
mode by pressing the
keypad.
Put the lock in standby
mode by pressing the
keypad.
Enter the tag’s position,
e.g. 001#.
Hold the red Remove
card against the keypad
to activate program-
ming mode.
Hold the red Remove
card against the keypad
to activate program-
ming mode.
Hold the red Remove
card against the key-
pad for 10 seconds.
Confirm by using the
red Remove card
again.
Confirm by using the
red Remove card
again.
Use the red Remove
card again to confirm.
Hold the tag in front of
the keypad until a beep
is triggered.
The action is confirmed
with a beep.
Remove tags
Remove lost tag
Remove ALL tags from the system
Important! An erased tag still has its own
PIN code. If the tag is found it still needs to
be removed by following the steps in the
”Remove tags” section above. When this is
done, it can be added as a new tag.
Advice! If you need to remove several tags at the
same time; repeat step 3 until you’re done.

9
Personal PIN codes
We recommend that all users program their own
personal PIN codes, when using their tags for the
first time. If the reader is put in the highest security
level, a PIN is requirered along with the tag.
Step 1 Step 3 Step 4Step 2
Put the lock in standby
mode by pressing the
keypad.
Enter a 4-digit code,
repeated twice.
Use the tag again.
The PIN will now be
encrypted into the tag.
Hold the tag in front of
the keypad.
E.g: If you wish to use
1234 as PIN, you’ll
enter 12341234 on the
keypad.
Advice! If you wish to have a set of tags for
lending, to e.g. craftsmen, you may prepare tags
with predefined PIN codes. This ensures that
the tags wont work whenever the lock is put in
security level 1 (see page 11).
Program personal PIN to a tag
Emergency code
E.g: *12345678
If needed, the system may be provided with an
8-digit emergency code that always works.
When using emergency codes, * must always
precede the PIN, e.g. *12345678.
Program emergency code
To deactivate emergency code, the same proce-
dure as below, but with *00000000, is performed.
Thus, an emergency code may never consist of
this sequence.
Step 1 Step 3Step 2 Step 4
Put the lock in standby
mode by pressing the
keypad.
Enter * followed by an
8-digit code.
Hold the yellow
System card against
the keypad.
Use the yellow System
card again to confirm.

10
Day open mode
Step 1 Step 3
Put the lock in standby
mode by pressing the
keypad.
Enter *4#. The lock
confirms by lighting up
a diode.
Green diode = active
Red diode = off
If desired, it is possible to leave the door unlocked.
This is achieved by performing the procedure below.
The same procedure is used to deactivate the
function.
Activate Day open mode
Step 2
Hold the yellow
System card against
the keypad.
Step 4
Use the yellow System
card again to confirm.
When the function is activated, the lock may be
left unlocked (Day open mode) by holding down
the lock button on the inside of the unit for three
seconds.
The system confirms by triggering three beeps.
The same procedure is used to turn off Day
open mode and the same confirmation, the three
beeps, will be used as confirmation.
Lock button
on top.
Door inside

11
Security levels
The Exma Duo offers two different security levels, that
may be set up with tags in the positions 001-499.
Security level 1:
The lock is opened with tag + PIN
Security level 2:
The lock is opened with tag only (no PIN)
The lock returns to security level 2 as soon as anyone
opens it with a tag + PIN.
Step 1
Step 1
Step 3
Step 3
Step 2
Step 2
Put the lock in standby
mode by pressing the
keypad.
Put the lock in standby
mode by pressing the
keypad.
Enter 9999, the unit
confirms the change
with three short beeps.
Enter the unique PIN
code of the tag, the unit
will open and may then
be opened by using a
tag only.
Hold the tag in front of
the keypad.
Hold the tag in front of
the keypad.
Activate security level 1
Activate security level 2
Important! Security level 1 disables the lock
button on the inside – exiting is then only
possible by using a traditional, physical key.
This also means that anyone that has entered
by e.g. breaking a window will not be able to
exit through the door.

12
Code lock
The Exma Duo can be set so that only a code is re-
quirered. This function is available for tags 001–499.
The code works until the security level is changed;
when a tag plus PIN is used.
Step 1 Step 3 Step 4Step 2
Put the lock in standby
mode by pressing the
keypad.
Enter the unique PIN
code of the tag.
Enter * followed by the
code. Finish with #.
Hold the tag in front of
the keypad.
E.g: *1234#
Program code lock
Important! 9999 may not be used since this
combination is reserved for another function
in the lock.
The Exma Duo also offers a booking function,
meaning that the system itself generates a 4-digit
code, either every hour or every day. The code
generator is unique to each system and based on
the individual serial number of the reader.
By default, key tags are used for time-limited
access. To write this into the tag, the code must
first be entered via the keypad, for either the hour
or the day. Then the tag is held in front of the reader
in order to get the access written into it. The tag will
then be fully functional until another booking
is performed.
During a booking period, an enabled tag may not
have the access removed. This is only achieved
when a new code is generated via the reader. If no
new code is generated the tag will be deactivated
automatically 24 hours after access was given.
Booking function
Important! In order to use the booking
function, the internal clock must be
activated. This is easily done using the
Exma Mobile App.
Deactivation
Activated tags may be deactivated by setting the
the system to the highest security level (tag+PIN).
Thereafter, no new bookings can be made.
By turning the reader into code lock mode, any
activated tag will continue to work for its set time
but no new bookings will be possible.

13
Selectable variations:
A: Code changes hourly. Tag is activated with code.
A+B: Code changes hourly. Code opens directly, no tag required.
A+C: Code changes daily. Tag is activated with code.
A+B+C: Code changes daily. Code opens directly, no tag required.
Beep,
beep
Beep,
beep
Beep,
beep
Step 1 Step 3 Step 4Step 2
Hold the yellow
System card against
the keypad.
Two long beeps =
function activated
Three short beeps =
function deactivated.
Use the yellow System
card again to confirm.
Enter 5555.
A. Activate/deactivate the booking function
Important!
The unit switches
between activated
and deactivated
mode each time
the sequence is
performed.
Step 1 Step 3 Step 4Step 2
Hold the yellow
System card against the
keypad.
Use the yellow System
card again to confirm.
Enter 2222.
B. Code opening (no tag)
Step 1 Step 3 Step 4Step 2
Hold the yellow
System card against
the keypad.
Use the yellow System
card again to confirm.
Enter 6666.
C. Code to be changed daily
Two long beeps =
function activated
Three short beeps =
function deactivated.
Two long beeps =
function activated
Three short beeps =
function deactivated.

www.sinnebild.seDUO v. 6.0, EN 1811
Exma Säkerhetssystem AB, Filargatan 6, SE-632 29 ESKILSTUNA, Sweden. Phone: +46(0)16-14 16 80
Mail: kontakt@exma.se Web page: www.exma.se
The company
Exma Säkerhetssystem AB was founded in Eskilstuna,
Sweden, in 1986. Through the years, we have gradually developed
into a central part of the development of safe locking systems for
both domestic and professional use. In Sweden, Exma products
are de facto standard for e.g. correctional establishments
and other protected properties.
From the very beginning, we’ve specialized in
expertise in mechanical/electronic locks and access control.
Our competency quickly established us and we have long been
in close cooperation with other prominent players in the market.
We continuously move the positions for user-friendly locks of the
highest quality, regarding both durability and safety.
Table of contents
Popular Lock manuals by other brands

M-LOCKS
M-LOCKS EC1070 EuroLine series Technical manual

Kwikset
Kwikset Smartcode 914 Installation and user guide

Burg Wächter
Burg Wächter 610/53 operating instructions

Windsor
Windsor 1391 Fitting instructions

Igloohome
Igloohome Smart Deadbolt 02 Installer's guide

Tyco
Tyco DSC WT4989 operating instructions