■Dolby Certification for Dolby Digital 5.1, Dolby Pro Logic II, Dolby Headphone
■Empower Stereo Game/Music/Movie to 5.1 Channel Surrounding Sound
■Connect with XBOX360®/PS3™/DVD/PC with Optical; while Wii™/PC/iPod/LCD TV with 3.5 mm Jack
■Output Surrounding Sound through Stereo Headset
■With Our X6 Technology, to Have Stronger Surrounding Effect
■Build in Communication Function to PS3™ via USB, while XBOX360®via XBOX Live®,
with Separated Volume Control
■Connect with Pearl II C Headset for Console Gaming; also can work with PC/Notebook
with either Optical or Analog interface
■Compact and Hand-Held Size & Power by USB, Easy to Carry
Hardware Diagram
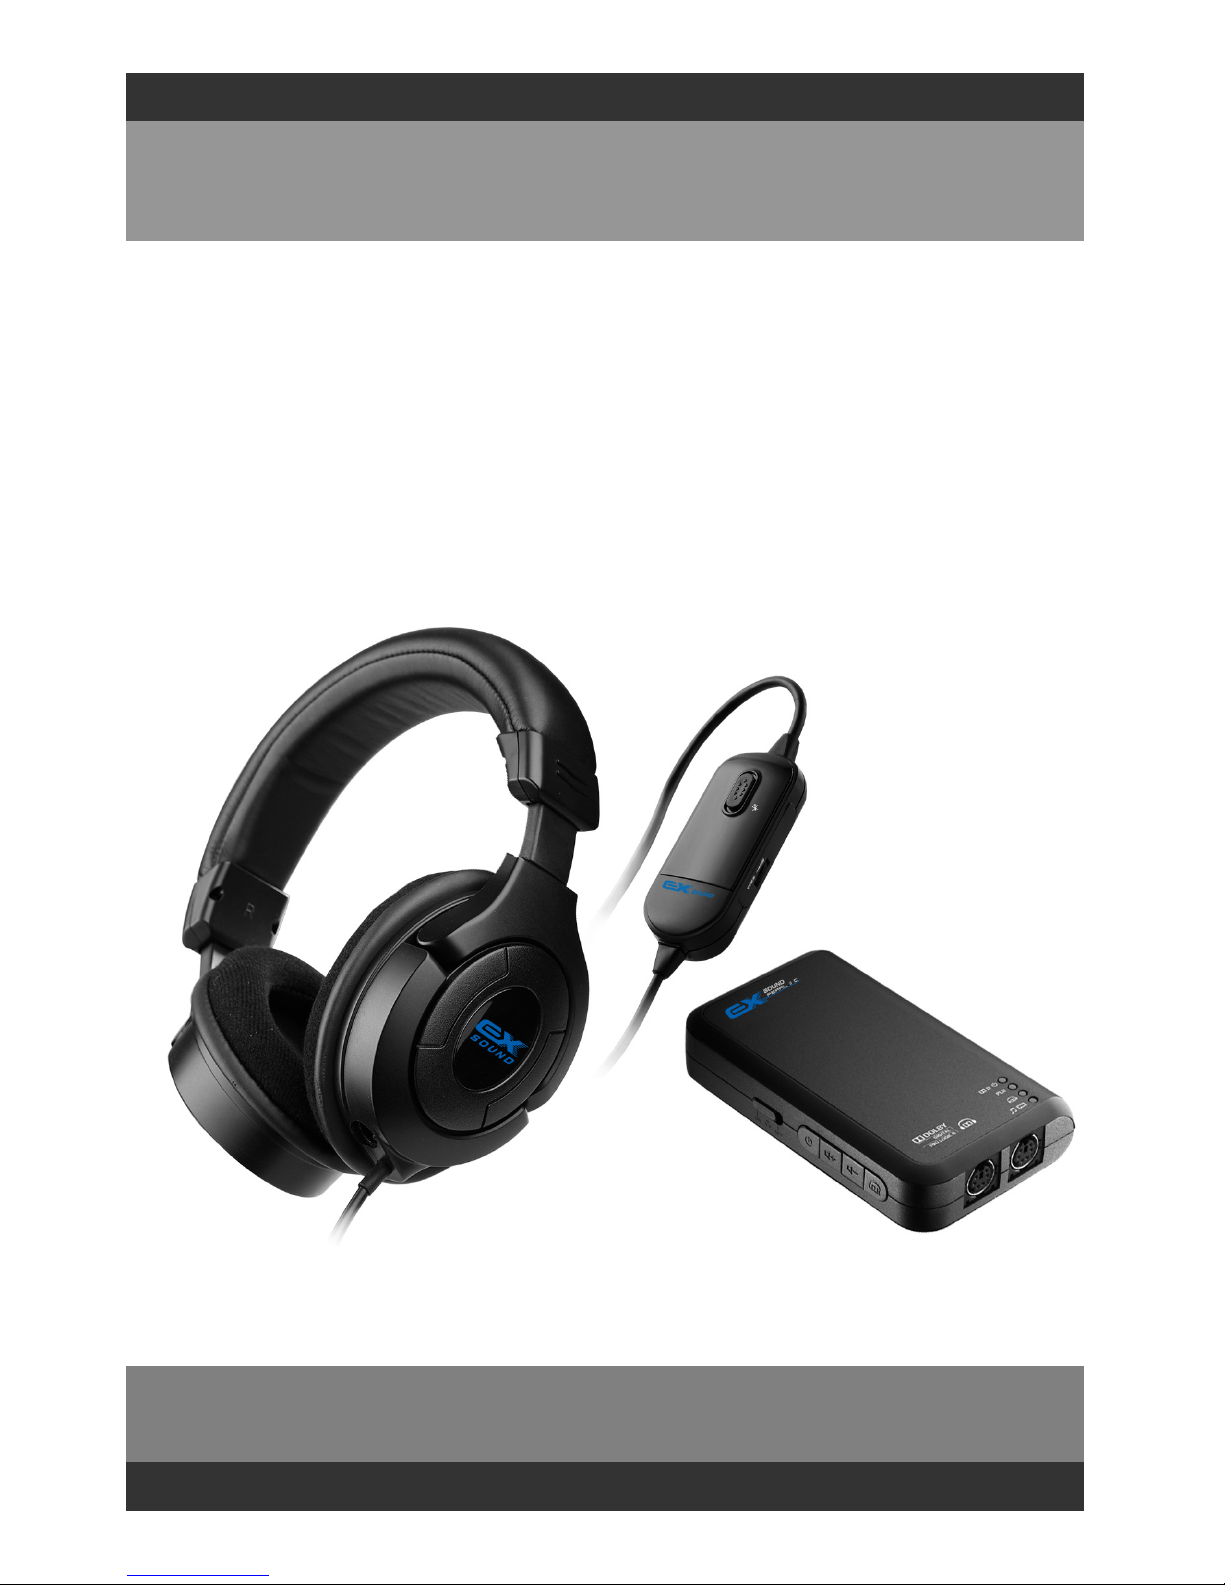
A. EXSOUND Pearl II noitatSoiduAC
B. EXSOUND Pearl II C Headset
C. EXSOUND Pearl II C Breakaway Inline Controller Cable
4
A. EXSOUND Pearl II C Audio Station
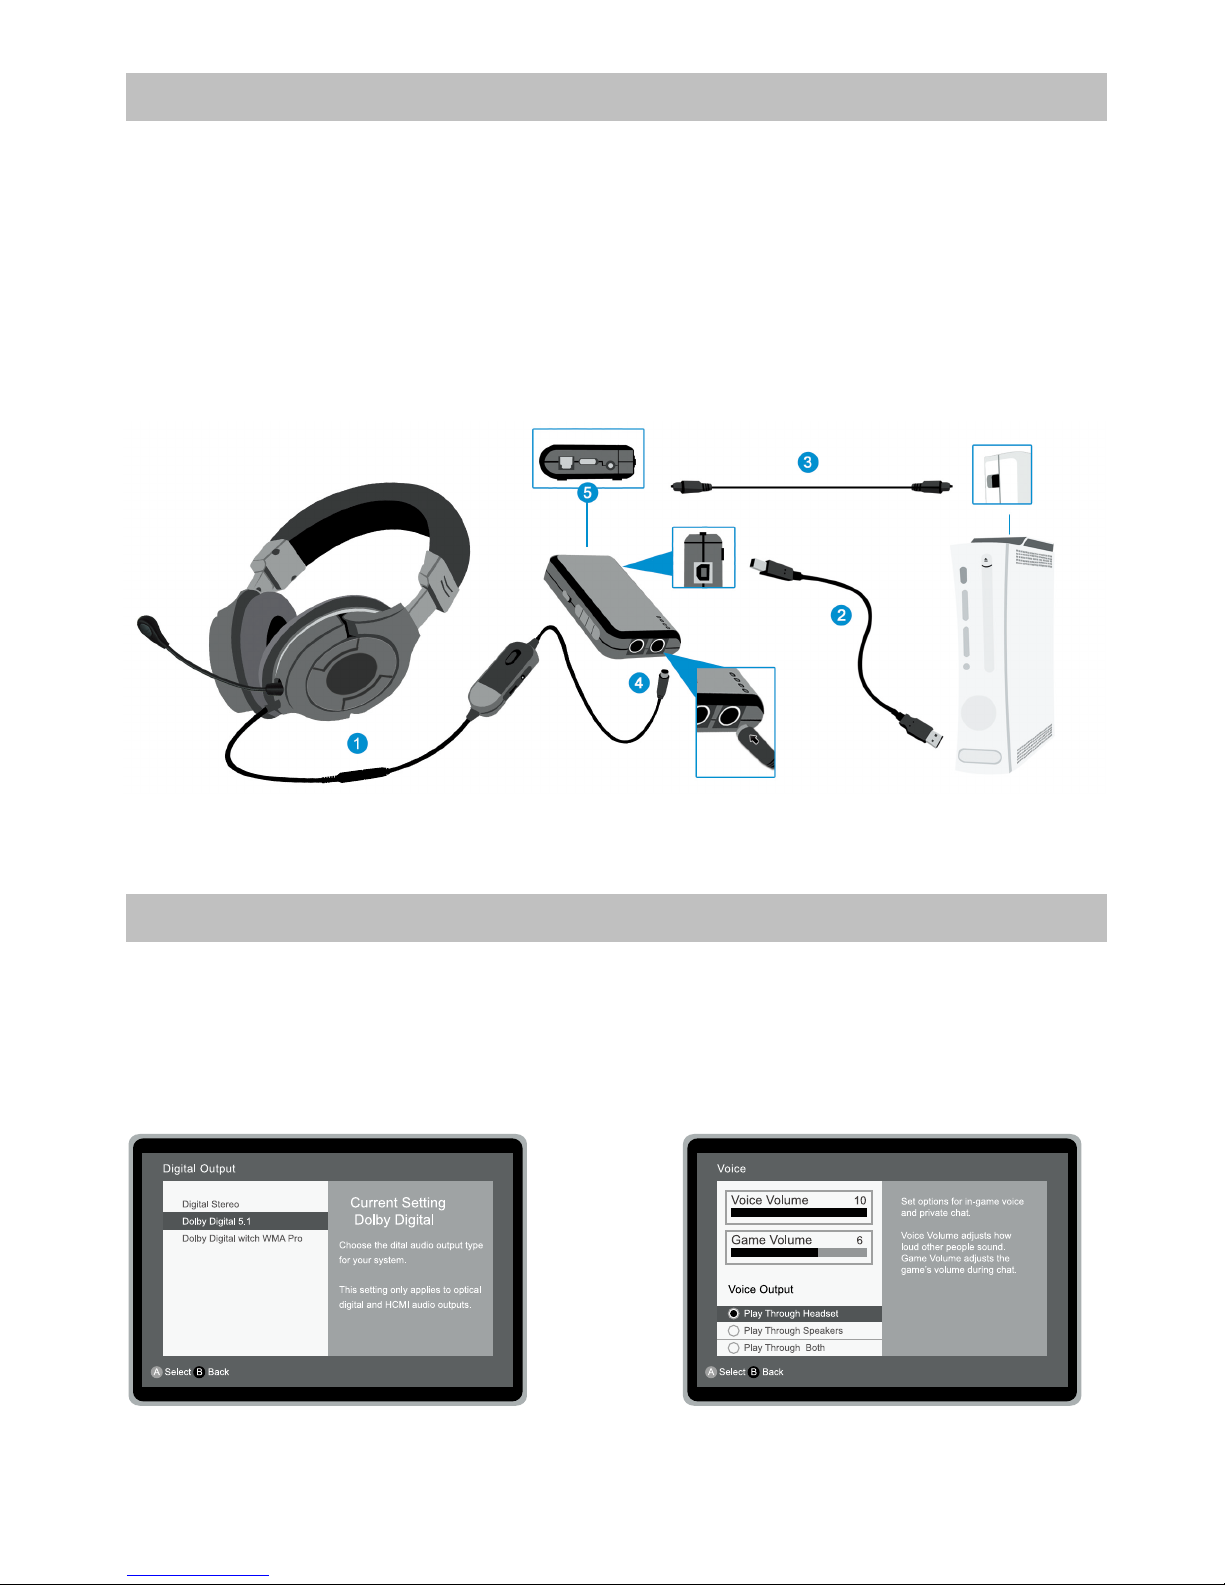
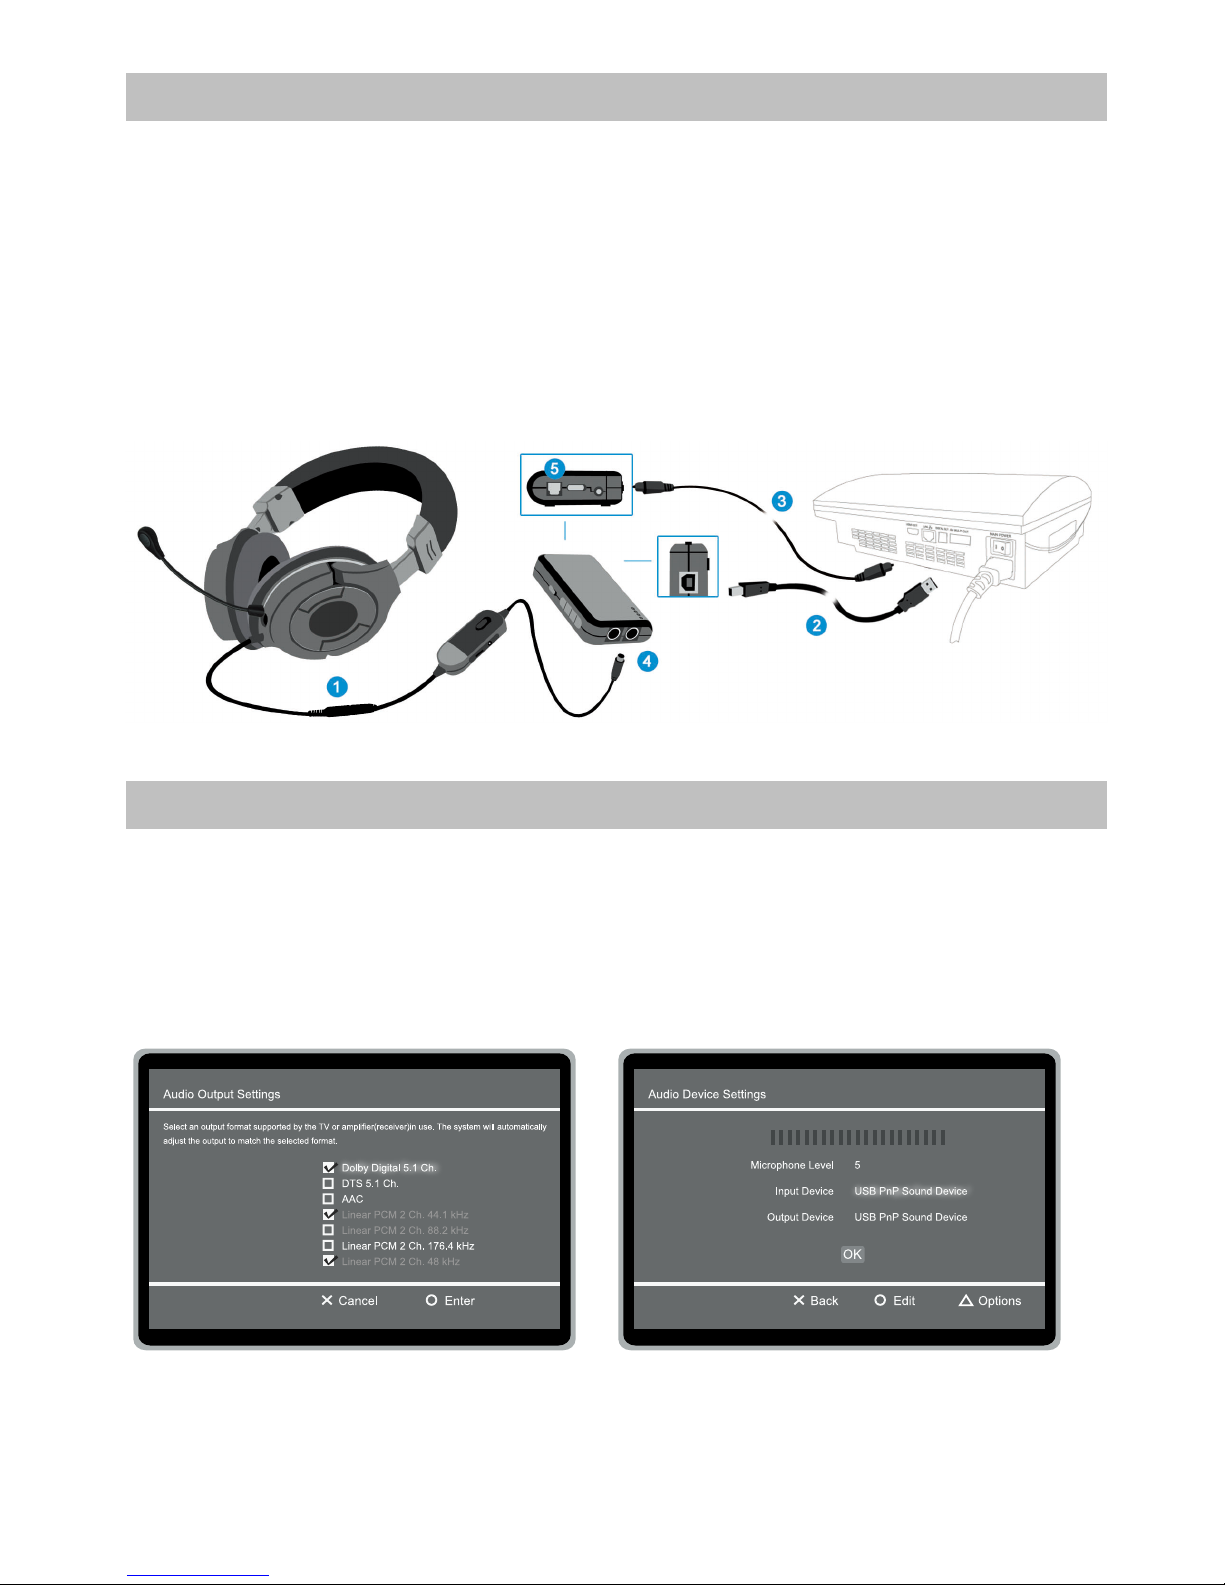
1. Optical Input: Connect with Optical Output Devices, Like DVD, XBOX360®, PS3™
2. Switch of Optical and Analog Input Selection
3. Analog Input: Connect with Any Analog Audio Output Devices
4. USB Power and Connect to PS3™ for PlayStation® Network Chatting
5. Switch to X6 Technology ON/OFF of Super 3D Sound Effect
6. Power ON/OFF
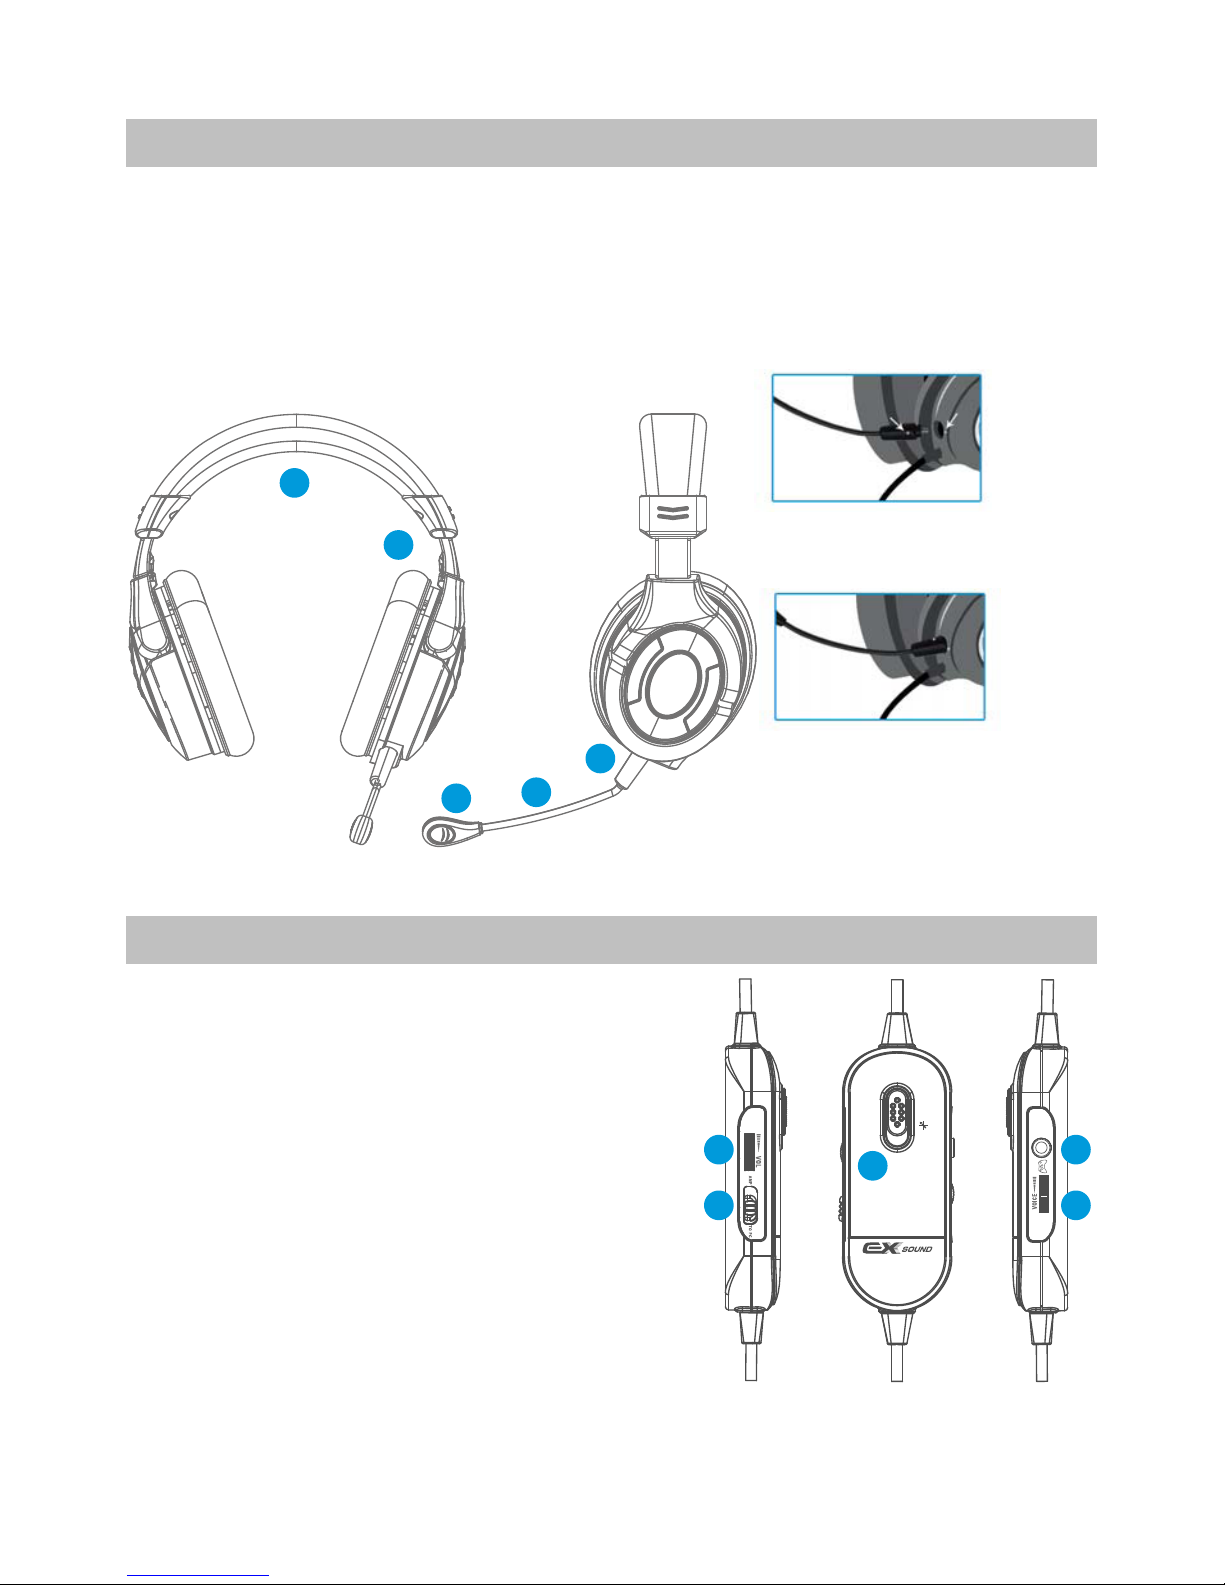
7. Volume Up
8. Volume Down
9. Switch for Dolby Headphone Selection
10.LED Indicator for Power and Source
11.LED Indicator for Dolby Pro Logic ll ON/OFF
12.LED Indicator for Dolby Headphone ON/OFF
13.LED Indicator for Movie and Music Mode Selection
14.Output to EXSOUND Pearl ll C Headset
4