manuals.online logo
Brands
  1. Home
  2. •
  3. Brands
  4. •
  5. eXtremeAir
  6. •
  7. Dryer
  8. •
  9. eXtremeAir GXT6 Series Guide

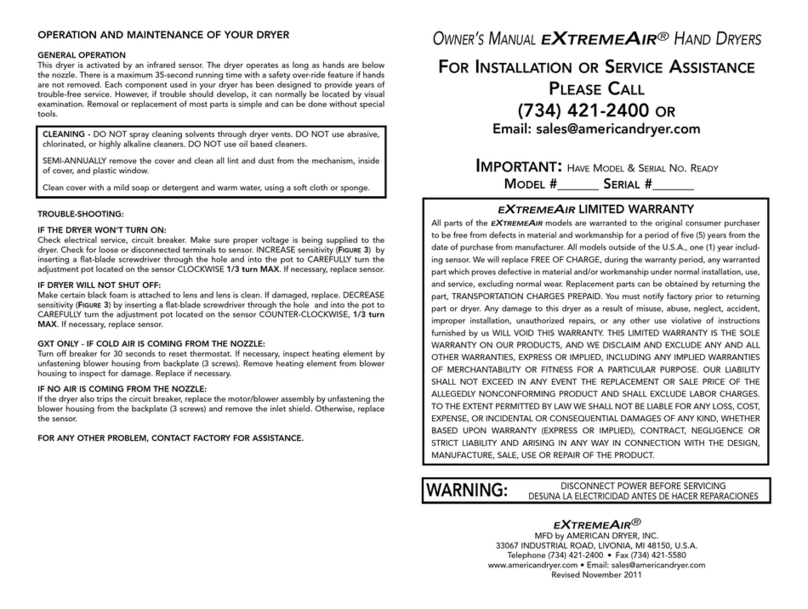
eXtremeAir GXT6 Series Guide

eXtremeAir
SenSor replacement InStructIonS
Service of a hand dryer should be performed by a licensed electrician.
1. After disconnecting power, remove the cover by loosening the two tamper-resistant
screws with the security wrench provided with the dryer.
2. Carefully unplug the four electrical connectors that plug into the sensor and disconnect the
two lead wires from the power supply. Make a note of which wire goes to which terminal.
3. Carefully remove the nozzle assembly from the blower housing by removing the four screws.
4. Remove the sensor from the backplate by removing the single mounting screw.
5. Install the new sensor by attaching to the backplate with the mounting screw, position
sensor as high as possible. Reconnect the four electrical connectors and the power supply,
replace the nozzle assembly and cover.
6. After checking the wiring, apply power and test. INCREASE sensitivity (Figure 2) by using a flat-
blade screwdriver and CAREFULLY turning the adjustment pot located on the sensor CLOCK-
WISE 1/3 turn MAX. DECREASE sensitivity, turn COUNTERCLOCKWISE 1/3 Turn MAX.
Figure 1 SenSor replacement
SenSor
nozzle ASS’y
Figure 2 SenSitivity adjuStment
+
-
GXt6, GXt8, eXt2, and eXt4 SerIeS only
American Dryer, Inc. • 340 County Line Road, Bensenville, IL 60106 U.S.A.
PH (734) 421-2400 • www.americandryer.com • Revised June 2018
American Dryer, Inc. • 340 County Line Road, Bensenville, IL 60106 U.S.A.
PH (734) 421-2400 • www.americandryer.com • Revised June 2018
WARNING:
CANCER AND REPRODUCTIVE HARM – www.p65warnings.ca.gov
CÁNCER Y DAÑO REPRODUCTIVO – www.p65warnings.ca.gov
WARNING:
DISCONNECT POWER BEFORE INSTALLING
DESUNA LA ELECTRICIDAD ANTES DE RACER REPARACIONES WARNING:
CANCER AND REPRODUCTIVE HARM – www.p65warnings.ca.gov
CÁNCER Y DAÑO REPRODUCTIVO – www.p65warnings.ca.gov
WARNING:
DISCONNECT POWER BEFORE INSTALLING
DESUNA LA ELECTRICIDAD ANTES DE RACER REPARACIONES
GX SerieS SenSor replacement inStructionS
Service of a hand dryer should be performed by a licensed electrician.
1. After disconnecting power, remove the cover by loosening the two tamper-resistant
screws with the security wrench provided with the dryer.
2. Carefully unplug the four electrical connectors that plug into the sensor and disconnect the
two lead wires from the power supply. Make a note of which wire goes to which terminal.
3. Carefully remove the vent assembly from the blower housing by pulling.
4. Remove the sensor from the backplate by removing the single mounting screw.
5. Install the new sensor by attaching to the backplate with the mounting screw, reconnect
the four electrical connectors and the power supply, replace the vent assembly and cover.
6. After checking the wiring apply power and test, INCREASE sensitivity (Figure 2) by using a flat-
blade screwdriver and CAREFULLY turning the adjustment pot located on the sensor CLOCK-
WISE 1/3 turn MAX. To DECREASE sensitivity, turn COUNTERCLOCKWISE 1/3 turn MAX.
American Dryer, Inc. • 340 County Line Road, Bensenville, IL 60106 U.S.A.
PH (734) 421-2400 • www.americandryer.com • Revised June 2018
American Dryer, Inc. • 340 County Line Road, Bensenville, IL 60106 U.S.A.
PH (734) 421-2400 • www.americandryer.com • Revised June 2018
Figure 2 SenSitivity adjuStment
Figure 1 SenSor replacement
SenSor
Vent ASS’y
GX SerieS replacement inStructionS
Service of a hand dryer should be performed by a licensed electrician.
1. After disconnecting power, remove the cover by loosening the two tamper-resistant
screws with the security wrench provided with the dryer.
2. Carefully unplug the four electrical connectors that plug into the sensor and disconnect the
two lead wires from the power supply. Make a note of which wire goes to which terminal.
3. Carefully remove the vent assembly from the blower housing by pulling.
4. Remove the sensor from the backplate by removing the single mounting screw.
5. Install the new sensor by attaching to the backplate with the mounting screw, reconnect
the four electrical connectors and the power supply, replace the vent assembly and cover.
6. After checking the wiring apply power and test, INCREASE sensitivity (Figure 2) by using a flat-
blade screwdriver and CAREFULLY turning the adjustment pot located on the sensor CLOCK-
WISE 1/3 turn MAX. To DECREASE sensitivity, turn COUNTERCLOCKWISE 1/3 turn MAX.
Figure 2 SenSitivity adjuStment
Figure 1 SenSor replacement
SenSor
Vent ASS’y
WARNING:
CANCER AND REPRODUCTIVE HARM – www.p65warnings.ca.gov
CÁNCER Y DAÑO REPRODUCTIVO – www.p65warnings.ca.gov
WARNING:
DISCONNECT POWER BEFORE INSTALLING
DESUNA LA ELECTRICIDAD ANTES DE RACER REPARACIONES WARNING:
CANCER AND REPRODUCTIVE HARM – www.p65warnings.ca.gov
CÁNCER Y DAÑO REPRODUCTIVO – www.p65warnings.ca.gov
WARNING:
DISCONNECT POWER BEFORE INSTALLING
DESUNA LA ELECTRICIDAD ANTES DE RACER REPARACIONES

This manual suits for next models

4

Other eXtremeAir Dryer manuals

eXtremeAir Hand Dryers User manual

eXtremeAir

eXtremeAir Hand Dryers User manual

eXtremeAir GXT User manual

eXtremeAir

eXtremeAir GXT User manual

eXtremeAir CPC9 User manual

eXtremeAir

eXtremeAir CPC9 User manual

eXtremeAir EXT7BG User manual

eXtremeAir

eXtremeAir EXT7BG User manual

Popular Dryer manuals by other brands

Whirlpool AZA9791 Instructions for use

Whirlpool

Whirlpool AZA9791 Instructions for use

Hotpoint FTVFG 65B Instruction booklet

Hotpoint

Hotpoint FTVFG 65B Instruction booklet

Electrolux EW8H258BC user manual

Electrolux

Electrolux EW8H258BC user manual

LG RH80V5 V Q Series owner's manual

LG

LG RH80V5 V Q Series owner's manual

Fast Mover AIR250 Product instruction manual

Fast Mover

Fast Mover AIR250 Product instruction manual

KRHÜNER 38287 instruction manual

KRHÜNER

KRHÜNER 38287 instruction manual

GE GFDN120ED0WW installation instructions

GE

GE GFDN120ED0WW installation instructions

GE Spacemaker DSKS433EB Dimensions and installation information

GE

GE Spacemaker DSKS433EB Dimensions and installation information

GE Profile PFDS450EL Dimensions and installation information

GE

GE Profile PFDS450EL Dimensions and installation information

GE GFDN100 owner's manual

GE

GE GFDN100 owner's manual

Maytag MGD6200KW Dimension Guide

Maytag

Maytag MGD6200KW Dimension Guide

Urban choice UC LOGIC 83AW Installation and service instructions

Urban choice

Urban choice UC LOGIC 83AW Installation and service instructions

Siemens WQ33G2D0GR User manual and installation instructions

Siemens

Siemens WQ33G2D0GR User manual and installation instructions

Electrolux EDV5051 user manual

Electrolux

Electrolux EDV5051 user manual

Kenmore 9781 - 27 in. Laundry Center operating instructions

Kenmore

Kenmore 9781 - 27 in. Laundry Center operating instructions

Speed Queen LES17 Specifications

Speed Queen

Speed Queen LES17 Specifications

Numatic CRG 8055/100T Owner's instructions

Numatic

Numatic CRG 8055/100T Owner's instructions

Electrolux EIMED60JRR0 installation instructions

Electrolux

Electrolux EIMED60JRR0 installation instructions

manuals.online logo
manuals.online logoBrands
  • About & Mission
  • Contact us
  • Privacy Policy
  • Terms and Conditions

Copyright 2025 Manuals.Online. All Rights Reserved.