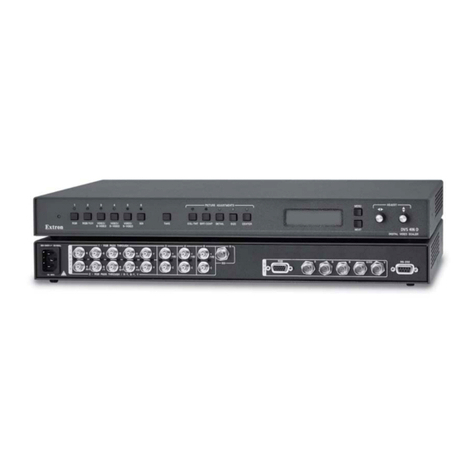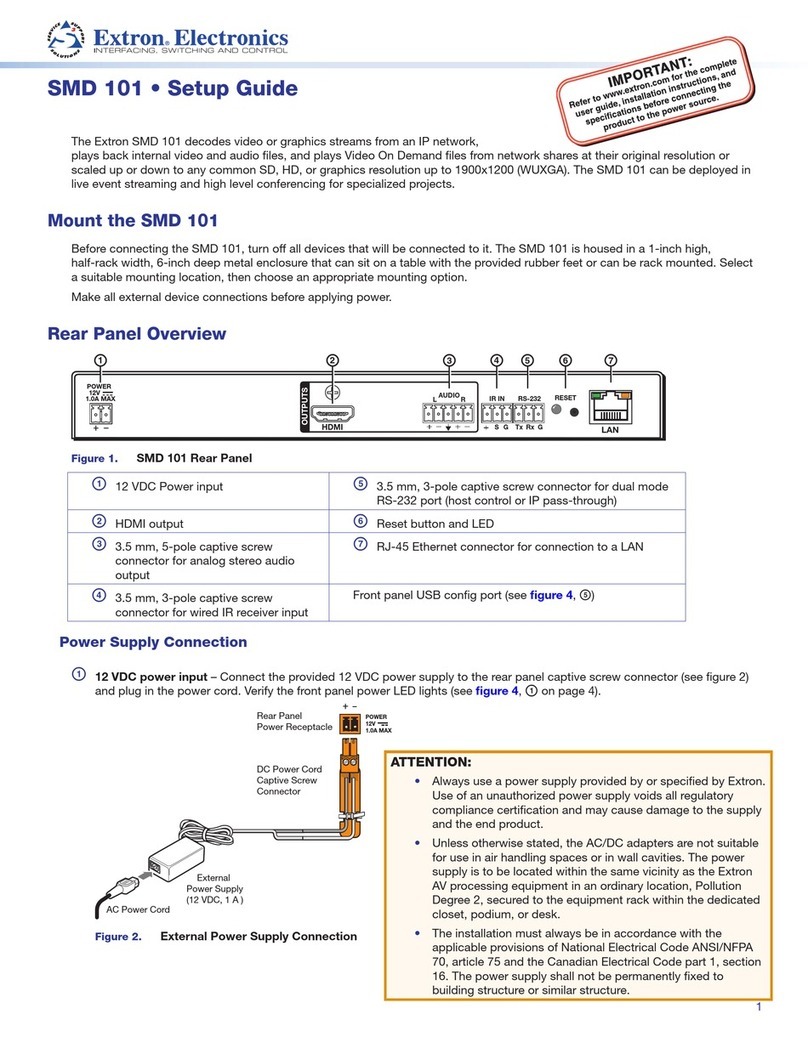
Power and video input connections Output, user interface, and control connections
aAC power connector
bUniversal analog VGA connectors
— inputs 1 and 2
cHDMI connectors — inputs 3-5
(Note: PIP is not available on input 5.)
dAudio 5-pole captive screw connectors
— inputs 1- 5 (audio models only)
eHDMI connector
fRGB/R-Y,Y, B-Y component VGA
connector
g3G/HD-SDI connector (optional)
(SDI models only)
hGenlock connectors — input and loop
through (SDI models only)
iAudio output (fixed), 5-pole captive
screw connector (audio models only)
jRCA audio (S/PDIF) output connector
(audio models only)
kAudio output (variable), 5-pole captive
screw connector (audio models only)
lReset button and LED
mRJ-45 LAN connector
nRS-232 and IR 5-pole captive screw
connector
oContact closure 5-pole captive screw
connector (shares a ground with RS-232)
Upgrading the Firmware Using the Web Pages
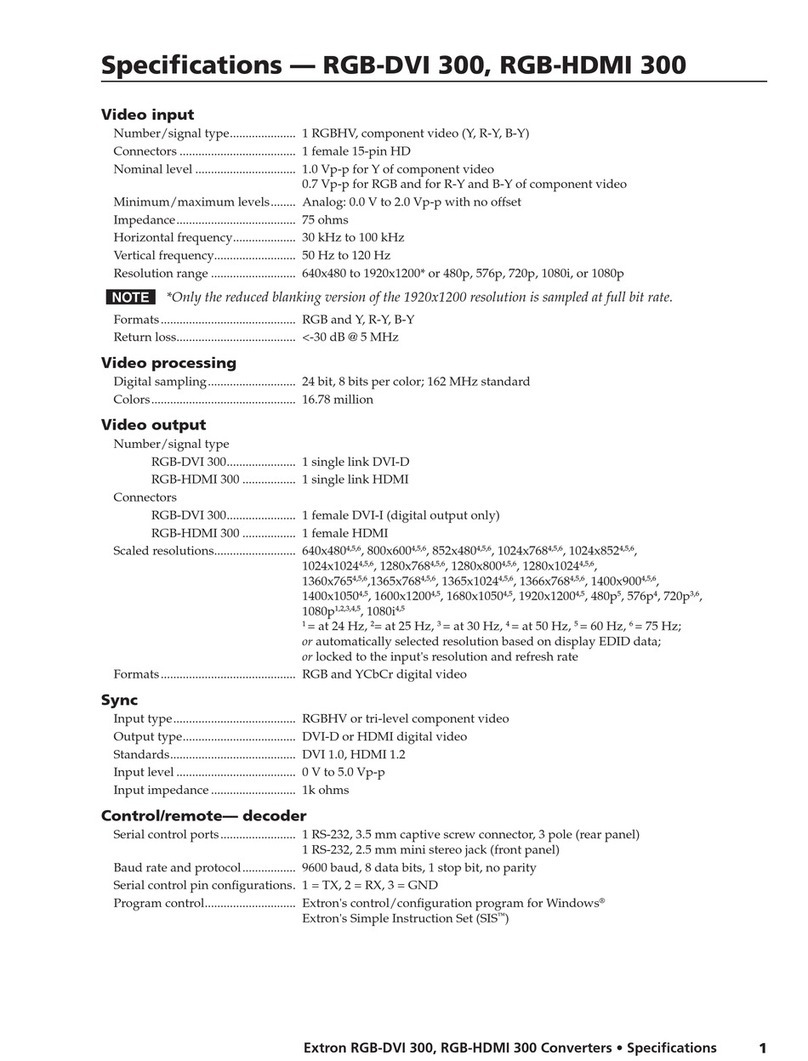
The onboard firmware version of the DVS 605 unit can be upgraded via the factory-installed web pages when connected via the
Ethernet port to a LAN or WAN, using a web browser such as Microsoft Internet Explorer.
Firmware upgrade files (with an EFF or ESS extension) for the DVS 605 unit are available at www.extron.com. At the website,
browse to the file location and download the latest firmware version to a PC connected to the DVS 605.
Access the DVS 605 internal web pages by entering the IP address of the unit in the browser Address field.
When the web pages open do the following:
1. Click the Hardware button above the global navigation bar.
2. Click the Firmware Loader icon on the global navigation bar. The Firmware Loader screen opens.
3. Click Browse. The Choose File to Upload dialog box opens.
4. Browse to and select the downloaded firmware file to upload to the device. Valid firmware files have an EFF or ESS extension.
5. Click Open. This closes the dialog box and returns you to the Firmware Loader screen.
6. Click Upload. Uploading progress is displayed and will indicate when completed.
7. When the upload is complete the unit reboots. Any IP connections to the unit will need to be re-established.
4
DVS 605 • Setup Guide (Continued)
Basic SIS Commands Table
The DVS 605 can be configured with specific SIS commands via RS-232 or a LAN connection. This table lists a selection of the
commands. For a full list of SIS commands and variables see the DVS 605 User Guide, online at www.extron.com.
Command ASCII command
(host to scaler)
Response
(scaler to host)
Additional description
Select video and audio input X!! InX!•All]Selects video and audio from input X!.
Select video input X!& InX!•RGB]Selects video only from input X!.
Select audio input X!$ InX!•Aud]Selects audio only from input X!.
Execute Auto-Image 0*A Img0]Executes Auto-Image for current input.
Mute video to black 1B Vmt1]Mutes video and display a black screen.
Mute video and output sync 2B Vmt2]Mutes video and sync output.
Unmute video 0B Vmt0]Unmutes video.
PIP on EX!PIP}PipX!] Turns on PIP and displays input X!.
PIP off E0PIP}Pip0]Turns off PIP.
Swap %Tke]Swaps inputs between main and PIP windows, or current
and previous input when not in PIP mode.
Recall PIP preset (without input) 3*X2@ .3RprX2@] Recalls PIP preset X2@ without input.
Recall PIP preset (with input) 4*X2@ .4RprX2@] Recalls PIP preset X2@ with input.
Save PIP preset 4*X2@ ,4SprX2@] Saves PIP preset X2@.
Enable Executive mode 1 1X Exe1]Locks out entire front panel.
Enable mode 2 2X Exe2]Allows limited front panel adjustments only.
Disable Executive mode 0X Exe0]Allows all front panel adjustments and selections.
View front panel lock status X 0](or 1])
(or 2])
Shows executive mode status.
NOTE: Changes made to all Ethernet settings do not take effect until the reboot networking command (2BOOT) is issued.
Set DHCP to Off or On EX1&DH}IdhX1&] Sets DHCP mode.
View DHCP status EDH}X1&] Shows DHCP setting.
Set IP address EX1(CI}X1(] Sets IP address to X1(.
View IP address ECI}X1(]Shows current IP address X1(.
Reboot network E2BOOT}Boot2]Restarts network after IP address or DHCP changes.
NOTE: X! = Input number (1 – 5) X1& = DHCP mode (0 = Off, 1 = On, default) X1( = IP address (such as 192.168.254.254)
X2@ = PIP presets (1-16)
68-2110-50
Rev. A
04 12
Extron Headquarters
+1.800.633.9876 (Inside USA/Canada Only)
Extron Asia
+65.6383.4400
Extron China
+86.21.3760.1568)
Extron Korea
+82.2.3444.1571
Extron Europe
+31.33.453.4040
Extron Japan
+81.3.3511.7655
Extron Middle East
+971.4.2991800
Extron India
+91.80.3055.3777
© 2012 Extron Electronics — All rights reserved. All trademarks mentioned are the property of their respective owners. www.extron.com
