4
FOX3SR301 and FOX3SR311 • Setup Guide (Continued)
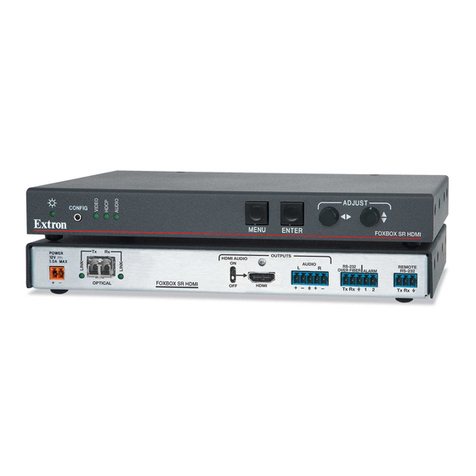
EMENU and ENTER buttons (see figure6 on page3)— Press these buttons to access and navigate the on-screen
display menu system.
FNavigation buttons — Press these buttons to navigate through the on-screen display menu system or change settings.
Reset
Press the rear panel recessed reset button (see figure1, Kon page1) if the FOX3 scaling receiver rmware is corrupted
or the unit gets disconnected during the update process. The different resets allow the device to revert to the factory loaded
rmware, reset IP seetings, or reset conguration to default (see the Reset Modes table, for details on the reset modes).
Reset Modes
Mode Activation Result Purpose and Notes
Use Factory Firmware
Hold in the recessed rear panel
Reset button while applying power
to the unit.
The unit reverts to the factory default
firmware for a single power cycle.
Use to revert to the factory default
firmware for a single power cycle if
incompatibility issues arise with user-
loaded firmware. All user files and
settings are maintained.
NOTE: Do not operate with the default firmware loaded by a mode 1 reset. Use it only to load the most current
firmware to the device.
Reset IP Setting *
Hold in the Reset button about
6seconds until the Power LED
blinks twice. Then, release and
press the Reset button momentarily
(<1 second) again within 1 second*.
Sets the following back to factory
default:
• Port mapping
• IP address: 192.168.254.254
• Subnet mask address:
255.255.255.0
• Gateway address: 0.0.0.0
Turns DHCP off.
Power LED blinks 4 times during reset.
Use to reset all IP settings back to the
factory defaults.
Equivalent to SIS command 1ZQQQ.
Reset to Factory Default*
Hold in the Reset button until the
Power LED blinks three times (once
at 3 seconds, again at 6seconds,
again at 9 seconds). Then, release
and press the Reset button again
within 1second*.
A complete reset to factory defaults
(except the firmware).
• Does everything mode 4 does.
• Clears port configurations.
• Resets all IP options.
• Clears all user settings.
• Clears all files from the unit.
• The Power LED blinks four times.
Use to start over with default
configuration and uploading, and also
to replace events.
Equivalent to SIS command ZQQQ.
NOTES:
• *For these modes, nothing happens if the momentary press does not occur within 1 second.
• The factory configured passwords for all accounts on this device have been set to the device serial number. In the
event of a complete system reset, the passwords convert to the default, which is extron.
Front Panel Lockout Mode (Executive Mode)
The front panel lockout mode limits operation of the device from the front panel. When enabled, use SIS commands or the
Product Conguration Software (PCS) to congure the device. To enable or disable the front panel lockout mode through the front
panel, press and hold the MENU (see figure6, E) and down arrow (F) buttons simultaneously for 5 seconds or until the power
LED blinks.
Configuration and Control
To congure the FOX3 SR, use the front panel controls and the on-screen display (OSD) menu, Simple instruction Set (SIS)
commands, or PCS.
