Factor OSTRO User manual

Assembly Manual
FACTORBIKES.COM
V1.05

Assembly Manual
01
01
01
I
I
Necessary Tools
Instructions
1 Seatpost
032
043 Di2 Cable Routing
D-Fork Assembly Instructions 064
105 Bottom Bracket Installation Instructions
7 Bottle cage
11
11
6 Computer mount
128 Thru-Axle Installation
139 Fork nut adjustment
Introduction
Limited Lifetime Warranty On
Bicycles And Framesets
Install the rear brake hose

Congratulations on the purchase of your FACTOR product. Please review thoroughly the following
instructions and only follow them for correct operation and use. Should you fail to follow the following
instructions and warnings, this could result in damage of the product, damage to the bicycle and in
severe situations cause possible injury and or death.
Since specific tools and bicycle service experience is required for proper assembly installation, it is
recommended that the product be assembled by a qualified bicycle mechanic. FACTOR BIKES
assumes no responsibility for damages or injury due to improper assembly and installation of the
product(s).
To qualify for FACTOR’S LIMITED LIFETIME WARRANTY please visit www.factorbikes.com and register
your product(s) within 15-days of purchase.
Subject to the following limitations, terms and conditions, Factor warrants to the original owner for
the lifetime of the original owner of each new Factor bicycle or frameset that the bicycle frame or
frameset is free of defective materials and workmanship.
The lifetime limited warranty is conditioned upon the bicycle being operated under normal conditions
and use, and properly maintained in accordance with the owner’s handbook (as supplied with the
Factor bicycle).
This lifetime limited warranty does not apply to paint/finish, any Factor components considered
subject to normal wear and tear or any third-party components attached to the bicycle or frameset,
such as wheels, drive train, brakes, or any suspension related parts or components.
Any Factor components considered subject to normal wear and tear are covered under a limited one
(1) year warranty. The duration of this limited warranty shall be one (1) year, commencing from the
date the customer takes possession of the bicycle.
Factor components considered subject to normal wear and tear will be listed in the Technical
Supplement and/or User Manual provided with the bicycle. Any and all third party components
included with or installed on Factor bicycles are subject to any manufacturers’ guarantee applicable
to those components, as specified by the manufacturer.
Additional Conditions: This lifetime limited warranty is made solely to the original owner of this new
Factor bicycle or frameset, and shall remain in force only as long as the original owner retains
ownership of the Factor bicycle. This lifetime limited warranty is not transferable.
If the bicycle is purchased as a gift, the original recipient of the gift is considered to be the original
owner for the purposes of this lifetime limited warranty.
In order to exercise your rights under this lifetime limited warranty, the bicycle or frameset must be
presented to Factor or an authorized Factor dealer, together with a receipt, bill of sale, or other
appropriate written proof of purchase which identifies the bicycle or frameset by serial number.
Exclusions & Limitations:
The above warranty, or any implied warranty, does not cover:
Modifications from the original condition except such modifications which are necessary to comply
with specific national legislative requirements that may apply in the country of use.
Normal wear and tear.
Use of the bicycle for abnormal and/or commercial activities, or for purposes other than those for
which the bicycle was designed. Damage caused by failure to follow the instruction manual.
Paint finish and decal damage resulting from normal wear and tear, taking part in competition,
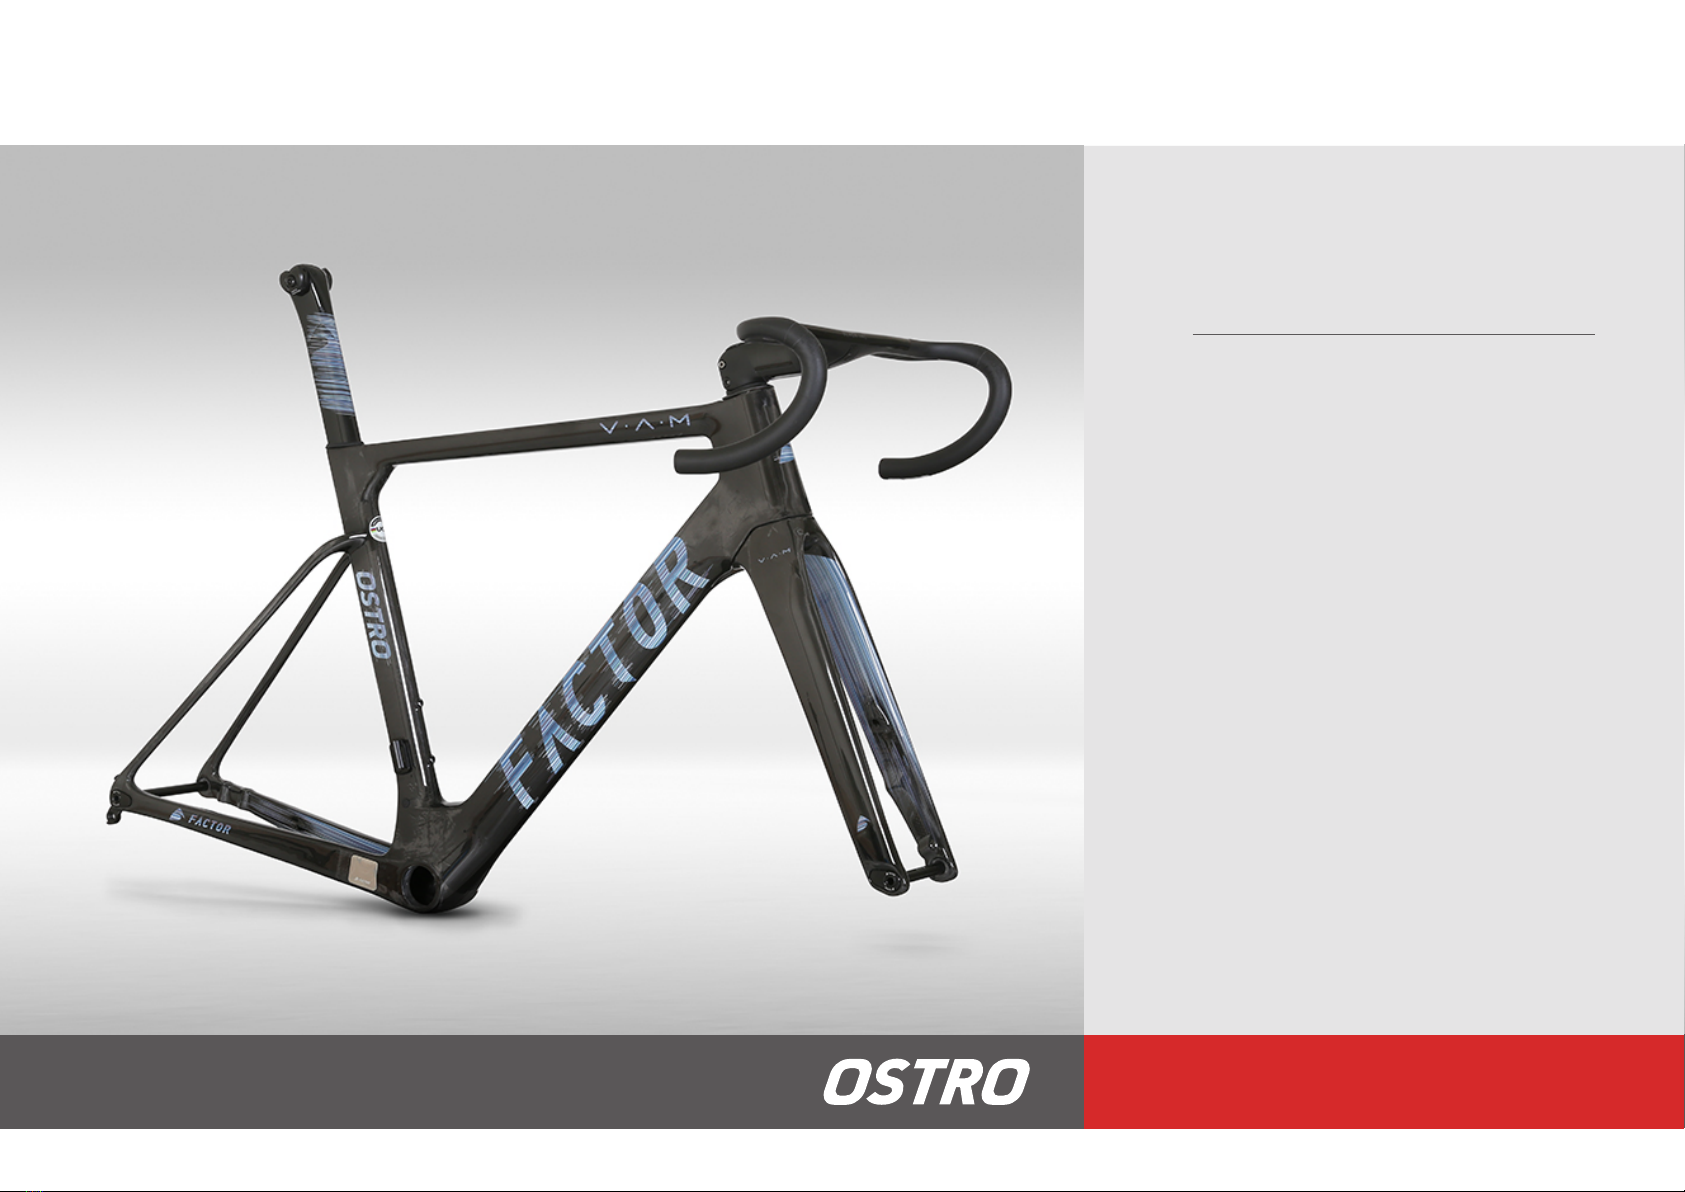
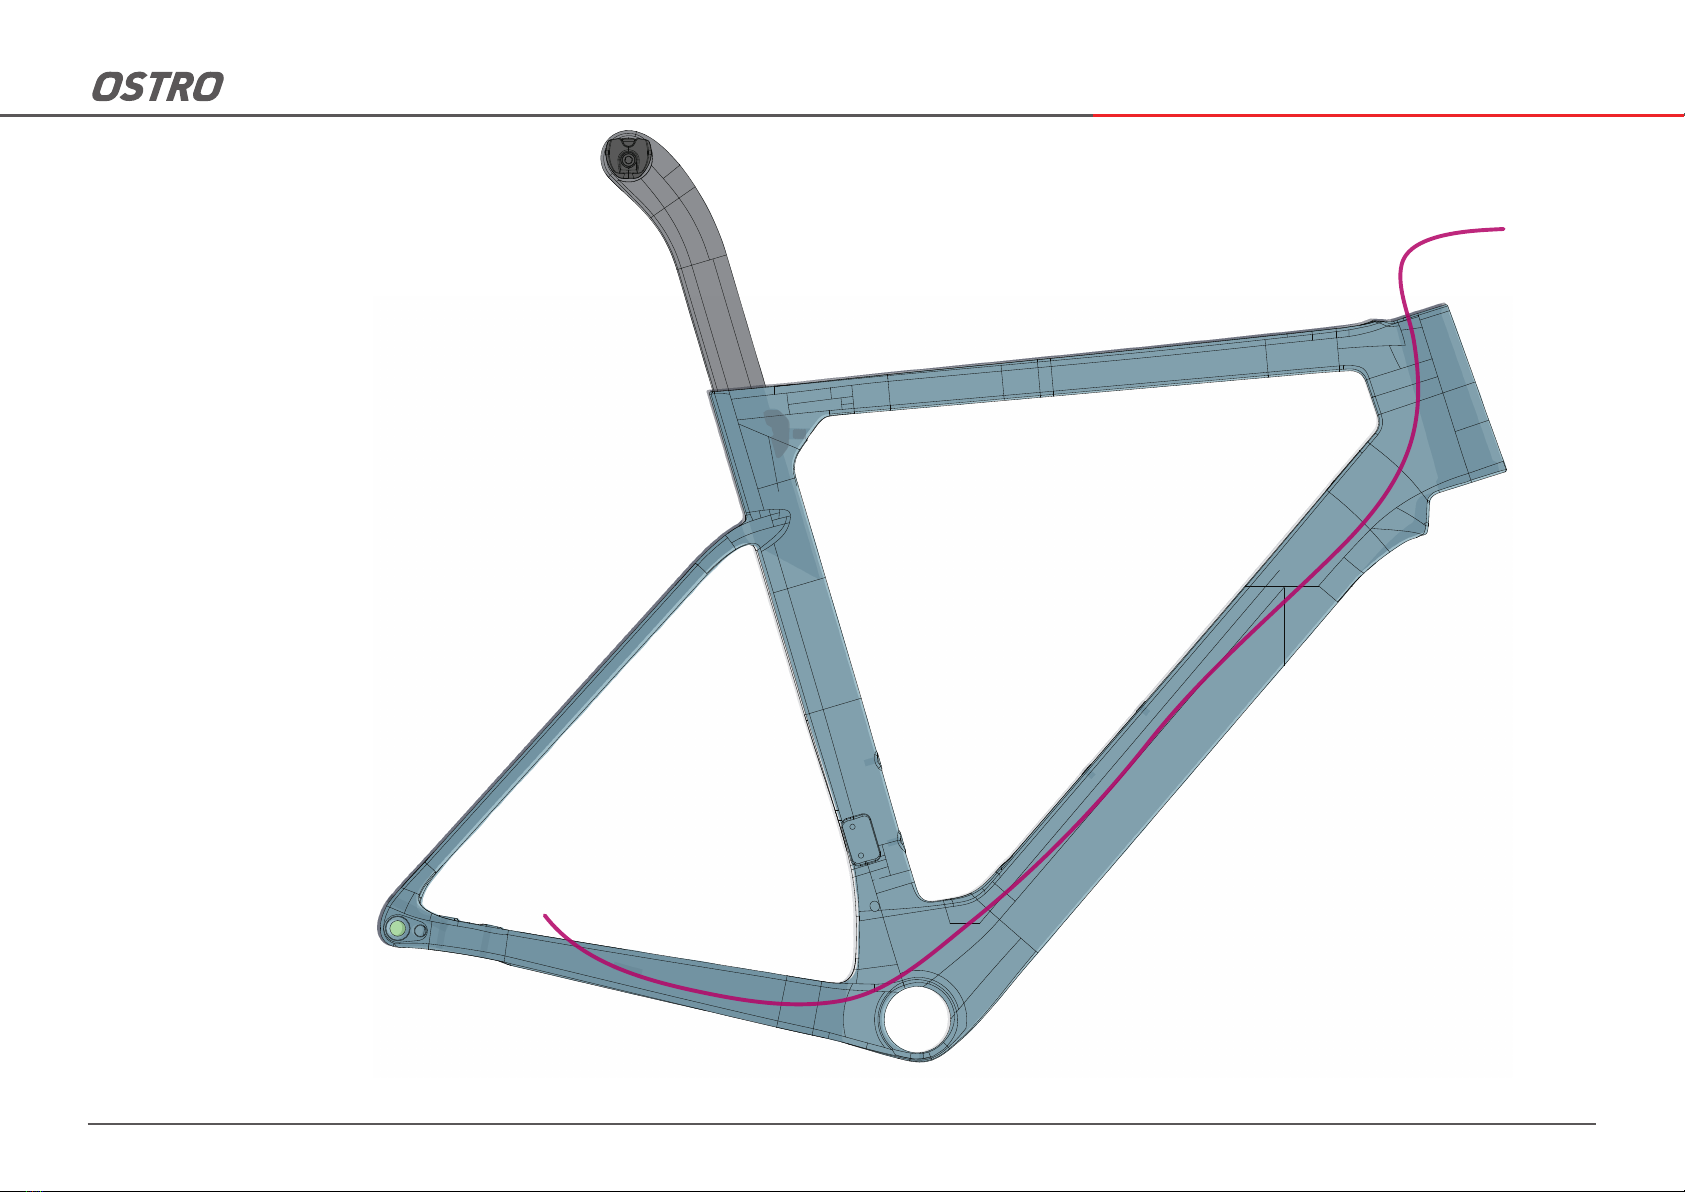
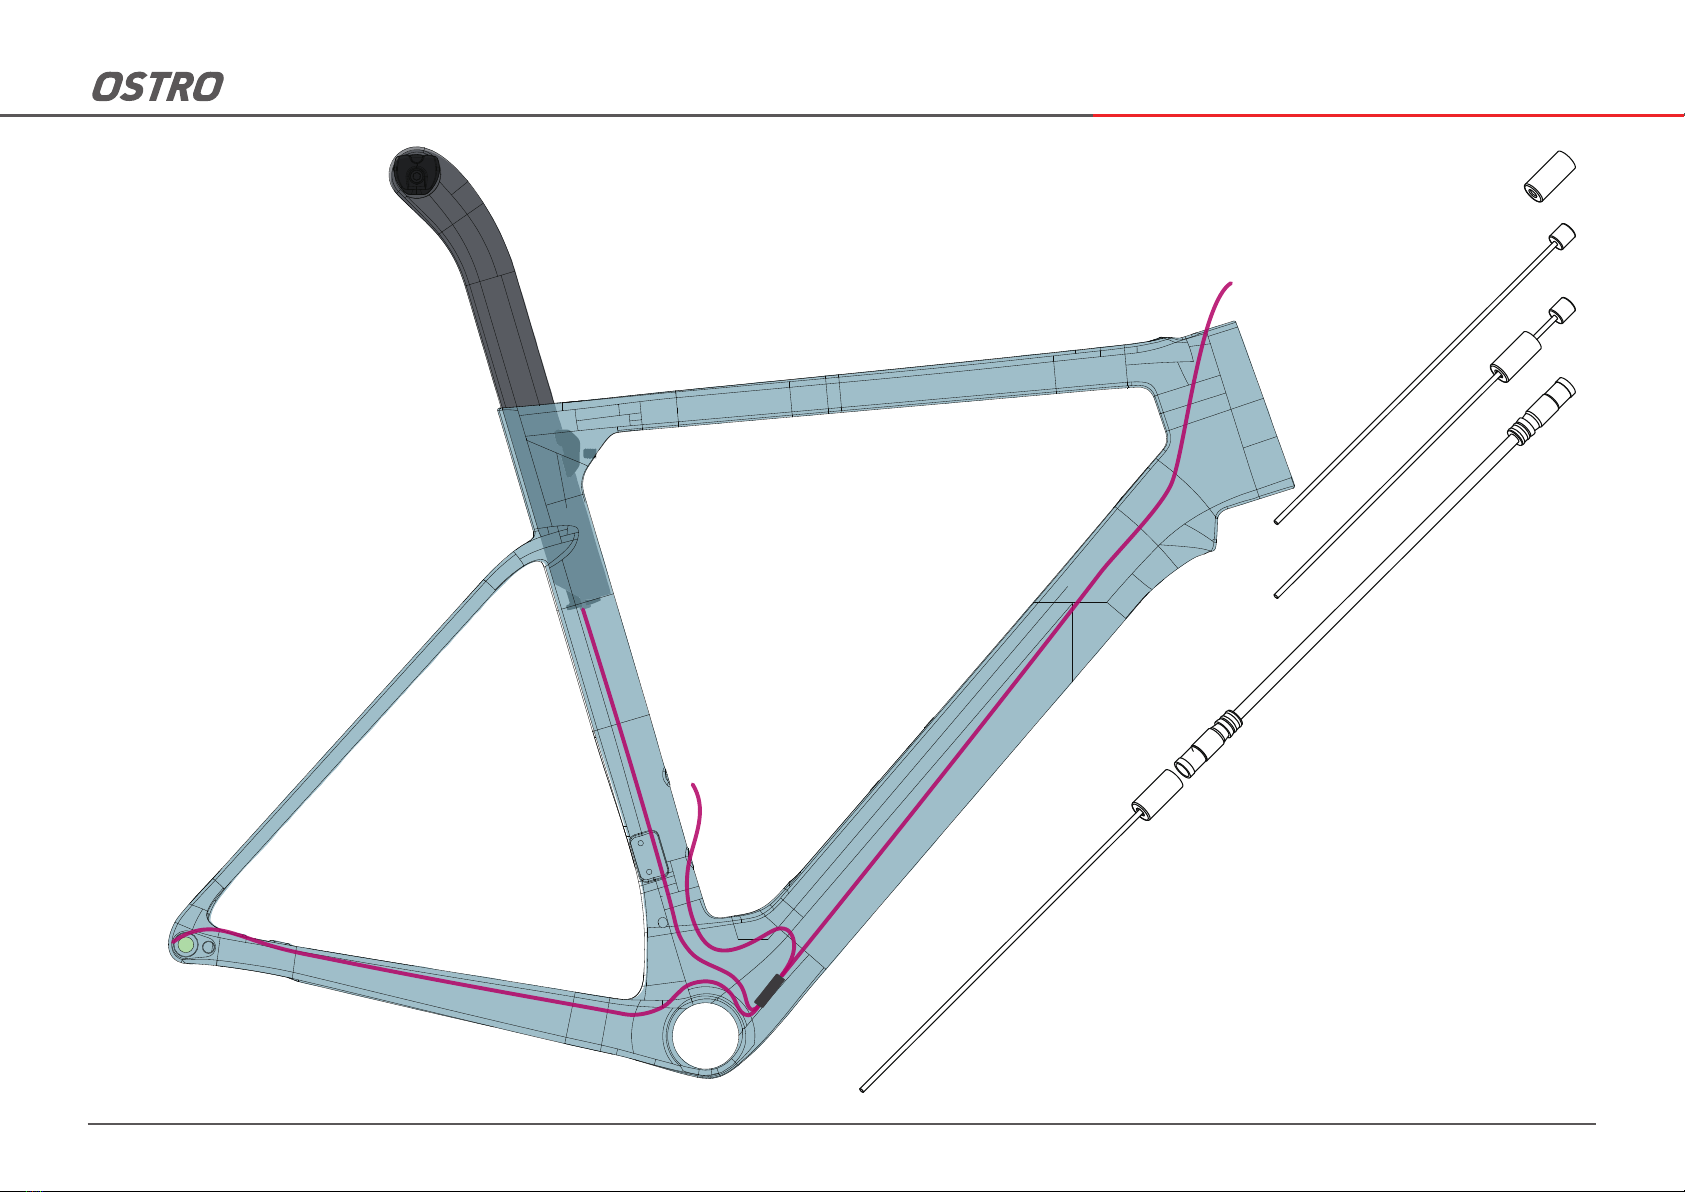
Assembly Manual
INTRODUCTION
LIMITED LIFETIME WARRANTY ON BICYCLES AND FRAMESETS
I

jumping, downhill and/or training for any such events or as a result of exposing the bicycle to, or riding
the bicycle in, severe conditions or climates.
Labour and/or transport charges for full or part replacement, repair, return or changeover.
Accident, neglect, improper handling, abuse or wilful damage, misuse, improper assembly and use of
devices or components not originally intended for, or not compatible with the bicycle.
Any alteration or repair by you or a third party who is not one of our authorised repairers.
Any specification provided by you. Remedy: Unless otherwise provided, the sole remedy under the
above Factor warranty, or any implied warranty, is limited to repair or replacement of defective parts
with those of equal or greater value at the sole discretion of Factor.
Except for this remedy Factor will not be responsible for any direct, incidental or consequential loss or
damages, including, without limitation, loss or damages for personal injury, property damage or
economic losses, whether based on contract, warranty, negligence, product liability or any other
theory.
Nothing in this limited warranty will exclude or limit Factor’s liability for death or personal injury
caused by Factor’s negligence or any other liability which cannot be excluded or limited by law. Unless
you are a consumer, Factor makes no other warranties, express or implied and all implied warranties,
including warranties of merchantability, reasonable care, and fitness for a particular purpose are
hereby disclaimed.
Miscellaneous:
In the event that Factor prevails in any court action, you agree to reimburse Factor for the expenses,
including attorney’s fees and expenses of litigation incurred by Factor in defending against your claim.
Claims made outside the country of purchase may be subject to additional fees and restrictions.
Warranty detail and duration may differ by country. This warranty gives you specific legal rights, and
you may also have other rights which may vary from place to place. This warranty does not affect your
statutory rights.
To the extent that this warranty statement is inconsistent with local law, this warranty shall be
deemed modified to be consistent with such law; under such law, certain disclaimers and limitations
may apply to the customer.
Some states and countries do not allow the exclusion or limitation of incidental or consequential
damages or warranties, so the above limitations or exclusions may not apply to you.
If it is determined by a court of competent jurisdiction that a certain provision of this limited warranty
does not apply, such determination shall not affect any other provision of this limited warranty, and all
other provisions shall remain in effect.
The English language version of this limited warranty will prevail.
This limited warranty is governed by the laws of European Union and United States and the courts
of European Union and United States shall have the non-exclusive jurisdiction to settle any dispute
or claim arising out of or in connection to this limited warranty or its subject matter or formation
(including non-contractual disputes or claims).
Assembly Manual
II

Assembly Manual 01
Necessary tools
Instructions
1-1
BBT-47 Bottom Bracket Tool from Park Tool
Sand paper (120-180 grit)
Park Tool IR-1
Hydraulic bleeding kit
Marker
Grease only
Isopropyl alcohol
Assembly paste ( Morgan Blue Auqaproof Paste or r.s.p. Creak Freak Assembling Paste )
Loctite 243
M6x1.0 tap
Route Di2 wire through seat tube and out through bottom
bracket hole, attach Junction B to the end of the Di2 wire at
the bottom bracket
Seatpost 1-2 1-3
round 7x7 mm rails
oval 7x9 mm rails
Adjust the set back and saddle angle to the desired
position. Tighten the M6 saddle clamp bolt to 12 Nm.
Similar to a Formula 1 car, your Factor OSTRO requires a bit of patience and mechanical skill to achieve a truly impressive
result. We recommend that you have your bicycle assembled and maintained by an authorized Factor dealer. Make sure to let
your mechanic know how much you appreciate their help building the bike of your dreams!
Factor frame sets are shipped with 7X9 mm outer rail
clamps for carbon rail saddles. 7x7 mm outer rail
clamps for traditional saddle rails are available through
your Factor dealer.

Place the battery holders around the Di2 battery. The male
shell grooves must match with the female battery groove.
Insert the seat post clamp into the frame. Note: you may
find it easier to keep this from falling down into the frame if
you coat it in carbon prep compound, and/or tilt the frame
downwards
Secure the seat post by carefully tightening the grub
screw to 5.5-6Nm
1-5 Insert battery into seatpost 1-6
Assembly Manual 02
1-4
Apply Black Inc Installation Compound to the inside
of the seat tube. Connect the Di2 cable to the
battery. Insert seat post into the frame to the
desired height.
1-7 1-8
Note: Your Factor frame set requires a minimum
of 90 mm of seat post insertion. The minimum
insertion is clearly marked on the seat post.
Failure to achieve the minimum insertion could
cause damage to the seat post or frame resulting
in serious injury or death.

Assembly Manual 03
2-1
Install the rear brake hose starting at the caliper, and
bring the hose out at the upper bearing of the headset,
make sure to wrap the hose in the supplied sound
dampening tube and leave enough slack
Install the rear brake hose

Di2 Cable Routing
Assembly Manual 04
3-1 Note: Similar to a Formula 1 car your Factor OSTRO requires a bit of
patience and mechanical skill to achieve a truly impressive result. We
recommend that you have your bicycle assembled and maintained by
an authorized Factor dealer. Make sure to let your mechanic know how
much you appreciate their help building the bike of your dreams!
Park Tool offers an excellent internal cable routing kit (Park
Tool IR-1) to help you easily route your cables. If you do not
have access to this kit you can use a derailleur inner wire
and a 5mm metal cable ferrule to route
your wires.
Di2 cable routing overall view

Assembly Manual 05
3-5 3-6 3-7
3-2 3-3 3-4
Route the front derailleur Di2 cable through the seat tube
hole to the bottom bracket exit port.
Install Di2 cable grommet. Connect to the Di2 Junction B
Connect to the Di2 Junction B
Install Di2 cable grommet.
Route the rear derailleur Di2 cable through
the chainstay.

Assembly Manual 06
4D-Fork Assembly Instructions

4-2 4-3
Assembly Manual 07
4-1
4-4 4-5 4-6
Fork has a threaded insert bonded into the steerer
and extends all the way inside and needs to be
trimmed down to size.
Pre-cut fork steerer making sure that it is
cut 3mm below the top of the stem. We
would advise chasing the threads in the
steerer tube with a M6x1.0 tap to remove
any burs after cutting the steerer.
Install rear brake caliper, routing brake hose through
downtube exiting from top of headtube. Slide foam tube
through the brake hose making sure it sits in the middle
of the downtube.
3mm
Assemble both top and bottom headset bearing
and slide fork steerer, brake hose and Di2 wires
through top bearing.
Slide compression ring into place. 6
Make sure the slot on the compression ring is
facing the back of the steerer.

4-8
Assembly Manual 08
4-7
4-9 4-10
Assemble the appropriate top bearing cover,
spacers and stem spacer.
Feed Di2 wires through the barstem.
Feed brake hoses through the barstem.
Apply assembly compound on the steerer tube
and slide the barstem onto the fork steerer.

Assembly Manual 09
4-11 4-12 4-13
4-14 4-15
Insert anti-compression plug into the gap in front of
the fork steerer and the apply assembly compound
around it.
Preload the headset to remove excess play.
Torque the barstem to 5.2Nm
Install the top cap cover. Note that the notch on top cap sits in
between the slot on the back of the barstem.

Assembly Manual 10
Drive Side
1mm+1mm+3mm+29mm reducer
Non Drive Side
29mm reducer+3mm
Drive Side
24mm reducer
For SRAM DUB cranksets, install the included 29mm reducers and
spacers in the following sequence.
For Shimano Hollowtech II cranksets, install the included 24mm
Wheels MFG reducers and spacer in the following sequence.
Bottom Bracket Instructions for SRAM DUB and Shimano cranksets
Non Drive Side
24mm reducer+1mm+1mm+0.5mm
5-1 5-2 5-3
5-4
Clean the inside of the frame bottom
bracket & the bottom bracket cups with
an isopropyl alcohol.
Apply a layer of good quality assembly
paste to the threads of both bottom
bracket cups. We recommend assembly
paste from Morgan Blue (Auqaproof
Paste) or r.s.p. (Creak Freak Assembling
Paste).
Thread the cups into the frame and
torque the cups down to 30nm for
the drive side and 40nm for the non
drive side. We recommend using
Park Tool BBT-47.
Bottom Bracket Installation Instructions

Assembly Manual 11
6-2
Release the bolt and remove the cover.
Install cages and tighten M5 bolts with T20 Torx to 2 Nm.
Install the computer mount and tighten the 2 bolts to 2 Nm.
6-1
7-1
Computer mount
Bottle cage

Assembly Manual 12
Apply Loctite 243 on bolt threads. Thread the bolt in but do
not tighten, this will allow the insert to align when installing
the axle
Remove the thru-axle and remove the hub. Install the rear
wheel and tighten the thru-axle (with the nylon washer) to
12Nm.
Install a rear hub in the dropout with the free hub on
non-drive side. This will allow better access for the
next step. Install the thru-axle with the nylon
washer and tig hten to 12Nm.
After ensuring the dropout insert is correctly
aligned, tighten the dropout bolt to 1 Nm.
8-1
8-4
8-2 8-3Thru-Axle Installation
freehub on
non-drive side !

Assembly Manual 13
Apply Loctite 243 on bolt threads. Thread the bolt in but do not
tighten, this will allow the insert to align when installing the
axle
Remove the thru-axle and remove the hub. Install front wheel
and tighten the thru axle (with the nylon washer) to 12Nm.
Install a front hub in the dropout with the free hub
on non-drive side. This will allow better access for
the next step. Install the thru-axle with the nylon
washer and tighten to 12Nm
After ensuring the dropout insert is correctly
aligned, tighten the dropout bolt to 1 Nm.
9-1
9-4
9-2 9-3
Fork nut adjustment
rotor-mount
on drive side !

FACTORBIKES.COM
This manual suits for next models
1
Table of contents
Other Factor Bicycle manuals