F&V X300 User manual

Safety tips
To prevent damage to your F&V product or injury to yourself or to others. Read the
following safety precautions in their entirety before using this equipment. Keep these
safety instructions where all those who use the product ill read them.
X300 LED Panel Light
User Guide

Notes
1. Do not let this equipment fall down rainy, to prevent fire or shock hazard.
2. Please avoid heavy impact on the screen.
2. Please do not directly face the light bulb when the light ON.
3. Use of non-original match or without of the provisions power supply voltage
will damage.
4. Never block the ventilation grille by covering it with paper or clothes.
5. Should you notice smoke or an unusual temperature coming from the
equipment, cut off the power and stop using it . Take the equipment to a F&V
Authorized Resellers service center to inspection.
6. Do not disassemble. Touching the product’s internal parts could result in
injury. In the event of Malfunction, the product should be repaired only by a
qualified technician. Should the product break open or wet as the result of a
fall or other accident. Cut off the power and then take the product to a F&V
service center to inspection.
7. Storage and transportation process, please keep out the power separation
from equipment to prevent contact switch, causing no long-term use of
temporary nursing equipment, caused a fire.
8. Do not seize the photographic light head to take up photography cameras.
9. Do not place the photographic lights in nearby such as alcohol or gasoline and
other flammable or volatile solvents.
10. Keep out of reach of children. Failure to observe this precaution could result
in injury.
5.8-16.8V
30000
1800
≥85%
355 x 85 x 385mm
魔术贴粘合
20W
Natural ventilation
5600K
65
1950
5600K/3200K
Warning
-1-
Design and specifications subject to change without notice.
Voltage
Average liyespan(hours)
Center luminous Flux
Color rending index
Volume(L/W/H mm)
Diffuse installation
Power
Cooling mode
color temperature (K)
Beam angle
Net Weight (g)
Specifications
Color temperature
change
This mark indicates warning, before operating the unit.
Please read this manual thoroughly ,and retain it for future reference.

-2-
Keep dry. Failure to observe this precaution could result in fire or electric shock.
Dust on or near the metal parts of the plug should be removed with a dry cloth.
Continue using could result in fire.
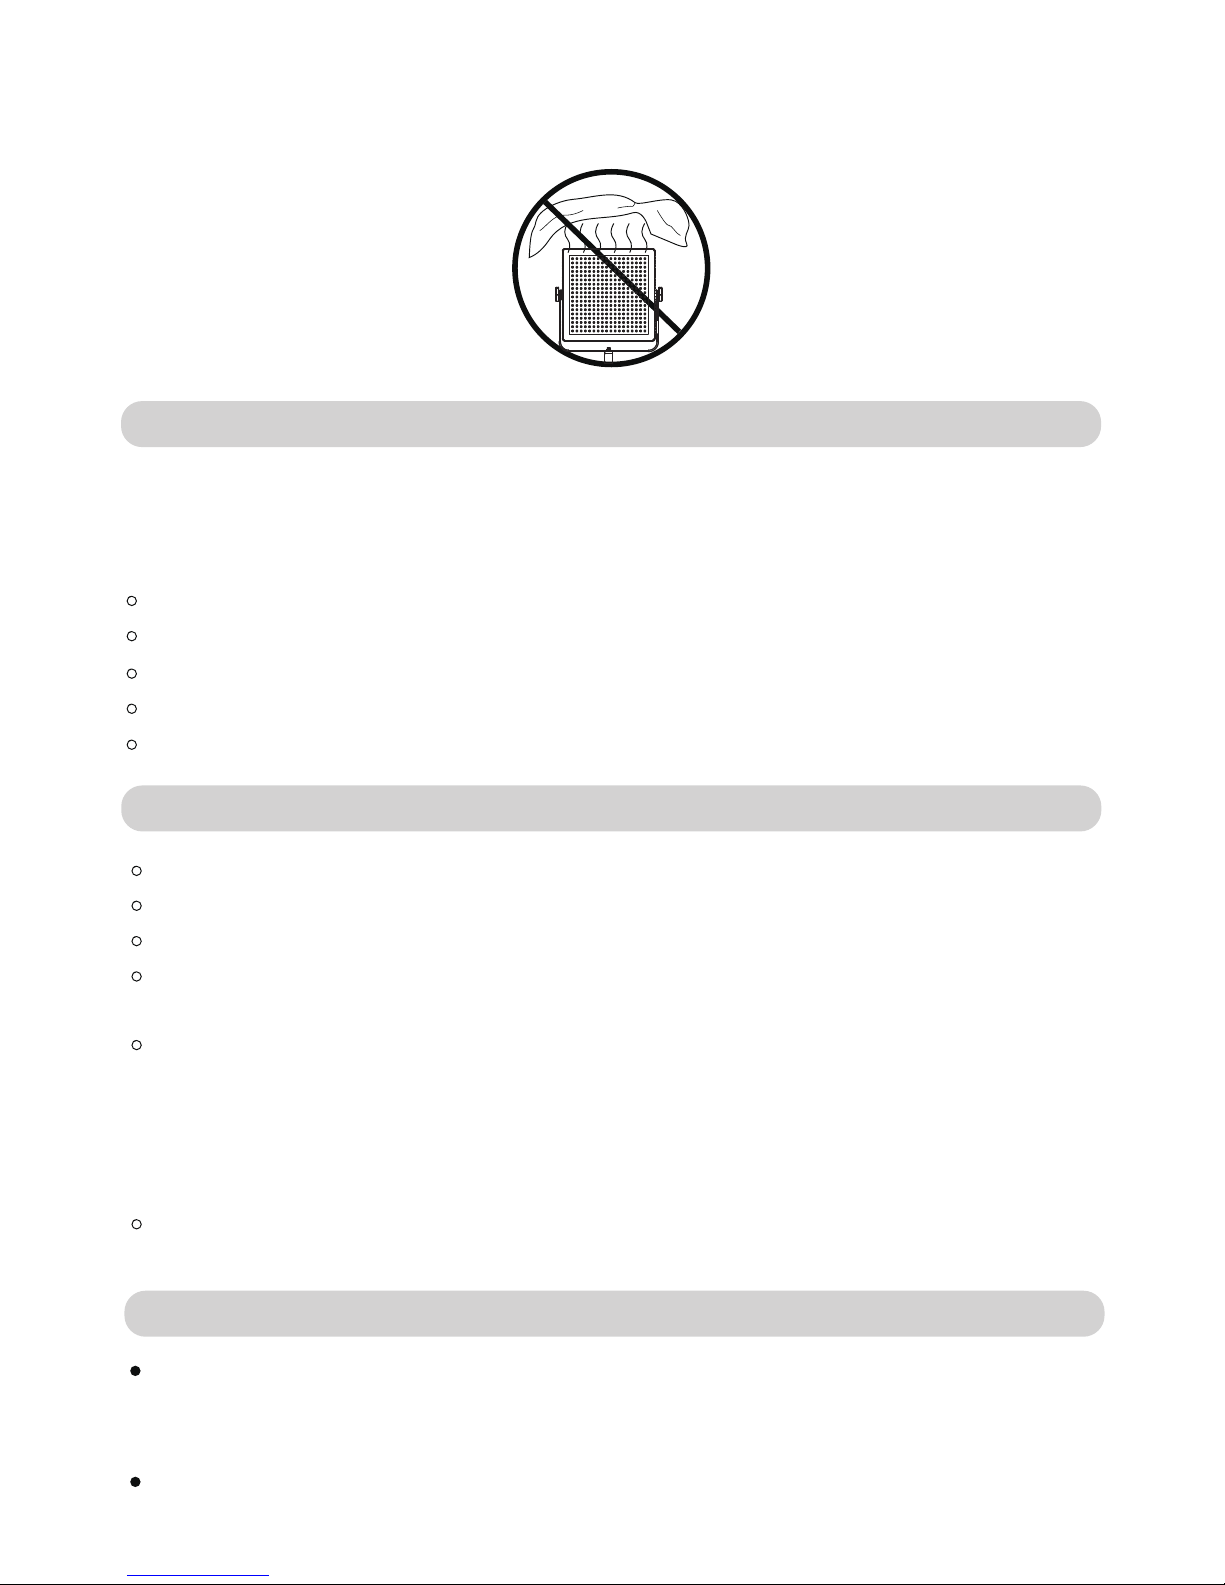
Do not handle the power cable or go near the charger during thunderstorms.
Failure to observe this precaution could result in electric shock.
Do not damage, modify or forcibly tug or bend the power cable. Do not place it
under heavy objects or expose it to heat or flame. Should the insulation be
damaged and the wires become exposed. Take the power cable to a F&V
service representative for inspection. Failure to observe this precaution could
result in fire or electric shock.
Do not handle the plug or charger with wet hands. Failure to observe this
precaution could result in electric shock.
Observe proper precautions when handling batteries (Option). Batteries may
leak or explode if improperly handled. Observe the following precautions when
handling batteries for this product.
Proper precautions when using the battery
Proper precautions when using the charger
Use only batteries approved for use in this equipment..
Do not short or disassemble the battery.
Be sure the product power is off before replacing the battery.
Do not expose the battery to flame or to excessive heat.
Do not immerse in or expose to water.
Use dry soft cloth to clean photographic lights. You can wash with a cloth
slightly some neutral detergent to remove the dirt that difficult to remove, and
then with a soft cloth to dry.
Do not use strong cleaning agents, such as thinner, gasoline or alcohol, as
these solvents may damage the surface of the protective layer
Notes on the clean

Parts diagram
1. Velcro
2. Lithium battery storage lock
3. Lithium positions
4. Φ2.5DC jack
5. Fuse Block
6. Third gear power switch
7. Insurance rope
8. Stand Adapter
9. Diffusers
10. Camcorder battery compartment lock
11. Camcorder battery compartment
12. triangular fixed knob
13. Control box
14. U-type bracket
15. Lighthouse
2
1
3
4
5
6
7
815
14
13
11
12
10
9
-3-

A installation and removal of fixed knob (Before the installed or
removed studio panel lights please set the power switch to OFF.)
Installing
1. As the figure: Mount the studio panel lights on light stand and tighten the fastening
at direction of the arrow knob clockwise.
2. Adjust the studio panel lights to the desired direction and angle.
3. Fixed in the insurance rope to where studio panel lights to be ensure stable and
secure.
Removing
1. Discharge Insurance rope
2. Along the arrow in the opposite direction ,rotate
fastening knob counterclockwise, to release.
After use
1.Please set the power switch to “OFF”
2.When not in use,please remove the battery and then bring the light stored in boxes.
3.Make sure the light has cooled down before storing it.
Note
Be sure to guarantee insurance rope fixed in a stable,
solid objects, to avoid the unnecessary risk of falling
loose and property losses.
-4-

BUsing
1. As the figure: Switch to the corresponding power gear before turn on the studio
lights.First Gear :power from lithium battery. Second gear: power from Camcorder
battery or DC power input
2. Clockwise rotate dimmer on the box or encoding switch can adjust to the required
illumination.
3. Before turn off the studio lights, set the power switch to OFF.
4. Change the default 5600k color temperature by the diffuser with the magnetic
stripe on the appropriate filter paper adsorption to (optional).
Selection of power supply
1.As the figure, the studio panel lights can run on multiple power options: One barn
for 7.2V lithium battery, One adapter for V-lock battery , or via DC jack access to
5.8 ~ 16.8VDC power supply.
2. Replace the battery by promoting battery lock along the direction of the arrow to
open the battery compartment to remove the battery cover.
DC jack Φ 2.5m (inside is positive)
Schematic diagram of LCD Digital Screen Display
-5-
Note
The percentage of the Illumination
The current wireless channel The remaining battery power
DC 10~16.8V
OFF
DC 5.8~8.4V
Dimmer Box
Third gear power switch

When using this device in indoor photography,you get beautiful clear color image.
For ultra-wide angle photography,the light may not be able to complete the
images line shine.Please effective use of photography has been light on the main
photography objects on camera.
In photography under fluorescent screen may make some shine.Light may
improve the use of photographic color film of the ambiguity in order to better
screen quality.
Lighting for photography objects
C
-6-

C
F&V without the written authorization of this manual does not allow
any form of full or partial replication (for review articles or comments
other than a simple reference)
Table of contents
Other F&V Lighting Equipment manuals
Popular Lighting Equipment manuals by other brands

Beamever
Beamever SUNO FLEX WHT installation instructions

QNect
QNect QN-WB07 Quick setup manual

Vision & Control
Vision & Control LDLF30x540-IR850/24V/-a Instructions for use

Hubbell
Hubbell PRS installation instructions

MonkeyLink
MonkeyLink ML-SkyeLight 110 LUX operating manual

Quoizel
Quoizel PO9140K Assembly instruction sheet

REV Ritter
REV Ritter GLOBE PK-CL-B-05B manual

ProLights
ProLights EclGalleryProfile FC user manual

CARPETLIGHT
CARPETLIGHT CL8X8 instruction manual

Good Earth Lighting
Good Earth Lighting AC1213-BKG-07LF2-G manual

Solution
Solution Splendor 90 CM-90 user guide

StreamLight
StreamLight FIRE VULCAN operating instructions