CARTS AND WAGONS
2Revision date: 05.30.19
READ THIS DOCUMENT BEFORE YOU BEGIN.
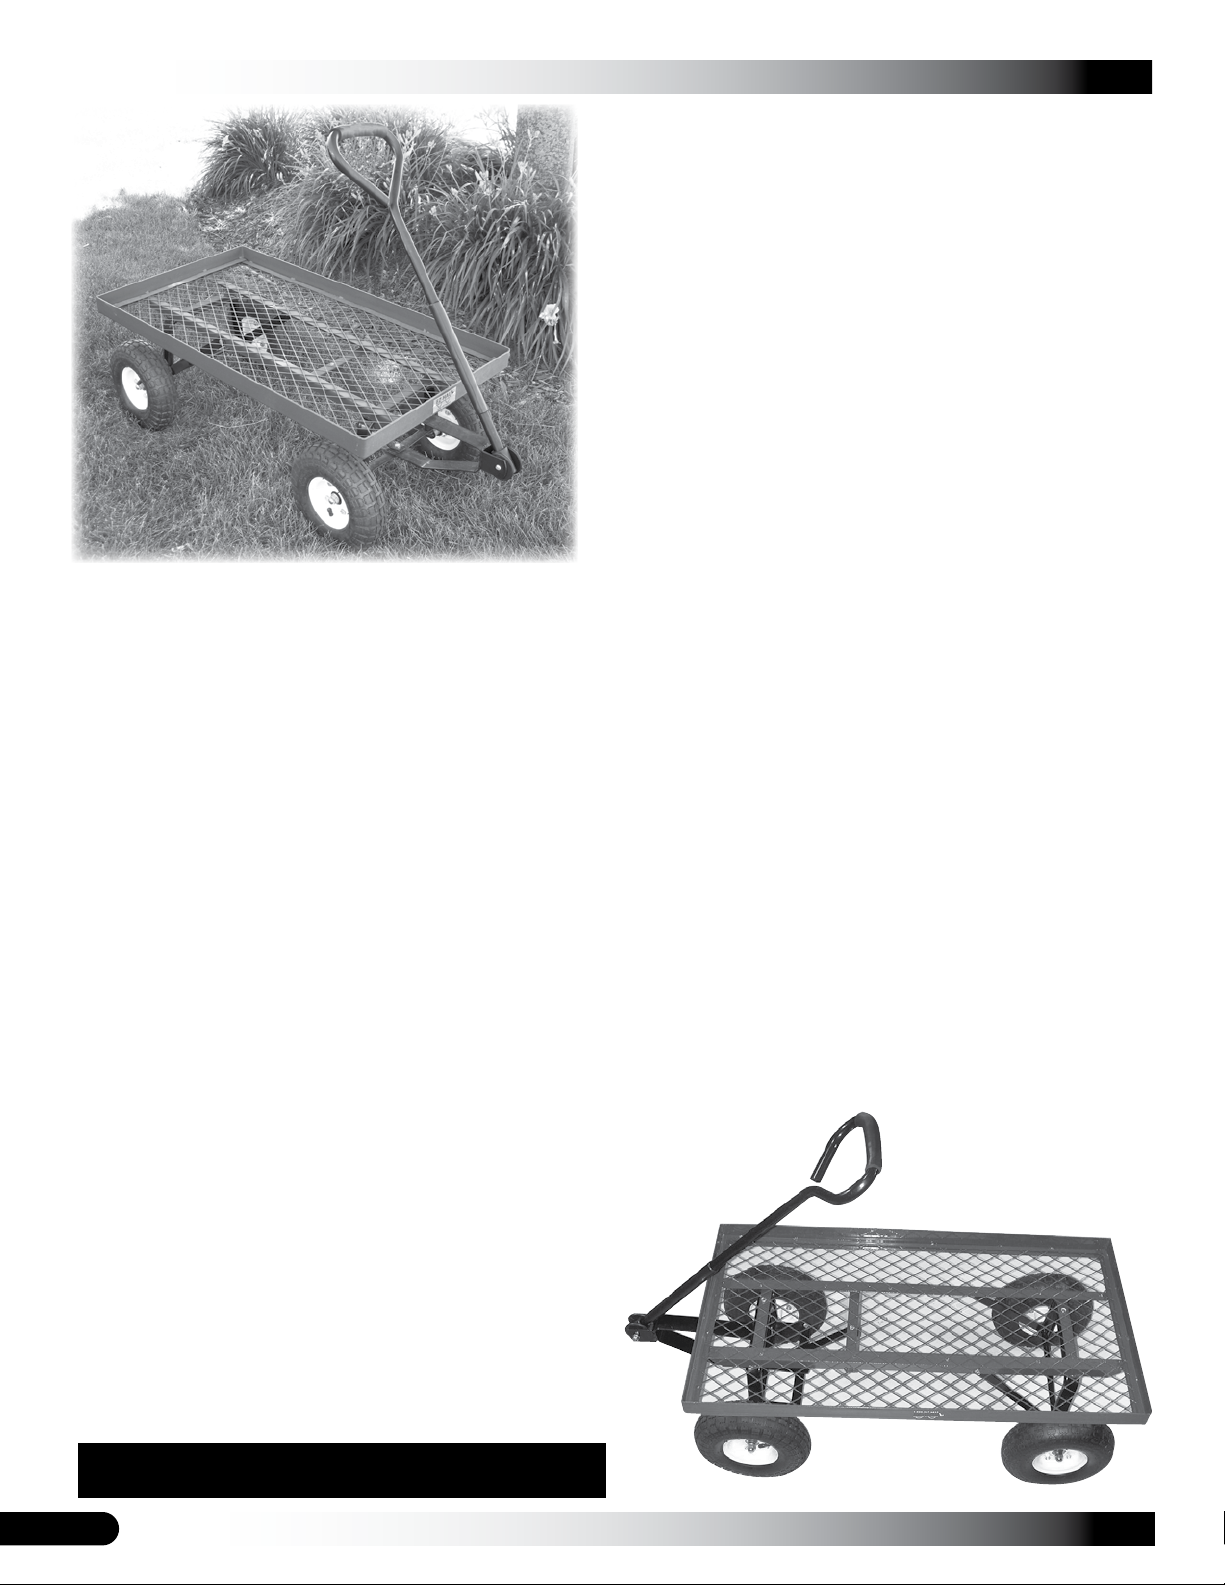
Thank you for purchasing this nursery wagon. When
properly assembled and maintained, this product will
provide years of reliable service. These instructions include
helpful hints and important information needed to safely
assemble and properly maintain the nursery wagon. Please
read these instructions before you begin.
If you have any questions during the assembly, contact
Customer Service for assistance.
SAFETY PRECAUTIONS
• Do not use the nursery wagon if any part is broken or
damaged.
• This nursery wagon is not a toy. Do not allow children
use the nursery wagon.
• Do not use on inclines; nursery wagon may tip or roll
away.
• MAXIMUM LOAD: 700 LBS.
• Inflate the tires with ambient air only.
• Inflate the tires to the proper level as indicated on the
tires. Do not inflate tires more than 32 PSI.
• Never use a flammable gas to inflate the tires.
• Never allow riders in the nursery wagon.
• Always distribute payload evenly over the surface of
the bed.
CARE AND MAINTENANCE
• Periodically check all fasteners to assure they are
tight.
• Clean the nursery wagon using water and mild soap.
Rinse with water sprayed from a garden hose.
• Check the tire pressure and adjust to recommended
pressure if needed.
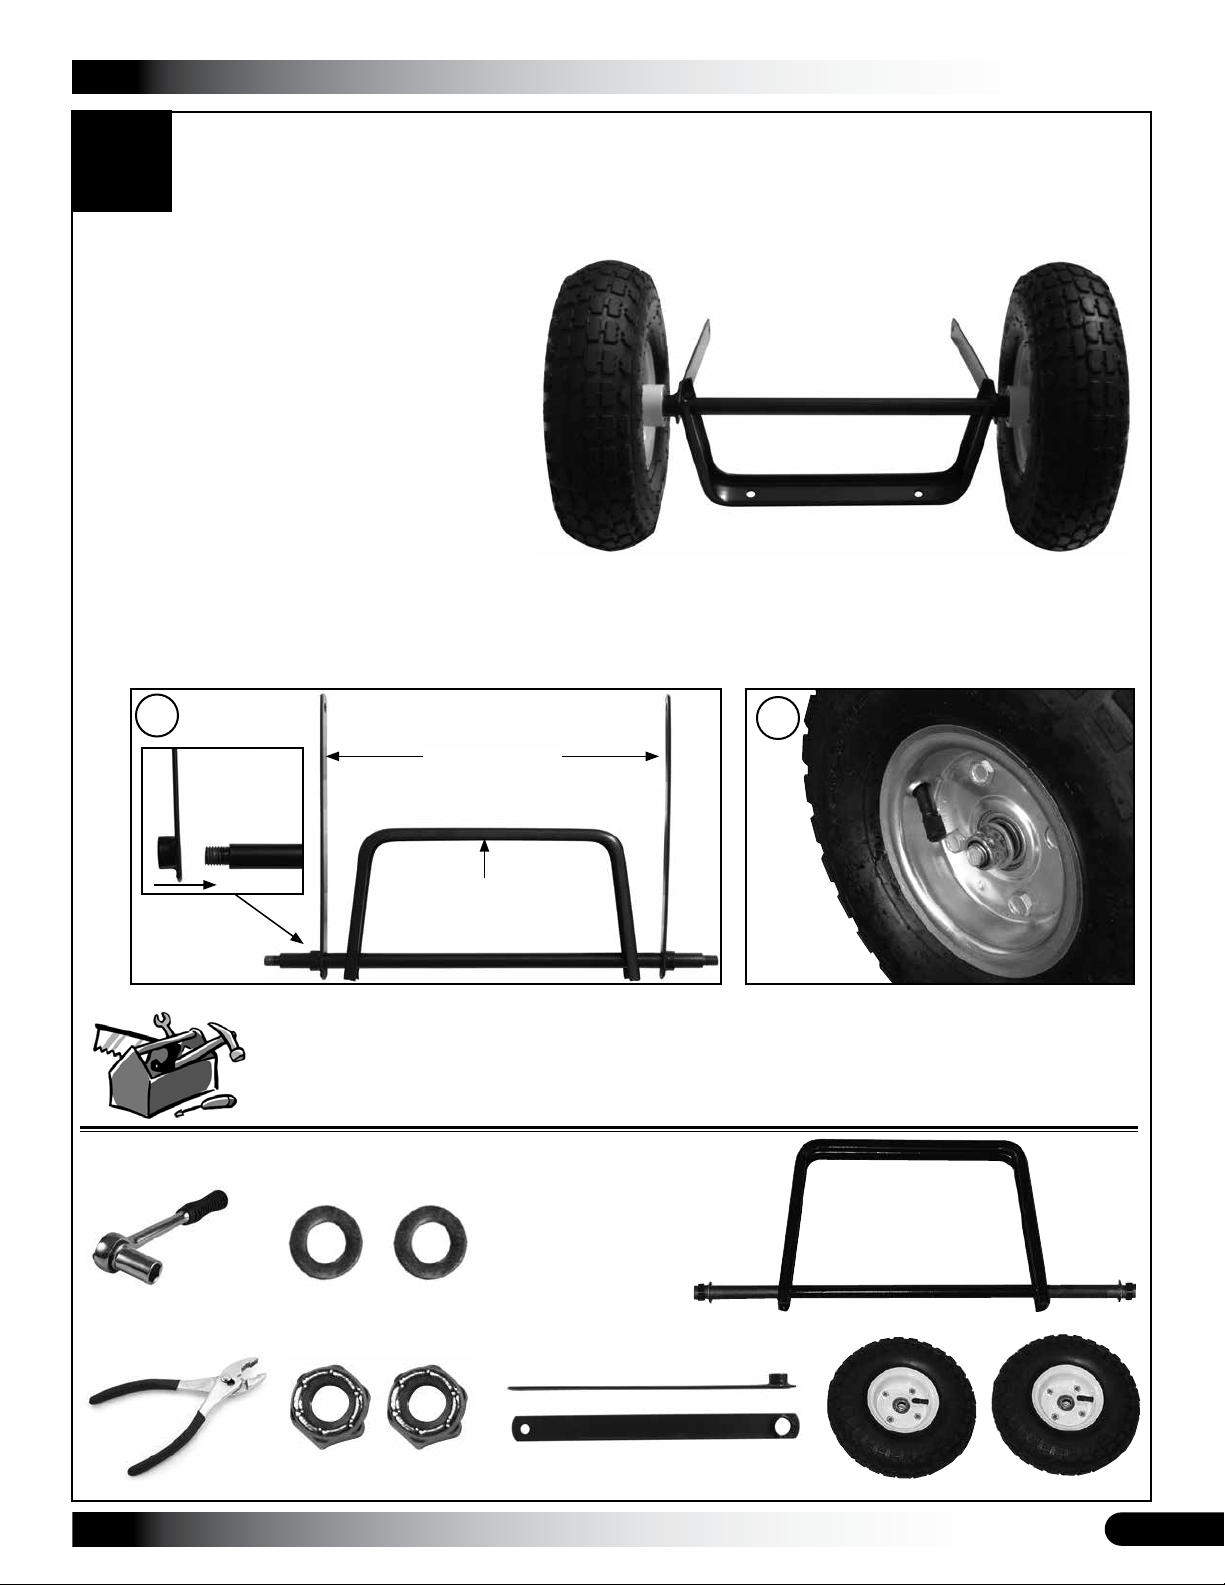
REQUIRED TOOLS
The following list identifies the main tools needed
for assembly. To safely assemble the wagon, two (2)
individuals are needed.
• Flathead screwdriver
• Metric and standard wrenches and socket set
• Pliers
UNPACK AND IDENTIFY PARTS
The following steps help to ensure that you have all the
necessary parts before you begin.
1. Unpack the contents of the shipment and place where
you can easily inventory the parts.
2. If anything is missing or you have questions, consult
the Pictorial Parts List or contact Customer Service.
MAXIMUM LOAD: 700 LBS.