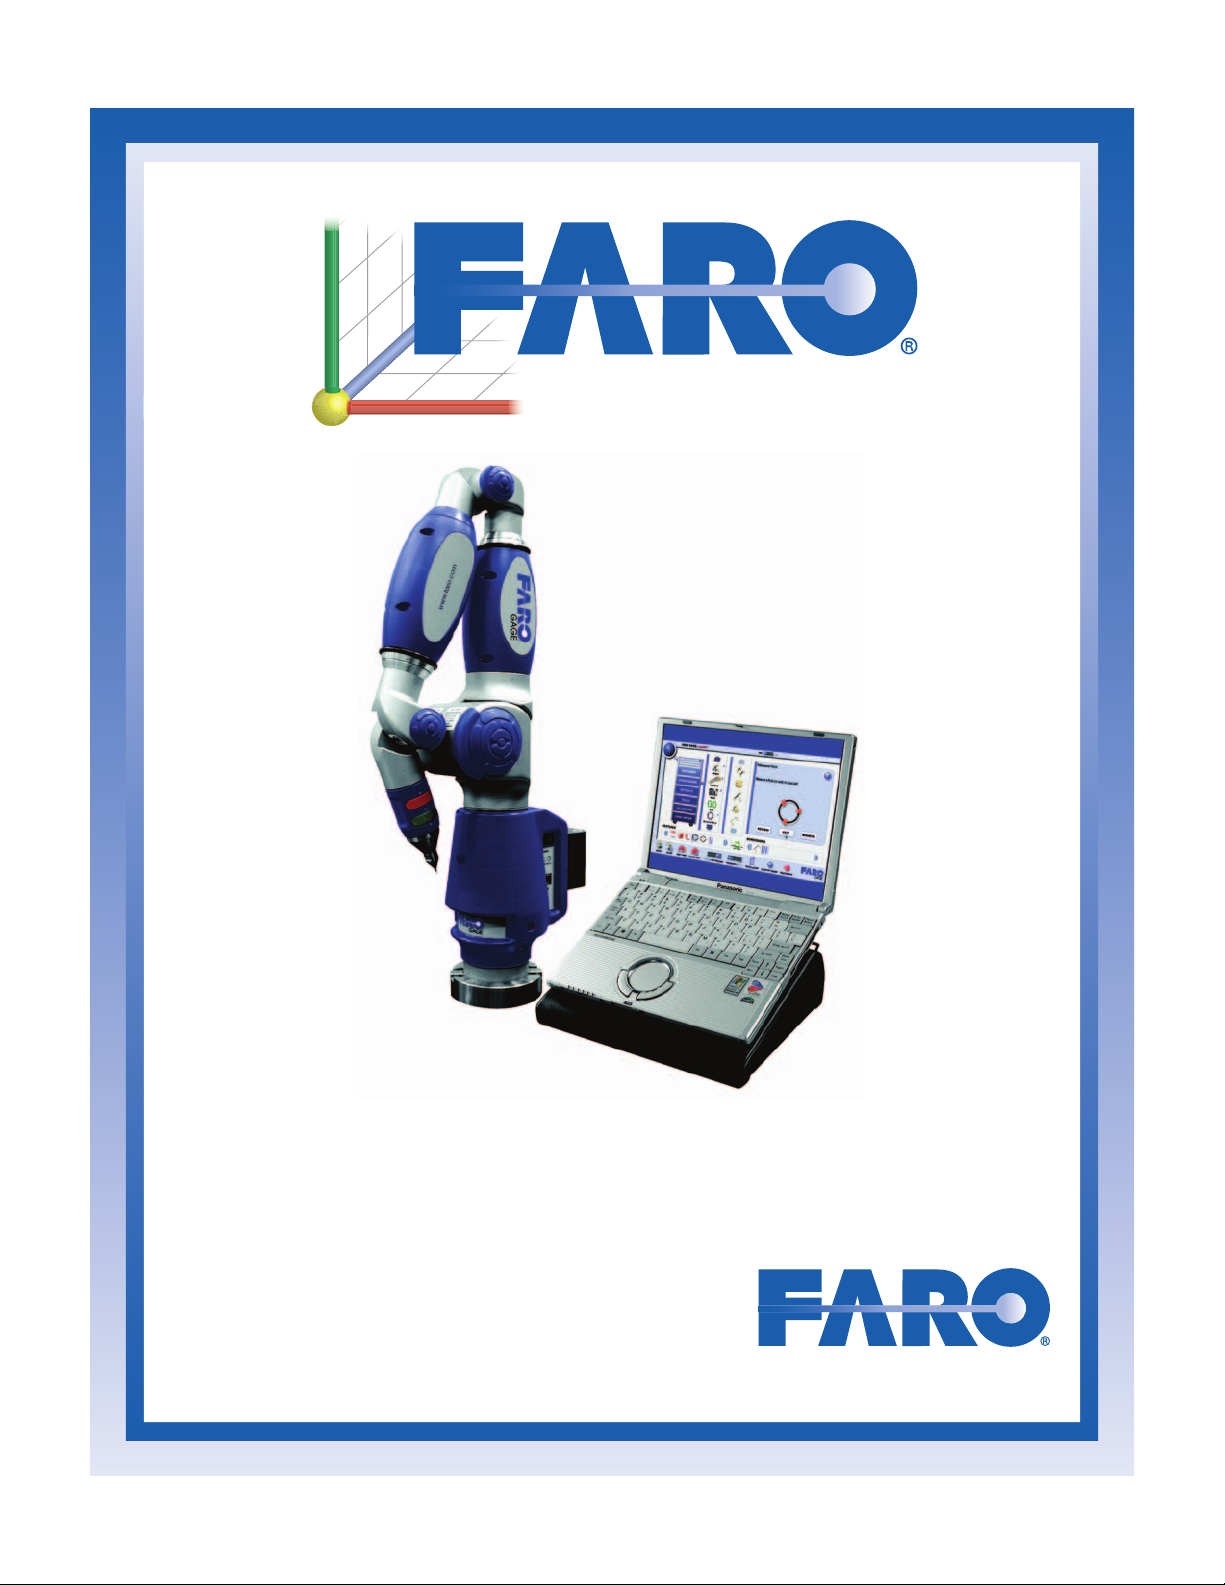
Faro Gage Installation guide

GAGE
TECHNICAL INSTITUTE
VERSION 1.5
FARO Gage
BASIC TRAINING WORKBOOK
STUDENTS BOOK
AUGUST 2007


©FARO Technologies, Inc. 2007. All rights reserved.
No part of this publication may be reproduced, or transmitted in any form or by any means
without written permission of FARO Technologies Inc.
FARO TECHNOLOGIES, INC. MAKES NO WARRANTY, EITHER EXPRESS OR
IMPLIED, INCLUDING BUT NOT LIMITED TO ANY IMPLIED WARRANTIES OF
MERCHANTABILITY OR FITNESS FOR A PARTICULAR PURPOSE, REGARDING THE
FARO GAGE AND ITS MATERIALS, AND MAKES SUCH MATERIALS AVAILABLE
SOLELY ON AN “AS-IS” BASIS.
IN NO EVENT SHALL FARO TECHNOLOGIES INC. BE LIABLE TO ANYONE FOR
SPECIAL, COLLATERAL, INCIDENTAL, OR CONSEQUENTIAL DAMAGES IN
CONNECTION WITH OR ARISING OUT OF THE PURCHASE OR USE OF THE FARO
GAGE OR ITS MATERIALS. THE SOLE AND EXCLUSIVE LIABILITY TO FARO
TECHNOLOGIES INC. REGARDLESS OF THE FORM OF ACTION, SHALL NOT
EXCEED THE PURCHASE PRICE OF THE MATERIALS DESCRIBED HEREIN.
The information contained in this manual is subject to change without notice and does not
represent a commitment on the part of FARO Technologies, Inc.
FARO Gage®, FARO Gage Plus®, and FARO PowerGAGE®are registered trademarks of FARO
Technologies, Inc.
Windows®and Excel®are registered trademarks of Microsoft, Inc.
FARO Technologies, Inc. Internal Control File Locations:
F:\CONTROL\REFERENC\08PRODUCI\ENGLISH\08m13e12 - FARO Gage Version 1.5 Basic Training Workbook for the Student - August 2007.pdf
F:\CONTROL\RECORDS\05MANUFA\PARTSPEC\10272.pdf


• Course Introduction:
• This course will explain the new and modified commands of FARO Gage,
Version 1.5.
• There will be lectures, as well as hands-on exercises, that will allow the
student to practice the skills learned.


FARO Standard Demonstration Part - Plate
Remove this page from your workbook and refer to it in the practical exercises to locate the
features of the part.
E
1
2
3
4
5
6
7
8
9
10
F
A
CD
B
G
P1 P2
P3 P4


Basic Training Workbook
Version 1.5 - August 2007
i
Course Checklist
Chapter 1: Getting Started
❑ Setup
❑ Hardware Operation
❑ Software Modes
❑ Arm as Mouse
❑ Screen Layout (General)
❑ Screen Layout (Gage Mode)
❑ Screen Layout (Metrology Mode)
❑ Calibration
❑ What is Calibration?
❑ Probe Calibration
❑ Practical - Calibration
Chapter 2: Basic Measurements (Gage Mode)
❑ Tools
❑ Measuring
❑ Printing
❑ Repeat the Part
❑ Practical - Using Tools
❑ Angle - Edge to Edge
❑ Distance - Hole to Hole (Center)
❑ Geometry - Hole Diameter
❑ GD&T - Flatness
❑ Repeat and Print
❑ 3D Caliper
❑ Practical - Using 3D Caliper
❑ 3D Caliper Temporary Zero
Chapter 3: Feature Measurements (Metrology Mode)
❑ Features
❑ Types of Features
❑ 2D Features
❑ 3D Features
❑ Practical - Measuring Features
❑ Face
❑ Edge (2D)
❑ Hole
❑ Cone
❑ Review Results
❑ Repeat and Print (Optional)

Basic Training Workbook
Version 1.5 - August 2007
ii
Chapter 4: Basic Part Measurements (Metrology Mode)
❑ Dimensions
❑ Gage Metrology Concepts
❑ Feature Reducibility
❑ Feature Reducibility Table
❑ Alignments
❑ What is an Alignment?
❑ Dimensions
❑ What is a Dimension?
❑ Tricky Dimensions
❑ Build Commands
❑ What is a Build Command?
❑ Practical - Basic Part Measurements (Metrology Mode)
❑ Setting the Alignment
❑ Verifying the Alignment
❑ Inspecting the Part
❑ Build Command
❑ Dimensions
❑ GD&T (Optional)
❑ Review Results and Reports
❑ Save Custom Tool
❑ Load Custom Tool
❑ Run Custom Tool

Basic Training Workbook
Version 1.5 - August 2007
1
Chapter 1: Getting Started
• Objective: Learn the basic FARO Gage system setup procedure,
familiarize yourself with the screen layout, and calibrate the probe.
Setup
The FARO Gage must be mounted in an upright position. Do not mount the FARO Gage in an
inverted (upside-down) or sideways position.
To fasten the FARO Gage:
1 Attach the 3.5" threaded ring and surface mount plate to any stable location. Tighten all
mounting bolts to 100-inch pounds.
2 Place the FARO Gage on top of the 3.5" threaded ring.
3 Screw the threaded collar clamp onto the base of the FARO Gage and the 3.5" threaded
ring.
4 Use the wrench to tighten the threaded collar clamp.

Basic Training Workbook
Version 1.5 - August 2007
2
Chapter 1: Getting Started
5 Complete all cable connections before applying power to the computer and the FARO
Gage.
6 Switch on the FARO Gage and then the Gage computer.
7 The FARO Gage software will launch automatically after you have turned on the
computer.
USB
PORT
On/Off
SWITCH
2
13
45
1 - FARO Gage
2 - Computer
3 - USB Cable
4 - Power Supply
5 - Power Outlet

Basic Training Workbook
Version 1.5 - August 2007
3
Chapter 1: Getting Started
Hardware Operation
The FARO Gage has two sets of buttons. The GREEN (Front) button is used to collect data,
and the RED (back) button to accept the data. When a button is pressed, the LED light
illuminates (red or green).
Every time you power on the FARO Gage Arm, you must reference the encoders (joints). The
LED in the handle will flash red until the encoders have been cleared.
Each of the six encoders in the
FARO Gage must be referenced
before the system can output data. If
you attempt to execute a FARO
Gage command prior to referencing
the encoders, the end stop warning
window will show all six encoders in
error until each is referenced. In a
systematic manner, rotate links 1
through 6 until each warning clears.
LED
BACK BUTTON
FRONT BUTTON

Basic Training Workbook
Version 1.5 - August 2007
4
Chapter 1: Getting Started
Software Modes
The FARO Gage software operates in two separate modes: GAGE and METROLOGY.
GAGE mode is designed for quick measurement of simple parts; METROLOGY mode is
designed for measurement of larger and more complex parts, or if you measure many different
parts each day. In METROLOGY mode, you create, store, and run tools on your computer as
well as store and print all data for parts that you measure.
NOTE:The FARO Gage software restarts in whichever mode was operating during the
previous shutdown.
Arm as Mouse
The FARO Gage can control the mouse cursor on the computer screen.
• The GREEN button is the left mouse button, and selects items on the screen.
• The RED button places the mouse cursor in the center of the screen.
• In the Results screen, the GREEN button selects the OK button, and the RED button
selects the CANCEL button.
GAGE MODE METROLOGY MODE

Basic Training Workbook
Version 1.5 - August 2007
5
Chapter 1: Getting Started
Screen Layout (General)
1 ABOUT button
• Displays the current version of the software.
2 Toolbox - The main FARO Gage software menu is displayed as a Toolbox.
• Each "Drawer" of the Toolbox opens into specific functions.
• Scroll up and down in each Drawer menu to display additional items.
• The scroll arrows are dark blue if there are additional items.
3MM/INswitch
• Use the MM/IN switch to set the measuring units for your part.
4 Command Description
• There is an icon and a description of the function for each command.
• This area responds to any selection from the Toolbox or the tools list.
• Select the RUN button to start a command from the Toolbox.
NOTE:Choose the correct units before starting a measurement session. Changing the
measuring units will reset the Tools list. You cannot switch units in the middle of a
measurement session.

Basic Training Workbook
Version 1.5 - August 2007
6
Chapter 1: Getting Started
5 HELP button
• Select the HELP button to see instructions for a command.
• Select the MORE button to see more details for a command.
• Select the RETURN button to return to the Command Description.
6 NEXT PART button
• Select the NEXT PART button to repeat the tool list.
7 CLEAR TOOLS button
• Select the CLEAR TOOLS button to erase all tools from the tools list.
8 GAGE/METROLOGY switch
• Select the GAGE/METROLOGY switch to toggle between GAGE and
METROLOGY modes.
NOTE: Switching between GAGE and METROLOGY modes will reset the tool file.
9 CALCULATOR
• Launches the MS Windows® Calculator.
10 QUICK START GUIDE
• Launches an electronic version of the Quick Start Guide.
11 SHUTDOWN
• Use this button to close Gage software and turn off the computer.

Basic Training Workbook
Version 1.5 - August 2007
7
Chapter 1: Getting Started
Screen Layout (Gage Mode)
1 Tools List
• An icon for each tool you use will be displayed here to keep record of your work.
2 PRINT Button
• Select to generate and print a report.
• All results from previous measurement sessions are kept; new results are appended
and separated by a header with tool information.
• One report with both previous and recent results is created.
3 CLEAR Button
• Select to clear results from previous measurement session.
• All previous results will be deleted.
• Make sure you have printed or saved the existing data before clearing.

Basic Training Workbook
Version 1.5 - August 2007
8
Chapter 1: Getting Started
Screen Layout (Metrology Mode)
1FeaturesList
• An icon for each feature you use will be displayed here, keeping record of your work.
• Existing commands in the current tool file show up in the order that they are entered.
• Completed commands appear in color; incomplete commands appear grayed-out.
2 Alignment Tool
• This tool creates an alignment, or coordinate system, from previously measured
features.
3 Dimensions List
• An icon for each dimension you use or feature you build will be displayed here,
keeping record of your work.
• Existing commands in the current tool file show up in the order that they are entered.
• Completed commands appear in color; incomplete commands appear grayed-out.
4 MEASURE/EDIT Button
• This button switches between MEASURE and EDIT modes.

Basic Training Workbook
Version 1.5 - August 2007
9
Chapter 1: Getting Started
Calibration
What is Calibration?
Calibration is the process by which a measurement device is optimized to perform
measurements accurately. The FARO Gage is calibrated at the factory and will maintain its
accuracy unless it is damaged.
Probe Calibration
The FARO Gage collects data with a probe attached to the end of the handle. Once the probe
is attached, the location of the probe tip relative to the Gage's coordinate system must be
determined prior to measuring, hence the need for probe calibration.
Calibrate the probe prior to every measurement session and whenever you switch probes.
There are two acceptable ways to calibrate a probe:
• Single Hole method - recommended for standard ball probes.
• Sphere method - recommended for touch trigger probes and point probes.
In this guide, we will cover the Single Hole method.
NOTE: Please refer to the Gage manual CD included with your system for Sphere Method
and Single Hole Method with Guidance instructions.

Basic Training Workbook
Version 1.5 - August 2007
10
Chapter 1: Getting Started
Practical - Calibration
Securely attach the FARO Probe Calibration cone near the FARO Gage. For best results,
position the calibration cone approximately 2/3 of the Gage arm's reach away from the base.
1 Choose Gage Setup < Probe Calibration.
2 Select the RUN button.
3 Choose your probe from the Current Probe list.
4 Select the HOLE CALIBRATION icon to start the probe calibration.
Other manuals for Gage
1
Table of contents
Other Faro Measuring Instrument manuals
Popular Measuring Instrument manuals by other brands

XS Instruments
XS Instruments OXY 7 Vio instruction manual

Develco
Develco EMI 2-EMIZB-141 Technical manual

Ametek
Ametek JOFRA DTI050 A Reference manual

PROMAT
PROMAT 4000851000 Original instruction manual

Keysight
Keysight N9320B Programmer's guide

RST Instruments
RST Instruments VW2100-DP instruction manual