INTRODUCTION
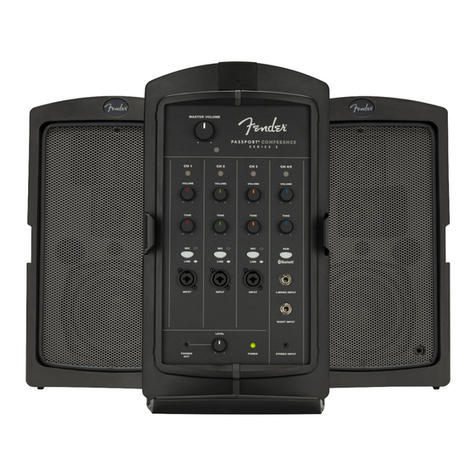
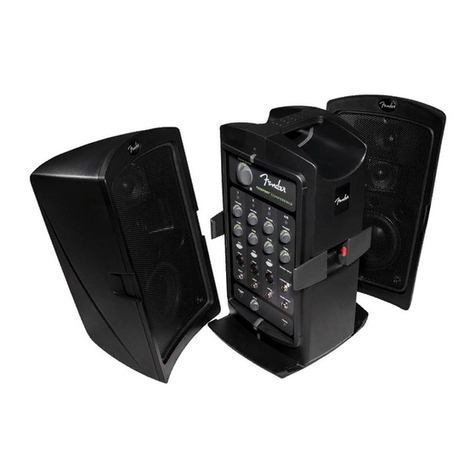
With the purchase of the Fender DC/DC Converter
for the Passport Portable Sound System, you have
entered the world of remote sound system operation.
No longer constrained to operate the Passport
Portable Sound System in close proximity to AC
power sources, the DC/DC Converter and a 12-volt
battery is all you need for hours of quality sound and
applications flexibility. Whether your needs are public
address (PA) or sound reinforcement for
entertainment and music, the DC/DC Converter
combined with the Passport Portable Sound System
allow ultimate flexibility and freedom.
Your Passport DC/DC Converter works by changing
the plus 12-volt DC current found in the battery into
a plus / minus 48-volt DC current required to
operate the Passport Sound System.
Your Fender Passport DC/DC Converter comes
complete with:
• A “gig bag” for convenient storage and
transportation,
• Two (2) 10 amp fuses for installation into the
Passport Power Tower (be sure to note the
values and type of these fuses for future
reference) and
• an Owner’s / Instruction Manual.
In order to thoroughly understand the use and
features of your Passport sound system, please
read and adhere to all safety warnings on both
the Passport DC/DC Converter and the Passport
Portable Sound System.
Warnings:
Read and observe the warning labels, cautions
and instructions supplied by battery manufacturer.
Large batteries are capable of very high short
term current output. Exercise extreme caution
when transporting and connecting /
disconnecting from any battery.
Many batteries contain corrosive acid. If
possible use sealed types of battery to reduce
the risk of spillage and injury.
Transport your battery in a suitable, plastic
enclosure designed for that purpose. Batteries
generate explosive gases when being charged,
operated and stored.
Alwaysallowclearairspaceforadequateventilation.
Never allow a spark or open flame to come into
proximity of a battery; explosion may result.
To prevent fire or shock hazard, do not expose
this unit to rain or moisture.
No user serviceable parts inside, refer servicing
to qualified personnel only. Service by persons
other than Fender authorized service technicians may
void the warranty.
Jewelry and Metal Objects/Materials
Exercise care when operating or connecting a
battery. Never allow loose jewelry, rings, chains or
other conductive materials to come into contact
with the battery terminals.
Remove rings when using wrenches to work in
proximity to any battery power source.
FYI
When using any electronic equipment after
transportation in cold weather or whenever the
equipment is appreciably colder than the room in
which it will be operated, condensation may form on
external and internal surfaces. This can result in
short circuits, damage to the equipment and possibly
exposing humans to risk of electrical shock! Always
allow sufficient time for equipment to reach ambient
temperature and for any condensation to evaporate
BEFORE plugging in or otherwise connecting to
power. This is true for all electrical equipment!
PASSPORT / PASSPORT 150 TOWER
FUSE INSTALLATION
Your DC/DC Converter is supplied with two (2) 10
amp fuses. These fuses must be installed into
your Passport System Power Tower, before any
attempt at operating the DC/DC Converter with a
Passport system.
Caution: Make sure all connections are removed
from the Tower.
1) Passport: Carefully place the Passport tower
mixer side down on a hard surface.
Passport 150: Leave the Tower standing upright on
a hard surface.
2) Passport: Open and empty the storage
compartment. With the door wide open, look
upwards into the top left of the ‘roof’ of the storage
compartment, and identify the two (2) fuse holders.
Passport 150: Located above the AC input socket,
remove the two screws securing the fuse holder
cover plate at the lower right rear of the panel.
3) Passport / Passport 150: Carefully insert each
fuse into its respective holder and secure.
4) Passport: Close and secure the storage
compartment’s door.
You have completed this phase of the installation and
the Passport is now ready to operate on DC/DC
power. FYI: It is NOT necessary to remove these fuses
when operating the Passport via an AC power current.
SETTING UP THE DC/DC CONVERTER
Set up your Passport System in the normal way
taking care to follow all of the usual procedures for
safety and optimum performance.
The cable lengths on the DC/DC converter are the
maximum recommended. Place the DC/DC
Converter near the battery and move the Passport
as far away from the battery as the cables will allow.
Be sure to place the DC/DC Converter out of direct
sunlight in an open but shaded location. Make sure
the On / Off switch on both the DC/DC Converter
and the Passport are in the Off position.
1) Connect the DC/DC Converter’s 4 pin Molex 48-
volt DC/DC plug into the connector located on rear of
the Passport Tower. Note: clip is on top.
2) Next, place the DC/DC Converter to allow clear air
flow over the heat sink fins. Also, make sure the DC/DC
Converter’s On / Off switch is in the Off position.
3) Take a minute to ensure you have clearly identified
the respective Positive and Negative terminals of the
battery. These may be color coded RED (positive) and
BLACK (negative) or simply identified by + and - marks.
4) Now, connect the BLACK - negative battery
alligator clip of the DC/DC Converter to the
NEGATIVE (-) terminal of the battery and the RED -
positive battery alligator clip to the POSITIVE (+)
terminal of the battery. Make sure a secure and
proper contact is made with the alligator clips.
If a clip accidentally comes off during use of the
Passport, make sure to turn off the DC/DC
Converter before re-connecting to the battery.
Failure to do so could damage both the DC/DC
Converter unit and the Passport unit. Turn on the
power switch on the DC/DC Converter only after
reconnecting the clips.
You are now ready to turn on the DC/DC Converter
and with it the Passport system. Important: The
front panel Power Switch on the Passport
Portable Sound System is now inoperative and
has no effect on the On/Off status of the
Passport Portable Sound System. The Power
supply switch function is now controlled by the
On/Off switch on the DC/DC Converter.
BATTERY LIFE AND SUGGESTIONS
In the interests of extending useable/maximum
battery life, the DC/DC Converter has been
designed to provide the Passport with sufficient
voltage to reach its specified peak power output for
musical and program transient. However, for power
conservation the DC/DC Converter is designed to
reduce continuous output capability. This slight
reduction in power will not normally be perceived
unless very high continuous power is being used.
Battery life may differ according to a number of
variables including:
- Battery condition
- Battery charge state
- Temperature
- Program type and continuity
- Passport Control settings
If possible, use a new or as new battery and always
fully charge the battery before use. We recommend
the use of a 48 amp/hour or greater capacity
battery. Your own specific circumstances and
applications will dictate larger or smaller batteries.
Note: If an in-vehicle battery is used to operate the
system, make sure there is enough charge left to
start the vehicle at the end of your event. The ability
of a battery to maintain a sufficient charge to turn
over a vehicle may be significantly impaired by use
of the system depending on the condition of the
battery and the nature and circumstances of the
system’s use. It is advisable to use a free standing
battery or back up battery to avoid this occurrence.
During tests using a musical program on a new
fully charged, stand alone 105 amp/hour battery,
continuous operation in excess of 48 hours has
been observed. This, however, is an unlikely
typical use. For an outdoor sporting event with
periodic announcements, a fully charged, stand
alone 48 amp/ hour battery may provide 12 to 18
hours of use. Remember, these are estimates
only and your specific circumstances will vary
battery life significantly.
For your first event, you may want to take a back up
battery using your primary battery until the event
ends or the battery charge is depleted. Be sure to
note the battery life used for future reference.
CARE AND CLEANING
To clean your Passport DC/DC Converter, use only
a damp cloth to wipe the surface of a disconnected
DC/DC Converter. Never allow water to enter the
unit. Occasionally wipe unconnected cables
carefully with a damp cloth. Make sure no foreign
matter gets into the connectors. Avoid exposure to
running water and condensation.
SPECIFICATIONS
Input voltage: 12v nominal
Input Fuse: 40A, Auto Blade
Output Fuse: 10A, Auto Blade
Weight: 6 lb. (2.74 kg)
Product specifications are subject to
change without notice.
P
PASSPOR
ASSPORT POR
T PORT
TABLE SOUND SYSTEM
ABLE SOUND SYSTEM
DC/DC CONVER
DC/DC CONVERTER
TER
ENGLISH
