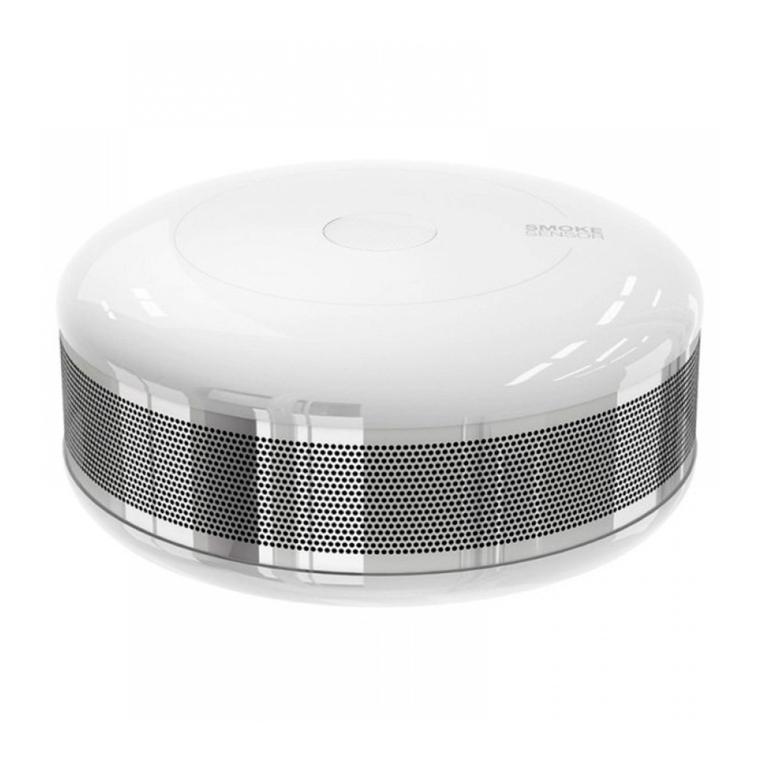
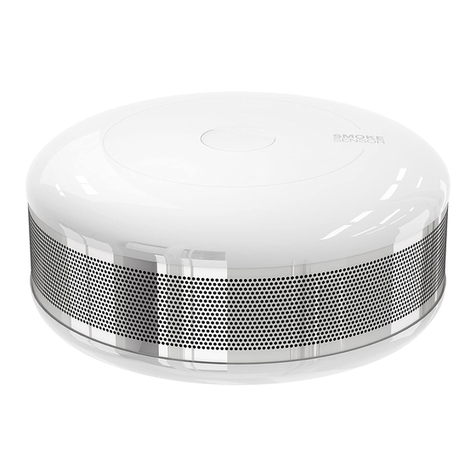
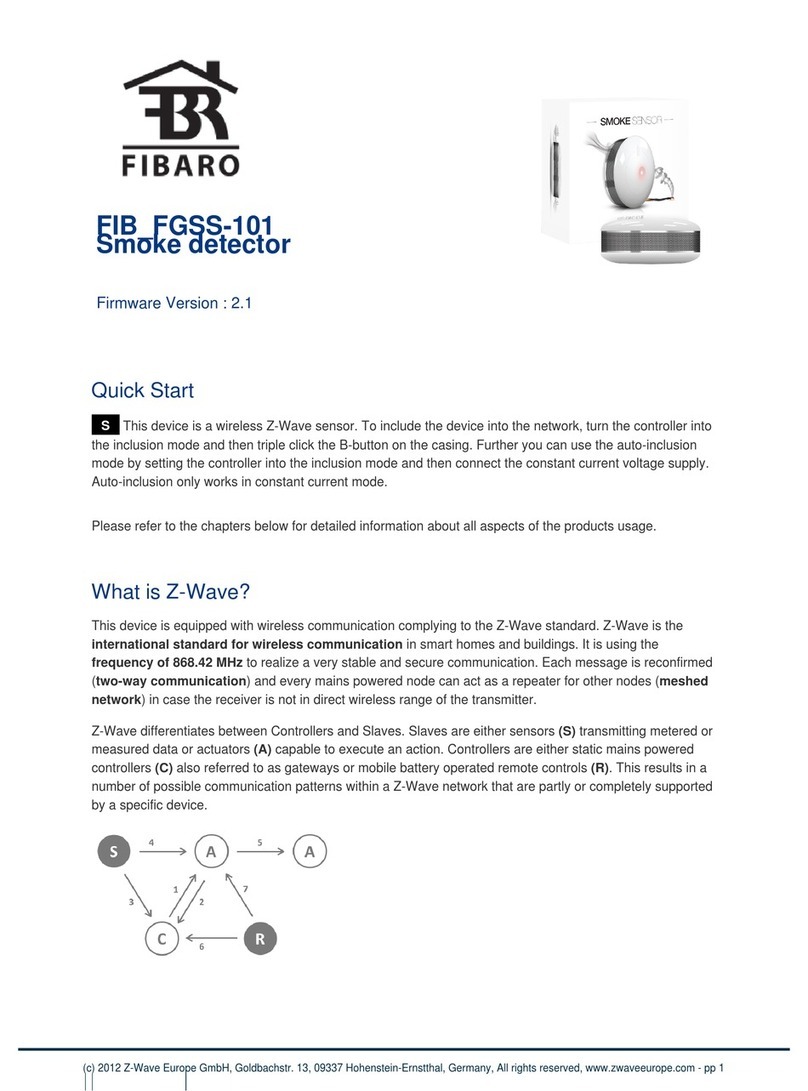
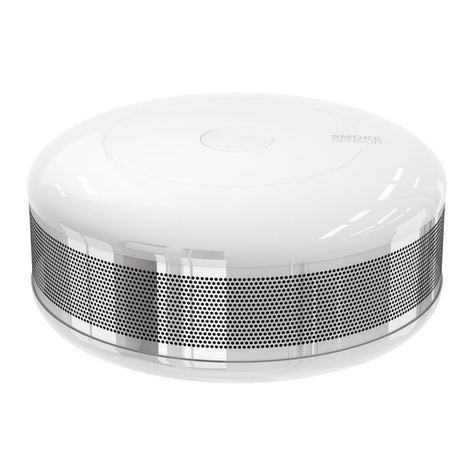
FIBARO Smoke Sensor Operating instructions

Installation and Operation Guide
SMOKE SENSOR

Installation and Operation Guide
Smoke Sensor Page | 2
CONTENTS
01. INTRODUCTION
03
02. POWERING MODES
05
2.1. Battery Tips
06
2.2. Switching to a constant current powering mode
06
03. ADDING TO THE ACTIVE SMARTHOME
PLATFORM 08
04.
SENSOR INSTALLATION
13
4.1. Walk Test
15
4.2. Installation Notes
16
05. SMOKE DETECTION
17
06. RESETTING THE SMOKE SENSOR
18

Installation and Operation Guide
Smoke Sensor Page | 3
07. TECHNICAL DATA AND INFORMATION
20
Technical Assistance
info@activesmarthome.com
01. INTRODUCTION
The Smoke Sensor is a smart smoke detector with a beautiful and minimalist
design. It is made from high quality materials and is resistant to high
temperatures. It has been designed to rapidly react to the least amount of
smoke. The optical sensor detects smoke at an early stage of a fire, often before
any flames appear and before the temperature starts to rise significantly around
it.
Our product is extremely easy to install in any location where a fire may occur.
The alarm is signaled by sound and a LED, it can be battery-operated or VDC
powered. The smoke sensor carries out an automatic efficiency test every 5
seconds. The Smoke Sensor is designed to be placed on a wall or ceiling.

Installation and Operation Guide
Smoke Sensor Page | 4
The LED indicator warns of a fire in operating mode, and is used to check
whether the device is within the range of the Z-Wave network. The smoke
sensor is designed to operate in confined spaces, under normal conditions (free
from dust or condensed water vapor).
The Smoke Sensor is a universal, optical Z-Wave smoke detector. The device
can be hard-wired (12 or 24 VDC) or battery operated. Smoke detection is
signaled through a sound alarm and a flashing LED. Additionally, the smoke
sensor signal can be sent wirelessly to the Active SmartHome Gateway.

Installation and Operation Guide
Smoke Sensor Page | 5
02. POWERING MODES
There are two powering modes for the Smoke Sensor. By default it is powered
by a factory-included battery. Alternatively it can operate with a constant current,
after connecting a 12/24 VDC power source to the +12/24 and GND terminals
(see figure 01). When powered by a battery, the Smoke Sensor communicates
with the Active SmartHome Gateway periodically, although smoke detection is
sent immediately. Some of the configuration parameters, including a low battery
warning, are sent periodically at specified start-up intervals, or at a manual start-
up (press the B-button three times, see fig. 01).
2.1. Battery Tips
Figure 01 B-button

Installation and Operation Guide
Smoke Sensor Page | 6
The Smoke Sensor can be battery operated. Battery life is approximately 3
years when in optimum mode. The low battery level warning is displayed in the
“Security” interface next to the icon in the “Main” tab. The device itself, separate
from the Active SmartHome Gateway, also monitors the battery level and a low
battery is signaled by a yellow flashing LED and an intermittent sound alarm.
The Smoke Sensor can signal a low battery level for approximately 30 days.
It is not possible to power the device from a battery and a VDC power
source at the same time. When using a VDC power source it is
recommended that another kind of power back-up is used. The Active
SmartHome checks the battery level twice a day.
2.2. Switching to a constant current powering mode
1. If necessary reset the Smoke Sensor (see section 6).
2. Disconnect the battery.
3. Install the constant power connecting terminal (see fig. 02).
4. Add the Smoke Sensor to the Active SmartHome Platform (see section 03).
Incorrect wiring may cause a hazard or result in damage to the device.
Label:
1. +12 V - constant power supply terminal, 12/24 VDC.
2. GND - ground terminal.

Installation and Operation Guide
Smoke Sensor Page | 7
3. SMOKE NC – potential-free, smoke sensor connecting terminals (for wired
systems only).
4. TAMP NC – potential-free, tamper connecting terminals (for wired systems
only)
.
Figure 02 DC Power adapter connection

Installation and Operation Guide
Smoke Sensor Page | 8
03. ADDING TO THE ACTIVE
SMARTHOME PLATFORM
The Smoke Sensor can be added to the Active SmartHome Portal by using
the B-button (fig. 03).
To do this, follow these simple instructions:
1. First, ensure that the Smoke Sensor is near to the Active SmartHome
Gateway, as the process can ONLY be carried out within the direct range of
the Active SmartHome Gateway.
2. Then open your web browser and access your Active SmartHome Portal.
Figure 03 B-button

Installation and Operation Guide
Smoke Sensor Page | 9
3. There you can access “
Security
” and go to the “
Settings
” page.
4. Now press the “
Add Sensor
” button and choose the “
Smoke Sensor
”
option (Fig. 04).
Figure 04 Smoke Sensor in the HomeSecurity - Settings page

Installation and Operation Guide
Smoke Sensor Page | 10
5.
Customize the Smoke Sensor with a name of your choosing, so that you
can identify it more easily. Then, press “
Continue
” (Fig. 05).
6.
Now take the Smoke Sensor. Twist the lid and make sure that the battery
is inserted and that there is no insulation strip between the contacts. If there
is no battery, insert a new CR17345 3 V battery, ensuring that the polarity is
correct. Once inserted, replace the lid (Fig. 06).
Figure 05 Inserting the name for Smoke

Installation and Operation Guide
Smoke Sensor Page | 11
7.
On the Smoke Sensor, press the B-button three times and ensure that the
LED turns white and that the Active SmartHome Gateway beeps once.
8.
Once detected, the platform will display the Sensor ID. To finalize the
installation process, click on the “
Add Sensor
” button (Fig. 07).
Figure 06 Preparing Smoke Sensor for operation
Figure 07 The Smoke sensor is detected

Installation and Operation Guide
Smoke Sensor Page | 12
You can find all the steps for adding the Smoke Sensor to the Active
SmartHome Platform at our website.
If the device is not detected, repeat the procedure (as described above
by clicking the button 3 times at a faster speed) or reset the sensor and
repeat the learning procedure.

Installation and Operation Guide
Smoke Sensor Page | 13
04. SENSOR INSTALLATION
Installing the Smoke Sensor:
1.
As before, ensure that the Smoke Sensor is near to the Active SmartHome
Gateway, as the process can ONLY be carried out within the direct range of
the Active SmartHome Gateway.
2.
Test the Z-Wave network range by performing a Walk Test ensuring the
device is within range (see section 4.1.).
3.
The Smoke Sensor must have been added to Active SmartHome Portal
first (see section 3).
4.
If the sensor is to be hard-wired to a power source, drill holes in the
sensor’s cover (Fig. 08).

Installation and Operation Guide
Smoke Sensor Page | 14
5.
Before adding the Smoke Sensor to its final destination ensure that the
sensor is operating and that the Walk Test (see section 4.1.) has been
successfully completed. Then install the sensor’s cover in the desired
location.
6.
If the sensor is to be VDC powered, connect the wires (Fig. 09).
Figure 08 Constant current or alarm system hub
connecting terminals installation
Figure 09 DC Power adapter connection

Installation and Operation Guide
Smoke Sensor Page | 15
7.
Screw the Smoke Sensor into the cover.
8.
Start the sensor up by pressing the B-button once.
4.1. Walk Test
Chose an appropriate location for the Smoke Sensor within the range of the
Active SmartHome Gateway. To test if the signal is within range, go back to the
“
Settings
” menu in the “
Security
” application and enter “
Walk Test
”. Start the
test by pressing the B-button. Press the B-button once on the Smoke Sensor
and check that it has been recognized by the Active SmartHome Gateway, and
is displayed on the platform. The device operates smoothly and easily and
provides reliable protection if it has been tested in a suitable location.
Particular attention should be paid to any adjacent objects or devices
that can impede the smoke’s access to the sensor. It is recommended
that you install the Smoke Sensor in all rooms where a fire may occur,
as well as in hallways and corridors between these rooms.
4.2. Installation Notes
1.
When choosing a location for the smoke sensor, make sure the alarm
sound can be easily heard in other rooms in the building.
2.
It is recommended that you install the sensor in rooms that have already
been painted and decorated.

Installation and Operation Guide
Smoke Sensor Page | 16
3.
It is recommended that you install the sensor at least 1.5 m from air-
conditioning units.
4.
Do not install the sensor in insulated places. Keep a distance of at least
0.5 m from light sources.
5.
Do not install the sensor in places prone to draughts.
6.
Do not install the sensor in places with a high water vapor condensation,
e.g. over cooking hobs, ovens, kettles, etc.

Installation and Operation Guide
Smoke Sensor Page | 17
05. SMOKE DETECTION
The Smoke Sensor responds to the physical presence of smoke. The Smoke
Sensor performs a self-test every 5 seconds and checks for the presence of
smoke. When smoke is detected, the sensor checks 3 more times at a 1 second
interval to see whether the smoke is actually present. Once the presence of
smoke is confirmed, the Smoke Sensor triggers an alarm and also emits a
constant sound signal along with the LED flashing red.
Once the smoke alarm has stopped, the sensor checks 3 times at a 1 second
interval whether the smoke has actually disappeared before returning to normal
operation mode.
The Smoke Sensor is a multiple use device, however, for greater
safety, it is recommended that the device is replaced with a new one
after a fire has occurred.

Installation and Operation Guide
Smoke Sensor Page | 18
06. RESETTING THE SMOKE
SENSOR
You can use the reset function of the Smoke Sensor in the case of the sensor
not being detected or to delete its memory. This includes all the information on
the Z-Wave network and the Active SmartHome Gateway, . However, the device
reset will not remove it from the Active SmartHome Gateway’s memory. Before
resetting the device, it must be removed from the Active SmartHome Platform.
In order to remove the sensor from the SmartHome Platform, go to the
“
Settings
” page in “
Security
” and select “
Smoke Sensor
” from the list. This
action will open the device preferences where you can find the “
Remove
” button.
Click on it (see figure 10). A pop-up will appear, where you should “
Confirm
”
the removal of the Smoke Sensor. By doing so the device will be removed from
the Security page.

Installation and Operation Guide
Smoke Sensor Page | 19
To reset the Smoke Sensor follow these instructions:
1.
Make sure the device is connected to the power supply.
2.
Press and hold the B-button for 3 seconds. The LED will glow white.
3.
A short signal will sound.
4.
Release the B-button.
5.
Wait until the LED turns yellow, you are entering the reset menu.
6.
Press the B
-
button briefly to confirm the menu.
A successful reset will be confirmed by the LED changing color to red and going
out. At the same time, a short beep will sound.
Other features of the sensor, supported by the platform, will be available
in the near future.
Figure 10 Smoke Sensor preferences page

Installation and Operation Guide
Smoke Sensor Page | 20
07. TECHNICAL DATA AND INFORMATION
Power supply 12 - 24 VDC
Battery Type CR123A
Power Consumption (at VDC operations) 0.4 W
Maximum voltage at output terminals 40 V (AC or DC)
EU standards compliance EMC 2004/108/EC R&TTE 199/5/WE
Radio protocol Z-Wave
Operational Temperature 0 – 40°C
Measured Temperature Range -20 to 100°
Temperature Measuring Accuracy 0.5°C (within 0°C - 40°C range)
Radio frequency
868.4 MHz EU;
908.4 MHz US;
921.4 MHz AU/NZ;
869.2 MHz RU;
Range up to 50 m outdoors
up to 30 m indoors
Other manuals for Smoke Sensor
2
Table of contents
Languages:
Other FIBARO Smoke Alarm manuals
Popular Smoke Alarm manuals by other brands

United Technologies
United Technologies EDWARDS SIGA-HFD Installation sheet

System Sensor
System Sensor FTX-P1 Installation and maintenance instructions

Home2Link
Home2Link Shelly Plus Smoke General user and safety guide

Kidde
Kidde i9070CA user guide

ELRO
ELRO K170501528 user manual

Cofem
Cofem EYEHOME+ quick guide