EN 8Safety instructions
FDUK 70305-0
1. SAFETY INSTRUCTIONS
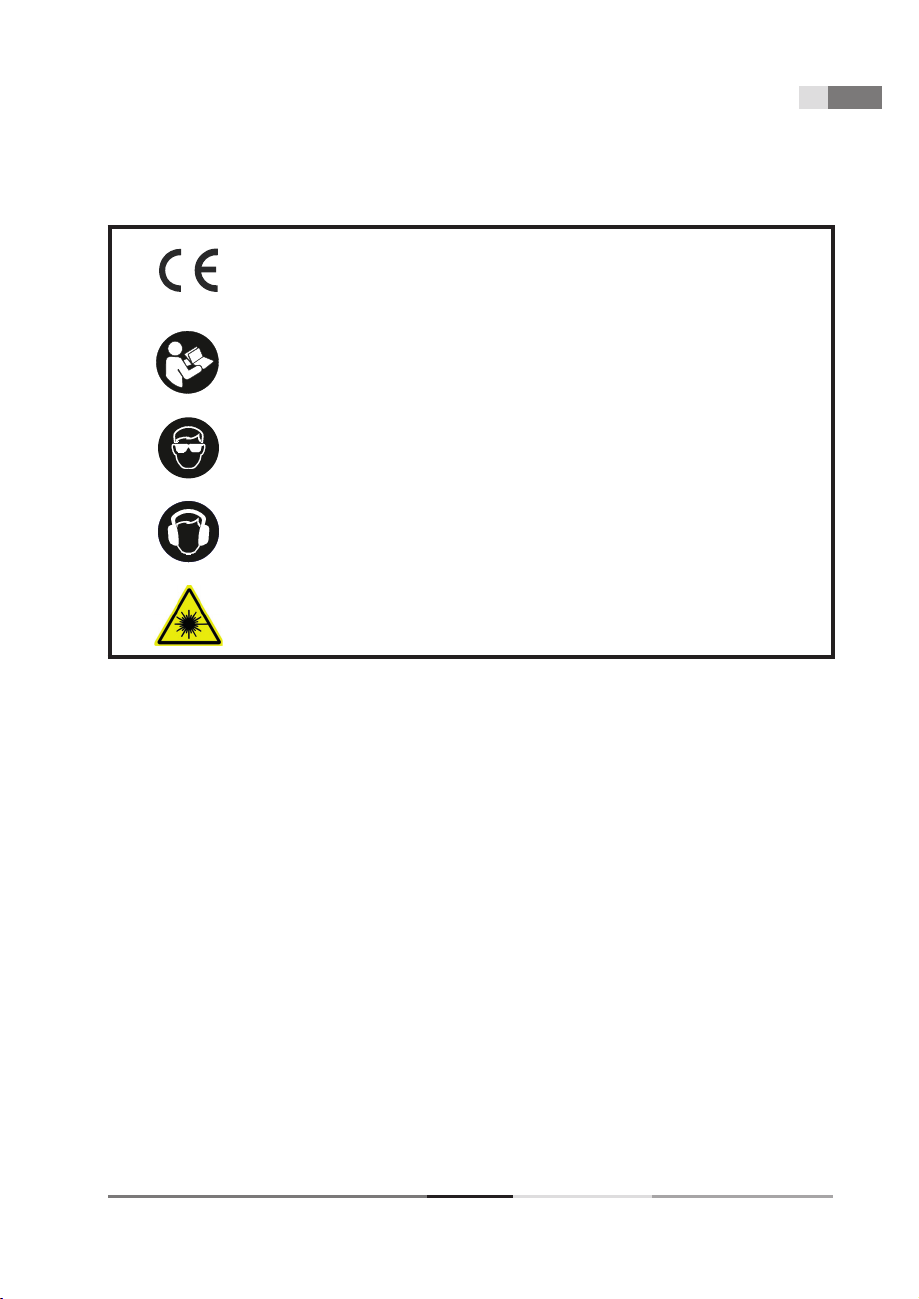
WARNING!
Carefully read the instruction manual before use.
Important safety warnings
Unpack the product carefully and be sure not to throw away any part of the package before having found all
components of the product.
Keep the product in a dry place out of reach of children.
Read all cautions and instructions. The failure to adhere to warning cautions and instructions may result in
an accident, fire and/or a serious injury.
Packaging
The product is placed in a package preventing damage during transport. This package is a raw material therefore
it can be handed-over for recycling.
Instructions for use
Before beginning to work with the machine, read the following safety rules and instructions for use. Familiarize
with operating elements and the proper use of the device. Keep the manual in a safe place for future reference.
We recommend keeping the original package including the inner packaging materials, cash voucher and
guarantee card for a period of warranty at minimum. For a case of transportation, pack the machine into the
original box from the manufacturer, thus ensuring a maximum protection of the product during a possible
transport (e.g. moving or sending into a service station).
Note: If you hand the machine over to next persons, hand it over together with the manual. Adherence to
the attached instructions for use is a precondition for the proper use of the machine. The operation manual
includes also instructions for operation, maintenance and repairs.
The manufacturer does not take any responsibility for accidents or damages resulting
from the failure to adhere to this manual.
Intended use
The jigsaw is intended to be used only by adults who have read and understood the instructions and warnings in
this manual, and can be considered responsible for their actions.
With appropriate blades fitted, the product is designed to cut wood, plastic, drywall, and metal up to the depth
described in the specification table.
The product is designed for handheld use. The product is not to be mounted onto a workbench unless specific
instructions about how to do this are given by the manufacturer of the product.
Do not use the product for any other purpose. Use of the product for operations different from intended could
result in a hazardous situation.