Finishing Touch Flawless Salon Nails Manual
Instruction Guide
Thank you for your purchase of
Finishing Touch Flawless™Salon Nails
Visit www.FlawlessBeauty.com
for FAQs and How To Videos.
Wayne, NJ 07470
Made in China © 2020 Ideavillage
FLWSALONNAILS020421MW
Great for Manicures & Pedicures
Finishing Touch Flawless™ Salon Nails
SALON NAILS
How To Clean the Unit
• For best performance, clean the unit after each use. Do not expose the unit to water
or excess moisture.
• Turn the unit OFF.
• Remove the cover and head from the unit.
• Wipe the unit with a clean dry cloth and replace the protective cover.
How To Clean Heads
• Rinse heads under warm water to remove any dust.
• Air dry heads before use and storage.
• Store heads in provided storage case.
How To Clean
Visit www.FlawlessBeauty.com to register your
FinishingTouch Flawless™ Salon Nails device, and to sign up for special oers.
Facebook Instagram
CONNECT • FOLLOW • DISCOVER
@FlawlessBeauty
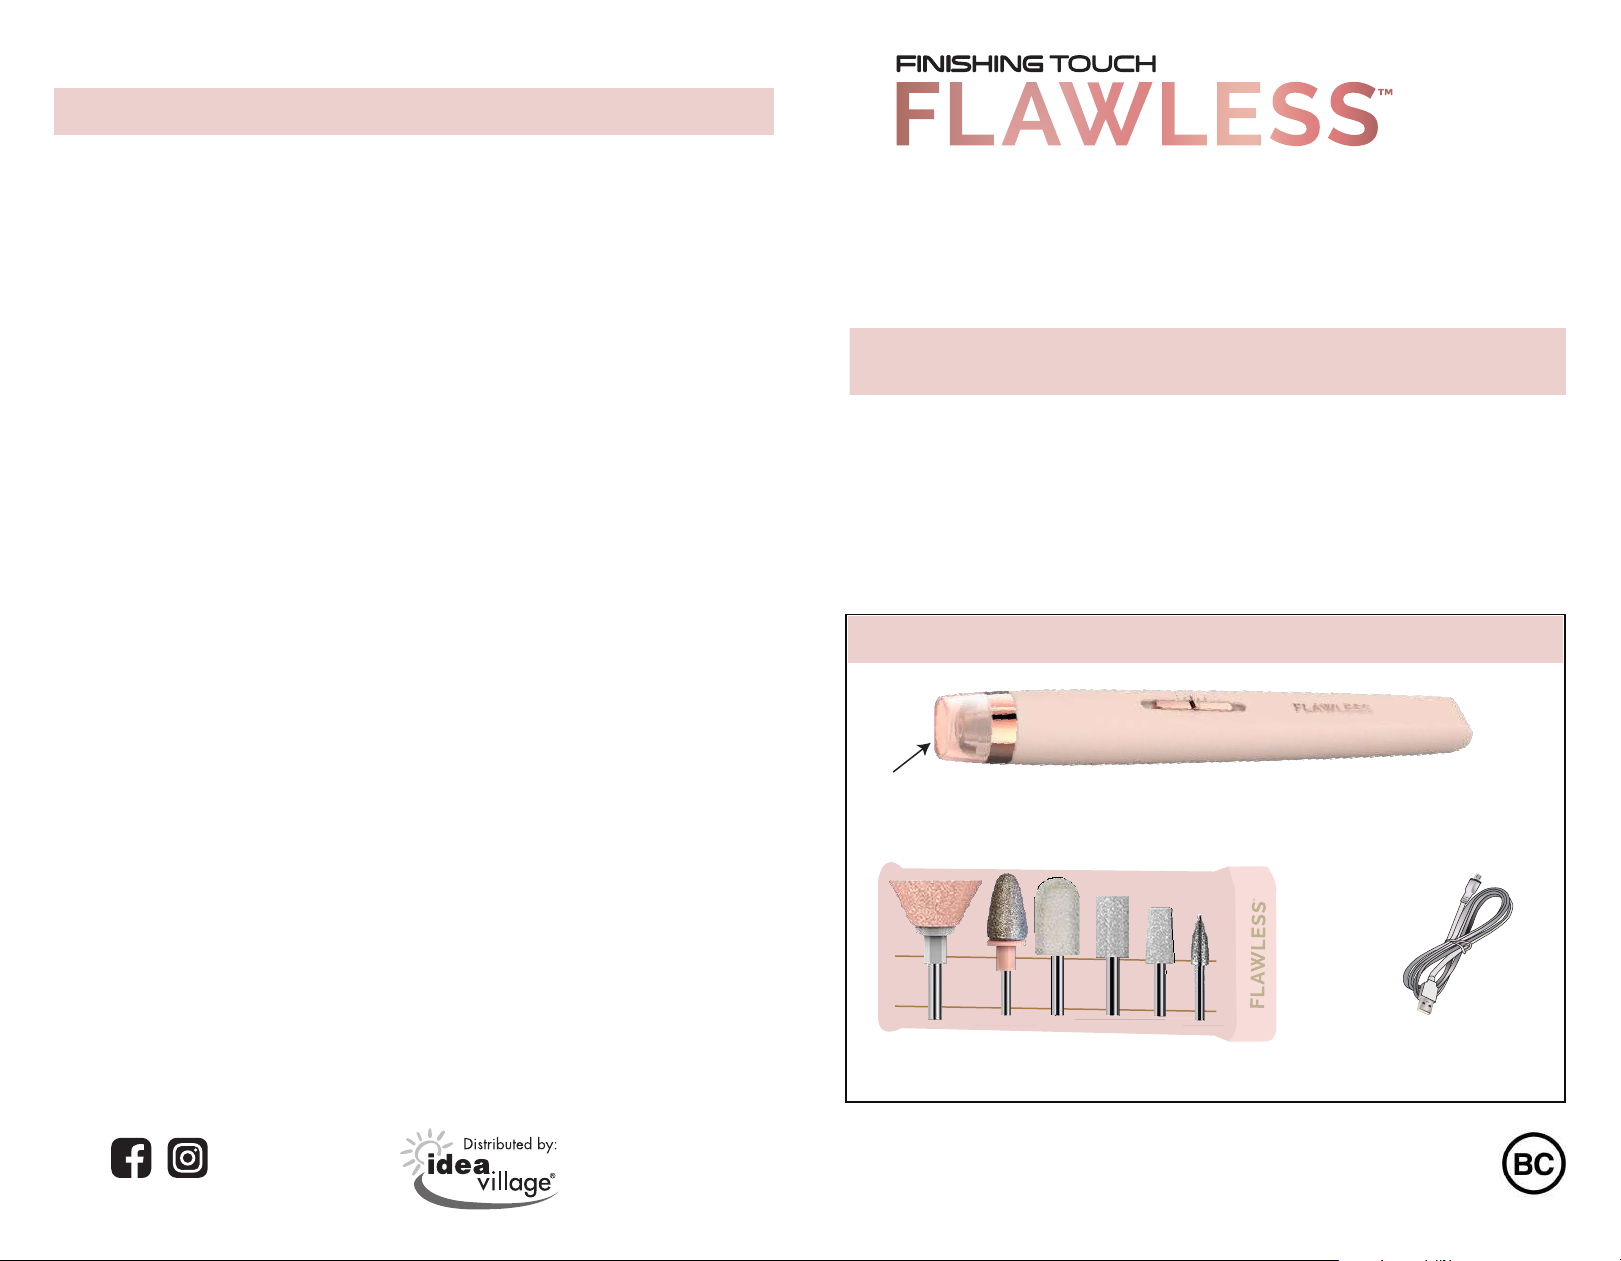
Charging Cable
www.FlawlessBeauty.com
SAVE THESE INSTRUCTIONS
What’s Included
6 Finishing Touch Flawless™ Salon Nails Heads
Storage Case for
Finishing Touch Flawless™ Salon Nails Heads
Protective Cover

Image 13
Image 12A
Image 12B
www.FlawlessBeauty.com
Speed: Recommended Low or High Speed
For: Prepping nails before polish
How To Use: Fully insert head
• Gently move over the nail (Image 12A & 12B)
D. Polish Prep
NOTE: Use this head on its side. Do not push the tip of
the head into the nail bed.
Speed: Recommended Low Speed
For: Cleaning up your cuticles
How To Use: Fully insert head
• Gently move over the nail bed (Image 13)
E. Cuticle Care
B.
DANGER
To reduce the risk of electrical shock:
• Do not reach for the unit if it has fallen into water while charging. Unplug immediately from outlet.
• The power cord and the accessories connected to it are not for immersion or for use in shower.
• Always unplug product from the electrical outlet/adapter after charging.
• Do not place or store product where it is able to fall or be pulled into a tub or sink. Do not place in or
drop into water or other liquid.
• Unplug this product before cleaning.
• The battery used in this product may present a re or chemical burn hazard if mistreated. Do not
disassemble, heat above 200°F or incinerate.
WARNING
To reduce the risk of burns, re, electric shock, or injury to persons:
• An appliance should never be left unattended when plugged in.
• The appliance is not to be used by persons (including children) with reduced physical, sensory or
mental capabilities, or lack of experience and knowledge, unless they have been given supervision
or instruction concerning use of the appliance by a person responsible for their safety. Do not allow
children to use or play with product.
• Use this product only for its intended household use as described in this manual.
• Charge only with the charging cable provided with this product.
• Charging cable must only be supplied by a Class 2 USB charger or LPS Power Supply at voltage
corresponding to the marking on the unit.
• Never charge this product when it has a damaged cord or plug, operate when it is not working
properly, after it has been damaged, or after it has been dropped in water.
• Do not use this product with damaged or broken heads, as it has the potential to result in injury.
• Keep product, charging cord and USB power adapter away from heated surfaces.
• Always attach charging cable to product rst then to compliant power adapter, then to outlet.
To disconnect, remove adapter from outlet, then remove charging cable from unit.
• Appliance not intended to be used in, or around water.
• This appliance contains batteries that are non-replaceable.
• The battery is to be disposed of safely.
• Do not use outdoors or operate where aerosol (spray) products are being used or where oxygen is
being administered.
IMPORTANT SAFETY INSTRUCTIONS
When using an electrical product, basic precautions are required to always be followed, including the following:
Read all instructions before using this product
www.FlawlessBeauty.com
• Be sure to clean your unit and heads.
• See How To Clean section.
When nished, rinse and dry nails thoroughly
Image 11
Speed: Recommended Low or High Speed
For: Bung unpolished nails
• Leaving you with the perfect nish
How To Use: Fully insert head
• Gently move over the unpolished nail (Image 11)
• Nails are ready for polish if desired
C. Bu & Shine

Image 5
Reverse,
Low Speed
Reverse,
High Speed
Forward,
High Speed
Forward,
Low Speed
Charging/Recharging
NOTE: The unit will operate while charging.
• Prior to rst use, fully charge unit
(approximately 2 hours to fully charge).
• Locate the charging port at the bottom of the unit
(Image 1).
• Insert small end (micro USB) of the charging cable
(included) into the charging port (Image 2).
• Insert the large end (USB-A) into any USB compliant
power adapter.
• The charging LED Indicator Light will illuminate while
unit is charging (Image 3).
• When charging is complete, the LED Indicator Light will
turn OFF.
• Remove the charging cable.
Getting to Know Your Finishing Touch
Flawless™ Salon Nails
• Prior to rst use, become familiar with the heads, speed
modes, and directions.
• The unit has both Low/High speed modes and Forward/
Reverse directions.
• Only use on nails that are completely dry.
• If there is a sensitive reaction, discontinue use
immediately.
•Useonnailsonly–donotuseonotherbodyparts.
•Replaceprotectivecoverwhennotinuse.
•Replaceallheadstothestoragecasewhennotinuse.
IMPORTANT: Read all instructions and warnings prior to use.
Image 6
DUST
ROTATION
Image 4
Image 3
Getting Started
L
o
r
e
m
Image 2
Charging
Cable
(included)
www.FlawlessBeauty.com
Speed Modes & Directions Use
• When switched ON, the top of the unit will illuminate.
• The horizontal line is the OFF position for the unit.
• It is recommended to always start on the Low setting.
• Turn the unit on by sliding the Power Switch to Low
setting (Image 4).
º The rst click upward to the single circle is the
FORWARD Direction, Low Speed (Image 5).
º The second click upward to the double circles is the
FORWARD Direction, High Speed.
º The rst click downward to the single circle is the
REVERSE Direction, Low Speed.
º The second click downward to the double circles is
the REVERSE Direction, High Speed.
• Choose the setting that directs nail dust/debris away
from your hand (Image 6).
www.FlawlessBeauty.com
Getting Started (continued)
To purchase other Finishing Touch Flawless™
products or a USB compliant power adapter,
visit www.FlawlessBeauty.com
Image 1

F.
E.
C.
Nail Heads (Recommended Speed)
B.
A.
NOTE: Heads that are nicked, worn, or broken could
cause damage to nails and should be replaced.
Heads last through several sessions depending on frequency of use and size of area.
Replace heads as needed.
Visit www.FlawlessBeauty.com to purchase replacement heads.
B. Grind & Smooth (Low)A. Shape & File (Low/High)
• Can help to remove gel polish
D. Polish Prep (Low/High)
• This wider head is best
used on larger nails
• Last step before polish
D.
C. Bu & Shine (Low/High)
• Can be used to bu gel
polish or unpolished nails
• Leaves your nail with a
natural shine
F. Cuticle Care (Low)E. Polish Prep (Low/High)
• This narrow attachment is
best used on smaller nails
• Last step before polish
• Speed: Recommended Low or High Speed
• For: Filing unpolished nails
• How To Use: Fully insert head
• Gently move over the tip of the nail to shape (Image 9)
How to Use
Image 9
Image 10
For best results, use light pressure and only on dry nails.
• If you experience a sensitive reaction, discontinue use immediately.
www.FlawlessBeauty.com
A. Shape & File
CAUTION: This head uses a grinding motion.
Always use with extreme caution especially on thin nails.
Speed: Recommended Low Speed
For: Removing gel polish
Removing ridges from the nail
How To Use: Fully insert head
• Gently move over the nail until polish is removed
(Image 10)
• Do not apply excessive pressure
• Do not hold in the same place
• Only use every 2 weeks to maintain a healthy nail
surface
B. Grind & Smooth
www.FlawlessBeauty.com
• Make sure the unit is turned OFF.
• Remove protective cover.
• To remove, pull the head straight out from the unit
(Image 7).
• Place a new head into the unit and press down rmly
(Image 8).
• Check that the new head is rmly in place (not loose or
shaky) before turning the unit on.
Installing/Removing the Heads
Image 7
Lorem ipsum
Image 8
• For ling unpolished nails
• Use this head on its side.
• Do not push the tip of the
head into the nail bed.
Other Finishing Touch Personal Care Product manuals


