manuals.online logo
Brands
  1. Home
  2. •
  3. Brands
  4. •
  5. Fishman
  6. •
  7. Accessories For Musical Instruments
  8. •
  9. Fishman NASHVILLE Series User manual

Fishman NASHVILLE Series User manual

This manual suits for next models

2

Other Fishman Accessories For Musical Instruments manuals

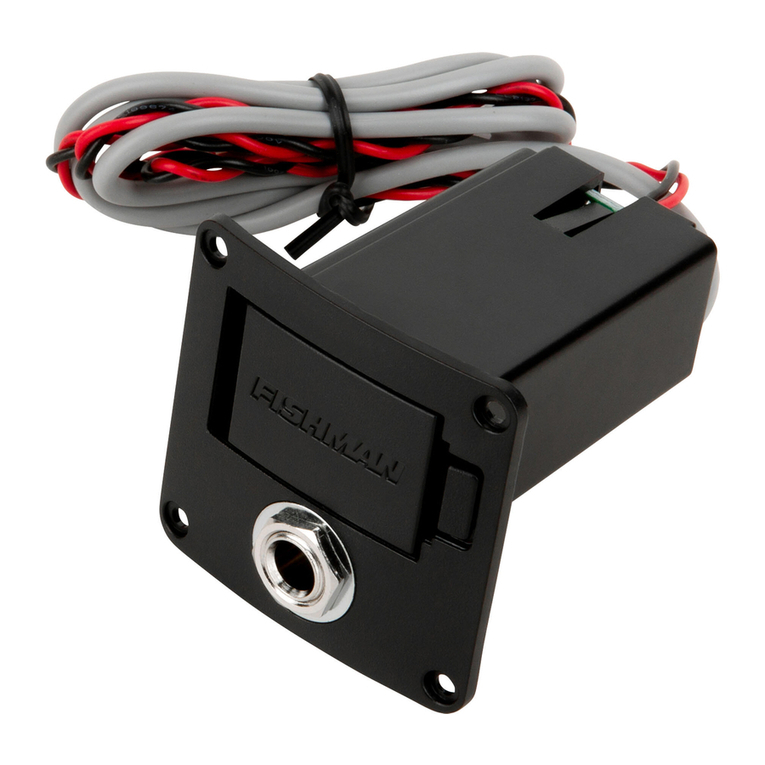
Fishman PowerTap Earth User manual

Fishman

Fishman PowerTap Earth User manual

Fishman RARE EARTH - User manual

Fishman

Fishman RARE EARTH - User manual

Fishman SONITONE User manual

Fishman

Fishman SONITONE User manual

Fishman RARE EARTH - User manual

Fishman

Fishman RARE EARTH - User manual

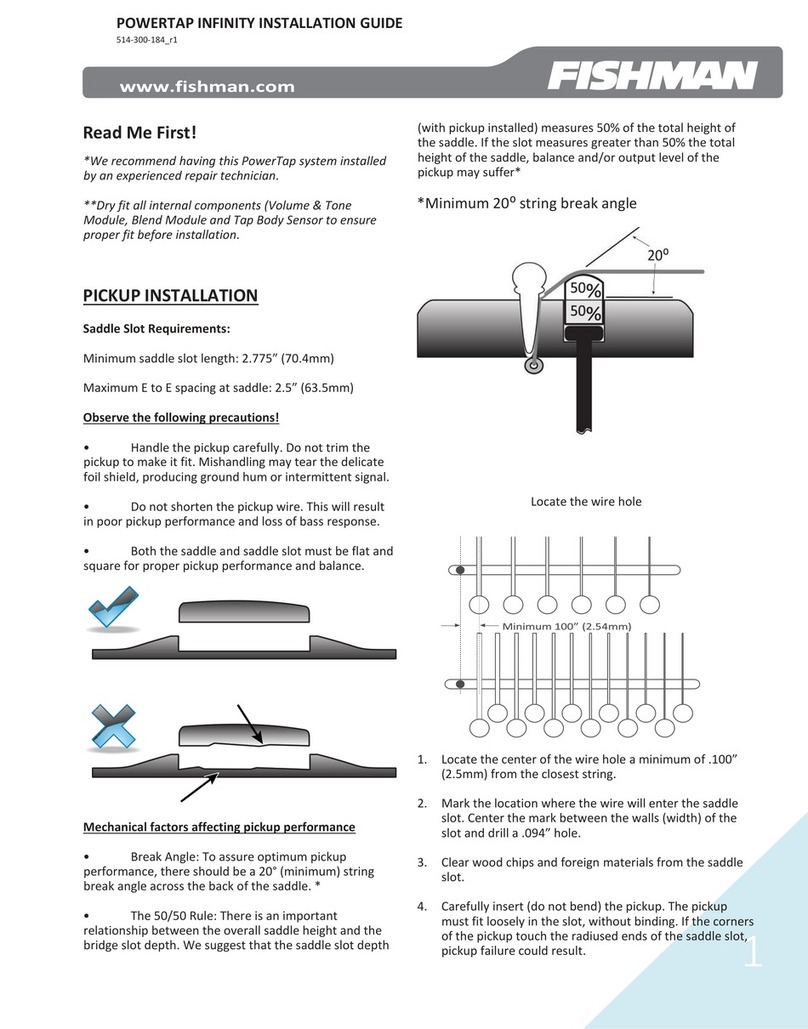
Fishman PowerTap Infinity User manual

Fishman

Fishman PowerTap Infinity User manual

Fishman FLUENCE TIM HENSON SIGNATURE Series User manual

Fishman

Fishman FLUENCE TIM HENSON SIGNATURE Series User manual

Fishman FLUENCE SIGNATURE RICHARD Z Series User manual

Fishman

Fishman FLUENCE SIGNATURE RICHARD Z Series User manual

Fishman SONITONE User manual

Fishman

Fishman SONITONE User manual

Fishman FLUENCE CUSTOM MATT HEAFY Series User manual

Fishman

Fishman FLUENCE CUSTOM MATT HEAFY Series User manual

Fishman SONITONE User manual

Fishman

Fishman SONITONE User manual

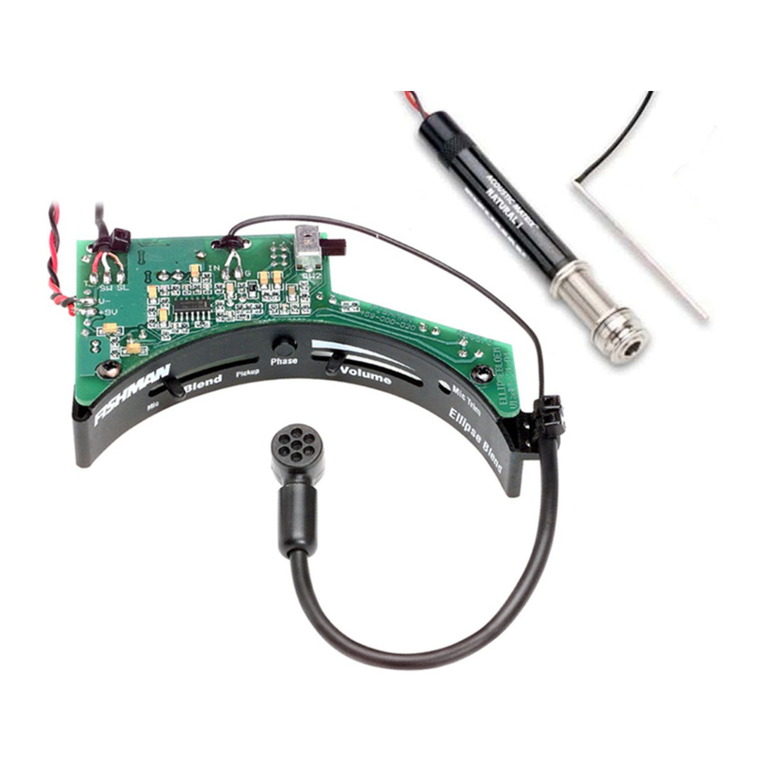
Fishman ELLIPSE BLEND - User manual

Fishman

Fishman ELLIPSE BLEND - User manual

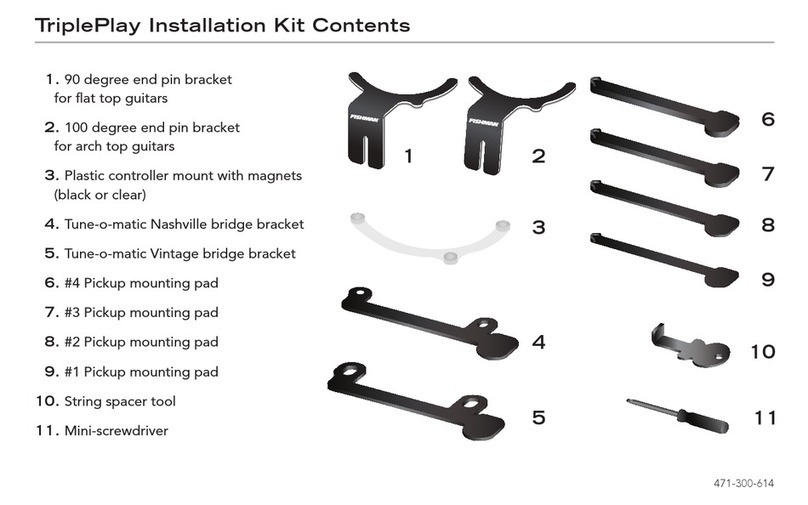
Fishman TriplePlay User manual

Fishman

Fishman TriplePlay User manual

Fishman FLUENCE SB1 User manual

Fishman

Fishman FLUENCE SB1 User manual

Fishman RARE EARTH BAJO QUINTO User manual

Fishman

Fishman RARE EARTH BAJO QUINTO User manual

Fishman FLUENCE CLASSIC User manual

Fishman

Fishman FLUENCE CLASSIC User manual

Fishman NEO-BUSTER PRO-NEO-FB2 User manual

Fishman

Fishman NEO-BUSTER PRO-NEO-FB2 User manual

Fishman ACOUSTIC MATRIX NATURAL I User manual

Fishman

Fishman ACOUSTIC MATRIX NATURAL I User manual

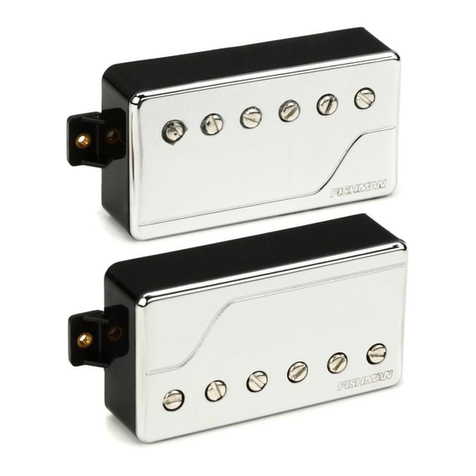
Fishman Fluence series User manual

Fishman

Fishman Fluence series User manual

Popular Accessories For Musical Instruments manuals by other brands

GetLoFi Electric Guitar Pickup Box manual

GetLoFi

GetLoFi Electric Guitar Pickup Box manual

Schertler STAT PRE quick start

Schertler

Schertler STAT PRE quick start

EMG TB-HZ Installation information

EMG

EMG TB-HZ Installation information

EMG EMG-HZ Series Installation information

EMG

EMG EMG-HZ Series Installation information

Behringer AIRPLAY GUITAR AG10 quick start guide

Behringer

Behringer AIRPLAY GUITAR AG10 quick start guide

FEURICH BASIC user manual

FEURICH

FEURICH BASIC user manual

EMG SPC manual

EMG

EMG SPC manual

Duncan BLACKOUTS AHB-1 Wiring diagram

Duncan

Duncan BLACKOUTS AHB-1 Wiring diagram

Schatten Design RG-03 instructions

Schatten Design

Schatten Design RG-03 instructions

Subzero SZ-WGS-1/2U user manual

Subzero

Subzero SZ-WGS-1/2U user manual

Monacor GM-100 instructions

Monacor

Monacor GM-100 instructions

FuzzDog ToxicMinx V2 manual

FuzzDog

FuzzDog ToxicMinx V2 manual

EMG EMG-91 ARCHTOP Installation information

EMG

EMG EMG-91 ARCHTOP Installation information

Roland FS-1-WL Connection guide

Roland

Roland FS-1-WL Connection guide

EMG LES CLAYPOOL Installation information

EMG

EMG LES CLAYPOOL Installation information

Konig & Meyer 18874 quick start guide

Konig & Meyer

Konig & Meyer 18874 quick start guide

Solo Music Gear FVK-15 Assembly manual

Solo Music Gear

Solo Music Gear FVK-15 Assembly manual

Dusty Strings TriStander Direction for Installation and Use

Dusty Strings

Dusty Strings TriStander Direction for Installation and Use

manuals.online logo
manuals.online logoBrands
  • About & Mission
  • Contact us
  • Privacy Policy
  • Terms and Conditions

Copyright 2025 Manuals.Online. All Rights Reserved.

www.fishman.com
www.shman.com
Read Me First!
If you are unfamiliar with these products, please pay
close attention to the dimensional requirements for
installation. Failure to do so can result in permanent
damage to the pickup.
Installation of this product is a straightforward
procedure, but we recommend this job only if you
are an experienced repair technician.
M-300 and M-400
The Nashville Series at-top and two piece archtop
mandolin pickups feature a piezo-ceramic ele-
ment preinstalled in the bridge. Use your preferred
method for bridge tting.
For the at-top model (M-400), up to .050” may
be removed from either the top or bottom of the
bridge (Figure 1).
For the archtop model (M-300), be sure to observe
the “Do not modify” area of the bridge base
(Figure 2).
Special care must be taken not to damage the
pickup wire when tooling the bridge blank.
Installing The Jack
After tting the pickup, place the jack in a com-
fortable location (Figure 3) and tighten it with the
enclosed turnbuckle key (Figure 4). Be careful not to
scratch the side of your instrument.
NASHVILLE SERIES PICKUPS
INSTALLATION GUIDE
Figure 4.
Figure 3.
Do not modify
0.050”
0.050”
Figure 2. M-300
Figure 1. M-400
Do not modify
0.100” 0.180”
0.250”
www.fishman.com
www.shman.com
Spider-Style Resophonic
The Nashville Series resophonic pickup for spider-
style bridges features a piezo-ceramic element
preinstalled in the saddles. The saddles should t
tightly into the saddle slot in the spider bridge as
shown (Figure 1).
Fit the saddles by your preferred method, with the
maple side towards the cone, and the top notched
for string spacing. Both the top and bottom of these
saddles can be adjusted for proper t and playability.
Take special care not to damage the wires leading
from the pickup during adjustment.
Drill a hole for the jack in your preferred location,
usually in the treble side of the lower bout for metal
bodied instruments, or in the endblock, centered
below the tailpiece, for wooden bodied instruments.
Metal Bodied Instruments (sidemount location):
Use a center punch at the chosen location and use a
sharp 3/8” (9.5mm) drill.
Wooden Bodied Instruments (endblock location):
Drill a 3/16” (4.8mm) hole and enlarge it to 15/32”
(12mm) with a 15/32” tapered reamer. Note that if
the instrument has a ring (“soundwell”) inside the
sound chamber, you may have to drill through it to
accommodate the jack.
Drill a 3/16” hole in the corner edge of the
soundwell near or under the tail piece so that it is
hidden when you reinstall the coverplate (Figure 2).
Pass the pickup wire through and wire the pickup
leads to the jack as shown (Figure 3).
Install the jack hardware (Figure 4) in the chosen
location.
Figure 1.
612 34 5
Metal Body Instrument Jack Location
Wooden Body Instrument Jack Location
1 - 3/8” Nut
2 - 3/8” Star Washer
3 - Guitar Body
4 - 3/8” Dress Washer
5 - 3/8” Nut
1 - 15/32” Nut
2 - 15/32” Washer
3 - 15/32” Star Washer
4 - Guitar Endblock
5 - 3/8” Dress Washer
6 - 3/8” Nut
12 345
Figure 5.
Shield to
Sleeve
Pickup Signal
to Tip
Figure 3.
Figure 2.
Figure 4.
Note: The External Ground Wire should be utilize
when pickup is installed on a wood body instrument
Use one of the cover mounting screws to secure ground
wire between the cover and the instrument body.
www.fishman.com
www.shman.com
Biscuit-Style Resophonic
To prepare cone, measure .462” (11.734mm) from
center of screw hole and drill a .250” (6.35mm) wire
hole (Figure 1).
Add a ring of wood glue around the top rim of the
cone (Figure 2).
Note:
Following standard procedures, the saddle should
be tted for proper height and slotted for strings.
Attach the biscuit to the top of the cone by insert-
ing wire through wire hole and afx biscuit to top of
cone using supplied screw. Screw will go through
cone, biscuit and into saddle (Figure 3).
Parts:
Solder ground wire to shield
Solder signal wire to short tip terminal.
*If installing a Fishman endpin jack please refer to
Endpin Jack Install Reference Guide.
Figure 1.
Figure 2.
Figure 3.
514-300-004 Rev E 8/15