manuals.online logo
Brands
  1. Home
  2. •
  3. Brands
  4. •
  5. Fishman
  6. •
  7. Accessories For Musical Instruments
  8. •
  9. Fishman PowerTap Earth User manual

Fishman PowerTap Earth User manual

Other manuals for PowerTap Earth

2

This manual suits for next models

1

Other Fishman Accessories For Musical Instruments manuals

Fishman Fluence series User manual

Fishman

Fishman Fluence series User manual

Fishman RARE EARTH - User manual

Fishman

Fishman RARE EARTH - User manual

Fishman FLUENCE CLASSIC User manual

Fishman

Fishman FLUENCE CLASSIC User manual

Fishman FLUENCE CUSTOM MATT HEAFY Series User manual

Fishman

Fishman FLUENCE CUSTOM MATT HEAFY Series User manual

Fishman RARE EARTH BAJO QUINTO User manual

Fishman

Fishman RARE EARTH BAJO QUINTO User manual

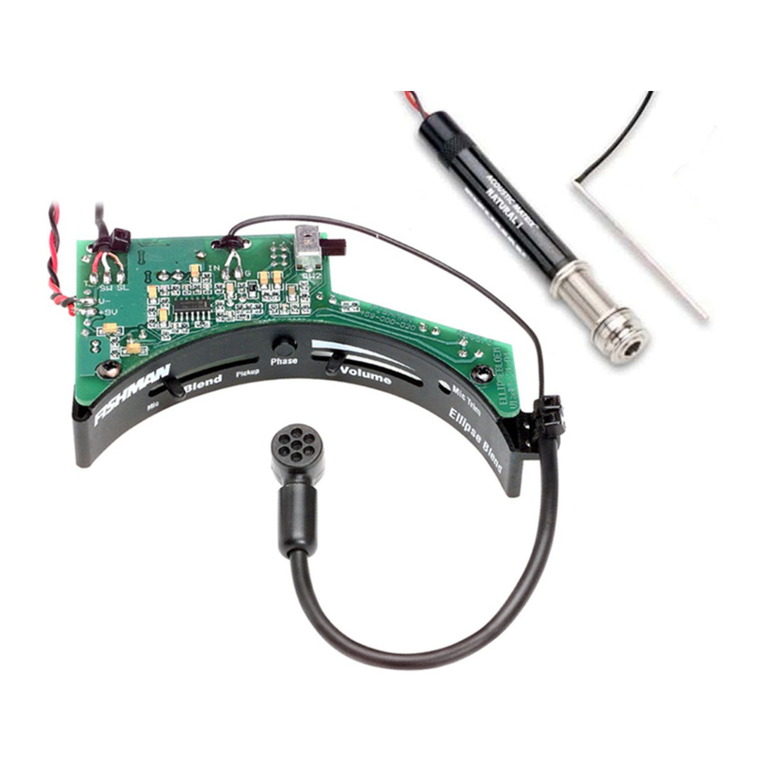
Fishman ELLIPSE BLEND - User manual

Fishman

Fishman ELLIPSE BLEND - User manual

Fishman ACOUSTIC MATRIX NATURAL I User manual

Fishman

Fishman ACOUSTIC MATRIX NATURAL I User manual

Fishman SONITONE User manual

Fishman

Fishman SONITONE User manual

Fishman NEO-BUSTER PRO-NEO-FB2 User manual

Fishman

Fishman NEO-BUSTER PRO-NEO-FB2 User manual

Fishman SONITONE User manual

Fishman

Fishman SONITONE User manual

Fishman PowerTap Infinity User manual

Fishman

Fishman PowerTap Infinity User manual

Fishman FLUENCE SB1 User manual

Fishman

Fishman FLUENCE SB1 User manual

Fishman FLUENCE SIGNATURE RICHARD Z Series User manual

Fishman

Fishman FLUENCE SIGNATURE RICHARD Z Series User manual

Fishman FLUENCE TIM HENSON SIGNATURE Series User manual

Fishman

Fishman FLUENCE TIM HENSON SIGNATURE Series User manual

Fishman NASHVILLE Series User manual

Fishman

Fishman NASHVILLE Series User manual

Fishman SONITONE User manual

Fishman

Fishman SONITONE User manual

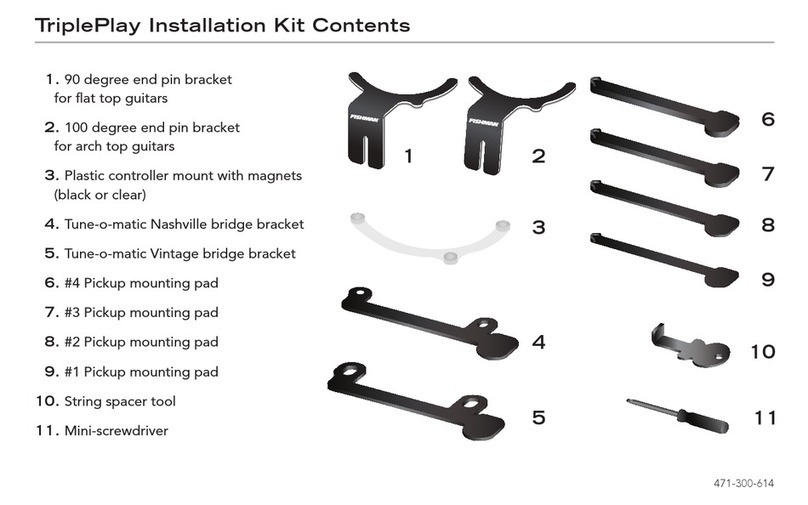
Fishman TriplePlay User manual

Fishman

Fishman TriplePlay User manual

Fishman RARE EARTH - User manual

Fishman

Fishman RARE EARTH - User manual

Popular Accessories For Musical Instruments manuals by other brands

GetLoFi Electric Guitar Pickup Box manual

GetLoFi

GetLoFi Electric Guitar Pickup Box manual

Schertler STAT PRE quick start

Schertler

Schertler STAT PRE quick start

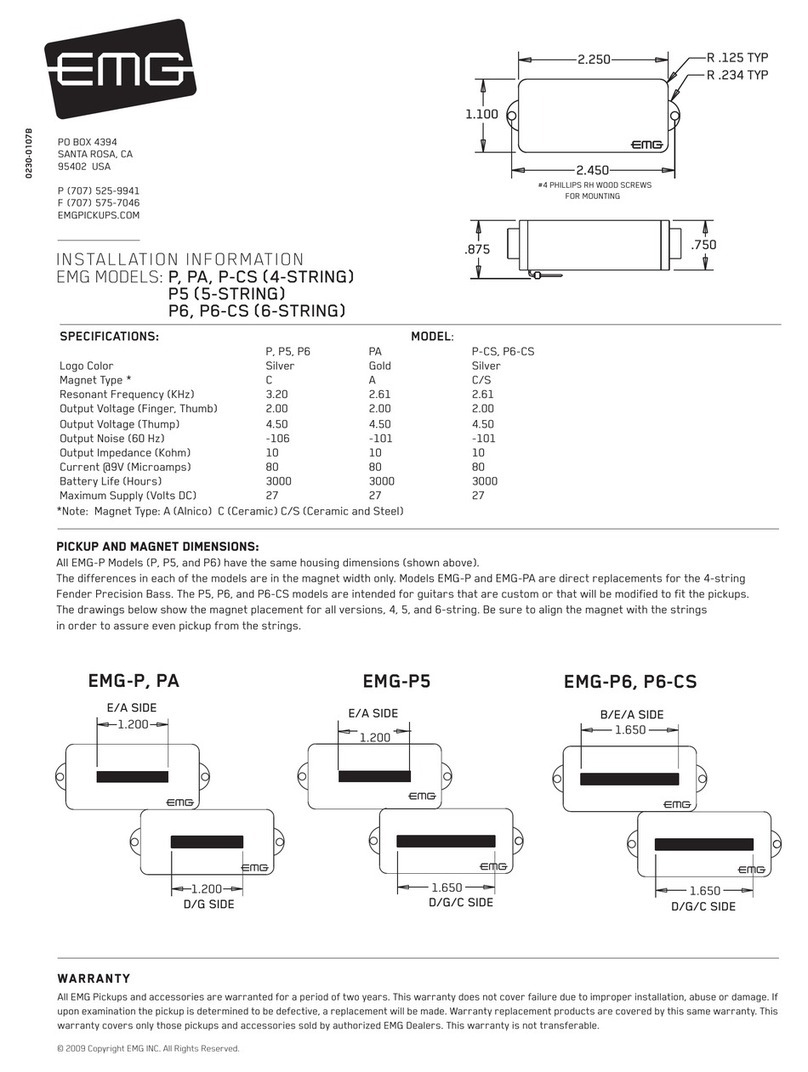
EMG TB-HZ Installation information

EMG

EMG TB-HZ Installation information

EMG EMG-HZ Series Installation information

EMG

EMG EMG-HZ Series Installation information

Behringer AIRPLAY GUITAR AG10 quick start guide

Behringer

Behringer AIRPLAY GUITAR AG10 quick start guide

FEURICH BASIC user manual

FEURICH

FEURICH BASIC user manual

EMG SPC manual

EMG

EMG SPC manual

Duncan BLACKOUTS AHB-1 Wiring diagram

Duncan

Duncan BLACKOUTS AHB-1 Wiring diagram

Schatten Design RG-03 instructions

Schatten Design

Schatten Design RG-03 instructions

Subzero SZ-WGS-1/2U user manual

Subzero

Subzero SZ-WGS-1/2U user manual

Monacor GM-100 instructions

Monacor

Monacor GM-100 instructions

FuzzDog ToxicMinx V2 manual

FuzzDog

FuzzDog ToxicMinx V2 manual

EMG EMG-91 ARCHTOP Installation information

EMG

EMG EMG-91 ARCHTOP Installation information

Roland FS-1-WL Connection guide

Roland

Roland FS-1-WL Connection guide

EMG LES CLAYPOOL Installation information

EMG

EMG LES CLAYPOOL Installation information

Konig & Meyer 18874 quick start guide

Konig & Meyer

Konig & Meyer 18874 quick start guide

Solo Music Gear FVK-15 Assembly manual

Solo Music Gear

Solo Music Gear FVK-15 Assembly manual

Dusty Strings TriStander Direction for Installation and Use

Dusty Strings

Dusty Strings TriStander Direction for Installation and Use

manuals.online logo
manuals.online logoBrands
  • About & Mission
  • Contact us
  • Privacy Policy
  • Terms and Conditions

Copyright 2025 Manuals.Online. All Rights Reserved.

1
POWERTAP EARTH INSTALLATION GUIDE
514-300-185_r1
Read Me First!
*We recommend having this PowerTap system installed
by an experienced repair technician.
**Dry fit all components (Rare Earth Humbucking pickup
and Tap Body Sensor to ensure proper fit before
installation.
Tap Body Sensor Installation
The Tap Body Sensor should be installed first. The Body
Sensor installs onto the bridge plate of the instrument
directly under the saddle. Make sure the area where the
body sensor will mount is smooth. Clean this surface with
an alcohol wipe or a cotton swab moistened with
rubbing alcohol. Let dry.
Use the included mounting tool and two golf tee locaters to
ensure proper placement of the Tap Body Sensor.
To properly mount the Tap Body Sensor, insert it as shown
into the mounting tool.
Note: Before proceeding with the next 5 steps, practice installing
the Tap Body Sensor a few times with the backing paper still
attached to the pickup.
1. Peel off backing paper and add 3 small drops of Gel
Type Cyanoacrylate (Super Glue) One in the center
and ½” in from each end of the sensor.
- 2 -
Tap Body Sensor Installation continued…
1. Hold the sensor in the mounting tool inside the
guitar in the area of the bridge plate under the
bridge. (Do not press the pickup against the
bridge plate at this time)
2. Using one of the golf tee locator pins, insert it
through the “A” string bridge pin hole and into
the round hole in the corner of the mounting
tool. Using the second golf tee, insert it through
the “B” string bridge pin hole and into the
slotted hole in the opposite corner of the
mounting tool.
Inside view:
Top View:
3. With both locator pins inserted, gently push the
sensor into place on the bridge plate. Hold against
the bridge plate with firm pressure for 30 seconds.
Once the sensor is attached to the bridge plate
remove the mounting tool and golf tees.
- 3 -
Endpin Jack Installation
NOTE: Before installing the pickup in the soundhole, install
the endpin jack in the endblock of the guitar. You may choose
to unsolder the cable from the jack and shorten it or simply tie
wrap the excess cable inside the guitar. If you modify the
cable length to fit your instrument, leave enough slack to
allow the cable to be secured to the side wall of the guitar
with the supplied wire clips.
Prepare the endpin jack hole by drilling a 15/32” hole in
the intended location of the jack. (If the guitar has an
existing strap button hole enlarge that hole to 15/32”
Follow this sequence when installing the endpin jack:
Inside the guitar:
1 - Large Hex nut
2 - Large Dress Washer
3 - Star Washer
4 - Guitar End Block
Outside the guitar:
4 - Small Dress Washer
5 - Small Dress Nut
6 - Strap Button
Thread the large nut, dress washer and star washer
down the large threaded portion of the jack to allow the
proper amount of the jack to go through the end block.
Note: For proper fit, the endpin Jack should protrude at
least 5/16" (7.9 mm) and no more than 11/32" (8.7mm)
outside the guitar's body.
Push the jack through the hole and fit the small dress washer
and nut over the end of the jack. Tighten the nut with a 1/2"
open-end or adjustable wrench while counter-holding the
jack in place with an Allen wrench or small screwdriver.
Thread and gently tighten the strap button using rubber
tipped pliers
Note: With the strap button in place, the end of the jack
should protrude slightly, so that when a plug is inserted, it
will snap securely in place.
- 4 -
Rare Earth Humbucking Pickup
Installation
NOTE: Before installing the pickup in the soundhole, insert the
Tap Body Sensor plug into the jack on the Mag pickup body. It
is also easier to secure all wires inside the instrument using
the supplied wire clips now.
The Rare Earth Humbucking pickup should be placed in
the soundhole as close to the end of the fretboard as
possible. Use a #1 Phillips Screwdriver to tighten the
clamp screws. Do not over tighten screws