Flair Electronics ENS24 User manual
3-19
Rev A
Instruction Manual
Wireless Annunciator
Model ENS24 and ENS32
Table of Contents
Introduction
Features
General Specifications
System Overview
General
Removing Front Graphic Cover and Case Lid
Prepare for Benchtop Setup and Testing
Enrolling Transmitters
Other Menu Options
System Operation
Trouble Shooting
Transmitter / Zone and Repeater Table
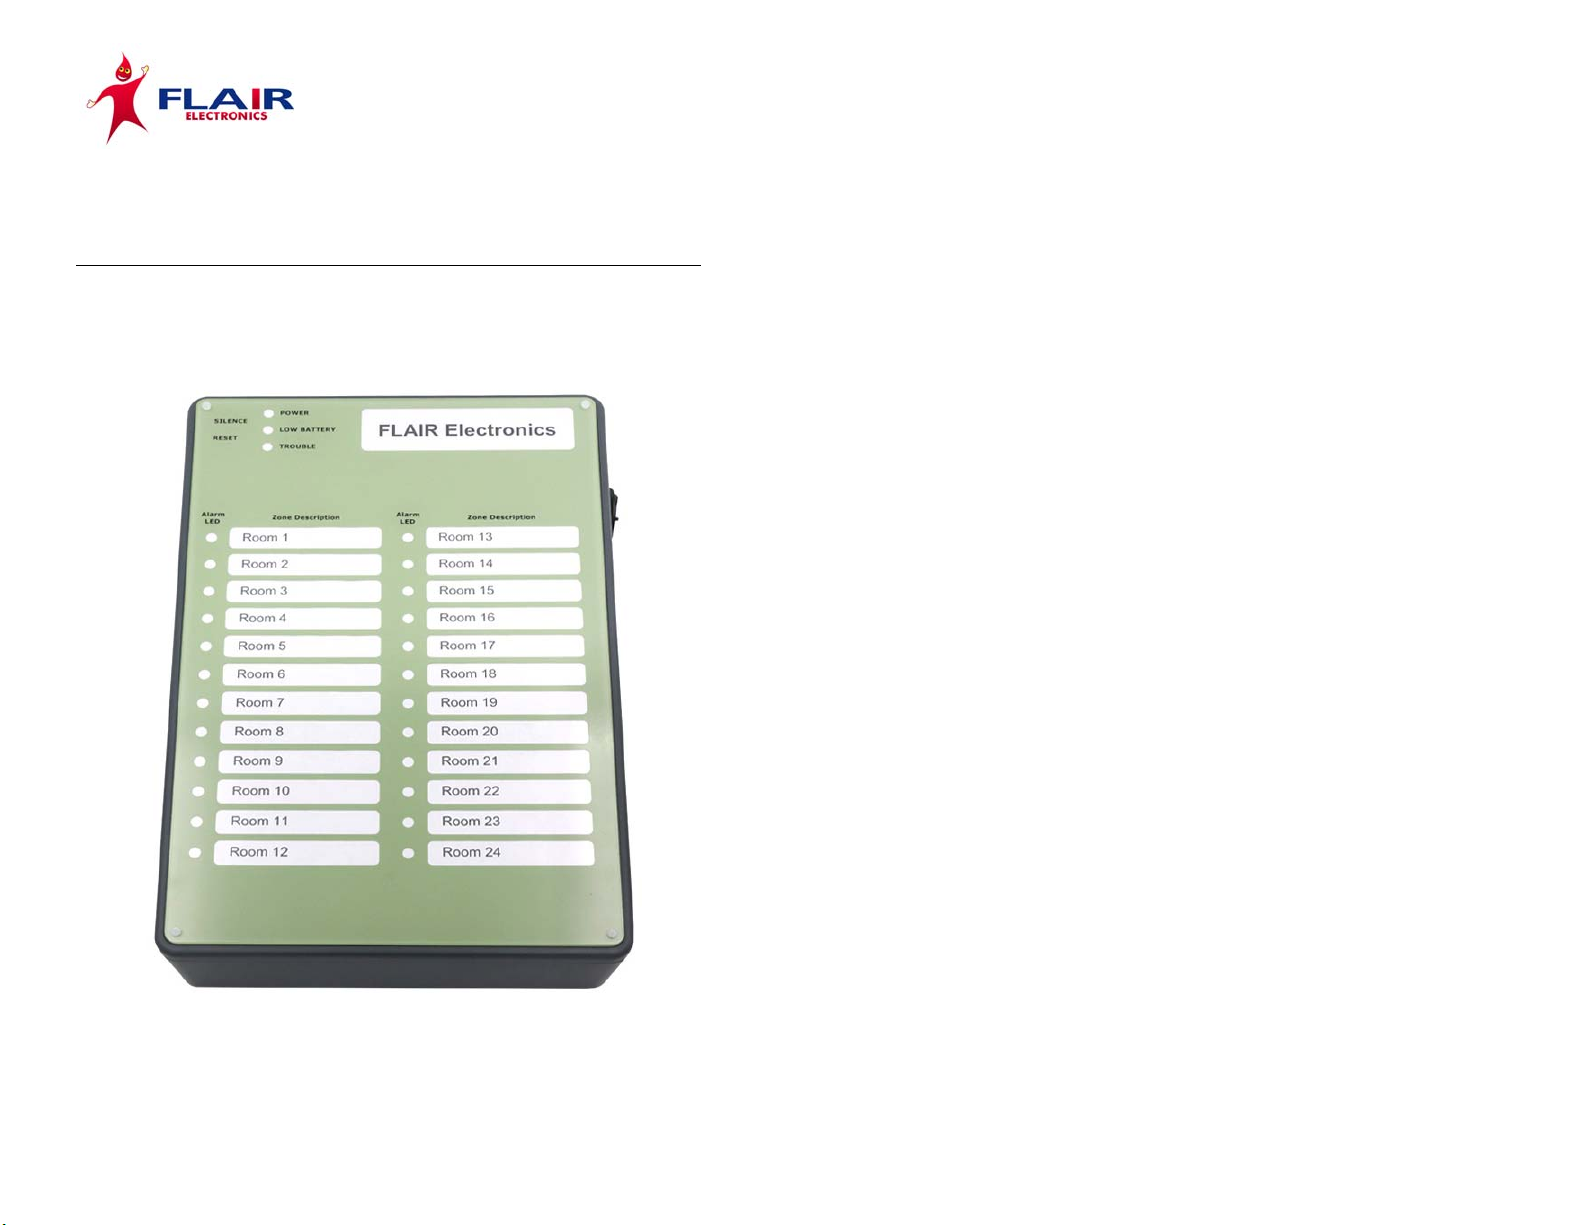
Introduction
Flair Wireless Annunciators come with a standard zone identification
graphic or can be made with custom graphic displays also.
This Manual describes the basic installation and operation of the Flair
Wireless Annunciator, Models ENS24 and ENS32.
Built to last the test of time by Flair.
Features
24 and 32 Zone, Standard Configuration
State of the Art Microcontroller
Highly Visible, Easy to Customize Display
Individual Zone Status LEDs
Single Touch Common Silence, Reset and Test
Easy to register multiple transmitters
One Common Open Collector Output and one common SPDT
Relay

1
General Specifications
ENS24 and ENS32: Surface Wall Mount, Black Plastic Enclosure, No
Power Supply
-A = 12 VDC Power Supply with Plug-In Transformer
-AB = 12 VDC Power Supply, Plug-In Transformer and 5 Ah
Back Up Battery
Built-In Inovonics Serial Receiver
Works with most Inovonics Transmitters
Piezo Sounder with Adjustable Baffle, Full Open 89 Decibels at 24
inches
Common Zone SPDT Relay
System Overview
General
The Flair ENS24/ENS32 Wireless Annunciator utilizes an Inovonics
Receiver, Model EN4200, Security Only. A Flair Control Board interfaces
with this receiver to monitor Inovonics Security Transmitters and
annunciate status via LEDs and sounder.
The Flair ENS24/ENS32 Annunciator will also work with Inovonics
Repeaters.
Once a Transmitter broadcasts an alarm the corresponding LED on the
Annunciator will flash red and the Piezo will sound.
Pressing the Silence Button on the upper right side of the Annunciator
will silence the Piezo and steady the red LED.
Once the Transmitter is restored, pressing the Annunciator Reset Button
will reset the red LED.
LEDs at the top of the Annunciator will indicate status of annunciator
power, transmitter battery charge or receiver/transmitter trouble.
Registration of Transmitters is performed with an internal LCD Screen
and four Buttons. Registration of Transmitters and operation of the
Annunciator is very easy and intuitive.
A new security system can be set up in minutes.
IMPORTANT: Test all the transmitters and repeaters that are part of the
security system on a regular basis.
2
Annunciator – Outside
Paper Template
(Under Cover)
Status LEDs
Sounde
r
Zone
Identification
Plastic
Rivet
Cove
r
A
larm LEDs
Push
Buttons

3
Annunciator - Inside
Sounde
r
Receive
r
Status LEDs
Silence
Reset
Buttons
Battery and
Bracket
Transformer
Terminal
Alarm
LEDs
Control Board
Battery
Terminal
Rela
y
4
1. Removing Front Graphic Cover and Case Lid
Remove the Front Graphic Cover by grabbing the edge with your
fingers and gently lifting up. The rivet will pop out of the hole
Run your fingers around the cover gently pulling up the three
remaining rivets until the cover is free from the front of the
Annunciator. Keep the rivets in safe place for re-installation.
Remove the cover and zone identification template.
Remove the four corner screws under the cover. These screws
secure the front lid of the Annunciator to the back panel. Keep
screws in a safe place for re-installation.
Plastic Rivet
Cover Screw
5
2. Prepare for Benchtop Setup and Testing
*** It is recommended that you initially setup the annunciators and
enroll all transmitters on a benchtop prior to installing in the field.
Cut a length of wire to connect 110 VAC Plug-In transformer to
Annunciator power supply. Use minimum #22 AWG wire.
Connect transformer to power supply “AC”, 16 – 18 VAC.
Prepare all transmitters to enroll into Annunciator
1. Install batteries in all transmitters
2. Leave transmitter covers off to allow access to transmitter
reset button
3. Arrange transmitters in order of zone number, one
transmitter per zone
4. Label transmitters with marker or tape with zone number.
With Annunciator powered and transmitters prepared, you may begin
to enroll transmitters.
16-18Vac
Input
6
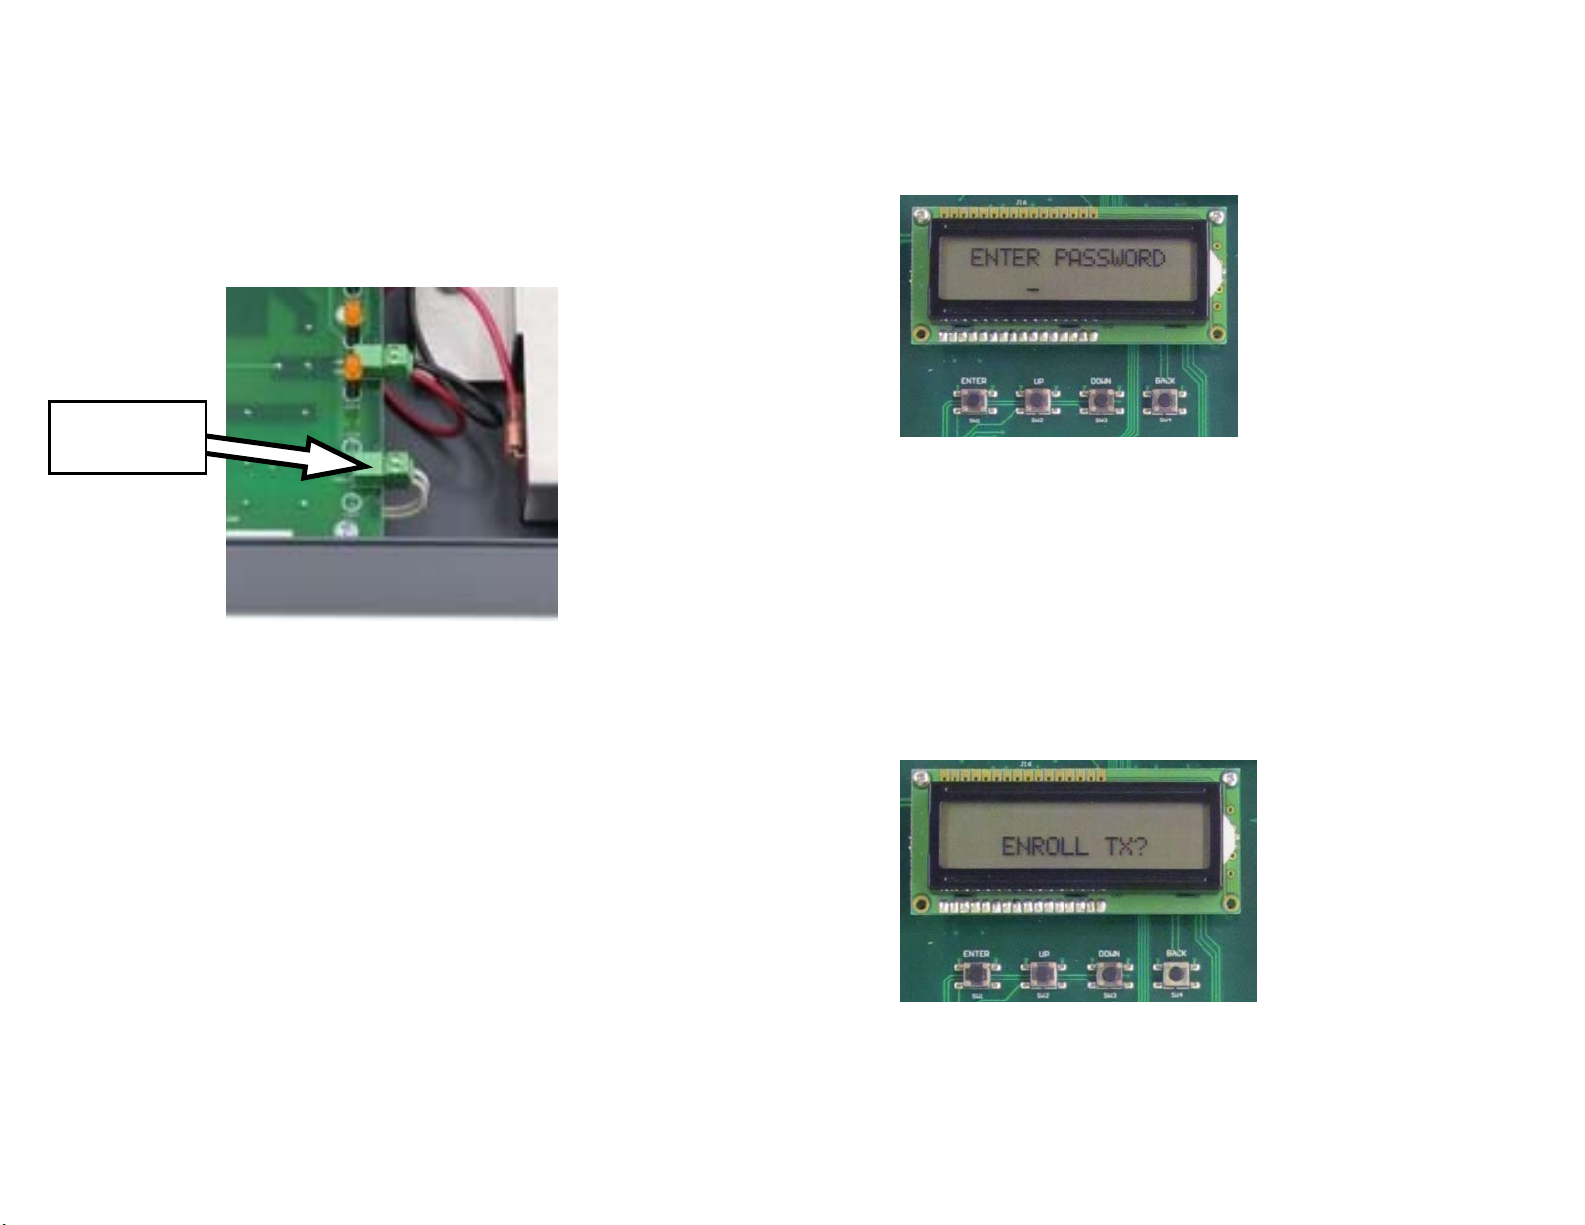
3. Enrolling Transmitters
Enrolling of the transmitters is done using the LCD display and 4
buttons below it to navigate the programming menu.
Press “ENTER” to enter programming mode.
Passwords are a 5-digit number, the Default password is “00000”.
Pressing “Enter” will automatically enter “0” in each digit as you
press it. Press the “Enter” button 5 times to enter the default
password of “00000”.
You may edit each digit to another number if the password has been
changed by using the Up or Down button.
Once the password has been entered, you will see the first
programming menu option “ENROLL TX?”
You may select other programming options by pressing the “UP” or
“DOWN” buttons.
To begin enrolling transmitters, with “ENROLL TX?” being displayed
on the LCD, press “ENTER”

7
You will be prompted to “RESET DEVICE”.
The cover of the transmitter must be removed in order to access the
reset switch. Press the reset on the transmitter
Enter the zone number that you wish to assign the transmitter from 1
to 32. Use “Up” or “Down” to change transmitter number.
Press “Enter”.
Reset
8
When the transmitter has been successfully assigned to a zone the
display will show “REG ZONE: ##”.
Press “Enter”.
You may continue enrolling transmitters
Press “Up” or “Down” to scroll thru the menu for other options or
press “BACK” to exit programming mode. Screen will go blank.
If the transmitter is already registered to another zone you will see
the message “DEVID: ## REG ERASE? [Y]”
Press “BACK” to register another transmitter. Press “ENTER” to
erase transmitter registration and register this transmitter to another
zone.
This manual suits for next models
1
Table of contents
Popular Medical Equipment manuals by other brands


Getinge
Getinge Arjohuntleigh Nimbus 3 Professional Instructions for use

Mettler Electronics
Mettler Electronics Sonicator 730 Maintenance manual

Pressalit Care
Pressalit Care R1100 Mounting instruction

Denas MS
Denas MS DENAS-T operating manual

bort medical
bort medical ActiveColor quick guide

AccuVein
AccuVein AV400 user manual


