1. Short description
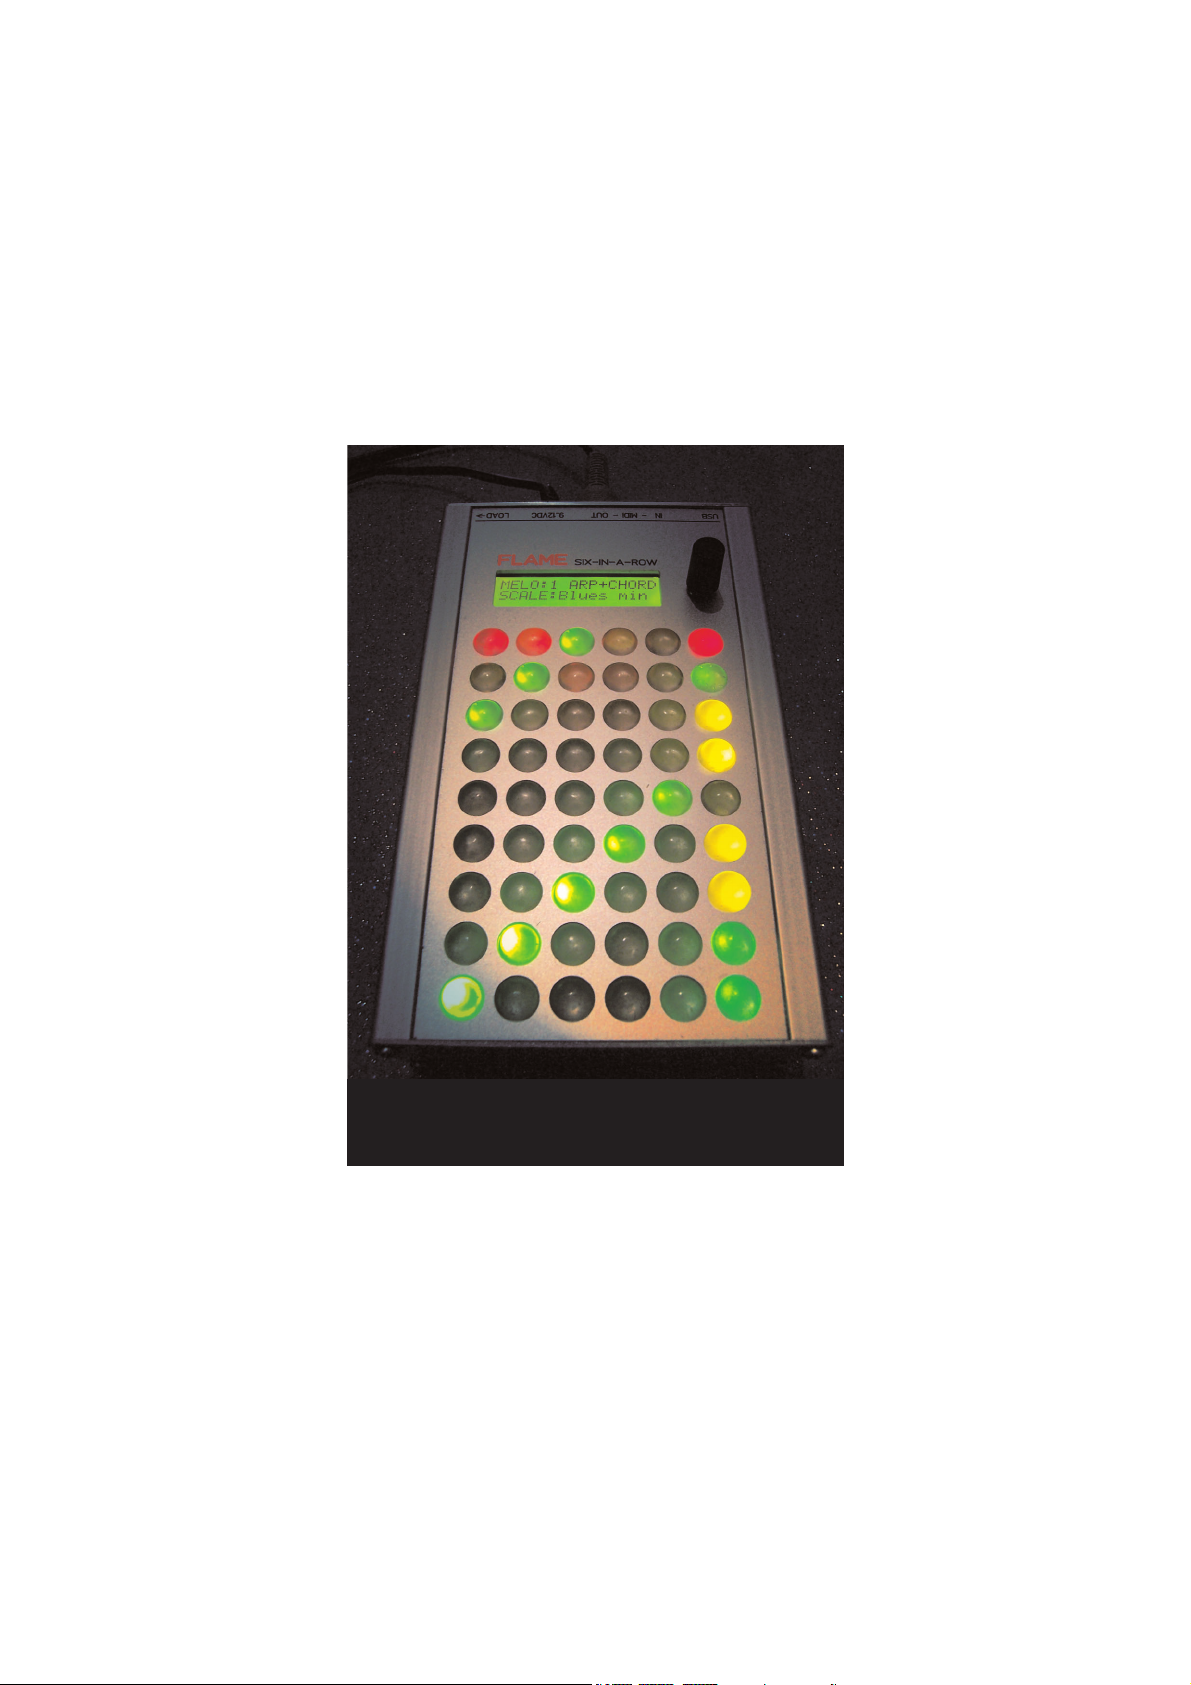
MIDI-PHRASE-SEQUENCER Version 2.00
News of Version 2:
Melody pages:
- Phrases with gatetimes
- Gatetimes changeable (new menu)
- Menu Single notes is not applicable
- instead of fixed16tel Beat Phrase with 50 variable gatetime phrases
- Transpose of Tracks per MIDI
Drum page unmodified. In setup page are 36 patterns storeable .
Additional pattern page for live jam of patterns with individual mute funktion of all tracks.
MIDI-Remote Funktion (MIDI-protocoll) is not applicable.
Overview:
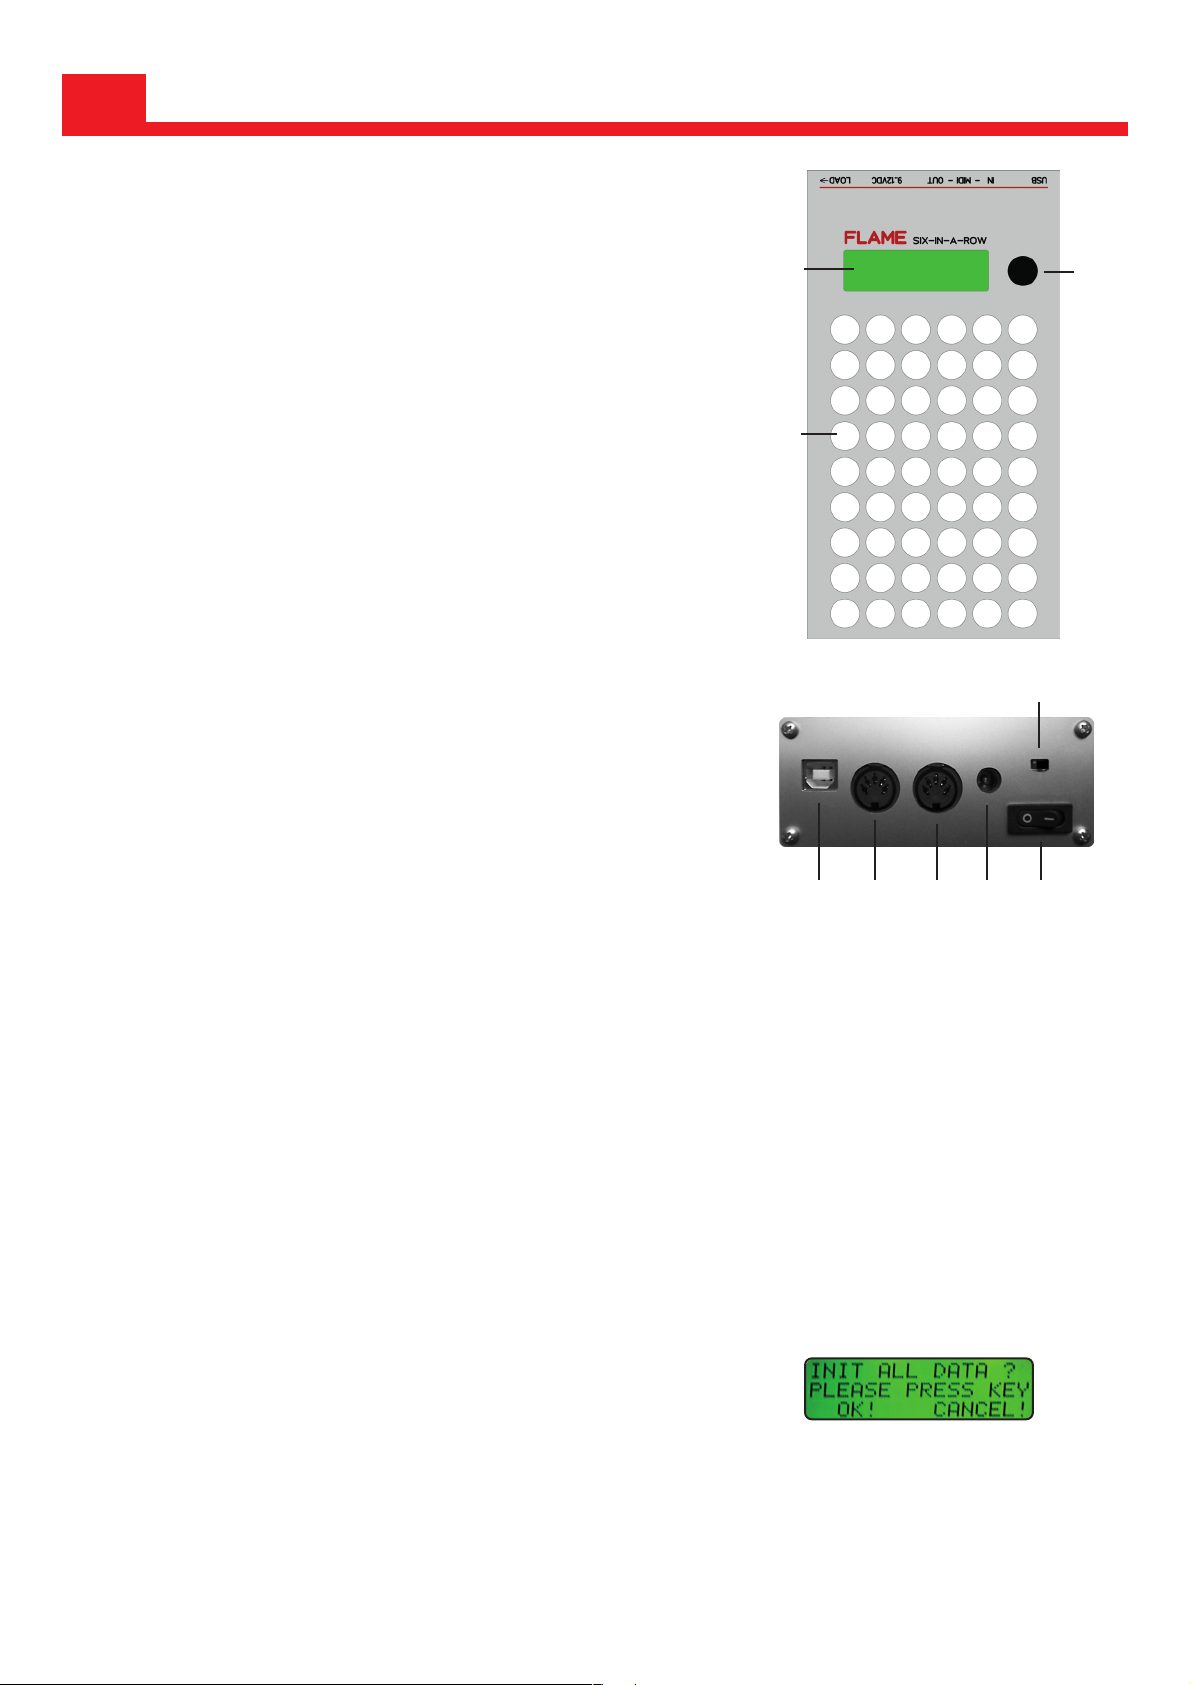
The sequencer is planned as a performance tool. It possesses 5 tracks: 2 MELODY tracks and
3 DRUM tracks. Unlike to the step sequencer the sequences are generated/ manipulated /
recorded here directly. At your disposal are precast rhythm patterns (phrases, pulse) which can
be combined arbitrarily. The generated pattern is at most 4 measures long but the particular
measure parts can be switched on/off independantely from each other during the performance.
That makes variations of the pattern cycle easily possible
Melody tracks:
Both melody tracks are arranged identically. To your disposal are SCALE/ KEYNOTE, CHORD,
ARPEGGIO, PHRASES, PULSE, SINGLE NOTE, VELOCITY, MUTE and HOLD: The selected
scale and keynote bends the bushputtons to the according notes. For better orientation the
pushbuttons of the keynote and the following octaves are put into green. The chords always
adjust to the chosen key (tonality). The played sequence can be overwritten or combined optio-
nally with other adjustments. There is a CLEAR-pushbutton to delete steps at the current posi-
tion or all steps of the track. The tracks are monophonic ( at single notes) or triple polyphonic (
at chords- triads).
Drum tracks:
To your disposal are 3 drum tracks in the drum page. Per track it can be put 4 instruments (notes)
on 4 play pushbuttons. The track is monophonic, that is per track only one single note can sound
at the same time. PHRASES / PULSE can be put on 6 pushbuttons, which than can be changed
while playing. Also playable are at a sixteenth quantisised single notes. Each of the tracks has an
own clear pushbutton to delete steps at the current position ( or all steps of the track). MUTE/
HOLD are also at your disposal for each track. There are two playmodes: NORMAL (green)
means the pressed bushbutton only plays the according note. ALTERNATE ( yellow) means that
the pressed pushbutton alternately plays the according note and the note of the adjacent bush-
button. (helpfull e.g. at HiHats!)
To each sequencer track can be assigned one own MIDI channel. Maximal 36 patterns can be
back upped in the internal EEPROM. Synchronisation is possible per external MIDI clock. The
sending of MIDI clock at external synchronisation can be switched off.
3