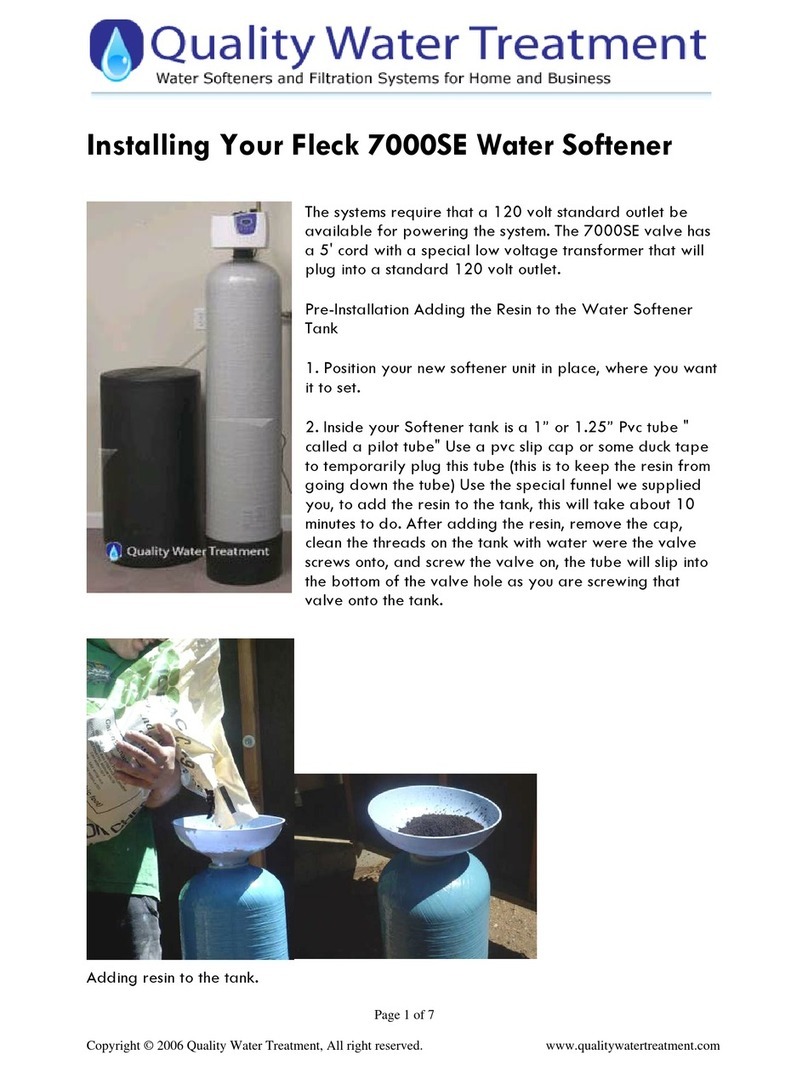
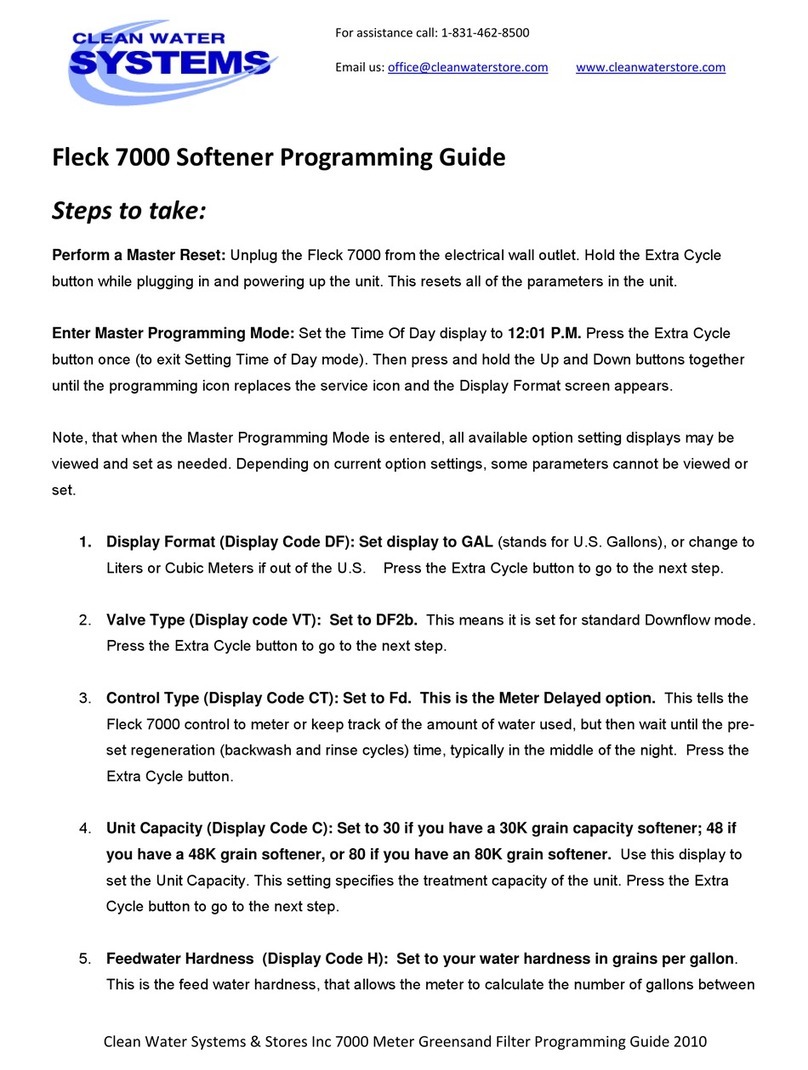
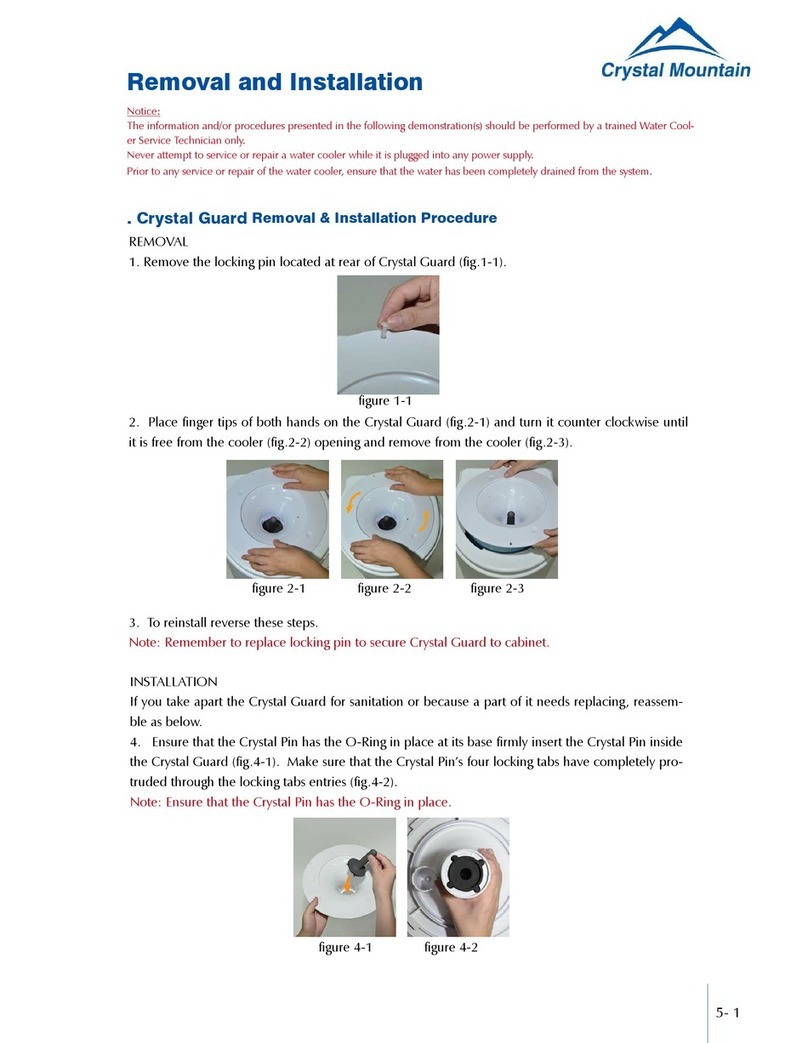
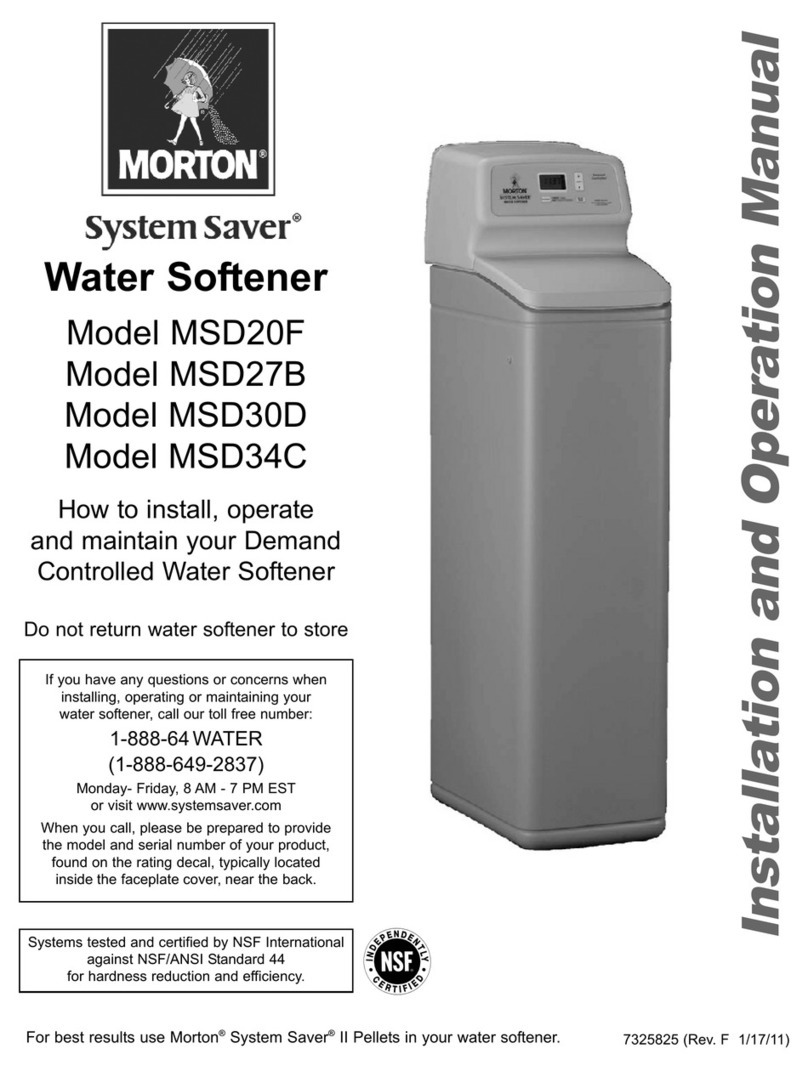
Fleck 7000 User manual

INSTALLING 7000 1
This material is intended only for Glass Water Systems customers. Reproduction or
distribution of this material is strictly prohibited and protected. For further questions contact
Glass Water Systems or their Attorney, Kenneth L. Olsen (813) 223-3657. Glass Water
Systems is not liable for any damage caused by your installation. This is strictly a guide for
our valued Customers.

INSTALLING 7000 2
This can be done before the unit arrives. This list is broken down for either a customer using copper or pvc pipe.
Therefore, the list will vary depending on your plumbing material that you use for the connection. Also, this list
may be added to and is based on installing the unit on 1”plumbing. If you are installing on 3/4”plumbing just
substitute this for 1”. The same applies for if you are using CPVC, Sch 80 , or PVC. This is strictly a guide and
you can purchase less or more of the supplies depending on your situation. Always feel free to call us with any
questions about installation at 1-877-345-2770
PVC installation:
1. 20’–40’1”OR 1-1/4”PVC pipe
2. 20’–60’½”PVC pipe or 5/8”Poly Tubing
3. 10 - 1”OR 1-1/4”90s PVC
4. 4 - 1”OR 1-1/4”45s PVC
5. 5- 1”OR 1-1/4”Couplings PVC
6. 2 –1”OR 1-1/4”Tees (Optional for Hard
Water Faucet)
7. 2- 1”x¾”Slip x Thr Bushing OR 1-1/4”X¾”
Slip x Thrd
8. 1- ¾”Hose Bibb
9. 1-1”or 1-1/4”Ball Valve (Optional for shut-off
on entire system
10. 2- ½”PVC Female Adapter
11. 10 –½”90s PVC
12. 5 –½”Couplings PVC
13. Rain & Shine Glue / CPVC Glue
14. Pipe Cleaner
15. Teflon Tape
If you have additional items you would recommend
please call us –improvement and customer
satisfaction is our goal.
Copper installation:
1. 10’–20’1”L hard copper pipe
2. 20’–60’½”PVC pipe or 5/8”Poly Tubing
3. 6 - 1”90s Copper
4. 4 –1”Female Adapters Copper
5. 2 - 1”45s Copper
6. 5- 1”Couplings Copper
7. 2 –1”Tees (Optional for Hard Water Faucet)
8. 2- 1”x¾”Slip x Thr Bushing
9. 1- ¾”Hose Bibb
10. 1-1”Ball Valve (Optional for shut-off on entire
system
11. 2- ½”PVC Female Adapter
12. 10 –½”90s PVC
13. 5 –½”Couplings PVC
14. Lead Free Soder
15. Flux and Brush
16. Sand Cloth
If you have additional items you would recommend
please call us –improvement and customer
satisfaction is our goal.

INSTALLING 7000 3
It is probably the most important thing to do the day your receive your package. This unit will either be drop shipped from our
main supply warehouse in Florida or from our numerous nation wide suppliers. We use this method to keep the cost of
shipping low for the customers. The unit may come in numerous packages. The Glass Water Systems representative will
inform you of the number of packages. Also, you need to keep all packages if the unit is damaged in shipping and call us
immediately. We need this to file a claim with the shipping company.
1. 1- Fiberglass Media Tank (8x44, 9x48, 10x47,12x52)
depends on the system you orderd
2. Distributor Tube and Basket
3. High Capacity Resin-
1. 24K Unit = ¾ Cu Ft Bag
2. 32K Unit = 1 Cu Ft Bag
3. 40K Unit = 1-1/4 Cu Ft Bag
4. 48K Unit = 1-1/2 Cu Ft Bag
5. 64K Unit = 2 Cu Ft Bag
4. Gravel (Optional)
5. Fleck 7000 Control Valve
6. Bypass
7. Installation Fitting Assemblies
1. 1”NPT
2. 1-1/4”NPT
3. 1-1/4”Brass Sweat
8. Brine Tank
9. 3/8”Brine Line
1
2
5
678
5

INSTALLING 7000 4
This is the portion where you decide where to install you water softener. You need to make sure that you follow
your local plumbing codes. This information will serve as a guide to help you with this process. We encourage
you to call with any questions about placement 1-877-345-2770.
You need to first find the main coming into your home.
1. Locate your water meter
2. This is usually the side of the house it comes in on
3. Most Homes have a L shaped pipe going into the side of the home.
4. Once you have found this you need to dig down and locate the pipe to tie
into.
1. Electric
1. Try and find an outside socket.
2. If you have to run a further distance than you have cord –you can slice in
and extend the line.
3. You can also drill a hole through the wall and fish it through.
2. Drain
1. You can either use a sink, an outside drain, or dig a hole approximately
24-36”and fill with rock The hole needs to be about 12-18”in diameter
Water meter
Box
Usually homes have
A main shut off with a
Ball valve or a Gate Valve

INSTALLING 7000 5
1. Put the Distributor Tube into the tank and tape the
opening of the pipe. You cannot get resin or gravel
inside the distributor tube.
2. Get a bucket 5 gallon type and cut a hole that will fit over
the tank –Tape the Sides. Or use the funnel provided
with the package (optional)
3. Fill the tank with the large gravel first and then the fine
gravel. You may have no gravel or just one bag of
gravel. If you do not have gravel do not worry about it.
4. Put the ¾, 1, 1.25, 1.5, or 2 Cu Ft of Resin in the tank
5. Remove the tape
6. Clean the threads of any resin etc. This will possibly
make the valve not seat correctly
7. Take the Valve and screw back on the tank –be careful
not to cross-thread the tank. We usually go backwards
until it locks in and then tighten it down.
8. After you have the valve on take it and place it where
you want it.

INSTALLING 7000 6
1. Find the main line to your home to install the inlet and outlet. This is usually located on the same side of the
house as your water meter.
2. Once you have found the main line you need to cut it and install 2 90s.
3. Turn your water off at the meter or main shut off to the house. This has to be prior to where you are installing
the water softener
4. The first 90 will be the inlet to the water softener. You need sweat or glue this fitting.
5. Run the pipe (copper or pvc) up to the sweat copper fitting or pvc fitting The sweat fitting will require you use
another 90 to put into the copper fitting adapter.
6. You need to either glue or sweat the fitting before connection to the fitting on the bypass
7. The brass connection fitting that has to be sweat or glued is item 1 in both drawing below.
8. Once you have done this you will follow the procedures on installing the fitting adapters. These are items a
and b.

INSTALLING 7000 7
Installation Instructions
1. Place the softener tank where you want to install the unit.
NOTE: Be sure the tank is level and on a firm, clean base.
2. Perform all plumbing according to local plumbing codes.
3. Cut the 1.05" (32mm) distributor tube flush with the top of
the tank (A).
—Deburr the outside of the tube (B) after cutting.
—Lubricate the o-ring (C) with non-petroleum based oil.
4. Lubricate the distributor 0-ring seal and tank 0-ring seal.
Use only non-aerosol silicone lubricant.
5. Load media and place the control valve on the tank.
6. All soldering MUST be done on any connections requiring soldering prior to connecting the main control valve.
The main control valve will by damaged if it is connected at the time of soldering.
7. Apply Teflon tape to all threaded fittings.
8. On units with a bypass, place in Bypass position.
—Turn on the main water supply.
—Open a cold soft water tap nearby and let water run a few minutes or until the system is free of foreign
material (usually solder) resulting from the installation. Close the water tap when water runs clean.
9. Make plumbing connections to valve.
10. Plug the valve into an approved power source.
NOTE: Make all electrical connections according to codes.
11. Place the bypass In Service position. Cycle the valve to the Backwash position, and let the water flow slowly
into the mineral tank until the air is purged from the unit.
12. Add water to the brine tank until the top of the air check is covered. Manually step the valve to the Brine Draw
Position, and allow the valve to draw water from the brine tank until it stops.
NOTE: The air check will check at approximately the midpoint of the screened intake area.
13. Manually step the valve to the Brine Refill Position, and allow the valve to return to In Service automatically.
14. With the valve In Service, check that there is at least 1" of water above the grid in the brine tank, if used.
15. Fill the brine tank with salt.
16. Allow the control to run automatically. Setup is now complete.

INSTALLING 7000 8
1. Once all this is installed –let the glue dry
2. CHECK FOR LEAKS
3. Open the inlet side valve and slowly let water in
4. Once pressurized open the outlet valve
5. Go inside and start running your hot water –this will let you have
immediate soft water
6. Once you have done that follow the instruction on page 17 –19
for setting up the valve.
7. After doing the instructions go ahead and hit regenerate and let
the water softener completely go through all the cycles.
8. Please call us with any questions 1-877-345-2770

INSTALLING 7000 9

INSTALLING 7000 10
Time Clock Regeneration Valves
In normal operation the Time of Day Display may be viewed at all times. The control operates for a preset number of
days between Regeneration cycles. When the number of days since the last Regeneration reaches the preset
number of days, a Regeneration cycle initiates at the preset Regeneration Time.
Flow Meter Equipped Valves –General
Flow meter equipped valves calculate the volume of water that the system can treat between Regeneration cycles
based on the system capacity which is preset by the system manufacturer in a Master Programming Mode and the feed
water hardness which is programmed in the Start-Up procedure safety factor (Master Mode only). The remaining
system capacity displays in gallons or liters. The display has a range of 0 to 9999 (gallons or liters). I the remaining
capacity exceeds 9999 liters when in the Metric Mode, then the display changes to millions of liters and a letter t is
displayed as the first digit. The display then has a range of t1.0 (1,000,000) to t1.9 (1,900,000).
Flow Meter Equipped Valves –Immediate Regeneration Mode The Time Of Day display alternates with the
Volume Remaining display in gallons or liters. The Meter dot flashes
in direct relation to the water flow rate through the unit. As treated water is used, the Volume Remaining display
counts down from a maximum value to zero and initiates a Regeneration cycle.

INSTALLING 7000 11
Flow Meter Equipped Valves –Delayed Regeneration Mode
In Normal operation the Time Of Day display alternates with the Volume Remaining display. The flow dot flashes
in direct relation to the water flow rate through the unit. As treated water is used, the Volume Remaining display
counts down from a maximum value to zero. If the reserve is reached, a Regeneration queues. The display shows
all dashes if the entire volume is depleted before the scheduled Regeneration time. At the preset Regeneration
Time, a Regeneration cycle initiates.
Control Operation During Regeneration
In Regeneration the display shows the Regeneration status two ways:
•When the valve advances to the next position, the display flashes the number of that next position followed by
three dashes.
•Once the valve reaches a position the display shows that position and number of minutes left in that
Regeneration step.
NOTE: If the step time exceeds 100, the leading digit flashes.
•Once all Regeneration steps are complete, the valve returns to In Service and resumes normal operation.
NOTE: Pressing the Extra Cycle Button during a Regeneration cycle immediately advances the valve to the
next cycle step position and resumes normal step timing.
Control Operation During Programming
The control enters Program Mode with the valve In Service. While in Program Mode the control continues to
operate normally, monitoring water usage and keeping all displays up to date. Control programming is stored in
memory permanently. There is no need for battery backup power.
Control Operation During a Power Failure
During a power failure all control displays and programming are stored for use upon power re-application. An
inaccurate or flashing Time of Day display indicates that a power outage has occurred. During power failure the
control:
•Is fully inoperative and any calls for Regeneration are delayed.
•Upon power re-application, resumes normal operation from the point that it was interrupted.
•Does not monitor the volume of water used during a power outage.
•In Delay Regeneration types, the reserve capacity is set to 1/3 the capacity.

INSTALLING 7000 12

INSTALLING 7000 13

INSTALLING 7000 14

INSTALLING 7000 15

INSTALLING 7000 16

INSTALLING 7000 17

INSTALLING 7000 18

INSTALLING 7000 19

INSTALLING 7000 20
Other manuals for 7000
3
Table of contents
Other Fleck Water Dispenser manuals

Fleck
Fleck 5800 SXT User manual

Fleck
Fleck 7000SE User guide

Fleck
Fleck 5600SXT User manual

Fleck
Fleck 7000 User manual

Fleck
Fleck 9000 User manual

Fleck
Fleck 9100SXT Meter Installation manual

Fleck
Fleck 5600 Econominder User manual
Fleck
Fleck 6700 Downflow User manual

Fleck
Fleck 5600 Econominder User manual
Fleck
Fleck 5600SXT Owner's manual
Popular Water Dispenser manuals by other brands
Culligan
Culligan Medallist 8" user manual

Spritzer
Spritzer D002 manual

Crystal Mountain
Crystal Mountain Storm Service manual

MERQUIP
MERQUIP NIAGARA Installation, use and maintenance handbook

Whirlpool
Whirlpool W10295370 installation instructions

Acorn
Acorn A172108F-UBL Installation, operation and maintanance manual