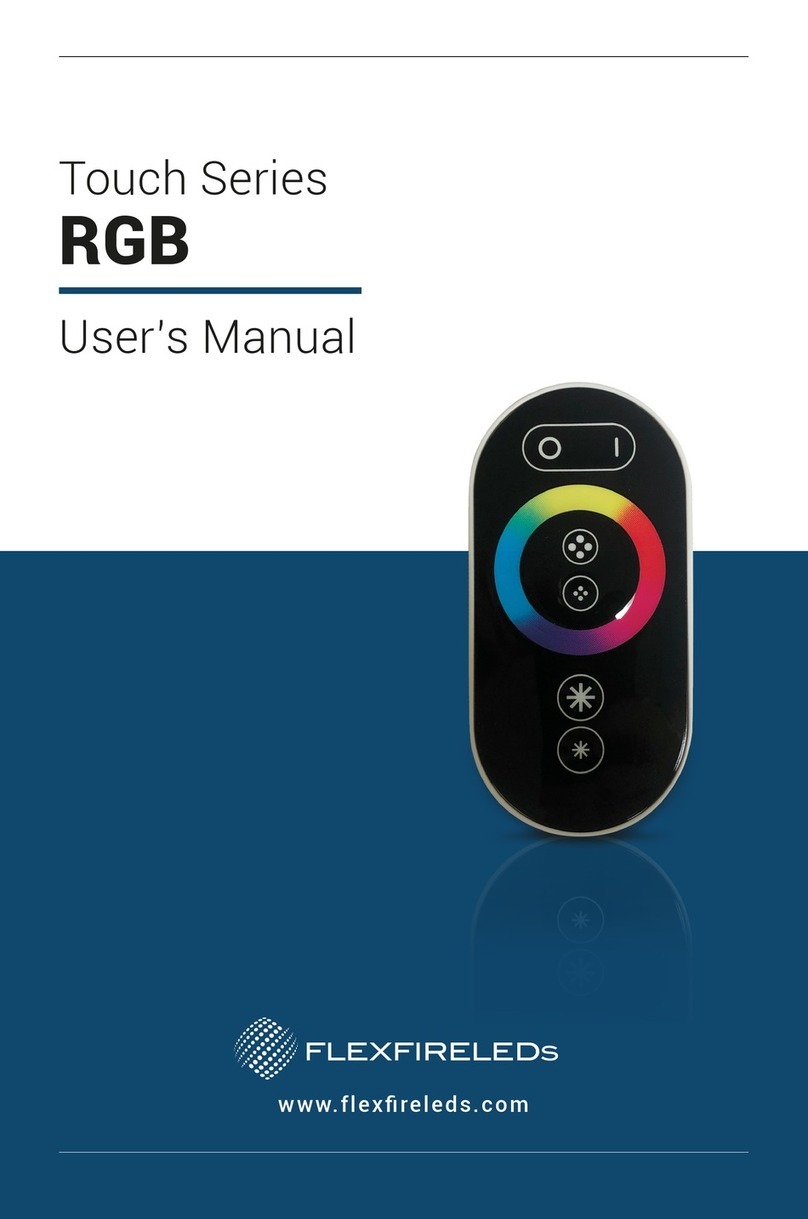
Flexfireleds ClickBright Specification sheet

Title 24 is regulated for lamps with color temperatures up to 4000K.
ClickBright™
Light Bars
Product User Guide
Year
Warranty
5

ClickBright™ Light Bars Product User Guide
ClickBright™ light bars provide a simple and effective lighting solution perfect for projects requiring a mid-output light versatile
enough to work as task lighting and accent lighting. These bars can be linked up to 16’ in continuous runs, and can be installed
with L connectors to go around corners without interrupting the line of light. The cover on these bars guarantees a smooth,
spotless line of light that can also be dimmed as needed. These bars are lightweight yet durable and have a 5-year warranty.
Description
1
Page
V.2020.11.05 1
Page
Product SKU Voltage LengthCCT CRI TLCI
(Qa) CQS
Watts Lumens Luminous
(Lumens/Watt)
Gamut
Score Rg
(Color Sat.)
Relative
Fidelity
Score (Rf)
•
Product Features
24V DC Input
Bars available in1ft(30cm) and 2ft(58.4cm)
Maximum Run Length inSeries: Up to 16ft or 10 connections
IP20 rated
Available in: 2700K, 3000K, 3500K, 4000K, and 5000K
Up to 493 Lumens/ft (1616/Meter)
High CRI of 94+
Only 1/2" (12mm) bar width
Only 3/8" (10mm) bar height
48 LEDs/Foot
Fully dimmable
Operating Temperature -4°F to 104°F (-20°C to 40°C)
CLK-01-27K
CLK-01-30K
CLK-01-35K
CLK-01-40K
CLK-01-50K
24V
24V
24V
24V
24V
2700K
3000K
3500K
4000K
5000K
98
94
100
99
95
92
98
94
98
94
94
97
94
94
93
98
97
98
94
94
94
94
94
93
97
97
92
91
91
91
92
92
91
95
98
98
98
100
99
98
98
98
94
96
95
98
94
94
96
95
1ft (30cm)
2ft (58cm)
1ft (30cm)
2ft (58cm)
1ft (30cm)
2ft (58cm)
1ft (30cm)
2ft (58cm)
1ft (30cm)
2ft (58cm)

Ordering Code
Length
- 1ft bar
01FT
02FT - 2ft bar
CLK-01-
ClickBright™
Series Voltage
24V -
CCT
27K - 2700K
30K - 3000K
35K - 3500K
40K - 4000K
50K - 5000K
2
Page
Dimensions 24V
/ ”
1212 mm
/ ”
3810 mm
ClickBright™ Light Bars Product User Guide
V.2020.11.05

4 5
7 8
MI
75% 100%
25% 50%
M2
*
6
I 2 3
Remote Control*
MODE L: T3-CV
2.4G WIREL ESS REMO TE CONTROL
POWER INP UT: DC5V-DC24V
OUTPUT: 6Ax3CH
POWER
DC DC
ADRESS
SETTING
LED CONTROL LER
OUTPUT
W
NW
W
WW
W
NC
V
V
B
G
RV
DCAC
120V AC Magnetic/Electronic
Low Voltage Dimmer Switch
120V AC
Power
Lutron®Style all Dimmer
Input
lC Type
n e
k
Ne Neut al
Output
lC Type
e
Re
k
Pe
In-L ine Dimming
*Remote Control (SKU: SC-M Z- CTRL) can be paired to 8 total receivers. Multiple remotes cannot be paired to a single receiver (max 1)
3
Page
Dimming Options
ClickBright™ Light Bars Product User Guide
V.2020.11.05

Each ClickBright™ Light Bar Includes:
Optional Accessories:
4
Page
CLK-C1-36IN CLK-C1-DC-36IN CLK-C2-24INCLK-C2-06IN
Power Connector Power Connector with
a Female DC Connector
Jumper Connector between Jumper Connector between
(C2 Connector)
CLK-LCONN-L CLK-LCONN-R CLK-CLP
LConnector for Left
Connection (available in
all color temperatures)
LConnector for Right
Connection (available in
all color temperatures)
10 Mounting Clips with
10 Matching Screws
x10
x1
End Cap Mounting Clips
with Screws
x2
8” Power Connector
with DC Plug
x1
ClickBright™ Light Bars Product User Guide
V.2020.11.05

5
Page
(24VCompatible Drivers
M nte P e Supply / P we Supply
SKU
SKU
SKU
SKU
Mean el
Z M V2
Power Supply
DC
AC
DC
AC
DC
AC
DCAC
DCAC
24V-DPS-2.5
24V-DPS-4
24V-DPS-5
HLG-40H-24A
HLG-60H-24A
HLG-100H-24A
HLG-120H-24A
HLG-185H-24A
HLG-240H-24A
HLG-320H-24A
HLG-600H-24A
LPV-20-24
LPV-35-24
LPV-60-24
ClickBright™ Light Bars Product User Guide
V.2020.11.05

6
Page
Installation
Mounting ClickBright™ Light Bars
inches of available space from each end of the light bar.
Make sure to place the mounting clips in a straight line
so that the bars can snap into each clip. Use the screws
to install the mounting clips.
Snap the sides of the ClickBright™ light bars
onto the mounting clips. then add additional bars one by one.
01 02
03 04
ClickBright™ Light Bars Product User Guide
V.2020.11.05
Linking ClickBright™ Light Bars
To link two different ClickBright™ light bars, remove
Align the front plug of the second bar with the
from above. The bars will snap in together. of ClickBright™ light bars inseries.
Then remove the power connector from the bar that
01 02
03 04

7
Page
Installation
Powering ClickBright™ Light Bars
Please use a UL Listed 24V power supply that can handle the power of your ClickBright ™ light bars set-up.
™ light bar in the run should
have a power connection attached, and the last one should have an end cap attached. ClickBright ™ light
bars come with a 8” power connector with a DC female connector on one end, but this connector can be
replaced with one of the connectors offered as optional accessories when projects require longer
connectors, or connectors with bare wire on one end.
ClickBright™ Light Bars Product User Guide
V.2020.11.05

8
Page
Safety And Disclosures
Warranty Information
01.Install in accordance with the National ElectricCode (NEC) Article 450, and local regulations.
02.Do not exceed the maximum run length for this product. The maximum run inseries for this product
cannot exceed ten ClickBright™ light bars.
03.
04.
05.
06.Do not bend, step on, or subject to pressure or flexing. Do not mount on uneven surfaces.
07.Do not use if there is any damage to the unit or power cord’s insulation. Inspect periodically.
08.ClickBright™ light bars are fully dimmable. Select an appropiate dimmer that is compatible with your choice of power supply.
09.Modifying this product beyond these instructions will void the product warranty
10.Use a soft, dry cloth for cleaning.
This product has a 5 year limited warranty from the date of shipment. This warranty only includes the main product outlined in this
Consumer’s Acknowledgment
purchase
recommendations, but the burden of proper installation, design, and maintenance relies on the purchaser.
This limited warranty does not include product failures that are the result of:
Not using a voltage regulated power supply to connect the LED product or controls; Connecting LED products to the wrong output
voltage; Improper connection of power supplies, LED products, or controls; Connecting LED products or controls directly to any AC
power source if they are stated for DC only input; Connecting power supplies backwards to an AC power source; Products used in
Damage caused by a vehicle or other accident; Damage caused when transporting the item; Damage to any products that were
used in connection with any components, devices or systems other than those explicitly approved as compatible with Company’s
products and listed on Company’s website. Excessive wear and tear and/or physical or accidental abuse, loss, or theft. Improper
ClickBright™ Light Bars Product User Guide
V.2020.11.05
This manual suits for next models
5
Table of contents
Other Flexfireleds Lighting Equipment manuals
Popular Lighting Equipment manuals by other brands

Beamever
Beamever LINIO NEON 1220 SV PIXEL RGBW installation instructions

DS Produkte
DS Produkte MY-84019 instructions

NICOR
NICOR EML6 installation instructions

deVOL
deVOL THE GRAND TOUR LIBRARY LAMP Assembly guide

ETC
ETC High End Systems SolaPix 7 user manual

American DJ
American DJ Simple Scan User instruction