Model HC170. Issue Number 8. Date 17.01.2022. 3
Quick Start Guide
We would strongly advise that at least 3 hours has elapsed between the deceased’s passing and use
of the cooling system. The reason is that the body will still be very warm and you will be fully insulating
the deceased so it is strongly advised to let the deceased undertake some natural cooling for a few
hours.
1. Setting up the CuddleBlanket
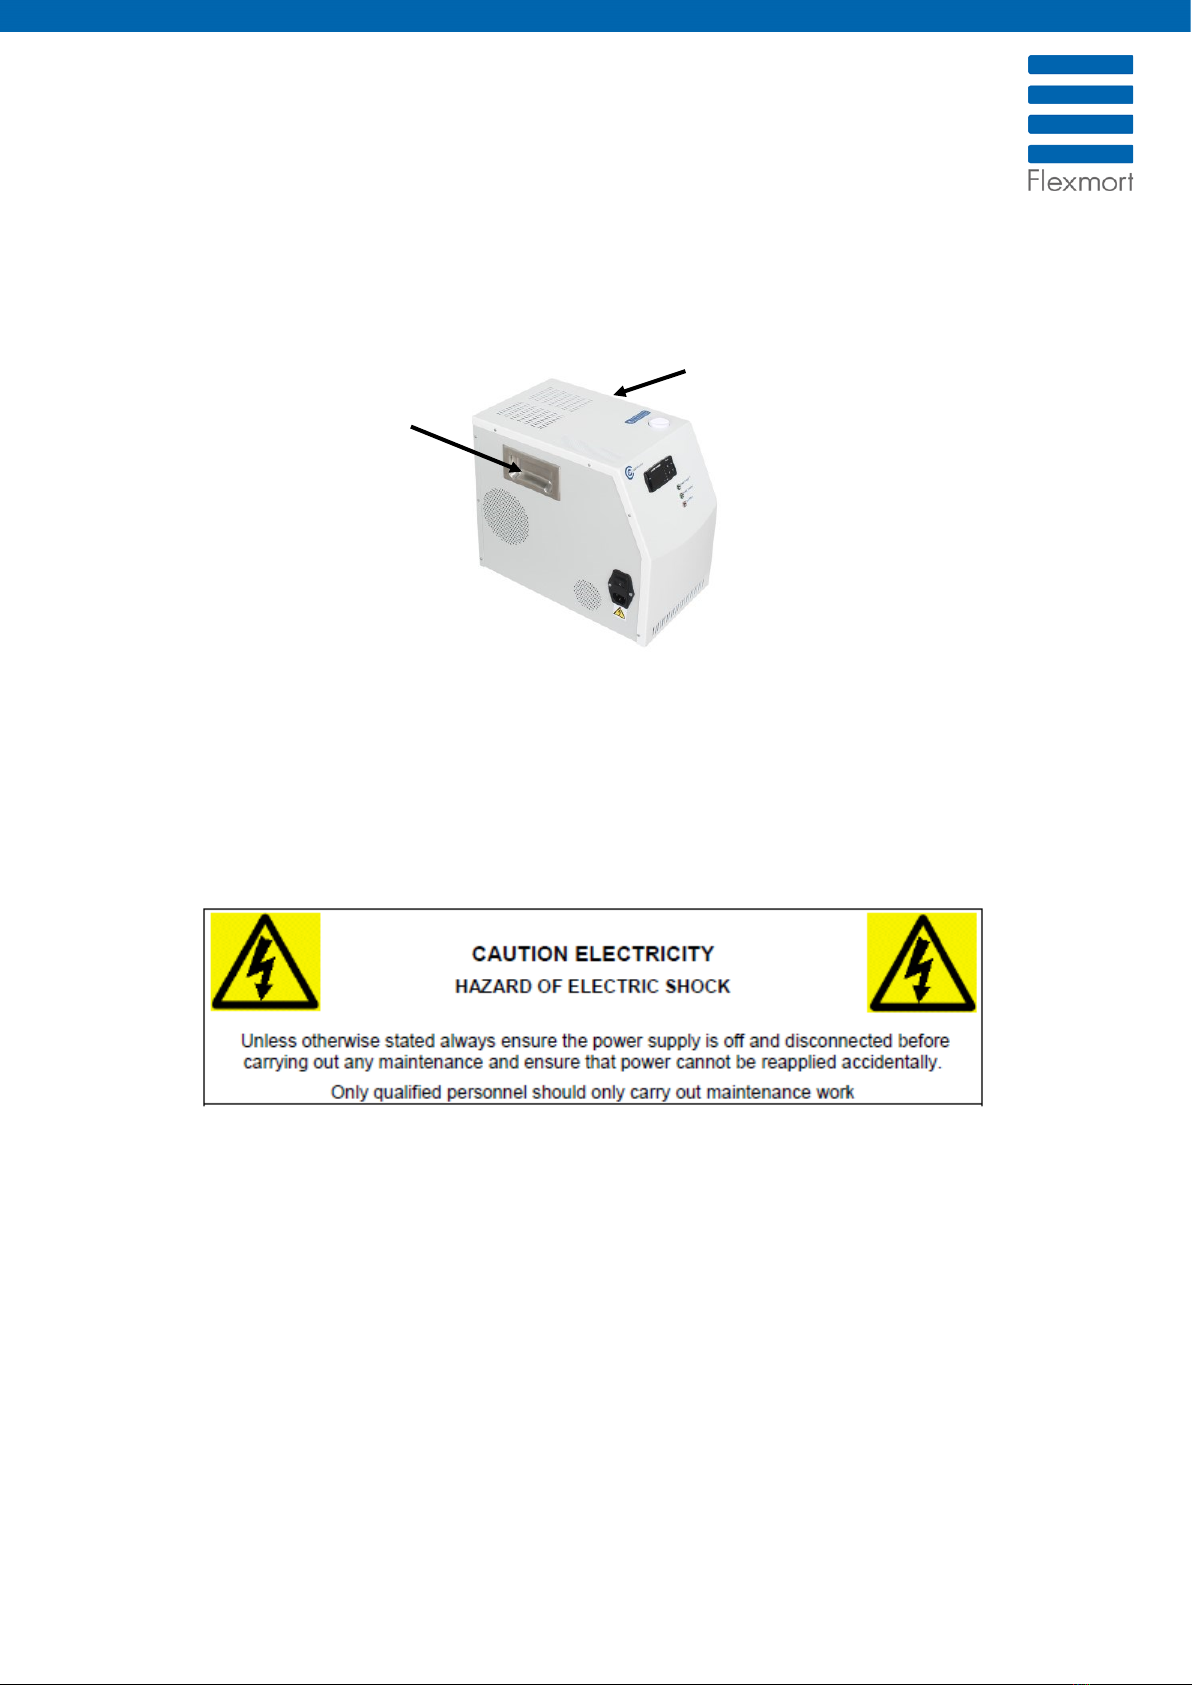
Ensure unit is switched OFF at the rocker switch adjacent to the power cord
socket. Plug in the electrical cable ensuring the unit is kept flat and in a well-
ventilated area. If the room is small then it is best to leave adjoining doors
open where possible.
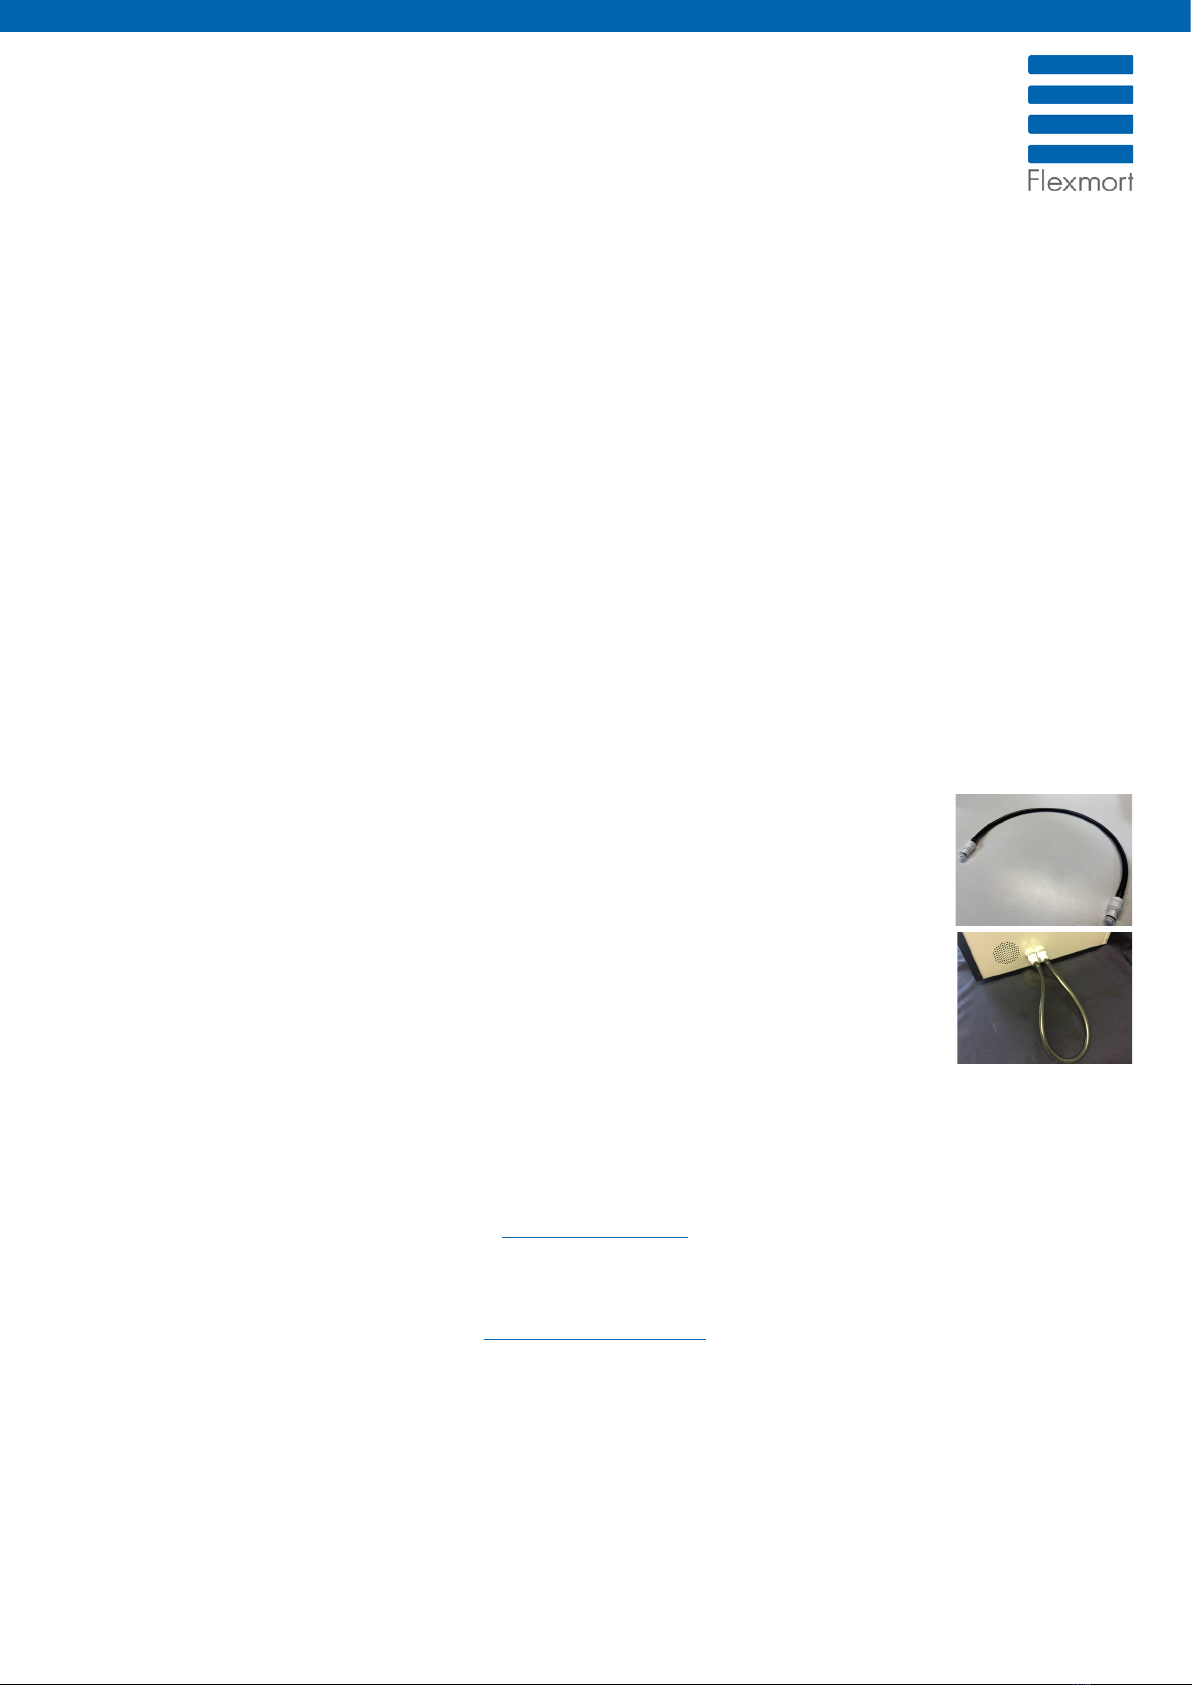
2. Connecting the hose
Plug the 2 male connectors of the long blue insulated hose firmly into the ports
on the side of the unit. You will hear a click. It does not matter which way round
you connect the hoses to the unit.
3. Connecting the cooling pad
Place the cooling pad over the deceased, just below the neck. We recommend
placing a sheet over the deceased first. Then use another sheet over the
cooling pad before using the supplied insulated duvet. This will help with
cleaning and any condensation that may build up. You can place any blanket or
cover over the supplied duvet, it will not affect the system. Ensure the duvet is
tucked around the deceased to minimise warm ambient air reaching the cool
pad.
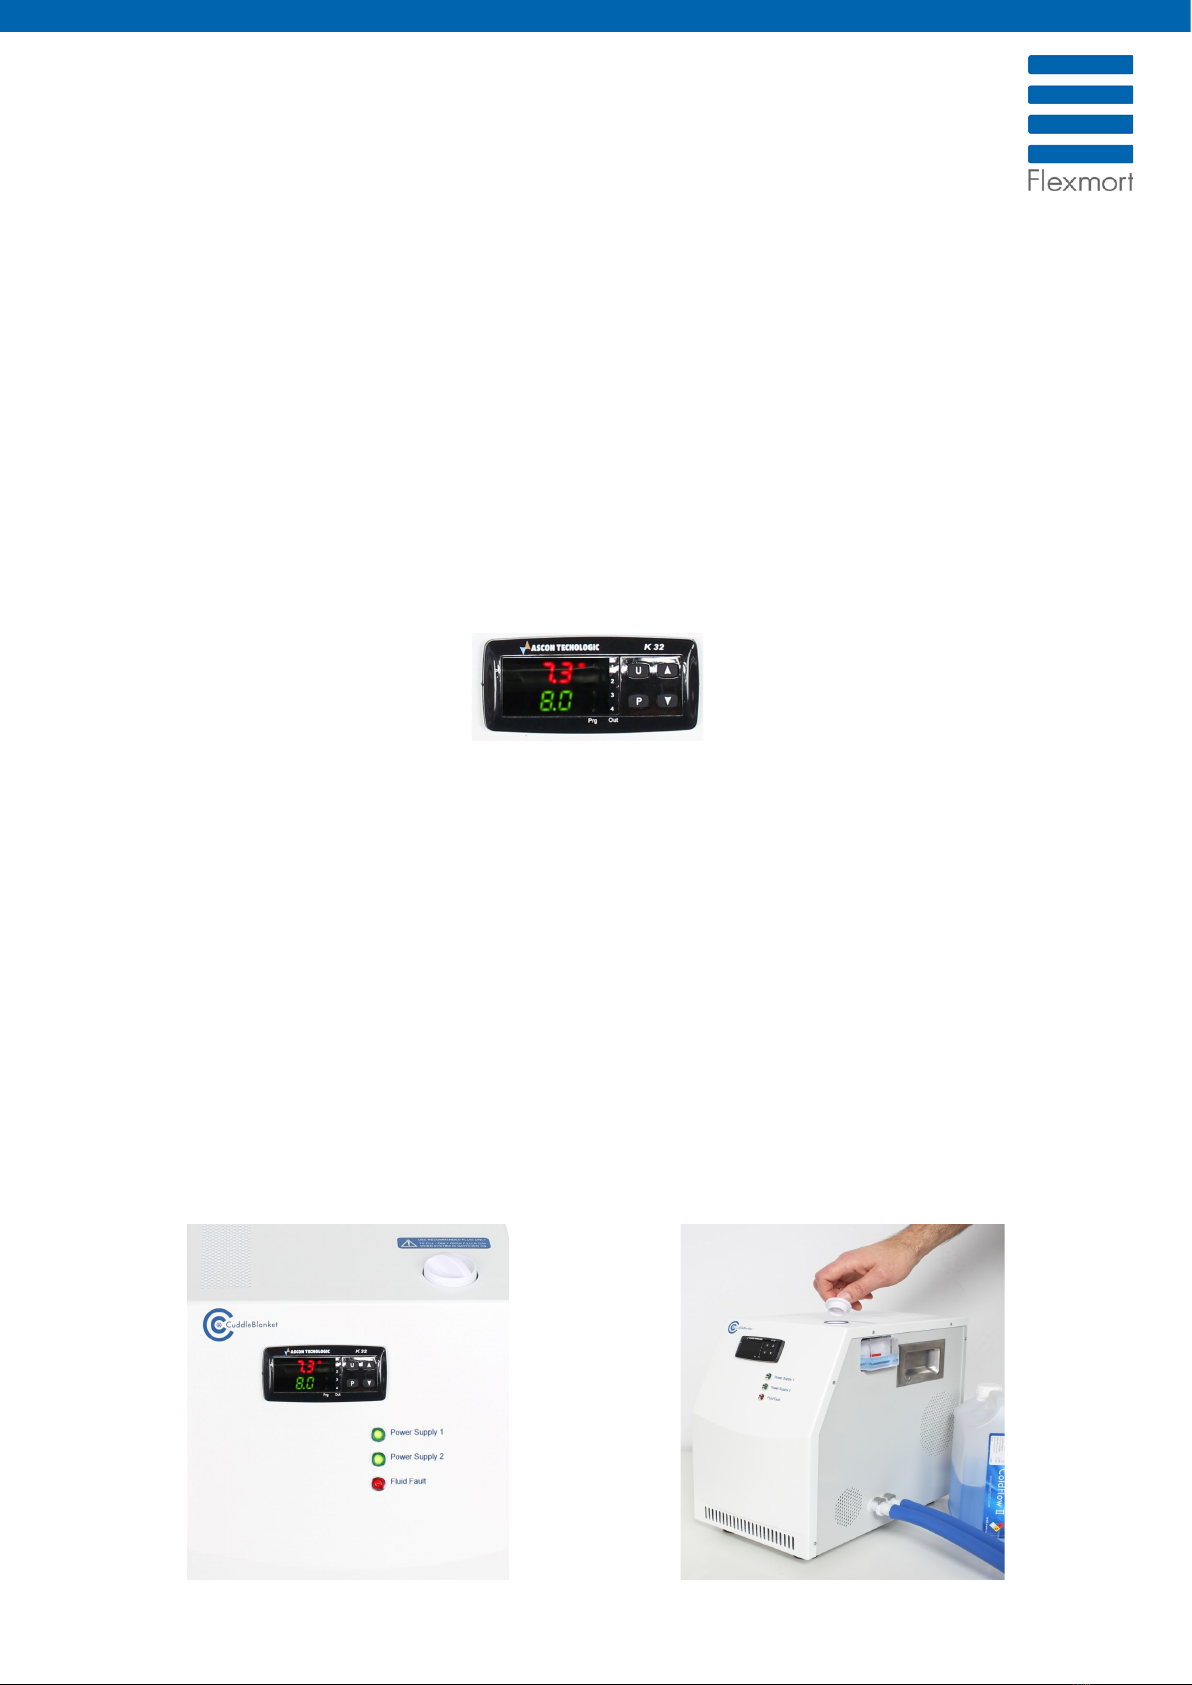
4. Switch on the CuddleBlanket
Switch the CuddleBlanket ON using the black rocker on/off switch adjacent to
the power cord socket.
5. You may need to top up the CuddleBlanket with cooling fluid (Coldflow2)
Fluid will begin to circulate from the CuddleBlanket through the hoses and to
the cooling pad. The fluid level within the reservoir window may begin to drop
and the alarm may sound briefly. For additional ColdFlow2 fluid, please contact
No alarm - the CuddleBlanket is fully operational; please move to stage 6.
Alarm sounds - Do not turn off the unit, unscrew the filler cap and continuously
fill the unit with Coldflow2 cooling fluid using a jug or funnel, avoiding spillage
onto the unit. Fill approximately to the red line shown on the reservoir window.