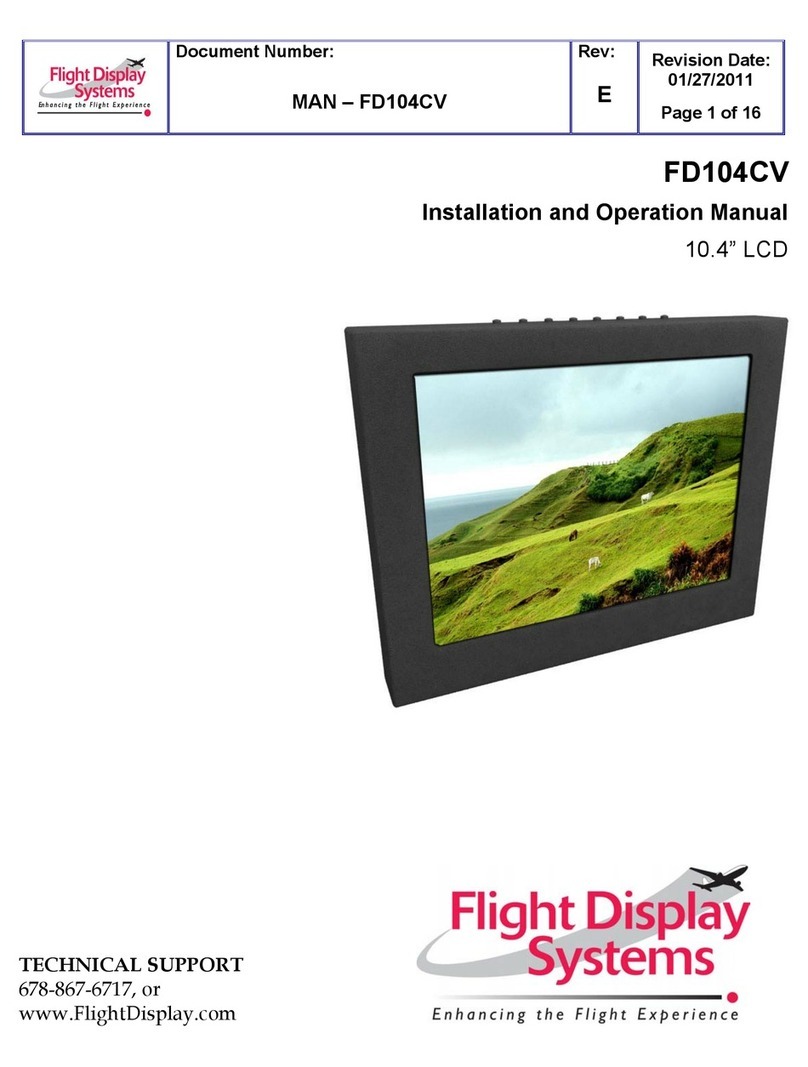
Flight Display Systems FD102ARM User manual

Rev:
F
Revision Date:
08/24/12
Page 1 of 15
MAN – FD102ARM
Manufactured by MILIC, LLC with marketing support from Flight Display Systems.
This product does not have FAA PMA approval.
FD102ARM
Installation and Operation Manual
10.2” Widescreen LCD on Arm
TECHNICAL SUPPORT
678-867-6717, or
www.FlightDisplay.com
All manuals and user guides at all-guides.com
all-guides.com

Rev:
F
Revision Date:
08/24/12
Page 2 of 15
MAN – FD102ARM
FD102ARM
10.2" Widescreen LCD on Arm
© 2006 Flight Display Systems. All Rights Reserved
Flight Display Systems
1765 Grassland Parkway
Alpharetta, GA 30004
678-867-6717 Phone
678-867-6742 Fax
sales@flightdisplay.com
www.flightdisplay.com
For the most current copy of all product manuals, please visit our website at
www.flightdisplay.com
All manuals and user guides at all-guides.com

Rev:
F
Revision Date:
08/24/12
Page 3 of 15
MAN – FD102ARM
Table of Contents
General Information......................................................................................................................4
1. Front View..........................................................................................................................4
2. Additional Information....................................................................................................4
Specifications................................................................................................................................5
Installation Instructions .............................................................................................................5
1. Power ..................................................................................................................................5
Wiring Suggestions .....................................................................................................................6
1. S-Video/Composite and Audio Wiring ........................................................................6
2. VGA Wiring.......................................................................................................................7
3. Mounting & Base Info ......................................................................................................7
4. Power & Ground Wiring..................................................................................................7
5. Power/Video .....................................................................................................................8
6. Wiring Diagram ................................................................................................................8
Operations Instructions ..............................................................................................................9
1. Button Control...................................................................................................................9
Technical Drawing.....................................................................................................................11
Troubleshooting.........................................................................................................................12
1. VGA ..................................................................................................................................12
2. Snow or Sweeping Lines................................................................................................12
3. No Power to Monitor, No Video Input........................................................................12
4. Color Distortion...............................................................................................................12
5. Remote Control Inoperable ...........................................................................................12
Technical Support......................................................................................................................13
Instructions for Continued Airworthiness ...........................................................................13
Warranty ......................................................................................................................................14
Log of Revisions.........................................................................................................................15
All manuals and user guides at all-guides.com

Rev:
F
Revision Date:
08/24/12
Page 4 of 15
MAN – FD102ARM
General Information
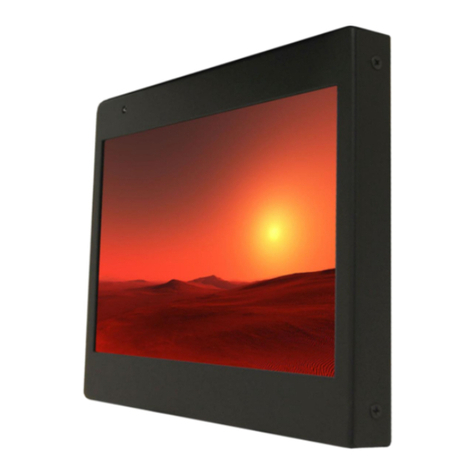
This high resolution 10.2” Widescreen LCD is perfect for cabin video and graphical
entertainment. Built with retrofit aircraft integration in mind, this display can switch between
three video input sources using an infrared remote or the control buttons on the top of the
monitor.
Front View
Additional Information
The articulating arm rotates 180 degrees, tilts forward and aft, and the monitor can turn
180 degrees on the end of the mount.
The FD102ARM can also be connected to existing video switchers and can take a
composite video input from a selector interface box. Multiple input sources can be selected
and displayed on the monitor.
The FD102ARM cabinet is made of all metal components. DO-160 testing has been
completed and is available upon request.
The LCD is protected with a .060” Lexan lens. The purpose of this lens is to prevent
scratching of the LCD.
All manuals and user guides at all-guides.com

Rev:
F
Revision Date:
08/24/12
Page 5 of 15
MAN – FD102ARM
Specifications
Display Size
8.7” (W) x 5.2” (H)
Display Type
10.2” Widescreen TFT Color LCD
Display Color
262,144 Colors
Display Dimension
9.80”(W) x 6.3”(H) x 1.1”(D)
Mount Dimension
7”(W) x 1.8”(H) x 1.5”(D)
Screen Resolution
800x480/640x480
Brightness
500 cd/m
Weight
2 lbs 15 oz
Power
12VDC @ 2 Amps
28VDC @ .5 Amps
PC & Video Input
SVGA (Analog RGB 15 pin D-sub)
2 Composite
Video Input
S-Video, Composite
Video Type Supported
NTSC/PAL
Screen Control
On Screen Display Menu
Remote Control
IR, included
Materials
Aluminum
Operating Temperature (includes
FD102ARM Ver VC5)
0-50° C (32-122° F)
DO-160 Testing
Section 21, Category B
Installation Instructions
All cabin entertainment equipment, such as the FD102ARM, should be installed on a non-
essential bus and have a dedicated circuit breaker. It is a requirement that a switch be
installed in the cockpit so that the pilot can de-energize the entertainment system should it
become necessary.
It is recommended that you leave approximately ¼ inch of space around the rear of the
display to have circulating air.
Power
This is a 12VDC monitor that requires 2 Amps of power to operate. This is also available
as FD102ARM (28V) which is a 28VDC monitor that requires .5 Amp of power to operate.
The unit turns on automatically upon power application.
All manuals and user guides at all-guides.com

Rev:
F
Revision Date:
08/24/12
Page 6 of 15
MAN – FD102ARM
Wiring Suggestions
All shields should be grounded to the connector at the source, and floating at the display.
Avoid routing video wiring parallel to:
AC wiring
Strobe wiring
DC motor supply cables
Inverter cabling
Or any other potential noise source.
S-Video/Composite and Audio Wiring
Recommended cable for s-video/composite and audio purposes is PIC 75 Ohm Coax, P/N
V75268. This is a lightweight, flexible, and low signal loss cable which meets FAA
flammability requirements of FAR 23.1359(d), FAR 25.853(a) and FAR 25.869(a)(4).
Similar aviation coaxial cable can be used from other vendors, as well.
Some aircraft are prone to AC noise - we recommend adding to the composite source a
75Ohm video isolation transformer such as Deerfield Laboratory, Inc. Part No. 162-1
(www.deerfieldlab.com, (650) 632-4090). In most cases this should be added to the video
output of the source.
All manuals and user guides at all-guides.com
all-guides.com

Rev:
F
Revision Date:
08/24/12
Page 7 of 15
MAN – FD102ARM
VGA Wiring
Recommended cable for VGA purpose is ECS P/N 453005. This is a single shielded cable
containing 5 separate coaxial cables, color-coded to match the functions of the wires.
The individual wires should be extended with 6” 22awg wires using an environmental
splice for the red & green wires, and Raychem caps for the blue, white, and black wires.
Mounting and Base Information
The FD102ARM mates with a drink rail mount (FDBASE, below left), a wall mount
(FDBASE-W, below right) or a flush wall mount (FDBASE-W-FM, not shown).
The connector seats deeply in the mount and is held in place by either gravity or a locking
pin. The secure High Density DB15 pin and connector can only be connected one
direction. The mount is keyed to prevent inadvertent misalignment.
Power and Ground Wiring
22 AWG wire is recommended for Power and Ground applications
All manuals and user guides at all-guides.com

Rev:
F
Revision Date:
08/24/12
Page 8 of 15
MAN – FD102ARM
Power/Video
There is one High Density DB-15 inset in the bottom of the arm.
This male DB-15 has Power, Composite Video #1, Composite Video #2 and VGA
connections.
Part Numbers for DB-15 connectors, manufactured by Tyco or Amp.
High density, D-sub, 15 contact receptacle (female) P/N 748565-1
HD15F pins P/N M39029/57-354
Wiring Diagram
Pin
Number
Description
1
12VDC Power (28VDC for FD102ARM (28V))
2
12VDC Ground (28VDC for FD102ARM (28V))
3
N/C
4
Composite Video #1 - Signal
5
Composite Video #1 - Shield
6
N/C
7
Composite Video #2 - Signal
8
Composite Video #2 - Shield
9
Red Video (RGB/VGA)
10
Green Video (RGB/VGA)
11
Blue Video (RGB/VGA)
12
Red Ground (RGB/VGA)
13
Green Ground (RGB/VGA)
14
Horizontal Sync (RGB/VGA)
15
Vertical Sync (RGB/VGA)
All manuals and user guides at all-guides.com

Rev:
F
Revision Date:
08/24/12
Page 9 of 15
MAN – FD102ARM
Operation Instructions
The FD102ARM is continuously on but can be de-energized by removing power from the
entertainment system. No pilot or aircrew action is necessary during flight or ground
operation.
The passengers will be able to change the video output from the FD102ARM using the
video source select switch on the LCD monitor, or remotely throughout the cabin with the
included IR remote.
Button Controls
BUTTON
FUNCTION
DESCRIPTION
1
POWER
Press to turn the monitor on if currently off. Hold to turn the
monitor off.
2
SOURCE
Press to switch between sources.
3
UP
Press to increase the value of a menu item.
4
DOWN
Press to decrease the value of a menu item.
5
MENU
Press to activate Menu.
All manuals and user guides at all-guides.com

Rev:
F
Revision Date:
08/24/12
Page 10 of 15
MAN – FD102ARM
Remote Control Buttons
The remote control included with the FD102CV contains the same functionality available
on the display buttons, to include power, source, menu, and directional arrows.
All manuals and user guides at all-guides.com

Rev:
F
Revision Date:
08/24/12
Page 11 of 15
MAN – FD102ARM
Technical Drawing
Troubleshooting
All manuals and user guides at all-guides.com
all-guides.com

Rev:
F
Revision Date:
08/24/12
Page 12 of 15
MAN – FD102ARM
Video Noise
Check for an incorrect ground in the installation wiring. See specific examples of video
noise below, or visit http://flightdisplay.com/Grounding.pdf
VGA Shadowing
Most of shadowing problems are due to shielding on the wire. Locate the point where all of
the shields are connected. Cut away the shields, one at a time, while viewing the display on
the screen to observe which shield is causing the noise. Cutting away one shield at a time
will allow you to focus and isolate the video noise issue.
Twisted pair wiring is prone to video noise. ECS VGA Wire
(Detailed under “Video Wiring Suggestions”) is recommended.
Snow or Sweeping Lines
Lines that slowly sweep up and down are a result of AC noise. This AC noise can be
generated by a power cart on the aircraft. Take the power cart off of the aircraft. Be careful
of inverter wiring, which can also cause noise. Stand off the wires, if necessary.
If snow or sweeping lines persist, it is possible that the ground is at an incorrect point in the
aircraft. Try moving the ground to another location.
No power to Monitor, or No video Input
• Verify correct wiring. Check the base receptacle connectors for possibly damaged pins.
• Check that the video source is:
1. Powered on,
2. In Play mode, and
3. Displaying video.
Color Distortion
• Adjust brightness and contrast settings using the buttons on the monitor.
Remote Control Inoperable
• Confirm that the infrared eye on the LCD screen is visible.
All manuals and user guides at all-guides.com

Rev:
F
Revision Date:
08/24/12
Page 13 of 15
MAN – FD102ARM
Technical Support
Should you have any questions concerning this product or other Flight Display Systems
products, please contact our Product Support representatives at (678) 867-6717.
Flight Display Systems
1765 Grassland Parkway
Alpharetta, GA 30004
Phone: 678-867-6717
Fax: 678-867-6742
Email: sales@flightdisplay.com
For further product information, technical data and sample wiring diagrams, please click on
the Dealers section of our web site at www.flightdisplay.com
Instructions for Continued Airworthiness
The FD102ARM is designed not to require regular general maintenance.
All manuals and user guides at all-guides.com

Rev:
F
Revision Date:
08/24/12
Page 14 of 15
MAN – FD102ARM
Warranty Information
Flight Display Systems warrants the FD102ARM against material or manufacturing defects
for a two-year period. Warranty begins on date of installation. The warranty registration
card must be returned upon installation in order to validate the two-year warranty. Any
warranty registration not returned during this time period will default to the date of purchase
as the warranty start date.
If product support is required, please call our Technical Support team at +1 (678) 867-6717
to obtain assistance. If the return of the unit to the factory is required, an RMA number will
be issued at that time. Flight Display Systems will, upon receipt of the failed hardware,
remanufacture or replace the unit at our discretion.
Flight Display Systems will pay Ground Shipping charges for warranted items. Charges for
express shipment will be the responsibility of the sender.
This warranty is not transferable. Any implied warranties expire at the expiration date of this
warranty. We shall not be liable for incidental or consequential damages.
This warranty does not cover a defect or failure that has resulted from improper or
unreasonable installation, use or maintenance, as determined by Flight Display Systems.
This warranty is void if there is any attempt to disassemble or open this product without
factory authorization.
Flight Display Systems shall not be held responsible for any labor charges associated with
the removal of product or related troubleshooting.
All manuals and user guides at all-guides.com

Rev:
F
Revision Date:
08/24/12
Page 15 of 15
MAN – FD102ARM
Log of Revisions
Rev
Date
Page
Description
A
01/25/2007
---
---
B
04/11/2007
N/A
6
Fixed page numbering.
Changed required amperage to 2 Amps.
C
02/13/2009
2,11
Updated specifications, warranty info
D
12/08/2009
1,6,7
Revised Photo, Button Controls, Remote Control
E
10/14/2011
5
Added Operating Temp, New Format, new VGA & Technical
Drawing
F
08/24/2012
Updated format, warranty and non-PMA info
All manuals and user guides at all-guides.com
Table of contents
Other Flight Display Systems Monitor manuals
Flight Display Systems
Flight Display Systems FD201CV-LP VER HD User manual
Flight Display Systems
Flight Display Systems FD102CV User manual
Flight Display Systems
Flight Display Systems FD151CV-LP User manual
Flight Display Systems
Flight Display Systems FD420CV VER HD User manual
Flight Display Systems
Flight Display Systems FD171CV-C-4 User manual
Flight Display Systems
Flight Display Systems FD320LIFT-LP User manual
Flight Display Systems
Flight Display Systems FD320CV VER HD User manual
Flight Display Systems
Flight Display Systems FD141CV User manual
Flight Display Systems
Flight Display Systems FD70ARM-G User manual
Flight Display Systems
Flight Display Systems FD102CV-LP-S User manual
