manuals.online logo
Brands
  1. Home
  2. •
  3. Brands
  4. •
  5. FLIR
  6. •
  7. IP Camera
  8. •
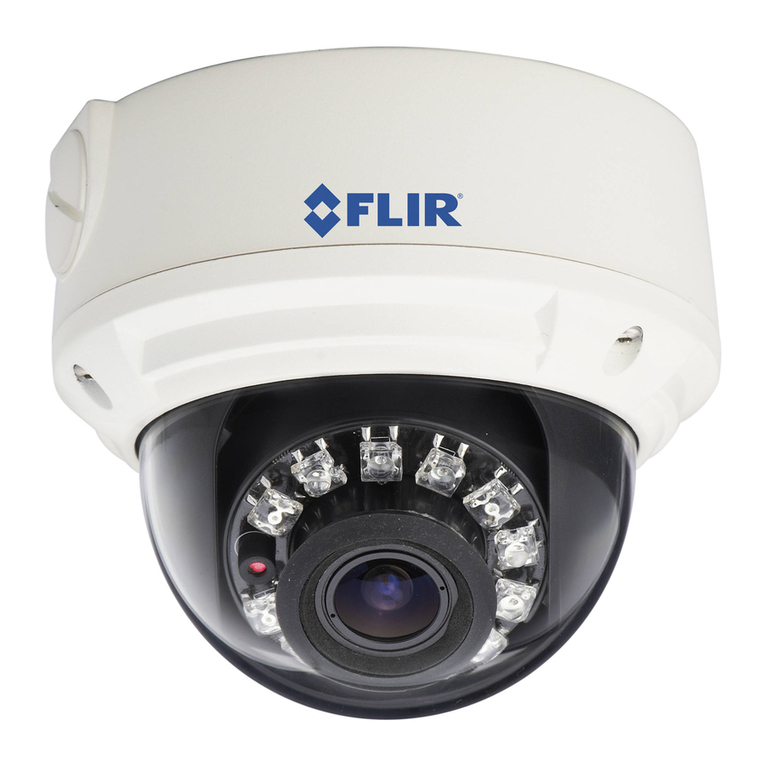
  9. FLIR FC-Series Assembly instructions

FLIR FC-Series Assembly instructions

427-0089-00-28 Rev 120 July 2016
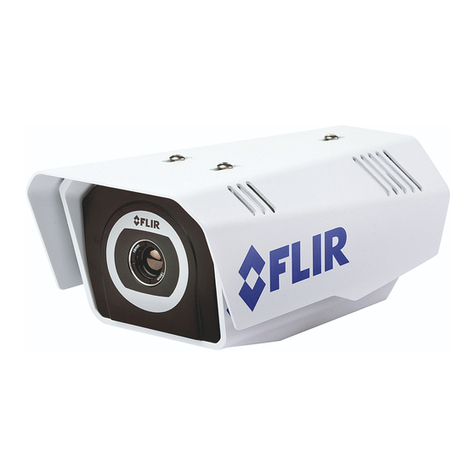
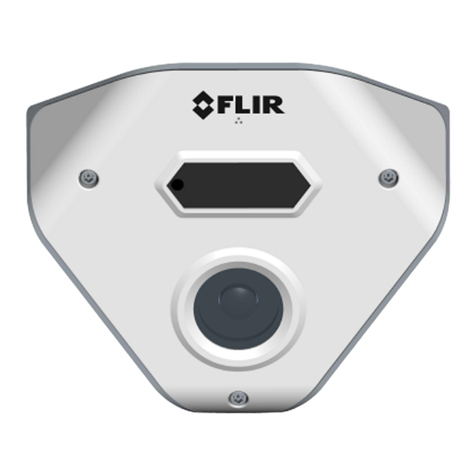
FC-Series ID Camera
Quick Connect Guide
Caution!
Except as described in this guide, do not disassemble the FC-Series ID camera.
Damage to the camera can occur as the result of careless handling or
electrostatic discharge (ESD).
Before installing the FC-Series ID camera you should read and understand the
following documents which provide details regarding mechanical dimensions
and installation safety.
• FLIR FC-Series ID Installation Manual (427-0089-00-12)
• FLIR FC-Series ID Interconnect Document (427-00XX-YY-41)
Power: Power Over Ethernet Plus (PoE+) or 11 - 32 Vdc or 18 - 32 Vac
Power terminal blocks: wire size from 16 AWG to 20 AWG
Analog Video Cable: BNC-terminated RG-59/U solid-center coax cable
Ethernet Cable: Cat5e or Cat6
Accessory I/O plugs: conductor size 22 - 24 AWG, stranded, 1.6 mm max
diameter including insulation for IDC fast connect. Otherwise, 20 - 24 AWG for
push-in spring connect, strip ends 6 mm. GPIO accessory cable.
FLIR Systems, Inc.
6769 Hollister Avenue
Goleta, CA 93117
USA
Support: http://www.flir.com/security/display/?id=71083
Corporate Headquarters
27700 SW Parkway Ave.
Wilsonville, OR 97070
USA
Items Included in Kit
3 mm hex
Slotted
screwdriver
key
427-0089-00-28 v120 FC-Series Quick Connect.fm Page 1 Thursday, July 7, 2016 7:38 AM
427-0089-00-28 Rev 120 July 2016
Step 1 Remove cover: Using 3 mm hex key, loosen four captive
screws. Access screws through slots in sunshield.
Removing the sunshield is not necessary.
Step 2 Install cables through sealing gland:
Step 3 Te r m i n a te c a b l e s :
Connection Purpose Cable dimensions
required for sealing
BNC Analog video 5.3 mm (0.209 in) minimum;
6.2 mm (0.244 in) maximum
3-pin Terminal Power, Vac or Vdc 4.5 mm (0.178 in) minimum;
5.2 mm (0.205 in) maximum
Ethernet PoE power, communications,
IP video stream
4.5 mm (0.178 in) minimum;
5.2 mm (0.205 in) maximum
6-pin terminal J5 General purpose I/O (GPIO) 4.5 mm (0.178 in) minimum;
5.2 mm (0.205 in) maximum
6-pin terminal J3
(reserved for future use) Do not connect
Video coax
Gland nut
Ground
Power cable
Ethernet
Accessory
Fill any unused hole with
orange plug. Re-tighten
gland nut after installation
is completed.
microSD card
(not supplied)
Reserved for
6-pin GPIO
terminal
Chassis ground (PE)
Vdc – or Vac (neutral)
Vdc + or Vac (line)
future use
Pin 1
Ethernet port
3-pin power
terminal
BNC
analog video
427-0089-00-28 v120 FC-Series Quick Connect.fm Page 2 Thursday, July 7, 2016 7:38 AM
427-0089-00-28 Rev 120 July 2016
Step 4 Connect a ground wire between the ground stud on the back
of the camera and the nearest earth-grounding point.
Step 5 Tighten Cable seal gland nut to ensure a watertight seal.
Step 6 Replace cover: Alternately tighten the four captive screws in
the cover; torque to 1.8 N-m (16.0 in-lbs).
Step 7 Discover camera: Power the camera. With a PC connected
to the camera network, use the DNA utility to discover and
display the camera’s current IP address.
a. Download the DNA utility (2.1.2.7 or later) from the FLIR Firmware
& Software Downloads page at:
http://www.flir.com/security/display/?id=73533.
b. Un-zip the utility, then double-click and run the executable file
DNA.exe. All the units on the VLAN are discovered.
c. Select the camera, click Assign IP to change the IP address from
the default IP (192.168.250.116) to a static IP or select DHCP.
d. Double-click the camera in DNA’s Discovery List. The unit’s Login
window opens in your browser (IE 8 or above).
e. Enter the default user name (“admin”) and password (“fliradmin”).
The camera’s web page opens.
f. For additional instructions on using DNA, refer to the DNA User’s
Manual available in the Help ( ) link while the software is running.
Step 8 Mount camera.
Step 9 Calibrate Analytics.
a. On the camera’s Setup > Analytics web page, click the Calibrate
icon.
b. To automatically calibrate detection settings, from the Calibration
Mode drop-down list, select Auto. To manually calibrate settings,
select Manual, refer to instructions in the installation manual, and
continue from step d below.
c. Click Relearn. The camera automatically calibrates the depth. Be
sure that a person is walking along the vertical axis of the FoV until
calibration is finished. The On-Screen Display shows the progress
as a percentage in the upper corner of the video.
a.
b. c.
427-0089-00-28 v120 FC-Series Quick Connect.fm Page 3 Thursday, July 7, 2016 7:38 AM
427-0089-00-28 Rev 120 July 2016
d. To create an Area, Tr i pw i r e , or Masking Area, click the icon and
select from the Ty p e drop-down list.
e. Define the Area, Tr i p w i re , or
Masking Area by clicking vertex
locations on the screen.
f. Click Finish.
g. In the Regions pane select the
tripwire.
h. In the Properties pane, set the
direction of the detection from the
Direction drop-down list.
i. Check Humans, Vehicles, or
Objects of Interest as required.
j. Click Save.
k. To create additional rules, repeat
steps d through j.
Step 10 Check Calibration.
a. Click the icon and set
Analytics Enabled to Ye s .
b. Set Show Tracking to
Classified Boxes then check
the Lines box.
c. Click Save.
d. Have subjects (person, car,
truck, etc) enter the area or
cross the tripwire at various
distances from the camera.
The boxes should be
classified correctly and the
direction across tripwires
should be as expected.
d. f.
g.
h.
i.
j.
a.
b.
c.
427-0089-00-28 v120 FC-Series Quick Connect.fm Page 4 Thursday, July 7, 2016 7:38 AM
Other manuals for FC-Series

3

Other FLIR IP Camera manuals

FLIR Nexus User manual

FLIR

FLIR Nexus User manual

FLIR DNV14UX2 User manual

FLIR

FLIR DNV14UX2 User manual

FLIR Quasar Gen III CF-6308 User manual

FLIR

FLIR Quasar Gen III CF-6308 User manual

FLIR EX Series User manual

FLIR

FLIR EX Series User manual

FLIR Extech i5 User manual

FLIR

FLIR Extech i5 User manual

FLIR Ariel Gen II CC-3103 User manual

FLIR

FLIR Ariel Gen II CC-3103 User manual

FLIR M400 User manual

FLIR

FLIR M400 User manual

FLIR ThermoVision Micron User manual

FLIR

FLIR ThermoVision Micron User manual

FLIR Quasar CP-6302-31-P User manual

FLIR

FLIR Quasar CP-6302-31-P User manual

FLIR Voyager III User manual

FLIR

FLIR Voyager III User manual

FLIR PathFindIR II User manual

FLIR

FLIR PathFindIR II User manual

FLIR Quasar CM-6206-H1-I Manual

FLIR

FLIR Quasar CM-6206-H1-I Manual

FLIR Quasar Gen III CP-6302-31-I User manual

FLIR

FLIR Quasar Gen III CP-6302-31-I User manual

FLIR SyncroIP Camera Series Mounting instructions

FLIR

FLIR SyncroIP Camera Series Mounting instructions

FLIR Exx series User manual

FLIR

FLIR Exx series User manual

FLIR A3 F series User manual

FLIR

FLIR A3 F series User manual

FLIR Tau SWIR User manual

FLIR

FLIR Tau SWIR User manual

FLIR FLIR AX8 User manual

FLIR

FLIR FLIR AX8 User manual

FLIR ioi HD CF-5212 User manual

FLIR

FLIR ioi HD CF-5212 User manual

FLIR FC-Series R User manual

FLIR

FLIR FC-Series R User manual

FLIR T420 User manual

FLIR

FLIR T420 User manual

FLIR E series User manual

FLIR

FLIR E series User manual

FLIR Oryx User manual

FLIR

FLIR Oryx User manual

FLIR CM-3304 User manual

FLIR

FLIR CM-3304 User manual

Popular IP Camera manuals by other brands

EverFocus EPN4122 user manual

EverFocus

EverFocus EPN4122 user manual

Arecont Vision AV10005 Specifications

Arecont Vision

Arecont Vision AV10005 Specifications

Arecont Vision Surround Video AV8365 Specifications

Arecont Vision

Arecont Vision Surround Video AV8365 Specifications

OpenEye CM-816 user manual

OpenEye

OpenEye CM-816 user manual

LaView LV-PB784F2 user guide

LaView

LaView LV-PB784F2 user guide

Geutebruck G-Cam/EWPC-4240 quick guide

Geutebruck

Geutebruck G-Cam/EWPC-4240 quick guide

Foscam C1 Lite user manual

Foscam

Foscam C1 Lite user manual

LAIA CUTE 4K AI 2021 user manual

LAIA

LAIA CUTE 4K AI 2021 user manual

Dahua DH-IPC-HDW2100P user manual

Dahua

Dahua DH-IPC-HDW2100P user manual

GrandTec P362 user manual

GrandTec

GrandTec P362 user manual

Hills NVC-DT1 quick guide

Hills

Hills NVC-DT1 quick guide

Sony HDC2580 Operation guide

Sony

Sony HDC2580 Operation guide

Novus NVIP-2DN7460H/IRH-2P user manual

Novus

Novus NVIP-2DN7460H/IRH-2P user manual

Edimax IC-7000PT V2 user manual

Edimax

Edimax IC-7000PT V2 user manual

Ganz ZN-PT304L user manual

Ganz

Ganz ZN-PT304L user manual

Lilin IPR454XW instruction manual

Lilin

Lilin IPR454XW instruction manual

Allnet ALL2272 Quick installation guide

Allnet

Allnet ALL2272 Quick installation guide

Grundig GCI-H0503B owner's manual

Grundig

Grundig GCI-H0503B owner's manual

manuals.online logo
manuals.online logoBrands
  • About & Mission
  • Contact us
  • Privacy Policy
  • Terms and Conditions

Copyright 2025 Manuals.Online. All Rights Reserved.