manuals.online logo
Brands
  1. Home
  2. •
  3. Brands
  4. •
  5. FLIR
  6. •
  7. Security Camera
  8. •
  9. FLIR Ariel Gen II CC-3103 User manual

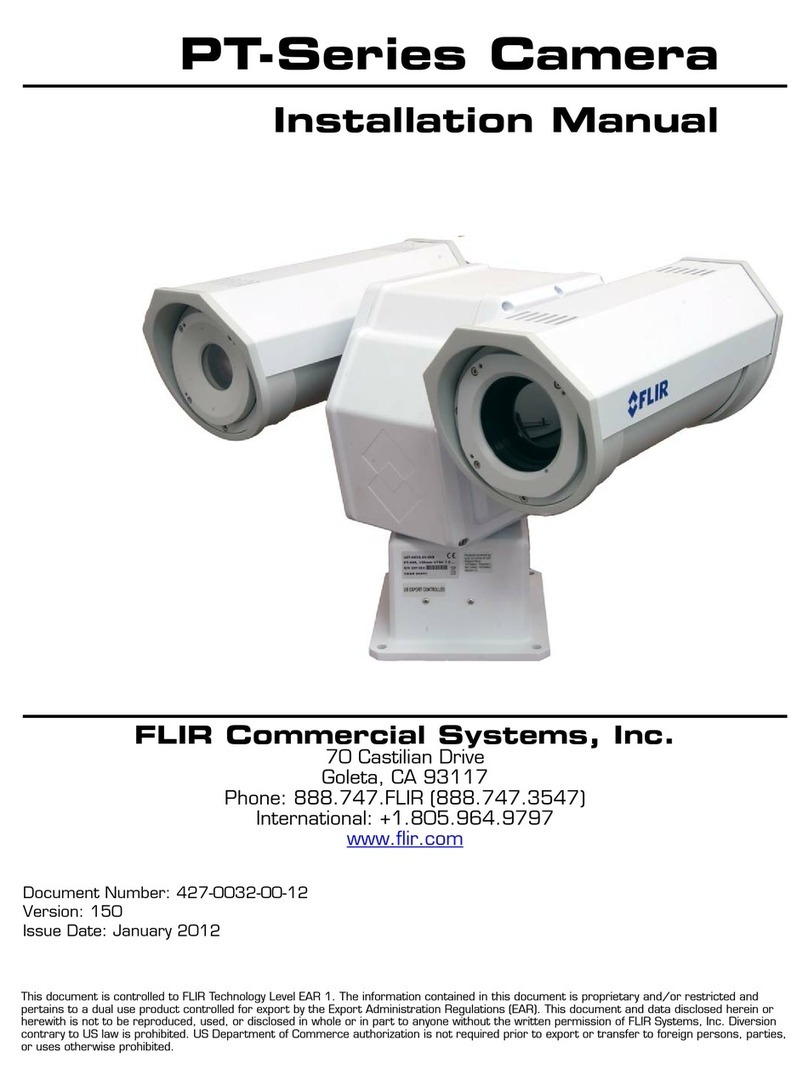
FLIR Ariel Gen II CC-3103 User manual

Other FLIR Security Camera manuals

FLIR Quasar CP-6408-21-I User manual

FLIR

FLIR Quasar CP-6408-21-I User manual

FLIR Ariel Gen III CM-3304 User manual

FLIR

FLIR Ariel Gen III CM-3304 User manual

FLIR MPX C347VC2 Series User manual

FLIR

FLIR MPX C347VC2 Series User manual

FLIR DCV64DL User manual

FLIR

FLIR DCV64DL User manual

FLIR Raymarine CAM200IP User manual

FLIR

FLIR Raymarine CAM200IP User manual

FLIR Quasar CM-6405 User manual

FLIR

FLIR Quasar CM-6405 User manual

FLIR Digimerge DPV24DLR User manual

FLIR

FLIR Digimerge DPV24DLR User manual

FLIR CM-3304 Manual

FLIR

FLIR CM-3304 Manual

FLIR FB-Series Assembly instructions

FLIR

FLIR FB-Series Assembly instructions

FLIR FC-Series Assembly instructions

FLIR

FLIR FC-Series Assembly instructions

FLIR A3xx pt series User manual

FLIR

FLIR A3xx pt series User manual

FLIR FXV101-W User manual

FLIR

FLIR FXV101-W User manual

FLIR D-Series C Assembly instructions

FLIR

FLIR D-Series C Assembly instructions

FLIR C243MT2 Series User manual

FLIR

FLIR C243MT2 Series User manual

FLIR DND13TL2 User manual

FLIR

FLIR DND13TL2 User manual

FLIR PT series User manual

FLIR

FLIR PT series User manual

FLIR C133ED User manual

FLIR

FLIR C133ED User manual

FLIR LOREX LNE3162 Series User manual

FLIR

FLIR LOREX LNE3162 Series User manual

FLIR Quasar CP-6408 User manual

FLIR

FLIR Quasar CP-6408 User manual

FLIR Saros DM Series User manual

FLIR

FLIR Saros DM Series User manual

FLIR DBB13TL-PK4 User manual

FLIR

FLIR DBB13TL-PK4 User manual

FLIR Lorex LNB3163B User manual

FLIR

FLIR Lorex LNB3163B User manual

FLIR Raymarine CAM220IP User manual

FLIR

FLIR Raymarine CAM220IP User manual

FLIR A6700sc User manual

FLIR

FLIR A6700sc User manual

Popular Security Camera manuals by other brands

ADEMCO RapidDome Owners Operating & Installation Guide

ADEMCO

ADEMCO RapidDome Owners Operating & Installation Guide

EverFocus EBA2880 user manual

EverFocus

EverFocus EBA2880 user manual

Honeywell OptiCAM-IR Installation and setup guide

Honeywell

Honeywell OptiCAM-IR Installation and setup guide

Uniq UC-600 user manual

Uniq

Uniq UC-600 user manual

OPTICOM NVD-120-S datasheet

OPTICOM

OPTICOM NVD-120-S datasheet

Steren CCTV-221 instruction manual

Steren

Steren CCTV-221 instruction manual

Arm Electronics C420BCDNVFIR Features

Arm Electronics

Arm Electronics C420BCDNVFIR Features

Eneo PLD-2036PTZ installation guide

Eneo

Eneo PLD-2036PTZ installation guide

Axis AXIS M20 Series installation guide

Axis

Axis AXIS M20 Series installation guide

Panasonic KX-HCM230 operating instructions

Panasonic

Panasonic KX-HCM230 operating instructions

COP-USA CC15NV-SL Specifications

COP-USA

COP-USA CC15NV-SL Specifications

Active Silicon HARRIER H.264 quick start guide

Active Silicon

Active Silicon HARRIER H.264 quick start guide

Motorola Avigilon 1.3C-H5SL-BO1-IR installation guide

Motorola

Motorola Avigilon 1.3C-H5SL-BO1-IR installation guide

INSTEON 2864-232 user manual

INSTEON

INSTEON 2864-232 user manual

Wisenet XNB-6002 quick start guide

Wisenet

Wisenet XNB-6002 quick start guide

Axis M5525-E user manual

Axis

Axis M5525-E user manual

Vitek VTC-IR62NZ922 user guide

Vitek

Vitek VTC-IR62NZ922 user guide

Panasonic WV-SF342 Specifications

Panasonic

Panasonic WV-SF342 Specifications

manuals.online logo
manuals.online logoBrands
  • About & Mission
  • Contact us
  • Privacy Policy
  • Terms and Conditions

Copyright 2025 Manuals.Online. All Rights Reserved.

Quick Install Guide
Ariel Gen II
CC-3103
Fixed Corner IP Camera
A. Connect the Camera
1. Insert a cable in the RJ45 connector to attach to
the network switch for a 10/100 Mbps Ethernet and
Power over Ethernet (POE) connection.
B. Discover the Camera
The camera’s web interface can be accessed by
Internet Explorer 10 and higher (32-bit) with the ActiveX
plug-in and by browsers that do not support ActiveX,
such as Microsoft Edge, Chrome or Firefox, on PCs
running 64-bit Windows 7, 8, 8.1, or 10.
B.1. Configuring the camera on your workstation
for the first time
1. Install the CD in the product package or download
FLIR’s Discovery Network Assistant (DNA) utilityfrom
the Support > FLIR Firmware & Software Downloads
page at http://www.flir.com/security.
2. Click the DNA icon and run DNA version 2.1.2.19
or higher to log into the unit.
3. Attach the unit to the same LAN segment as the
computer that is managing the unit. DNA automatically
discovers the unit on the network and displays the
device’s current IP address in the Discover List.
4. Select the unit from the Discover List.
5. Select PAL or NTSC by selecting the unit and clicking
Change Video Format from the context menu, or from
the Properties > Device Properties screen.
6. Click Update.
B.2.a Managing the camera with Horizon, Meridian or on
a DHCP-enabled network
If the camera is managed by Horizon configured as a DHCP
server, or is on a network with a DHCP server, the camera
automatically receives an IP address.
1. Open DNA. The unit is automaticallydiscovered on the network.
See section B.1 for instructions how to install DNA.
2. Verifythat the unit is displayed in the Discover List. The unit
status should be displayed as Online and Authenticated.
B.2.b Managing the camera with Latitude or on a network
with static IP configuration
If the camera is managed by Latitude or is on a network without
a DHCP server, manually enter its IP address in DNA.
1. Open DNA. The unit is automaticallydiscovered on the network.
See section B.1 for instructions how to install DNA.
2. If you use non-default credentials, the unit might become
unauthenticated. In this case, authenticate the unit:
a. Use DNA to select the unit(s).
b. Right-click or click the Login button.
c. Enter the camera's User Name ("Admin") and Password
("1234").
d. Click Login.
3. In the DNA Assign IP screen, uncheck Use DHCP, and enter
the unit’s IP, Mask and GatewayIP addresses. If the camera
is not authenticated, you must first authenticate it.
4. Click Update.
B.3. Log into the Unit
1. Click the unit in the Discover List. The Login window opens.
2. Enter the default User Name ("Admin") and Password
("1234") which are case-sensitive. Then click OK.
3. Click Login in DNA. The unit’s web interface opens.
4. If using IE, click the message to install the ArielPlayer plug-in.
5. Follow the on-screen instructions to install the plug-in.
C. Insert and Configure microSD Card
A microSDXC card (not supplied) must be inserted in the camera in order to locally store
a snapshot or recording triggered by an event. The microSDXC card drive is located on a
printed circuit board inside the camera housing. To install a microSDXC card:
1. After removing the camera's cover, insert a microSDXC card (up to 64GB, Class 10) in the
card drive.
2. Be sure that a new desiccant is inserted inside the enclosure.
3. Replace the cover and screw the enclosure shut.
4. Verifythat the card status is displayed as mounted in the System > Events Handler >
SD Card screen.
5. Format the card.
6. Configure the camera to store snapshots and recordings from the System > Events Source
screens.
D. Mount the Camera
The CC-3103 camera is designed to be mounted against the ceiling and two walls in the
corner of a room. The enclosure includes screw holes on three sides.
1. Verifythat the operating temperature range is between -40°C ~ 50°C (-40° ~ 122°F),
0-90% relative humidity (non-condensing).
2. Mount the camera at the site according to your surveillance requirements. Be sure to have
the required accessories and tools available.
3. Using the provided template, mark the drill locations on the ceiling and wall.
4. Drill a hole in the ceiling to insert the system cable if necessary.
5. Drill holes into the surfaces for the screws.
6. Hammer the screw anchors into place.
7. Attach the system cable to the network switch.
8. Align the screw holes on the camera body with the markings on the surface.
9. Using the electric screwdriver, screw the camera bodyinto the surfaces.
10. Remove the protective plastic covering over the camera body.
11. Attach the safetylanyard from the base unit to the cover.
12. Using the Torx wrench, screw the camera cover over the camera body.
E. Open Live View
1. Select the Live tab.
2. Click the red recording icon on the Live screen to start recording.
This step can be set automatically by FLIR’s Latitude, Horizon or Meridian VMS.
F. Attach to Latitude
Before performing these steps, be sure to install Latitude Update 7.0.0.5775 or higher.
1. In Latitude, click Physical View on the sidebar.
2. On the Navigation Tree, click the system name.
3. From the Discovery tab, do the following:
a. Under Cameras and Encoders, select DVTel Ariel Line (Latitude 7) or FLIR (Latitude 8).
b. Click Start. The camera details are displayed in the Discovery table.
c. If the camera was not discovered, click Discover Unit Manually.
d. Enter the camera’s IP address, select DVTel Ariel Line (Latitude 7) or FLIR and Auto Detect
(Latitude 8).
e. Click OK.
4. In the Discoverytable, right-click the camera.
5. Select Attach.
6. Click the Archiver name to attach.
7. Click Save.
CC-3103_QIG_16May17_v3
FLIR Systems, Inc. 6769 Hollister Ave. Goleta, CA 93117
Tel: +1 888.388-3577 product.enterprise.support@flir.com www.flir.com/security