manuals.online logo
Brands
  1. Home
  2. •
  3. Brands
  4. •
  5. Flomatic
  6. •
  7. Control Unit
  8. •
  9. Flomatic Comboair User manual

Flomatic Comboair User manual

Air Release Valves Installation Instructions
Model Comboair® 1” thru 3” Flomatic Corporation
Flomatic Corp, 15 Pruyn’s Island, Glens Falls, New York 12801
Phone: 518-761-9797 Fax: 518-761-9798 www.flomatic.com Comboair
Rev. C
Operation:
Flomatic Comboair®valves are designed to vent large volumes of air while the system is filling and expel
accumulated air while the system is under pressure. Should the system encounter a negative pressure as a
result of a main break for example, it will allow large volumes of air to re-enter the system to prevent the main
from collapsing. The valve has two orifices, a large one for the air and vacuum feature which handles the
large volumes of air and a small one to expel accumulated air. The orifices are closed by a float attached to
a lever arm mechanism that lifts the seat discs as the water rises in the valve. As the air accumulates in the
valve it displaces the water causing the float to drop, allowing the small orifice to expel the air and the water
to rise again closing the valve.
NOTE: These valves are designed for use on clean water systems. Using them on systems other
than water is not recommended. Consult factory for special applications.
Installation:
Installation must be performed by qualified, licensed personnel only.
Remove all plastic protection plugs that are covering inlet and outlet threads.
The Flomatic Comboair®should be installed at the high points in the system in a vertical position above the
water main. If they are not installed directly over the water main, the inlet piping to the valve should always
be upwards towards the valve with the valve being vertical only. To facilitate servicing and repairs it is
strongly recommended that an isolation valve be installed on the inlet side of the valve. Proper supports for
the valve and piping are required as needed.
These valves should NEVER be buried. In warm climate areas installing them above grade is acceptable as
long as precautions are taken to keep people away from them and protect them from being tampered with
(these precautions should be determined by the project engineer). Freeze protection is a necessity in colder
areas. Manholes should be adequately sized to allow access to the valves by service personnel.
Maintenance:
The Comboair®requires no schedule maintain, but should be inspected periodically for leakage in the orifice
area on top.
Disassembly / Reassembly:
The Comboair®can be disassembled without removing it from the line. No special tools are required and all
working should be performed by qualified, licensed personnel.
1. Close the isolation valve on the inlet of the valve or shut the system down if these are not a
valve. Be sure system pressure is relieved.
2. Remove top flange (#2), bolts (#24) and lift cover off.
3. Examine internal parts for signs of wear or damage.
4. Examine seats (#10 & 15) for damage to rubber or excessive wear.
5. If the air & vacuum seat rubber is damaged, you will need to remove the top (#1) by removing
interference pin (#25) and unscrewing it. Remove and replace the seat and then reassemble
top flange assembly.
6. The air release seat, (#10) is removed by removing plunger nut (#11) and then unscrewing the
plunger. When installing the new plunger screw it in to the same depth as the old one and
then the lift lever arm to see if it meets the seat plate evenly. Adjust as necessary and then re-
install plunger nut.
7. Replace any other parts as needed on the compound linkage mechanism.
8. Clean flange surfaces, use a new flange gasket (#22) and reassemble valve.
9. Put valve back in service and check for leaks.

Air Release Valves Installation Instructions
Model Comboair® 1” thru 3” Flomatic Corporation
Flomatic Corp, 15 Pruyn’s Island, Glens Falls, New York 12801
Phone: 518-761-9797 Fax: 518-761-9798 www.flomatic.com Comboair
Rev. C
Trouble Shooting Guide
Problem: Possible Solutions:
Leaking at inlet connection Tighten valve connection. If valve still leaks remove
valve from system and re-attach with new Teflon tape
or liquid Teflon.
Leaking around the cover Tighten bolts to 10-20 ft/lbs
Leaks when closed Flush valve to remove debris. If valves still leaks
disassemble valve, inspect and replace used or worn
parts.
Orifice not venting air Make sure the operating pressure is not exceeded. If
not disassemble valve, inspect and replace used or
worn parts.
Information needed to order repair parts:
Valve Model Number
Valve Size
Valve working Pressure
Limited One Year Warranty: Flomatic valves are guaranteed against defects of material or workmanship when used
for the services recommended. If, in any recommended service a defect develops due to material or workmanship, and
the device is returned, freight prepaid, to Flomatic Corporation within 12 months from date of purchase, it will be
repaired or replaced free of charge. Flomatic Corporations’ liability shall be limited to our agreement to repair or
replacement of valve only.
Item # Description
1 Top
2 Flange
3 Body
4 A&V Fulcrum
5 Valve Lever
6 Link
7 Ball Lever
8 Float
9 Ball Fulcrum
10 Valve Plunger
11 Plunger Nut
12 Pressure Seat
13 Pressure Fulcrum
14 Seat Cage
15 A&V Seat
16 Bearing Pin
17 Bearing Pin
18 Bearing Pin
19 Bearing Pin
20 Cotter Pin
21 Fulcrum Pin
22 Gasket
23 Bolt
24 Nut
25 Interference Pin
OUTLET
INLET

Other Flomatic Control Unit manuals

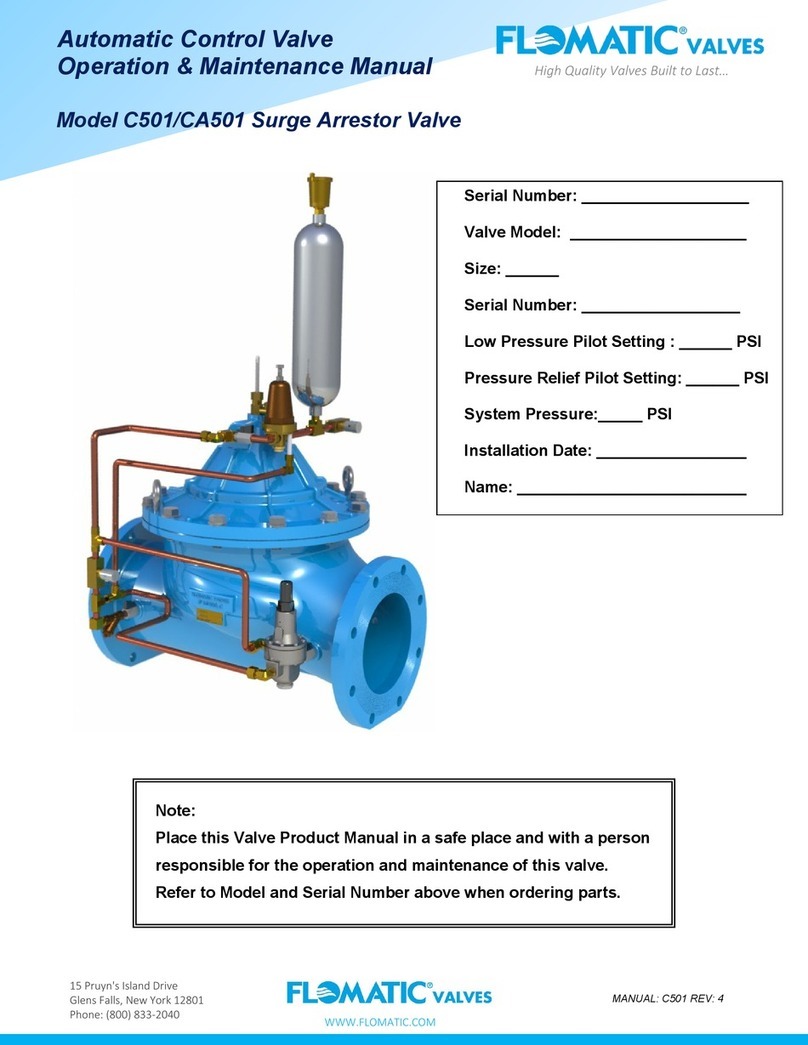
Flomatic C501 Manual

Flomatic

Flomatic C501 Manual

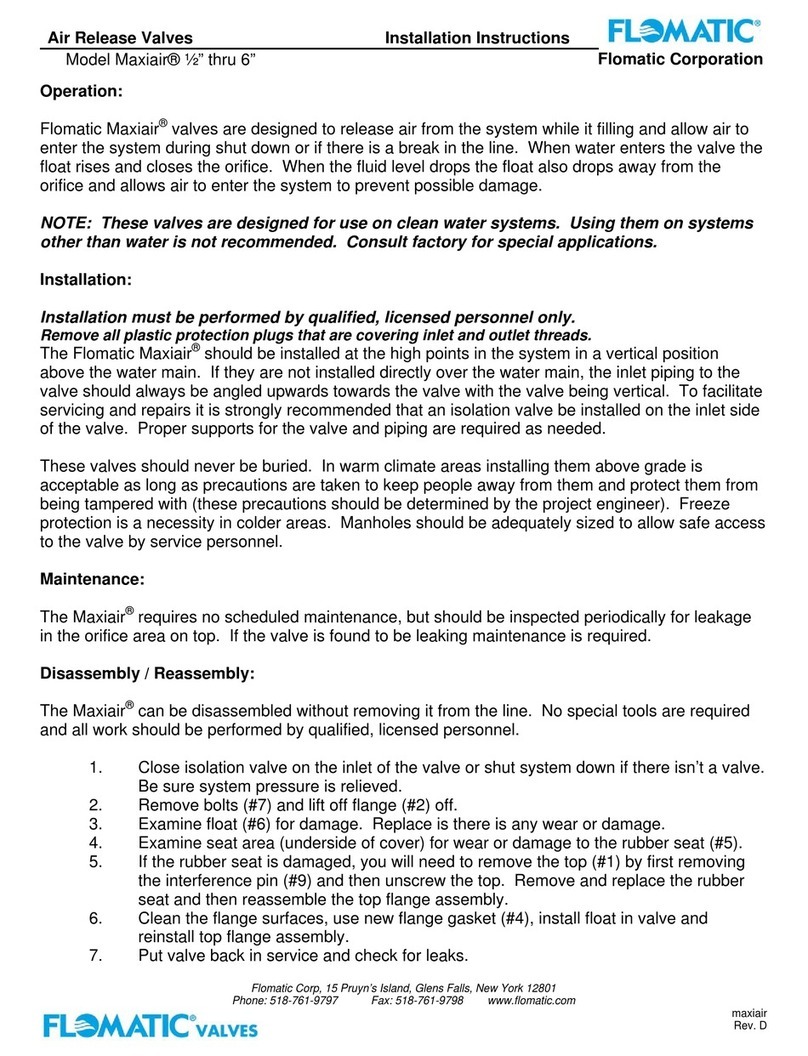
Flomatic Maxiair User manual

Flomatic

Flomatic Maxiair User manual

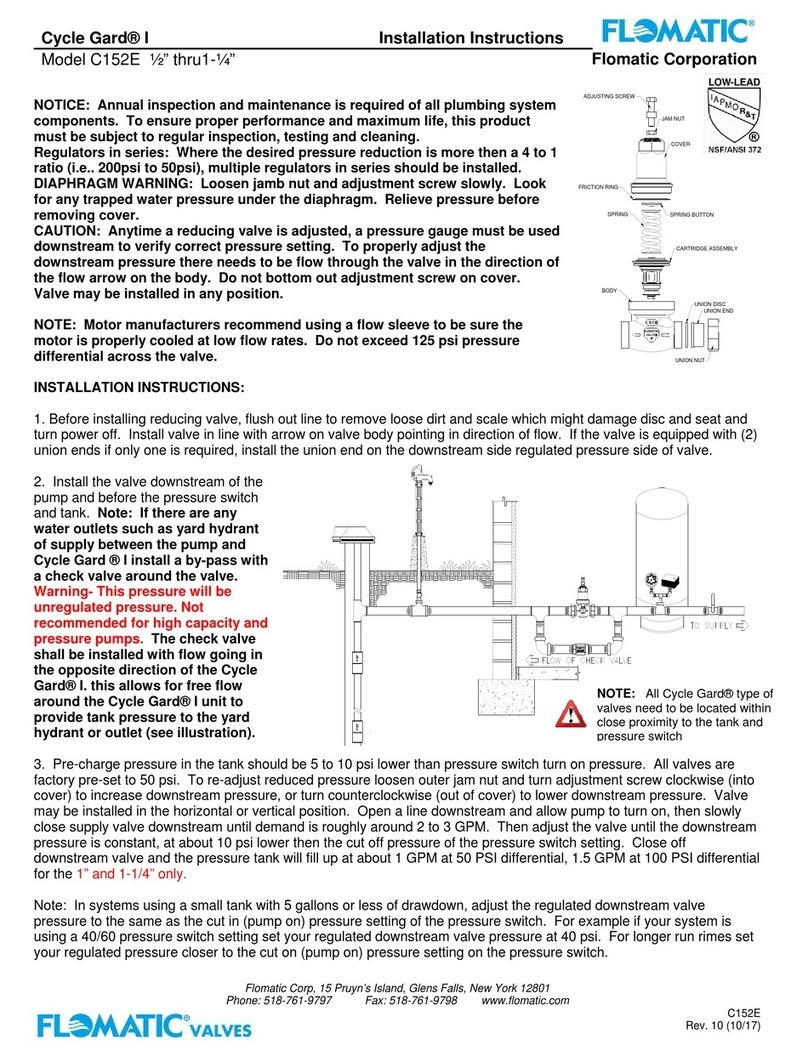
Flomatic CYCLE GARD I C152E User manual

Flomatic

Flomatic CYCLE GARD I C152E User manual

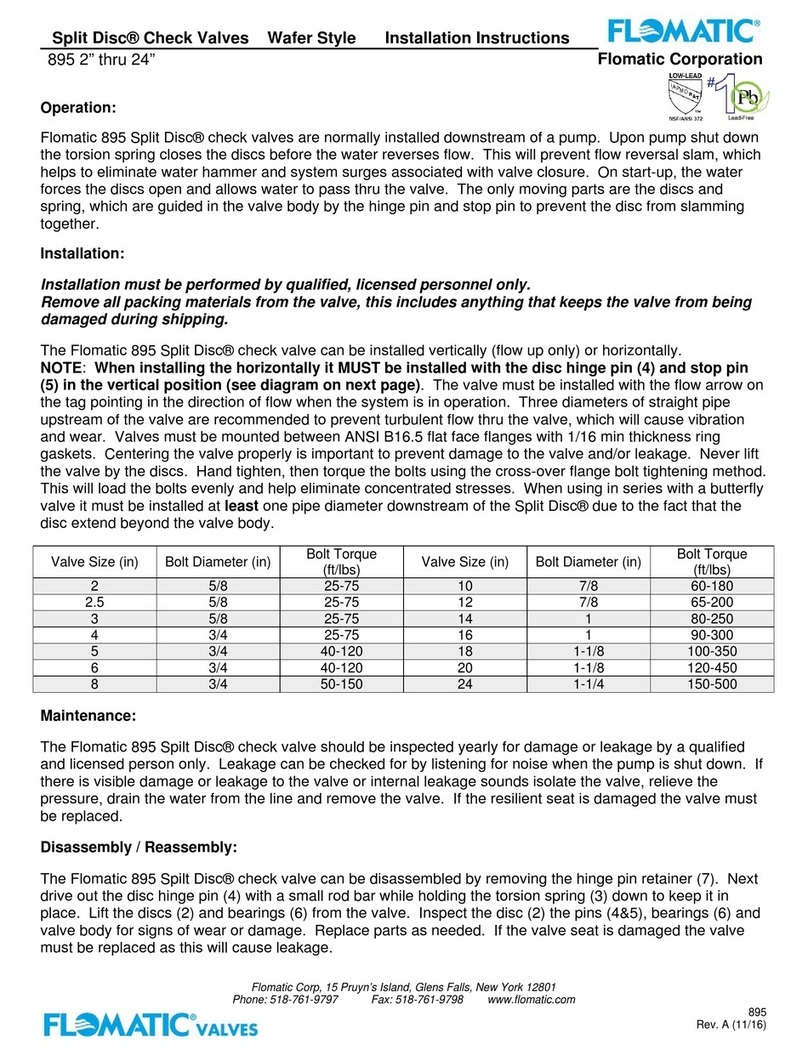
Flomatic Split Disc 895 User manual

Flomatic

Flomatic Split Disc 895 User manual

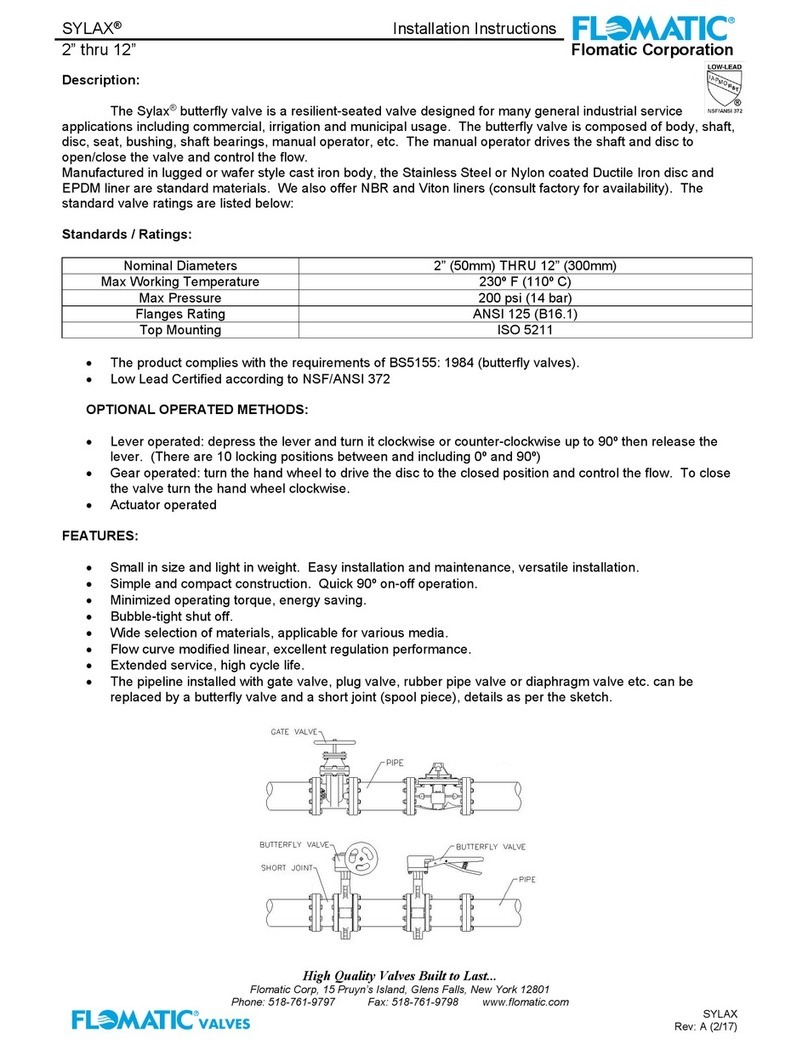
Flomatic SYLAX User manual

Flomatic

Flomatic SYLAX User manual

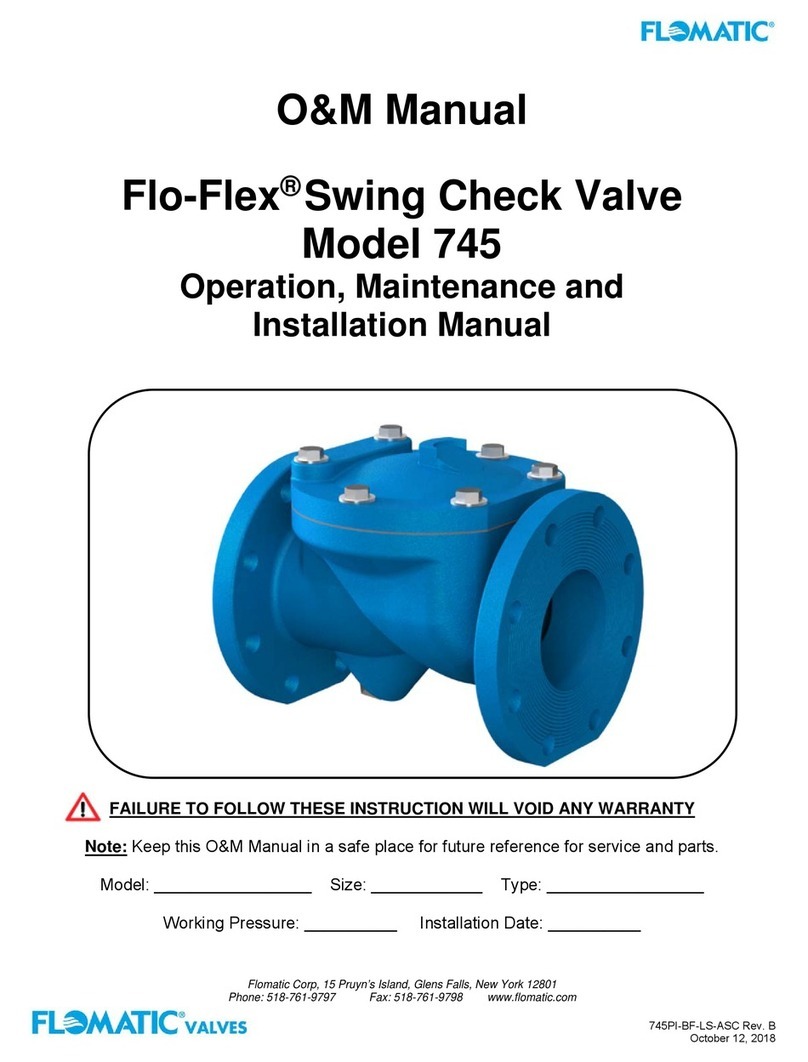
Flomatic Flo-Flex 745 User manual

Flomatic

Flomatic Flo-Flex 745 User manual

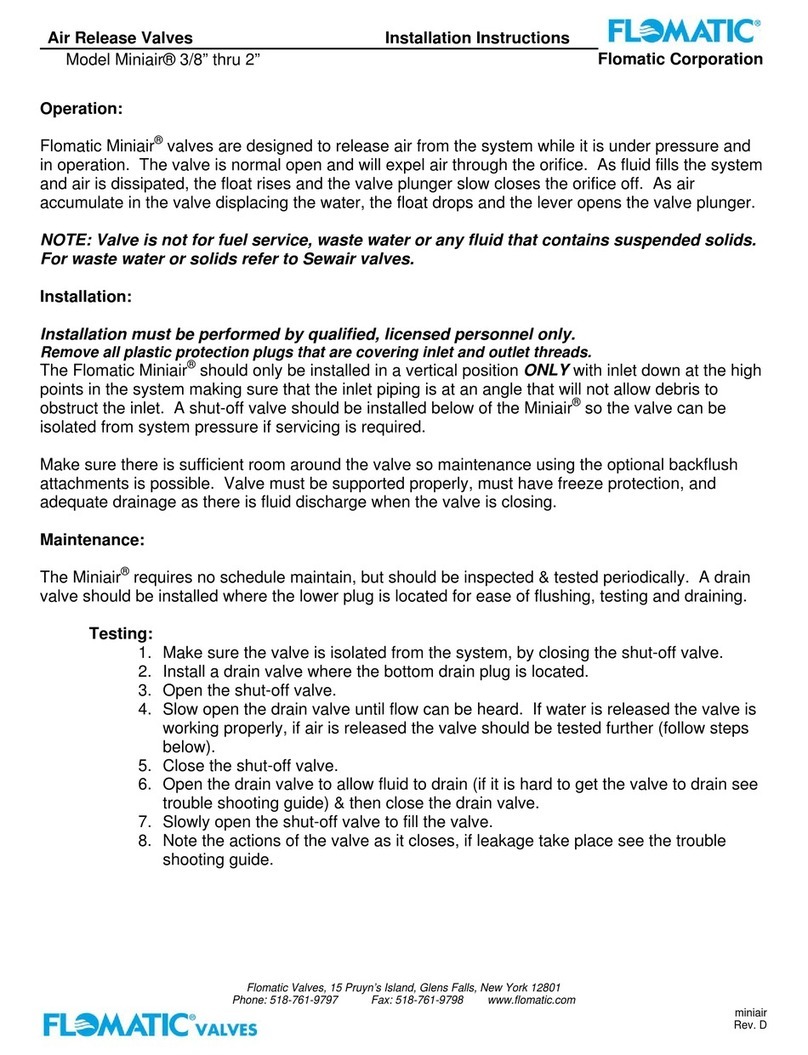
Flomatic Miniair User manual

Flomatic

Flomatic Miniair User manual

Popular Control Unit manuals by other brands

Afag SE-Power FS FSM 2.0 STO Short description

Afag

Afag SE-Power FS FSM 2.0 STO Short description

Johnson Controls Tyco DV-5a Series manual

Johnson Controls

Johnson Controls Tyco DV-5a Series manual

CNC Router Parts CRP800 Retrofit Guide

CNC Router Parts

CNC Router Parts CRP800 Retrofit Guide

Rabbit RabbitCore RCM3305 user manual

Rabbit

Rabbit RabbitCore RCM3305 user manual

EOS EmoTouch II + Installation and operating manual

EOS

EOS EmoTouch II + Installation and operating manual

Reverso FPS-80 instructions

Reverso

Reverso FPS-80 instructions

Inverter sMove installation instructions

Inverter

Inverter sMove installation instructions

ELBRO Butler SMSB131BW instruction manual

ELBRO

ELBRO Butler SMSB131BW instruction manual

Viessmann EM-EA1 extension Installation and service instructions for contractors

Viessmann

Viessmann EM-EA1 extension Installation and service instructions for contractors

National Instruments VMEpc 600 series installation guide

National Instruments

National Instruments VMEpc 600 series installation guide

VAT 541 Series Installation, operating,  & maintenance instructions

VAT

VAT 541 Series Installation, operating, & maintenance instructions

Rockwell Automation Allen-Bradley B Series installation instructions

Rockwell Automation

Rockwell Automation Allen-Bradley B Series installation instructions

SMC Networks SJ 1000 Series Operation manual

SMC Networks

SMC Networks SJ 1000 Series Operation manual

Digi Connect ME 9210 troubleshooting guide

Digi

Digi Connect ME 9210 troubleshooting guide

TiEmme ART.6544DN Installation and operation instruction

TiEmme

TiEmme ART.6544DN Installation and operation instruction

Allen-Bradley 2711P-RDT12H installation instructions

Allen-Bradley

Allen-Bradley 2711P-RDT12H installation instructions

DSC RXL2-433 installation manual

DSC

DSC RXL2-433 installation manual

Pneumatrol E4518C Series manual

Pneumatrol

Pneumatrol E4518C Series manual

manuals.online logo
manuals.online logoBrands
  • About & Mission
  • Contact us
  • Privacy Policy
  • Terms and Conditions

Copyright 2025 Manuals.Online. All Rights Reserved.