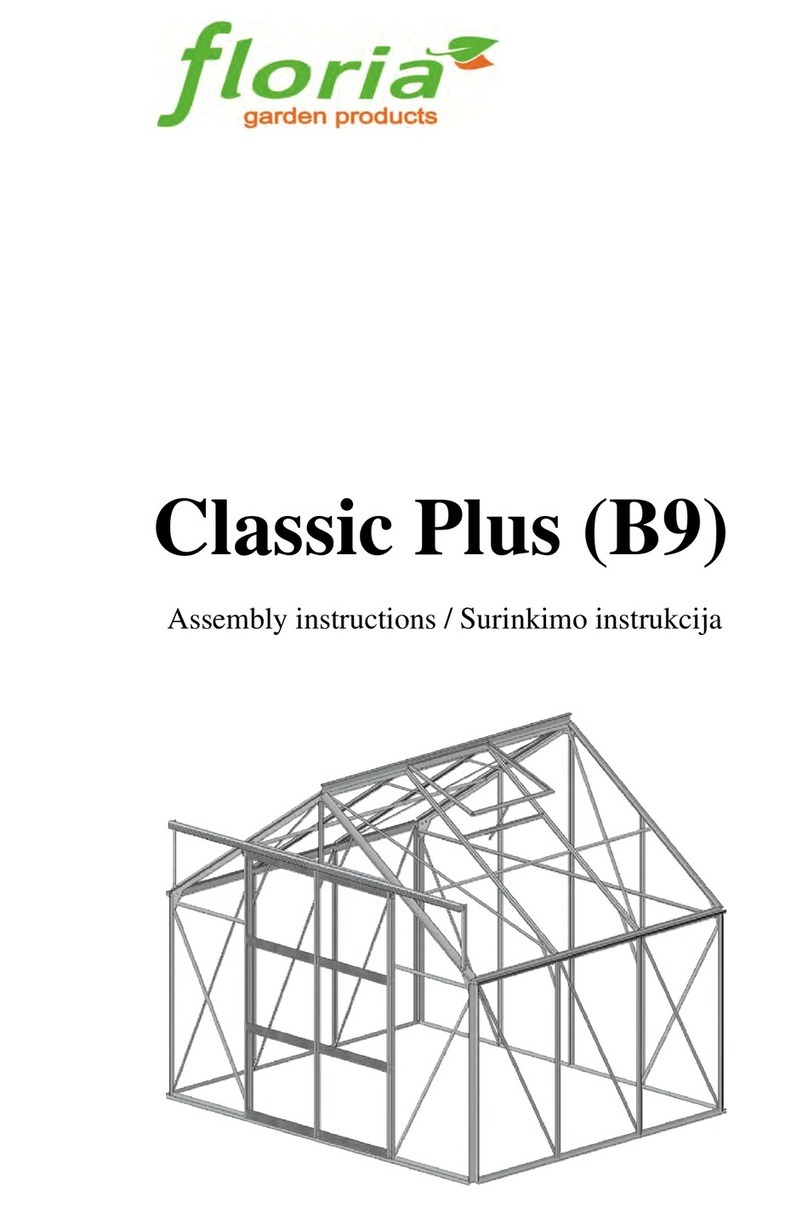
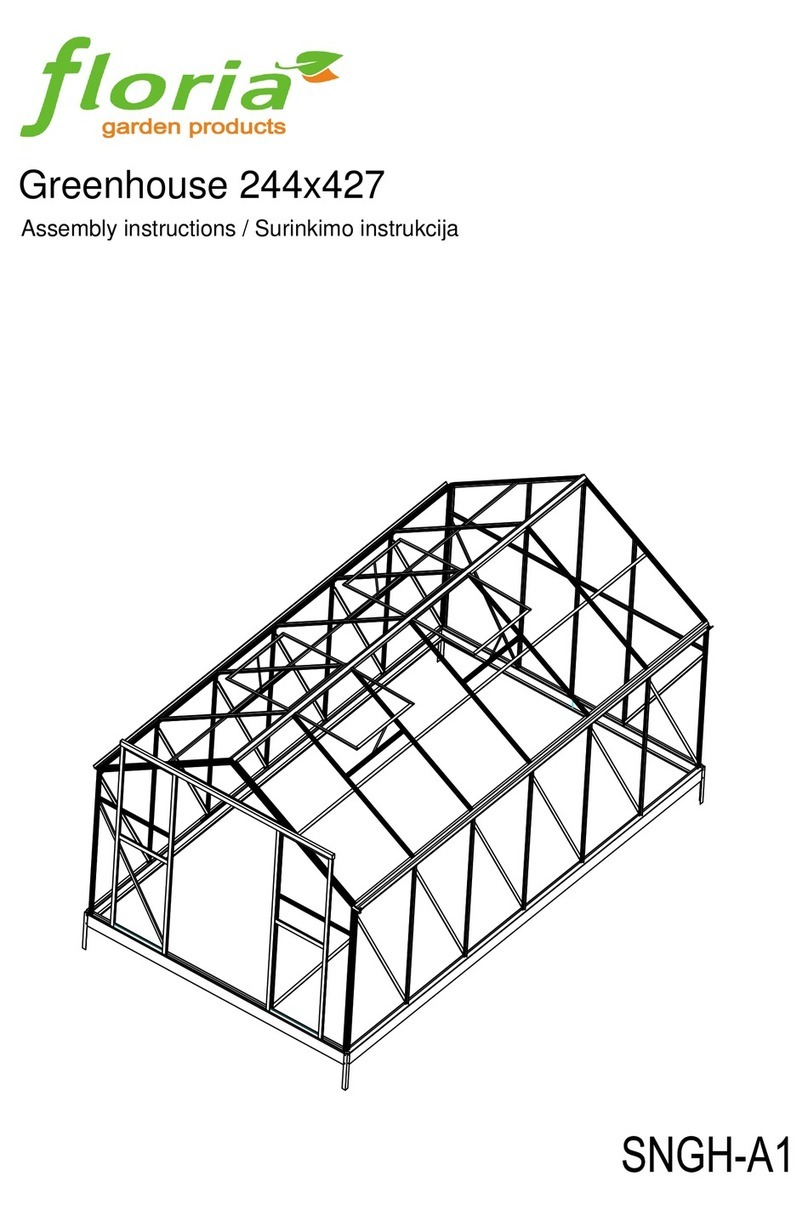
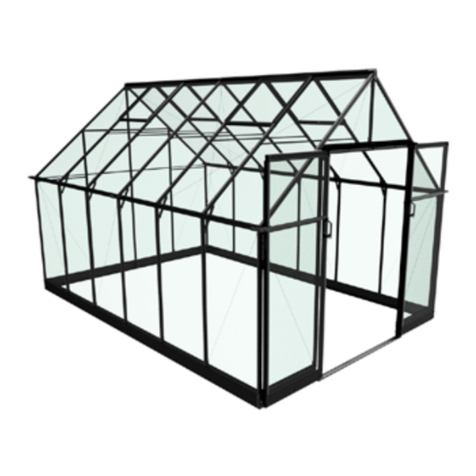
Floria garden products Popular W605 User manual

Popular(W6)
Assembly instrucon / Surinkimo instrukcija

2
EN
DearCustomer!
MaywecongratulateyouonyournewGreenhouse.
We feel sure that by following the detailed assembly
instrucons you will find as much pleasure in actually
building the greenhouse as the me you will spend in
your greenhouse in the future.
The assembly instrucons mainly consist of detailed
illustraons and no specific technical knowledge is
required for the assembly of the greenhouse.
However, it is important that the assembly instrucons
are followed strictly. The profiles in carton box are
packed in separate numbered packages corresponding
to the order in the assembly instrucon. Erect one
pack at a me. Don’t mix the contents of different
packs. All of the aluminum profiles are marked with a
part number corresponding to the numbers given on
the draw‐ings and in the parts list. Nuts, bolts and
fings will be found in the relevant package.
Precauons
•Always try to select a sunny locaon, sheltered from
the wind as much as possible. Assembly must only be
carried out in dry and calm weather.
• Always use working gloves while handling aluminum
pro‐files and polycarbonate.
• Place the ladder on a level support.
• It is essenal to have an assistant.
Tools
• Spirit level;
• Spanner or wrench 8 and 10 mm, screw driver
normal and crosshead PH2;
• Electric drill.
WinterProtecon
• Support the roof ridge at the centre of the
greenhouse.
• Remove greater snow loads from the roof.
• Take precauons against snow falling down from
trees or a house roof.
• Dismount the cylinders for the automac window
openers, if any (oponal extras).
• Secure doors and windows prevenng wind damage
to the greenhouse.
Insurance
Please note that not all insurance companies cover
green‐houses automacally. Please contact your
insurance company to ensure an insurance coverage.
Guarantee
Manufacturer gives a frame guarantee which covers
replacement or repairs of defecve parts due to
material or manufacturing fault. Moving and painted
parts, glazing and damage caused by wind or other
extreme weather condions are excluded.
The guarantee does not cover, assembly, freight etc.
The guarantee is invalid if the greenhouse is not
assembled according to these instrucons.
Complaints
We put severe demands on quality to secure that you
get a faultless product. However, should a problem
occur, we kindly ask you to contact the dealer from
whom you have bought the greenhouse. For a quick
service, you should specify the defect by means of the
parts list in the assembly instrucons. Please also note
the model number which is stamped on the front page
of these instrucons.
Tips
1. The base anchors has to be fastened/concreted into
the ground.
2. The base has to be 100% level and square. The
easiest way to ensure this is to make sure that the two
diagonal measurements are equal.
3. We recommend that you grease screws for doors
and windows for easier assembly.
4. If desired, it is possible to seal the greenhouse at the
edges and conners, also gap between polycarbonate
and guer, using neutral silicon.
5. Polycarbonate—the UV‐protected side (outside) of
the sheet is covered with opal white/text marked film
and must be faced towards the sun. Remove
approximately 2 inches of film from all sheet edges
before installing. Remove all film immediately aer the
construcons is completed. Polycarbonate plates must
not come into contact with the ground. Always rest
them on cardboard or similar material during
construcon.
Maintenance
• Grease doors (hinges and lock or door track).
• Clean the guer for leaves, etc.
• Adjust windows and doors.
• Clean the greenhouse before and aer the growing
season. Use only gentle detergents and socloth
(please check first if the detergent does not react ag

3
LT
Gerbiamaspirkėjau,
SveikinameJusįsigijusnaująšiltnamį.
Surinkimo instrukcijoje rasite išsamius brėžinius. Jokių
specialiųtechniniųžiniųnereikia. Visos šiltnamio
komplektuojančios dalys supakuotos pakuotėse,
kuriose rasite visus reikalingus polikarbonato lakštus,
rėmo profilius, tvirnimo detales, pagrindą. Kiekvienas
aliuminio profilis yra pažymėtas tam kru numeriu. Jis
anka šiltnamio surinkimo instrukcijos brėžiniuose
bei komplektuojančiųdaliųsąraše pažymėtąnumerį.
Visi profiliai yra supakuoįatskiras sunumeruotas
pakuotes eilės tvarka pagal surinkimo instrukciją.
Ardykite po vienąpakuotę. Nesumaišykite skirngų
pakuočiųturinio.
Svarbu
• Šiltnamiui parinkite saulėtąir nuo vėjo apsaugotą
vietą. Šiltnamįstatykite k nevėjuotąir neliengą
dieną;
• Montuodami šiltnamįdėvėkite piršnes, apsauginius
akinius ir galvos apdangalą, avėkite batus ‐aliuminio
profiliųkampai, sklo ar polikarbonato briaunos yra
labai aštrios;
• Kopėčias statykite k ant lygaus pagrindo;
• Būna turė pagalbininką.
Įrankiai
Renkant šiltnamįreikalingi šie įrankiai:
• Gulsčiukas;
• Veržliaraks 8 ir 10 mm ir atsuktuvas;
• Elektrinis grąžtas.
Priedai
Mes siūlome didelįšiltnamio priedųpasirinkimą, kas
leidžia sulaukgausesnio derliaus ir palengvina darbą
šiltnamyje. Dėl išsamesnės informacijos kreipkitės į
šiltnamio pardavėją.
Apsaugažiemą
Regionuose, kur žiemągali iškrisdaug sniego,
rekomenduojame laikys šiųpatarimų:
• Paremkite stogo sijąšiltnamio viduryje;
• Nepamirškite nuvalydidesnes sniego sankaupas;
• Imkitės priemonių, kad apsaugotumėt šiltnamįnuo
sniego, krintančio nuo medžiųar namo stogo;
• Išmontuokite langųdarinėjimo sklendžiųcilindrus
(jeigu tokie yra);
• Užremkite duris ir langus, kad apsaugotumėt šiltnamį
nuo spraus vėjo.
Draudimas
Atkreipkite dėmesį, kad ne visos draudimo kompanijos
draudžia šiltnamius. Prašome susisieksu savo
draudimo kompanija dėl šiltnamiųdraudimo.
Garanja
Gamintojas suteikia gamyklinęgaranjąšiltnamio
rėmui – defektų, atsiradusiųdėl gamybos klaidos,
pašalinimui ir brokuotųdetaliųpakeimui. Garanja
nesuteikiama judančioms ir dažytoms detalėms (jei
tokios yra), surinkimui, pervežimui ir pan. Garanja
negalioja spraus vėjo ar kitųekstremaliųoro sąlygų
padarytai žalai, ar jei šiltnamis buvo surinktas
nesilaikant instrukcijos.
Nusiskundimai
Visi šiltnamiai yra pagaminpagal aukščiausius
kokybės standartus. Jei iškiltųkokiųproblemų,
prašome kreips įJums šiltnamįpardavusiąįmonę,
nurodydami defektąir brokuotos detalės numerįbei
šiltnamio modelį.
Geripatarimai
• Aliuminįšiltnamio pagrindąreikia įtvirn/
įbetonuoįžemę;
• Pagrindas turi bū 100% horizontalus ir stačiakampis
– įsikinkite, kad abi įstrižainės yra lygios;
• Rekomenduojame sutepalyva durųir langų
varžtelius, kad būtųlengviau prisuk;
• Jeigu pageidaujate, kad šiltnamis būtųvisiškai
hermeškas, sujungimo kampus ir siūles užglaistykite
silikonu. Užsandarinkite tarpątarp dangos ir vandens
latako.
• Polikarbonatas—UV spinduliams atspari (išorinė)
pusėyra apklijuota balta/tekstu markiruota plėvele. Ši
pusėturi bū šiltnamio išorėje. Nulupkite apie 5 cm
plėvelės nuo visųpolikarbonato kraštųprieš įstatant
juos įrėmą. Po to, kai surinksite visąšiltnamį,
pašalinkite likusiąapsauginęplėvelę. Polikarbonato
danga negali liess su žeme – lai‐kykite jąant
kartoninės pakuotės.
Priežiūra
• Reguliariai tepkite duris (lankstus ir spynąarba durų
bėgelius);
• Iš latakųvalykite lapus ir pan.;
• Reguliuokite langus ir duris;
• Valykite šiltnamįtam skirtomis dezinfekcinėmis
priemonėmis prieš ir po sezono. Polikarbonato dangą
plaukite šiltu vandeniu su minkštu audiniu. Naudokite
k švelnias chemines priemones, kurios nekenkia
aliuminiui ir polikarbonatui.

4
X Y
W605 1962 1516
W607 1962 2232
W610 1962 2948
W612 1962 3664
W614 1962 4380
X Y
W605 6’51/4 5’
W607 6’51/4 7’4”
W610 6’51/4 9’81/5”
W612 6’51/4 12’2/5”
W614 6’51/4 14’43/5”
# m5
W605 10
W607 12
W610 14
W612 16
W614 18
a2
m7
Base/pagrindas
a2
m5
Concrete/betoninis pamatas
Base / Pagrindas
# m7
W605 6
W607 8
W610 10
W612 12
W614 14

5
Base / Pagrindas
10mm
EN Secure the greenhouse to the foundation / LT Pritvirtinkite šiltnamįprie pagrindo

6
Polycarbonate sheet / Polikarbonatas
# Size W610 W612 W614
A 610x1190/1665 4 4 4
B 610x806 2 2 2
C 570x10/230/10 1 1 1
D 610x1127 1 1 1
E 610x535/772/535 1 1 1
F 700x1175 8 10 12
G 700x634 2 4 4
H 696x506 2 4 4
I 700x1194 6 6 8
p6 592 5 5 5
p7 682 16 20 24
p6/p7
A
A
B
B
A A
D
E
C
p6 p6 p6
p7 p7 p7
p7
p7
p7
F F F
G
H I
I
p6
p6
p6/p7

7
The list of the secon / Detaliųsąrašas
Secon Part No. Profile Size W605 W607 W610 W612 W614
Rear
/
Galinis
fasadas
011 1276 2
021 1894 1
041 1677 1
042 1677 1
044 594 1
081 1894 1
161 1181 2
164 1175 2
Front/
Priekinis
fasadas
011 1276 2
012 642 2
043 594 1
131 1677 1
132 1677 1
141 1245 1
151 1894 1
161 1181 2
162 1175 1
163 1175 1
Side
wall/
Šoninė
siena
022
1468 2
2184 2
2900 2
3616 2
4332 2
061
1468 2
2184 2
2900 2
3616 2
4332 2
1468 2
2184 2
2900 2
3616 2
4332 2
013 1355 4 6 8 10 12
031 1167 2 4 6 8 10
062
Secon Part No. Profile Size W605 W607 W610 W612 W614
Roof/
Stogas
1468 1
2184 1
2900 1
3616 1
4332 1
014 1361 3 5 6 6 8
032 1175 2 4 6 8 10
Vent/
Langas
171 698 1 1 2 4 4
101 525 2 2 4 8 8
121 694 1 1 2 4 4
045 684 1 1 2 4 4
051 200 1 1 2 4 4
201 300 1 1 2 4 4
Door/
Durys
181 1656 2
111 594 2
271 594 1
091 433 1
071
a1 M6x10 87 99 114 132 144
a2 M6 98 112 131 155 169
a3 M6x16 3 3 3 3 3
a4
Φ4.2x9.5
4 4 8 16 16
a5
Φ3.5x19
12 12 16 24 24
a6
Φ3.5x25
2 2 2 2 2
a7
Φ4x8
2 2 2 2 2
a8 M6x15 6 8 10 12 14
m1 ‐ 2 2 2 2 2
m2 ‐ 4 4 4 4 4
m3 ‐ 4 4 6 10 10
m4 ‐ 2 2 2 2 2
m6 ‐ 1 1 1 1 1
n1 ‐ 2 2 2 2 2
p1 ‐ 2 2 2 2 2
p2 ‐ 4 4 4 4 4
p3 ‐ 2 2 4 8 8
p4 ‐ 2 2 2 2 2
p5 ‐ 2 2 2 2 2
p6 592 5 5 5 5 5
p7 682 8 12 16 20 24
a9 M6x10 2 2 4 8 8

8
No.1
Rear Gable / Galinis fasadas
1
# 011 021 041 042 044 081 161 164 a1 a2 p1 p2 m1 m2 m3 p6
mm 1276 1894 1677 1677 594 1894 1181 1175 M6x10 M6 - - - - - 592
QTY 2 1 1 1 1 1 2 2 24 24 1 2 1 2 2 3
021
161
161
011
011
041
042
044
081
164
164
A
A
D
E
1
2
3
4 5
6 7 8
1
4
6
4
6
5
7
161
021
021
011
041 021
042
011
161
011
081
p2 m2
081
042
042
044
081
E
A A
D
044
p6 p6 p6
164
081
161
011
m2
p2
164
041
m3
164
164
m1

9
No.2
Front Gable/Priekinis fasadas
2
# 011 012 043 131 132 141 151 161 162 163 a1 a2 a3 p1 p2 m1
mm 1276 642 594 1677 1677 1245 1894 1181 1175 1175 M6x10 M6 M6x16 - - -
QTY 2 2 1 1 1 1 1 2 1 1 26 28 2 1 2 1
m2
-
2
m4
-
2
p6
592
2
1
8
2
3
4
6
5
7
151
161
151
161
161
011
011
012
012
132
131
162
163
043
141
1
1
5
4
5
4
6
8
7
162
163
m1
151
011
132
151
131
011
A
A
C
A A
C
161
012
011
m2
p2
012
132
163
161
012
011
m2
p2
141
141
162
043
132
m4 a3 a3
a1/a2
a3/a2
132
043
162
141
m4
p6 p6

10
No.3
Side wall/ Šoninėsiena
3
# 022 061 031 013 a1 a2 p7
mm 1468 2184 2900 3616 4332 1468 2184 2900 3616 4332 1468 2184 2900 3616 4332 1167 1355 M6x10 M6 682
W605 2
2
1
2 4 20 20 8
W607 2
2
1
4 6 26 26 12
W610
2
2
1
6 8 32 32 16
W612
2
2
1 8 10 38 38 20
W614
2
2
1 10 12 44 44 24
071
1 2
3
6
4
5
1
3
2
m1
m2
161
013
031
013
031
4
6
5
F
F
p7 p7
F F F
p6
031 031
013
013
071
061
061
022
022
071
061
022
061
022
061
m2
p6 p6
p6 p6 p6
013
013

11
# P8 P9 M0 P1 P0 P2 a3 a2
mm
600 200 M6x15 M6
QTY 2 2 2 2 2 2 2 2
No.4
Roof / Stogas
4
# 032 014 a1 a2 a8
mm 1175 1361 1468 2184 2900 3616 4332 M6x10 M6 M6x15
W605 2 3 2
11 17 6
W607 4 5 2
17 25 8
W610 6 6
2
22 32 10
W612 8 6
2 26 38 12
W614 10 8
2 32 46 14
062
4
1 2
3
m1
014
014
032
032
032
014
a3/a2
4
1
2
014
014
032
032
I
I
3
P8
P9
P0
P0
M0 a3/a2
5
061
061
062
071
G
5
061
032
014 014
031
EN Downpipes (p0) and downpipe holder (m0) is an optional extra and is not included in the price.
LT Lietvamzdžiai su laikikliais ir įstandartinękomplektacijąneįeina.

12
101
121
a5
5
# 171 101 121 045 051 201 m3 a1 a2 a4 a5 p3
mm 698 525 698 684 200 300 - M6x10 M6
Φ4.2x9.5
Φ3.5x19
-
Qty 1 2 1 1 1 1 2 4 6 4 4 2
a9
M6x10
2
No.5
Vent / Langas
W605 W607 W610 W612 W614
Vent No. 1 1 2 4 4
1 2
4
5
6
8
7
045
051
045
032
m3
a1/a2 a1/a2
045
1
2
3
4
5
121
201
a4
101
101
171
121
H
p1
p3/a4
3
101
a5
171
071

13
No.6
Door / Durys
6
# 181 111 271 091 p4 p5 m6 a1 a2 a3 a5 a6 a7 n1
mm 1656 594 594 433 - - - M6x10 M6 M6x16
Φ3.5x19
Φ3.5x25
Φ4x8 -
QTY 2 2 1 1 2 2 1 2 3 1 8 2 2 4
B
B
181
181 111
111
271
2
1
3
4
1
2
3
4 5
8
7
271
181
a5
271
a7
n1
181 181
111
111
a5
a6
141
091
141
p5
a5
091
m6
a3/a2
a1/a2
a1/a2
p4
6
141 p5
a5
This manual suits for next models
4
Other Floria garden products Greenhouse Kit manuals
