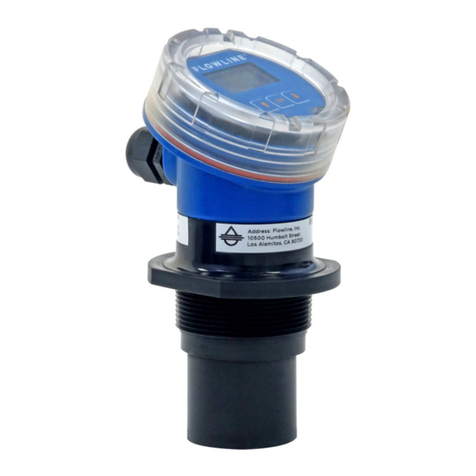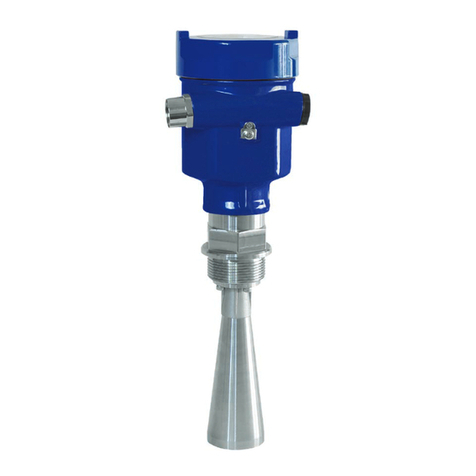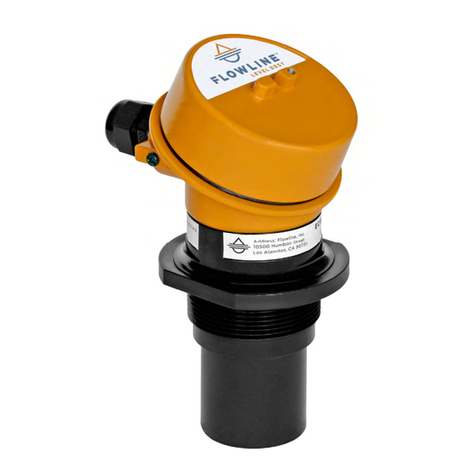
Set Units
The transmitter displays information in inches,
feet, centimeters, meters, or percentages.
This can be displayed to represent the amount
of air or the amount of liquid in a tank.
Air Display Mode shows the distance from the
bottom of the sensor to the liquid surface. Liquid
Display mode show the distance from the liquid
surface to the bottom of the tank.
Follow these instructions to set how units are displayed:
1) Enter the configuration menu (as
discussed previously),
2) Select UNITS from the menu,
3) Select the type of unit or the type of
DISPLAY you desire, and
4) Select EXIT to return to the Configuration
menu.
Set Height and Fill Height
This setting customizes the reading for your installation. Follow these instructions to
set the height and fill height for your tank:
1) Enter the configuration menu (as discussed previously),
2) Select TANK from the menu,
3) Select HEIGHT. Use the UP and DOWN buttons to set the height of your tank. Then,
hold down the SELECT button to save this setting,
4) Select FILL-H for the fill
height. Use the UP and
DOWN buttons to set the fill
height of your tank. Then, hold
down the SELECT button to
save this setting, and
5) Select EXIT to return to the
Configuration menu.
Mounting the Transmitter
The Transmitter should always be mounted perpendicular to the liquid surface and
installed using the provided Viton® mounting gasket. Insure that there are no
restrictions or obstacles in the path of the ultrasonic signal. Always use fittings, with
thin wall mounting structures that isolate the transducer. This will provide the best
performance over the lifetime of the product. An instructional video on this is also
available on the website.
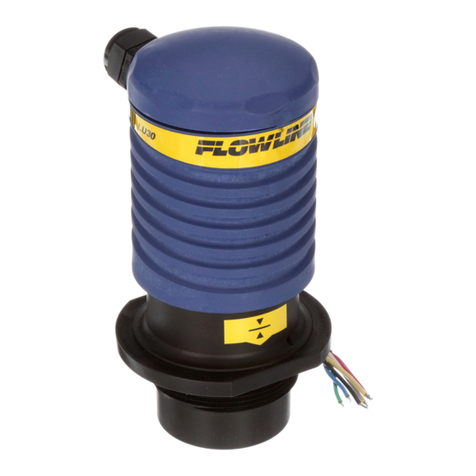
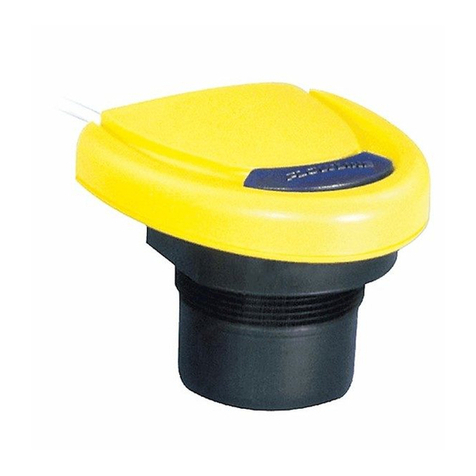
The LU80 has a 1” NPT or G fitting and requires more care in mounting to reduce any
coupling of the ultrasonic signal to the mounting structure. The following fittings are
recommended:
For installations in existing 2” fittings:
Use LM52-1400 2” thread x 1” thread adapter. (An adapter with
an air gap around the 1 inch threads as shown is
recommended)
For installations in plastic tanks:
1) Use a Bulkhead fitting LM52-1890 1” Bulkhead
fitting,
2) Use a Bulkhead fitting LM52-2890 in combination
with LM52-1400 or,
3) Weld a plastic 1” half coupler to tank top.
For installations in metal tanks:
1) Use the recommended bulkhead fittings as shown above
or a LM52-1850 1” Flange. The flange fitting must have a
riser for the threaded section. Drilling and tapping a blind
flange is not recommended.
2) While installations directly into a 1”metal fitting are
not recommended, acceptable results may be obtained
if the 1” fitting is a half coupling in form and the outer
diameter of the coupler is tightly wrapped in vinyl tape to
dampen vibrations.
For installations in open tanks and sumps:
1) Use Flowline's LM50-1001-1 side mount bracket,
which includes a 2” x 1” thread reducer bushing.
Spec Tech Industrial Electric
Spec Tech Industrial Electric
