FMI OUTLAND LIVING OUTDOOR LIVING PERFECTED... User manual

FMI BRANDS INC. 107 – 19052 26 Avenue | Surrey, B.C. Canada V3Z 3V7
Toll Free: 1-888-514-1663 | Tel: (+1) 778-294-0988 | Email: info@outlandliving.com
D. OLVG-315.000.V0
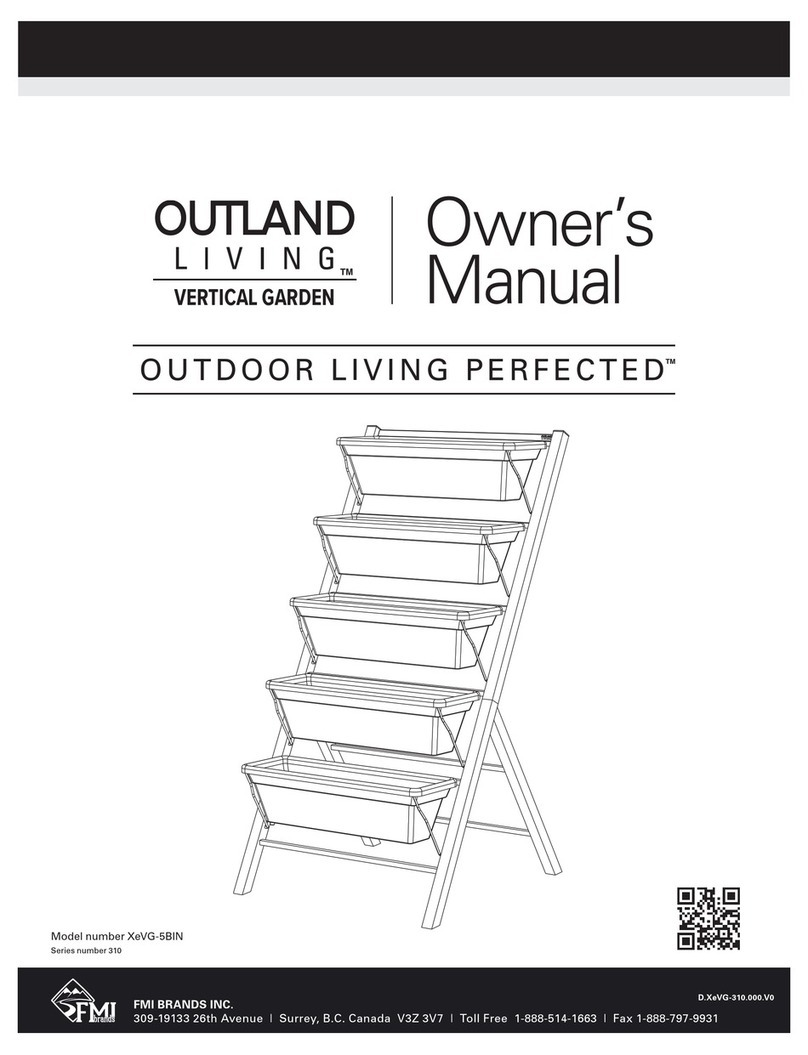
Vertical Garden FERNIE
Model number OLVG-315
Owner’s Manual
FE
RNIE

Owner & Safety Manual
D. OLVG-315.000.V0
En-1 OUTLAND LIVING - OWNER & SAFETY MANUAL - VERTICAL GARDEN - FERNIE
Model number OLVG-315
NOTE TO INSTALLER:
Leave this guide with the consumer.
NOTE TO CONSUMER:
Please retain this guide for future use.
WARNING:
Improper installation, adjustment, alteration, service or
maintenance can cause injury or property damage. Read the
installation, operating and maintenance instructions thoroughly
before installing or servicing this equipment.
CAUTION:
Watch for sharp edges.
Wear protective gloves if necessary.
SUPPLIED PARTS & HARDWARE LIST:
PART # DESCRIPTION PICTURE
1 RIGHT TOP
FRAME (x1)
2
RIGHT
BOTTOM
FRAME (x1)
3 LEFT TOP
FRAME (x1)
4 LEFT BOTTOM
FRAME (x1)

En-2
1-888-514-1663 | WWW.OUTLANDLIVING.COM
SUPPLIED PARTS & HARDWARE LIST (continued):
PART # DESCRIPTION PICTURE
5 CROSS BARS
(x3)
6 REAR LEGS
(x2)
7 BIN HANGER
BRACKET (x8)
8M5x40mm
SCREW (x14)
9 M5x16mm
SCREW (x2)
PART # DESCRIPTION PICTURE
10 M5 NUT (x2)
11
PLASTIC
PLANTER BIN
(x4)
12 BLACK PLASTIC
SPACER (x8)
13 DRAIN PLUG (x4)
REQUIRED TOOLS:
• Philips (cross) screw driver (PH2)
• 8mm wrench (5/16”)

Owner & Safety Manual
D. OLVG-315.000.V0
En-3 OUTLAND LIVING - OWNER & SAFETY MANUAL - VERTICAL GARDEN - FERNIE
SECTION 1: ASSEMBLY
STEP 1
BOTTOM FRAME:
Place the LEFT BOTTOM FRAME, the RIGHT
BOTTOM FRAME and one CROSS BAR on a flat
work surface. Ensure that the bin hanger support
pegs are facing inwards. Align the Cross Bar with
the screw holes and affix tightly with(x4) M5 x
40mm SCREWS.
Support Pegs
Facing In
Cross Bar
Cross Bar
Cross Bar
Rear Leg
M5 x 40mm
Screw (x2)
M5 x 40mm
Screw (x2)
M5 x 40mm
Screw (x2)
Support Pegs
Facing In
Left Bottom Frame
Left Top
Frame
BOTTOM FRAME
TOP FRAME
REAR LEG FRAME
Right
Bottom
Frame
Right Top Frame
STEP 2
TOP FRAME:
Place the LEFT TOP FRAME, the RIGHT
TOP FRAME and one CROSS BAR on
a flat work surface. Ensure that the bin
hanger support pegs are facing inwards.
Align the Cross Bar with the screw holes
and affix tightly with (x4) M5 x 40mm
SCREWS.
STEP 3
REAR LEG FRAME:
Place the REAR LEGS and the last CROSS BAR
on a flat work surface. Align the screw holes
and tightly screw in (x4) M5 x 40mm SCREWS.

En-4
1-888-514-1663 | WWW.OUTLANDLIVING.COM
SECTION 1: ASSEMBLY (continued)
Bottom Frame
NOTE: M5 Lock
Nuts go on the
inside of the frame.
Top Frame
Rear Leg
Frame
Bottom Frame
Rear
Leg
Frame
M5 x 40mm
Screws (x2)
M5 x 16mm
Screw (x2)
M5 Lock
Nuts (x2)
M5 Lock
Nuts (x2)
STEP 4
Stand the BOTTOM FRAME (From STEP 1) and
affix the REAR LEG FRAME (from STEP 3) using
(x2) M5 x 40mm SCREWS and (x2) M5 LOCK
NUTS. The M5 LOCK NUTS go on the inside of the
frame. DO NOT FULLY TIGHTEN the screws and
nuts in this step.
Use 8mm wrench (5/16”) for the M5 LOCK NUTS.
STEP 5
Insert the TOP FRAME (from STEP 2) into the
assembly from STEP 4. Affix the REAR LEG
FRAME to the TOP FRAME using (x2) M5
x 16mm SCREWS. Then tighten the LOCK
NUTS and the M5 x 40mm SCREWS from
STEP 4. Go around and check to confirm that
all the screws have been tightened before
proceeding to STEP 6.

Owner & Safety Manual
D. OLVG-315.000.V0
En-5 OUTLAND LIVING - OWNER & SAFETY MANUAL - VERTICAL GARDEN - FERNIE
SECTION 1: ASSEMBLY (continued)
STEP 6
Place (x8) BLACK PLASTIC SPACERS on the bin hanger
support pegs.
STEP 7
Place (x8) BIN HANGERS onto the bin hanger support pegs.
Black Plastic
Spacers (x8)
Bin Hanger (x8)
Black
Plastic
Spacers
(x8)

En-6
1-888-514-1663 | WWW.OUTLANDLIVING.COM
SECTION 1: ASSEMBLY (continued)
STEP 8
Place (x8) PLASTIC PLANTER BINS onto the BIN HANGERS.
STEP 9
Assembly is complete. Set the frame in the location where
you want to display it, before loading the frame with fully
loaded planter bins.
Your OUTLAND Vertical Garden is ready to use indoors or
outdoors.
IMPORTANT: Always ensure your Vertical Garden stands straight
and level.
IMPORTANT:
Always ensure all
fasteners are firmly
tightened.
Plastic Planter Bin (x4)

Owner & Safety Manual
D. OLVG-315.000.V0
En -7 OUTLAND LIVING - OWNER & SAFETY MANUAL - VERTICAL GARDEN - FERNIE
SECTION 2: PLANTER GARDENING
PLASTIC PLANTER BINS
The plastic bins are made from 100% new Polypropylene material
(PP) and are food safe (BPA free, phthalate free, lead free, mercury
free). The bins have a 3000hr UV stabilizer to protect the plastic
from degrading in the outdoors.
The Drain Plugs (Part 13) are made from food safe silicone.
DRAIN HOLES
We listened to the experts (our customers). These bins do not come
with drainage holes. Not everyone wants drainage holes in their
planters. But, if you want to add drainage holes, we suggest using a
5/16” (8mm) drill bit (drill bit not included). This way, if you change
your mind later on (because you might change your mind!), you
can use the 5/16” silicone stoppers we have supplied you with to
plug the holes.
1” WATER RESERVOIR
If you are going to drill a drainage hole, we recommend the hole be
placed approximately 1-1/8 inch up from the bottom of the bin, on
the front face of the bin. This will create a 1” water reservoir.
APPROXIMATE DIMENSIONS
25”
632mm
19”
490mm
FRONT
GROUND
SIDE
50”
1270mm
WALL
The Vertical Garden frame measures approximately:
25”W x 19”D x 50”H (632mmW x 490mmD x 1270mmH).

En-8
1-888-514-1663 | WWW.OUTLANDLIVING.COM
To create cascading drainage, we
recommend drilling the holes on the left
side for 2 bins and on the right side for the
other 2 bins. These bins should be inserted
into the frame with the drain holes in an
alternating fashion (left, right, left, right).
TIPS FOR WHEN YOU’VE DRILLED
A DRAIN HOLE
Gardening Indoors or on a Patio Deck?
Install the supplied Drain Plug (part 13).
a. Using the drain plug in the lowest
bottom bin prevents water drainage
and allows you to garden indoors,
or on your patio deck, with your
OUTLAND Vertical Garden.
b. Removing the drain plug allows
excess water to drain out of the lowest
plastic planter bin. When indoor, or
patio gardening, place a tray under the
bottom bin before removing the drain
plug.
Outdoor Gardening? No need to install
the drain plug. Gardening without the
drain plug allows excess rain water to flow
through the bins to the ground below.
DRAINAGE LAYER
Some gardeners recommend placing
approximately one inch of drainage filler
(pottery, shells, gravel, etc.) at the bottom
of the planter bin, before adding the soil.
This is optional. The bottom of the planter
bins have raised features denoting the
drainage layer line.
TIP: Why add a drainage layer? Some
people do this to help prevent root rot.
What this does is create a small water
reservoir below the soil line. As the plant
roots will prefer to stay in the soil above,
they won’t sit in accumulated water, where
they can potentially grow root fungus.
The water in the lower drainage reservoir
will eventually evaporate up through the
soil, keeping the soil moist. If the planter
has a drain hole placed 1-1/8 inch from the
bottom, a one inch water reservoir can
be maintained and the layer of drainage
material will minimize soil being washed
through the hole.
5/16” (8mm)
Drill Hole
Recommended Drainage Hole
1-1/8”
(29 mm)
IMPORTANT:
FACE THIS WAY FRONT. Ensure the
drain holes are placed front facing on
the hangers so water drains into each
bin below, in a cascading fashion, as
shown in the illustration. Otherwise,
water drainage will occur on the ground
(or floor) below.
FACE DRAIN HOLES TO THE FRONT
AND ON ALTERNATING SIDES
(CASCADING DRAINAGE)
Drain Plug
Drainage
Layer Line

Owner & Safety Manual
D. OLVG-315.000.V0
En-9 OUTLAND LIVING - OWNER & SAFETY MANUAL - VERTICAL GARDEN - FERNIE
SECTION 2: PLANTER GARDENING (continued)
SECTION 3: SET UP INSPECTION
SEQUENCE
SOIL BUDGET ASSUMPTION:
The dimensions of the planter bins are approximately
22”L x 8”W x 6”H (555mmL x 205mmW x 150mmH)
Add your preferred volume of Potting Soil Mix. (Soil not included).
Plan your budget for 12L (10.6 Quarts) of soil mix per bin and/or
adjust the volume of soil to suit your need.
WATERING FEATURE
The OUTLAND Living vertical garden planter bins will rotate on the
support pegs to make watering your plants easy and convenient.
The Vertical Garden should be inspected before use and at least
annually. More frequent cleaning and/or adjustments may be
required as necessary.
Prior to each use:
• Ensure placement is on a level and firm surface able to hold the
fully loaded weight of the frame, which is approximately
45-60kg (100-130lb).
• Ensure no parts are missing and all fasteners are firmly
tightened.
SOIL BUDGET/1 BIN SOIL BUDGET/4 BINS
0.4 cubic feet (ft3)1.6 cubic feet (ft3)
0.02 cubic yard (yd3).08 cubic yard (yd3)
10.6 Imperial Quarts 42.4 Imperial Quarts
12 Litres (L) 48 Litres (L)
CAUTION:
Do not tip the planter so far up that the bins fall out!
FEATURE: ROTATING BINS
MAKE WATERING EASY
AND CONVENIENT
22”
555mm
8”
205mm
6”
150mm

En-10
1-888-514-1663 | WWW.OUTLANDLIVING.COM
SECTION 4: MAINTENANCE
Your Outland Vertical Garden is meant for indoor or outdoor use
and requires periodic maintenance to keep it in good condition.
• Should any part of this appliance become soiled or dirty, wipe
down with a damp wet cloth.
IMPORTANT: Do not use petroleum based, flammable or
corrosive cleaning products on or near this unit.
• Should you experience water dripping from the drainage holes
in ways which are obviously unintended, or detrimental to your
home, we recommend the following trouble shooting:
i. confirm the vertical garden is sitting level
ii. confirm each bin is sitting level on the bin hanger
iii. confirm each drainage hole is positioned above the bin
below
iv. confirm your lovely plants aren’t redirecting flow
v. If you’ve exhausted the above and pesky water seepage
is still finding its way (because we all know it sometimes
does!), we recommend to find a small piece of hose
or tubing to fit snugly inside the problematic drainage
hole(s). Align the tubing so the flow of dripping water
actually falls where you want it to fall.
This appliance is NOT a toy.
WARNING:
Do not climb on the Vertical Garden or use it as a ladder or
serious injury, property damage and/or death may occur.
WARNING:
Do not drag or push the Vertical Garden with fully loaded
planter bins! At worst, the frame could fall, causing serious
injury, or death. At minimum, it could damage your floors.
Always remove the planter bins before moving the frame.
SECTION 5: STORAGE
Your Vertical Garden has been designed to conveniently store away
when not in use.
• We recommend to store your Vertical Garden under cover
during winter, or when not in use.
Follow these instructions to ready for storage:
• Remove plastic Planter Bins from frame.
• Set aside the bin hanger brackets.
• Remove Rear Legs.
• Store conveniently. See you next season.
IDEAS FOR WHAT TO GROW
THIS LIST OF RECOMMENDED CROPS FOR YOUR
VERTICAL GARDEN IS BY NO MEANS COMPLETE,
BUT SHOULD HELP PROVIDE SOME IDEAS TO START
YOUR GREEN THUMB:
HERE IS A LIST OF ANNUALS FLOWERS WHICH YOU
MAY LIKE TO TRY IN YOUR VERTICAL GARDEN:
Note that plants grown in containers typically need to be watered
more frequently than plants grown in the ground. We recommend
to monitor your soil moisture and water regularly.
For best results, consult your local nursery for gardening tips when
purchasing your garden materials.
• Lettuce (leaf varieties)
• Spinach
• Radish
• Arugula
• Baby Carrots
• Beets
• Chard
• Onions (Green, Scallion)
• Asian Greens (Tatsoi, Pak
Choy, Mizuna, Gai-lon)
• Determinate (bush) tomato
plants (small cherry
tomatoes, salad varieties)
• Herbs (Basil, Thyme,
Tarragon, Rosemary,
Oregano, Cilantro, Dill,
Savory, Mint, Sage, Chives,
Bay, Parsley, Coriander,
Sorrel, Lemongrass)
• Alyssum
• Begonia
• Browallia
• Coleus
• Geraniums
• Impatiens
• Latana
• Lobelia
• Marigolds
• Periwinkle
• Nasturtiums
• Pansies
• Petunias
• Salvia
• Sanvitalia
• Snapdragons
• Thunbergia
• Zinnias

Owner & Safety Manual
D. OLVG-315.000.V0
E n -11 OUTLAND LIVING - OWNER & SAFETY MANUAL - VERTICAL GARDEN - FERNIE
STOP:
Do not return this product to the store.
If you need help or parts, call the OUTLAND Hotline: 1-888-514-1663
Get help for:
Missing/damaged parts • Assembly • Troubleshooting • Warranty Assistance • Product Information
1 YEAR LIMITED WARRANTY
Customers in Canada and USA
All components are warranted by the manufacturer for a period of 1 year after date of purchase by
the original owner against defects in materials and workmanship under normal use. This warranty
does NOT cover normal wear and weathering, assembly and/or maintenance OR use in a commercial
application. At FMI Brands’ sole discretion, products under warranty will be repaired and/or replaced
at no charge to the customer. Any returns sent back to FMI Brands must be sent via prepaid freight
and in the original retail packaging.
Please register your OUTLAND Living product for proof of purchase and warranty at
http://outlandliving.com/register-products/
For more warranty information and details please contact FMI Brands Inc. at info@outlandliving.com
FOR REPLACEMENT PARTS AND ACCESSORIES PLEASE VISIT
WWW.OUTLANDLIVING.COM
The owner’s manual is available as a free download from www.outlandliving.com
Should you have any questions or comments regarding this product, please do not hesitate to contact FMI Brands Inc. at (888) 514-1663 or
This manual suits for next models
1
Other FMI Lawn And Garden Equipment manuals
Popular Lawn And Garden Equipment manuals by other brands

Gainsborough
Gainsborough K755 manual

SMORACY
SMORACY Bandit Beast Recycler manual

Wiedenmann
Wiedenmann TERRA SEED Translation of original operating instructions

Briggs & Stratton
Briggs & Stratton 1694919 Operator's manual

Echo
Echo HC-150 - 04-06 1 Operator's manual

Arboria
Arboria Casablanca Assembly instructions