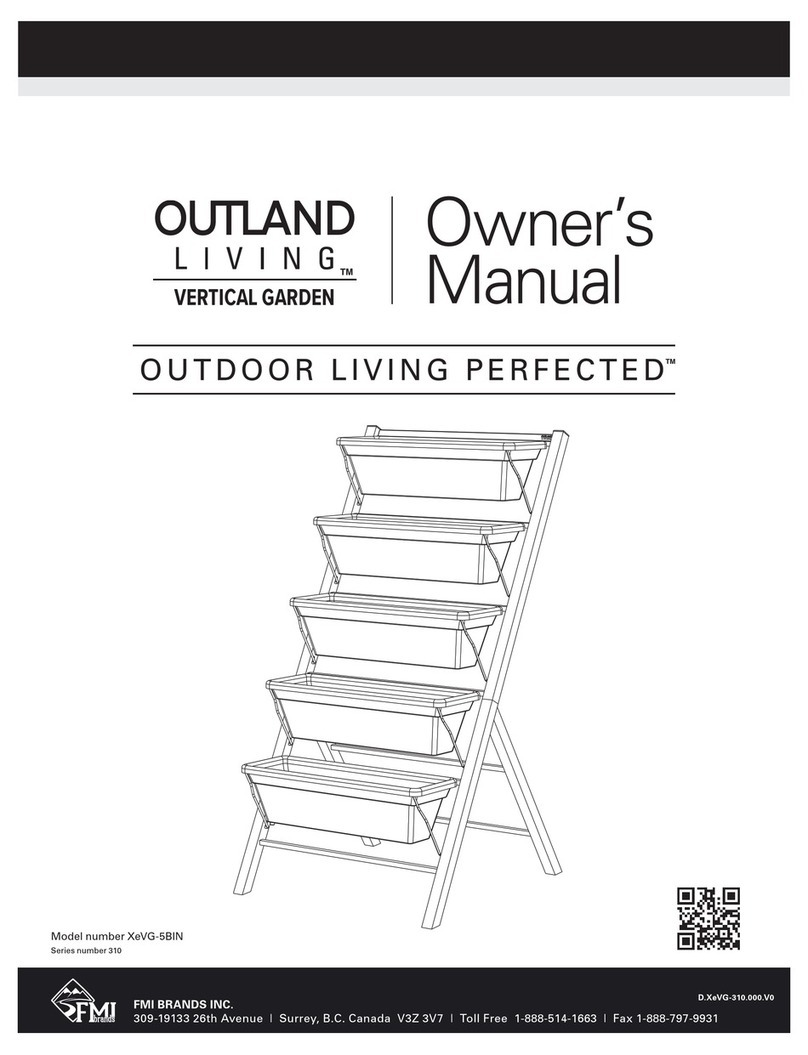
FMI Outland Living Savona User manual

Model: OLVG-326
D.OLVG-326.000.V0
FMI BRANDS INC.
107 – 19052 26 Avenue | Surrey, B.C. Canada V3Z 3V7 | Toll Free 1-888-514-1663 | Fax 1-888-797-9931
Outland Living is a registered trademark of FMI Brands Inc. The OUTLAND Flame mark is a registered trademark of FMI Brands Inc.
OWNER’S MANUAL
Patio Tomato Garden

En-2
Owner & Safety Manual
®
D.OLVG-326.000.V0
OUTLAND LIVING OWNER & SAFETY MANUAL
Model number OLVG-326
NOTE TO INSTALLER:
Leave this guide with the consumer.
NOTE TO CONSUMER:
Please retain this guide for future use.
WARNING:
Improper installation, adjustment, alteration, service or
maintenance can cause injury or property damage. Read the
installation, operating and maintenance instructions thoroughly
before installing or servicing this equipment.
CAUTION:
Watch for sharp edges.
Wear protective gloves if necessary.

En-3
1-888-514-1663 • WWW.OUTLANDLIVING.COM
SUPPLIED PARTS & HARDWARE LIST:
PART # DESCRIPTION PICTURE
1Planter Base
(x1)
2
Planter
Support Tube
(x4)
3Planter Bag
(x1)
4Threaded Foot
(x4)
PART # DESCRIPTION PICTURE
5
Planter Bag
Support Ring
(x1)
6
Vertical
Support
Tubes (x20)
7Middle Ring
(x4)
8Top Ring (x1)
9Wrench (x1)
10
Roll of hook-
and-loop
fastener

En-4
Owner & Safety Manual
®
D.OLVG-326.000.V0
OUTLAND LIVING OWNER & SAFETY MANUAL
SECTION 1: ASSEMBLY
STEP 1a
Remove all components from the packing box. Ready the
planter base (part 1), 4x planter support tubes (part 2) and 4x
threaded feet (part 4).
STEP 1b
Spin the nuts on the 4x feet all the way down to the base of
the threaded stems.
Nut
STEP 2a
Insert (x1) planter support tube (part 2) into the planter base.
STEP 2b
Screw in (1x) threaded foot (part 4) to attach the support tube
to the base. Screw the foot all the way in to snug up the tube.
For now, keep the connection firm, but finger tight.
STEP 2c
Repeat steps 2a and 2b for the remaining (x3) planter support
tubes and (x3) threaded feet.
ASSEMBLY TIP: Set the planter base on its side so that it is
easier to install the support tube and threaded foot to the
base.
Threaded foot (4)
Note that the spring button
should face inward and that
the planter support tube is
designed to only fit one way

En-5
1-888-514-1663 • WWW.OUTLANDLIVING.COM
SECTION 1: ASSEMBLY (continued)
STEP 3
Stand the base assembly on its feet.
STEP 4
Install the planter bag (part 3) by sliding the loops down, over
the planter support tubes.
Planter Bag (3)

En-6
Owner & Safety Manual
®
D.OLVG-326.000.V0
OUTLAND LIVING OWNER & SAFETY MANUAL
SECTION 1: ASSEMBLY (continued)
STEP 5a
Install the planter bag support ring (part 5).
STEP 5b
Attach planter bag grommets over the planter support ring
hooks.
Planter Bag Support Ring (5)
Planter Support Ring Hook
Planter Bag
Grommet

En -7
1-888-514-1663 • WWW.OUTLANDLIVING.COM
SECTION 1: ASSEMBLY (continued)
STEP 6a
Place the base and bag assembly in the location and direction you wish to display your garden. It may be necessary to adjust
the feet so that the base is level and not wobbly.
NOTE: To adjust and level the feet, turn the foot counterclockwise until it contacts the floor, then spin the nut up to tighten.
STEP 6b
Once the feet are adjusted and the base is level, tighten the four nuts using the supplied wrench (part 9).
STEP 7
Install (x4) vertical support tubes (part 6). Ensure that the
spring buttons are facing inwards.
NOTE: Push down hard enough so that the spring button
from the level below fully snaps into place. You may need
to wiggle and adjust the tube position to allow the spring
button to pop through the hole in the vertical support tube.
Vertical Support Tube (6)

En-8
Owner & Safety Manual
®
D.OLVG-326.000.V0
OUTLAND LIVING OWNER & SAFETY MANUAL
SECTION 1: ASSEMBLY (continued)
STEP 8
Install (x1) middle ring (part 7).
STEP 9
For each level, repeat steps 7 and 8. Each level will require
an additional (x4) support tubes and (x1) middle ring. Always
ensure the spring buttons are facing in and engaging the
holes.
NOTE: Your tomato garden is five stages high and comes
with 4 middle ring levels and one top ring.
Middle Ring (7)

En-9
1-888-514-1663 • WWW.OUTLANDLIVING.COM
SECTION 1: ASSEMBLY (continued)
STEP 10
For the fifth and final stage, place the top ring over the last
four support tubes (part 8). Ensure the spring buttons are
engaging the holes.
Top Ring (8)
Congratulations! Your Patio Tomato Garden is now ready for
use!
TIP: Locate the garden where it will be displayed BEFORE
filling with dirt. Make sure the garden is standing level.
Adjust feet, as necessary. Then, fill with dirt. Plant. Enjoy.
Harvest!

En-10
Owner & Safety Manual
®
D.OLVG-326.000.V0
OUTLAND LIVING OWNER & SAFETY MANUAL
SECTION 2: PLANTER GARDENING
APPROXIMATE DIMENSIONS
The dimensions of the planter bag are approximately 500 mm
diameter x 400 mm high (19.7” diameter x 15.75” high).
SOIL BUDGET ASSUMPTION
Add your preferred type and volume of potting soil mix. (Soil not
included). Plan your soil budget for 75L (20 Gal) of soil mix and/or
adjust the volume of soil to suit your need.
SOIL BUDGET
75 Litres (L)
20 US Gallon
2.67 cubic foot (ft3)
.1 cubic yard (yd3)
.075 cubic meter (m3)
TRAINING AND TYING YOUR CROP
You may use string, or twine, to lift and guide your plants, as they
grow.
TIP: Use OUTLAND brand hook- and- loop fasteners as a
convenient way to tie your stems, leaves
and fruit to the garden frame. A starter roll
is included with your garden. Use scissors
to cut strips to length. Order more supplies
from outlandliving.com
If you have a super green thumb and you’ve got a bumper crop of
indeterminate tomatoes that needs more height you can order a
533 mm (21”) two stage height extension accessory kit for your
tomato garden from outlandliving.com.
Some people may want to place a wood or bamboo pole, or metal
stake, in the middle of the tomato garden to tie the crop to. This is
optional and preferential.
USES FOR THE OUTLAND PATIO TOMATO GARDEN
Determinate Tomatoes
Generally, the ‘determinate’ tomato plant, or ‘bush’ tomato plant,
will only grow to a maximum height of about 4ft. They have a
short growing season, with one harvest. One example is ‘Cherry’
tomatoes. Check other varieties with your local nursery.
Indeterminate tomatoes
The indeterminate tomato plant keeps on growing and producing all
summer long. As a ‘vining’ tomato they can grow up to 20ft long! If
you let them. These tomato varieties are usually the larger type like
‘Beefsteak’ tomatoes. Check other varieties with your local nursery.
Visit outlandliving.com to purchase a 533 mm (21”) 2-stage height
accessory extension for your tomato garden.
OK, so what other types of fruit and vegetables could you grow in
this garden if you wanted to? How about:
• Indeterminate Tomatoes
• Determinate Tomatoes
• Cucumbers
• Squash
• Melons
• Peas
• Beans
Order more tomato gardens from outlandliving.com
DIA. 500 mm (19.7”)
400 mm (15.75”)

E n -11
1-888-514-1663 • WWW.OUTLANDLIVING.COM
SECTION 3: SET UP INSPECTION SEQUENCE
The tomato garden should be inspected before use and at least annually. More frequent cleaning and/or adjustments may be required as
necessary.
Prior to each use:
Ensure the tomato garden is placed on a level and firm surface able to hold the fully loaded weight of the frame and harvest. The actual
weight will vary, depending on the type of soil used, how moist the soil is and how much crop weight is present. A reasonable forecast is
approximately 100 - 136 kg (220 - 300 lbs).
• Ensure no parts are missing and all fasteners are firmly tightened.
SECTION 4: MAINTENANCE
Your Outland Patio Tomato Garden is meant for indoor or outdoor
use and requires periodic maintenance to keep it in good condition.
Do not over-water. Too much water can drown your plants or
promote root and stem rot. Consult your local plant nursery for
specific information about your garden’s needs.
The felt grow bag material is breathable, which is healthy for your
garden root structure. If the soil becomes oversaturated with water,
the felt bag may leak brown water. This is normal. We recommend
placing a drip tray, or mat, under the base
To control rainwater exposure, we recommend locating the tomato
garden under eaves, or awnings. If there is a chance that the
garden may become over saturated with water, or rainwater, we
recommend placing a drip tray, or mat, under the base.
Should any part of this appliance become soiled or dirty, wipe
down with a damp wet cloth.
SECTION 5: STORAGE
Your Patio Tomato Garden has been designed to conveniently store away when not in use.
We recommend storing your Patio Tomato Garden under cover during winter, or when not in use.
Follow these instructions to get ready for storage:
• Remove the top ring, middle rings, and vertical support tubes. Set aside.
• Remove the Planter Bag from frame.
• Store conveniently. See you next season.
IMPORTANT:
Do not use petroleum based, flammable or corrosive cleaning
products on or near this unit.
This appliance is NOT a toy.
WARNING:
Do not climb on the Patio Tomato Garden or use it as a ladder
or serious injury, property damage and/or death may occur.
WARNING:
Do not drag or push the Patio Tomato Garden with a fully
loaded planter bag! At worst, the frame could fail, or fall,
causing serious injury, or death. At minimum, it could damage
your floors.

En-12 D.OLVG-326.000.V0
Owner & Safety Manual
OUTLAND LIVING OWNER & SAFETY MANUAL
®
FOR REPLACEMENT PARTS AND ACCESSORIES PLEASE VISIT
WWW.OUTLANDLIVING.COM
This Owner’s Manual is available as a free download from www.outlandliving.com.
Should you have any questions or comments regarding this product, please do not hesitate to contact FMI Brands Inc.
at (888) 514-1663 or E-Mail to info@outlandliving.com
STOP
Do not return this product to the store.
If you need help or parts, call the OUTLAND Hotline: 1-888-514-1663
Get help for:
Missing/damaged parts • Assembly • Troubleshooting
• Warranty Assistance • Product Information
1 YEAR LIMITED WARRANTY
Customers in Canada and USA
All components are warranted by the manufacturer for a period of 1 year after date of purchase
by the original owner against defects in materials and workmanship under normal use. This
warranty does NOT cover normal wear and weathering, assembly and/or maintenance OR use
in a commercial application. At FMI Brands’ sole discretion, products under warranty will be
repaired and/or replaced at no charge to the customer. Any returns sent back to FMI Brands must
be sent via prepaid freight and in the original retail packaging.
Please register your OUTLAND Living product for proof of purchase and warranty at
https://outlandliving.com/register-products/
For more warranty information and details please contact FMI Brands Inc. at
info@outlandliving.com
This manual suits for next models
1
Table of contents
Other FMI Lawn And Garden Equipment manuals