Fobitec WS-2 User manual

User Manual for indicator WS-2
www.fobitec.gr –info@fobitec.gr
Tel. 0030 2310 795686
Fax. 0030 2310 795687
INDUSTRIAL AREA OF SINDOS THESSALONIKI 57022 P.O. BOX 1217 GREECE

1
CONTENTS
PROLOGUE..................................................................................................................................................3
USEFUL INFORMATION............................................................................................................................3
DESCRIPTION OF INDICATOR WS-2.....................................................................................................4
KEYBOARD FUNCTION.............................................................................................................................5
SYSTEM PARAMETERS........................................................................................................6
“Ad.FiLt”: ADC Filter, Converter filter AD...................................................................6
“Ad.GAIn”: ADC Gain, Converter gain AD.................................................................6
“Ad.noiS.”: ADC noise, Noise level at the load cell input.......................................6
“Ad.driF.”: ADC thermal drift correction......................................................................7
“dec.Pnt.”: Decimal Point position in weight display................................................7
“reSoL.”: Last digit Resolution in weight display.......................................................7
“d.FILt.”: Display Filter ..................................................................................................7
“Pr.Out.n.” (product outputs number).........................................................................7
“Zer.O.Id”: Zero Output ID............................................................................................8
“C.E. O.Id”: Cycle End Output ID................................................................................8
“Zer.dEL.”: Zero Output Delay.....................................................................................8
“SAFE.ti.”: Safe Emptying Time..................................................................................8
“bAtCH”: Batch Mode....................................................................................................9
“bat.PAU”: Batch Pause...............................................................................................9
“Comm.”: Communication Mode...............................................................................10
"PASS": Password, User access to critical operations ........................................10
“rESEt”: Reset, Restoring parameters in initial settings.......................................10
USER PARAMETERS...........................................................................................................11
“For. 1” ... “For. 12”: Formula 1 ... Formula 12. ......................................................11
“P._____”: Maximum “empty scale” weight,.............................................................11
"P.-----": Maximum allowed scale weight....................................................................11
"PAUSΕ": Pause between product outputs...............................................................11
"FALL": Product in fall,.................................................................................................11
“FILtEr”: Filter,...............................................................................................................12
“A.tArE”: Auto Tare.......................................................................................................12
“CLOCk”: Clock............................................................................................................12

2
“HIStor.”: History..........................................................................................................12
TARE ZERO ...........................................................................................................................12
WEIGHT CALIBRATION ......................................................................................................12
AUTOMATED WEIGHING COUNTER ..............................................................................13
ERROR CODES.........................................................................................................................................13
BASIC TECHNICAL CHARACTERISTICS OF THE UNIT WS-2.......................................................15
DIAGRAM 1.........................................................................................................................................16
DIAGRAM 2.........................................................................................................................................17
DIAGRAM 3: CONNECTION OF OUTPUT UNIT EXPANSIONS WSXT-2..............................18
BASIC TECHNICAL CHARACTERISTICS OF WSXT-2 UNIT...........................................................18

3
PROLOGUE
Thank you very much for choosing our electronic weighing scale. In order to use this scale
properly, we would like to ask you to read these instructions manual carefully.
USEFUL INFORMATION
-The indicator should be placed in a dry place in order to be protected from rain and from
getting wet, and also from sun exposure for a long period of time.
-The indicator should be placed safely on its base or on a desk. Pay attention, as the
screen can get damaged from falling.
-The keyboard should be cleaned only with a dry cloth (DO NOT USE ANY CHEMICAL
SUBSTANCES)
-The keys are designed to be pressed by hands and you should never use them with any
other object.
-The scale that is connected to the indicator, should be placed in a stable and flat surface,
protected by air, streams, vibrations (and by water, if the scale is placed in an open
environment).
-You should never place weight on the scale higher than the MAXIMUM WEIGHT VALUE.
-You should never perform any welding, if you haven‟t removed earlier all the electronic
accessories (indicator - load cells - printer).
-For the best protection of the indicator, it should always be off when it is not used and also
protect it from over voltages during electric power feeding.
-Turn on the scale 5‟ before use.
-For any additional information or problem of the scale you should contact the customer
service.

4
DESCRIPTION OF INDICATOR WS-2
1) 6 digit LED display
Display of weight: “-99999” .. “999999” with adjusted decimal point.
Display of parameters, messages, etc.
2) The dot at the bottom right of the display LED serves as an indication of “instability” of the
weight indication. For as long it is on, the weight measurement is unstable.
3) The LED „1‟,‟2‟,‟3‟,‟4‟ show the current condition of the four relay outputs of the machine.
The LED “O.K.” and “START” show the condition of control input “START”/”STOP”.
When the “STOP” connection is off (see Connections), the LED “O.K.” is turned on, when the
“START” connection is off, the LED “START” is turned on. The LED “START” blinks when the
“START” connection is on but the weighing operation is on as well.
4) Keys “MENU”, “ENTER”, “NEXT”, “UP”, “DOWN”

5
KEYBOARD FUNCTION
In the majority of operations, the keys have the following functions:
MENU:
Enter / exit the menu of parameters adjustment, cancelation of numerical alteration, return a level
back to the menu structure, temporary pause/ cancelation of the weighing process.
Equipped with LED, which lights up / flashes according to the user‟s operations.
ENTER:
Selection of function / parameter, validation of selection / number, passing to the next parameter.
Equipped with LED, which lights up / flashes according to the user‟s operations.
NEXT:
Change of the way of numbers‟ alterations, passing to the next digit during the number change
process. When the process begins, the displayed number can be altered using the keys UP /
DOWN.
It‟s also used to see/delete the automated weighings counter.
DOWN / CAL (calibration) :
Previous menu selection, digit / number reduction during the process of number alteration.
Weighing calibration (CALIBRATION) when the system is at weighing mode and it is allowed
(see system parameter “PASS”).
UP / TARE:
Next menu selection, digit / number increase during the number alteration process. Tare zeroing
(TARE) when the system is at rest.

6
SYSTEM PARAMETERS
“SYS.Par.”: System parameters
System parameters are set on the menu “SYS.Par.”, on which we have access when it is at
weighing mode and we press the keys “NEXT” and “MENU” simultaneously for 7 seconds. This
menu consists of critical parameters for the function of the indicator.
“Ad.FiLt”: ADC Filter, Converter filter AD
The higher it is, the lower the weighing sample rate per second. This means that the higher it is
the more „unconscious‟ is the indicator in small or abrupt changes.
Value: 0 .. 3 Default: 1
adc filter : Hz
0 : 16.7
1 : 10
2 : 8,35
3 : 5
“Ad.GAIn”: ADC Gain, Converter gain AD
It takes two values 0 και 1. It must be 0 if the load cells connected have sensitivity higher or
equal to 20mV/V, while it must beι 1 if the load cells connected have sensitivity lower or equal to
10mV/V.
Value 0 .. 1 Default: 1
0 : gain X 1
1 : gain X 128
“Ad.noiS.”: ADC noise, Noise level at the load cell input
It operates as a threshold for noise / microchanges rejection.
The higher the value the more „unconscious‟ the system becomes in microprojections, which
means it takes the measurement as „stable‟ easier, at the same time though the response time
increases in small weight changes.
It is influenced by the previous parameter System Parameter ADC Gain. Suggested values for
ADC Gain==0 are 2...15 while for ADC Gain==1 it is 30...100
Value: 1 .. 250 Default: 10

7
“Ad.driF.”: ADC thermal drift correction,
Thermal drift correction for the converter AD
Displayed units per second
Value: 0,0 .. 1,0 Default: 0,0
When it is higher than 0, it eliminates the very slow changes in the indication that usually
happens due to the thermal drift of the load cell and the converter AD. For example, if it is 0,2 it
eliminates the drift lower or equal to 0,2 units per second, which means 1 unit per 5 seconds,
while if it is 0,5 it eliminates 0,5 units per second, which means 1 unit per 2 seconds.
“dec.Pnt.”: Decimal Point position in weight display
Value: 0 .. 5 Default: 0
0 : “123456” …5 : “1.23456”
“reSoL.”: Last digit Resolution in weight display
Value: 1, 2, 5 Default: 1
“d.FILt.”: Display Filter
Weight Display Filter. With 0 value it is completely rejected and the display response in
alterations becomes more direct. Higher values will filter more microchanges but it will increase
the indication response time.
Value: 0 .. 10 Default: 5
“Pr.Out.n.” (product outputs number)
Definition of the number of relay outputs for products
Value: 1 .. 16 Default: 4
“P.1 O.Id”: Product #1 Output ID
Relay output serial number for product #1. If it is 0, there is no output for this material.
Value: 0 .. 4 Default: 1
“P.2 O.Id”: Product #2 Output ID
Relay output serial number for product #2. If it is 0, there is no output for this material
Value: 0 .. 4 Default: 2

8
“P.3 O.Id”: Product #3 Output ID
Relay output serial number for product #3. If it is 0, there is no output for this material
Value: 0 .. 4 Default: 3
“P.4 O.Id”: Product #4 Output ID
Relay output serial number for product #4. If it is 0, there is no output for this material
Value: 0 .. 4 Default: 4
“Zer.O.Id”: Zero Output ID
Definition of serial number of relay output that is activated when the value of the weight is zero. If
it is 0, it does not exist.
Value: 0 .. 4 Default: 0
“C.E. O.Id”: Cycle End Output ID
Definition of serial number of relay output that is activated when the declared formula is over. If it
is 0, it does not exist.
Value: 0 .. 4 Default: 0
“Zer.dEL.”: Zero Output Delay
Definition of delay of the relay output activation when the weight value is zero, in seconds.
Value: 0.0 .. 3600.0 Default: 1.0
“SAFE.ti.”: Safe Emptying Time
Definition of the minimum relay output time of the relay output that is activated when the selected
formula is finished, in seconds.
Value: 0.0 .. 3600.0 Default: 1.0
“FunCti.”: Function Mode
Value: 0 .. 3 Default: 0
0 : weighing formula
1 : comparator mode
2 : comparator mode with “outputs active before the weight completion”
3 : depletion function

9
Description of formulas functions (Silo):
We define the kilos of each product for example P1: 10 kilos, P2:5 kilos and P3: 20 kilos.
Once we set the system on, the output relay of product 1 is activated up to the kilos we have set
(10 kg in our example). When the kilos reach the set value, the output of the 1st relay is de-
activated and it arms the output of the 2nd relay until it reaches the kilos we have set (in our
example 10+5=15 kgs). Then when it reaches the value we have set, the system de-activates
the 2nd relay and activates the 3rd relay until it reaches the value that we have set in P3. The
final weight is equal with the sum of all the products we have set (in our example 10+5+20=35
kgs).
Description of comparator function (Bagging):
We define the set points for example P1: 10 kgs, P2:15 kgs. By pressing start in our
system, we don‟t have any relay output activated. When we reach the kilos that we have set in
P1 then the 1st relay output is activated and when we reach the kilos we have set in P2 the 2nd
output is activated at the same time as the 1st.If during this operation the weight value fluctuates
the respective relay output are activated or de-activated.
Description of comparator function with the outputs activated before the weight addition:
Similarly to the comparator function, only in this case the corresponding relay outputs at
the beginning, start activated and when it reaches the weight of the set points we have set, they
are de-activated.
Description of discharge operation:
Enables an output relay when we begin operation until a STOP is given manually or with
automation (if for example we use the activated output when the weight value reaches 0)
“bAtCH”: Batch Mode
Repeating weighing.
Value: 0 .. 1 Default: 0
When it is "1", the user inserts the number of automatic reps after the formula selection (formula).
“bat.PAU”: Batch Pause
Waiting time between repetitive weighing in seconds.
Value: 0.0 .. 25.0 Default: 0.0

10
“Comm.”: Communication Mode
Function of communication port (RS232)
Value: 0 .. 3 Default: 0
0 : without communication
1 : recording of weighing history,
printing of the last weighing with key selection „ENTER‟ at rest mode.
2 : recording of weighing history, automatic printing at the end of the weighing.
3 : Continuous transmission of data on display or computer, “repeater mode”.
The device sends one string a per 50msec in the following format:
[US/ST] ",GS," [+/-] [ weight] " kg" [LF]
where:
[US/ST] is 2 characters,
'US' when the weighing is unstable and
'ST' when it is stable
[+/-] is the sign of the weight measurement
[ weight] is the absolute weight value
numerical characters 0 to 9 and the dot '.' as the decimal point
[LF] is the character LINE-FEED ('\n'), end of line
Example: for stable weight 150,50 kg, the string will be
ST,GS,+ 150.50 kg
"PASS": Password, User access to critical operations
Value: 0 .. 1 Default: 1
When it is "1" it allows the user the access to critical functions / parameters.
“rESEt”: Reset, Restoring parameters in initial settings
We choose number, in accordance to what we want to reset / restore.
Value: 0 .. 5 Default: 0
0 : return
1 : tare / calibration (ZERO)
2 : formula and weighing history zeroing (when printing is on)
3 : Restoration of user parameters
4 : Restoration of system parameters
5 : Total restore, execution of all the above from 1 to 4

11
USER PARAMETERS
“USr.PAr.”: User Parameters
In the menu “Usr.Par.”we have access during the normal operation, when the system is at rest
mode (weight indication without operation of the weighing procedure) and we press briefly the
key "MENU".
“For. 1” ... “For. 12”: Formula 1 ... Formula 12.
The message “F. xx" appears on the screen (Formula xx: current formula number). We select
the formula we want to check / alter / operate with the keys “UP” / “DOWN”. We enter the formula
with the key “ENTER” and we check / alter the kilos of each product. We leave with the key
“MENU”, letting the formula that is on display to run.
“P._____”: Maximum “empty scale” weight,
It is not displayed when System Parameter Pass == 0.
When the weight on the scale is lower than this value, the scale is considered empty and it can
start / stop the weighing operation. It does not apply to “comparator” function.
Value: 0 .. 199990 Default: 0 (decimal point depending on setting)
"P.-----": Maximum allowed scale weight.
It is not displayed when System Parameter Pass == 0.
It must be set to the maximum permitted weight. When it is above that, the device displays
overload error.
Value: 0 .. 999999 Default: 999999 (decimal point depending on setting)
"PAUSΕ": Pause between product outputs.
It applies only in “weighing formula” operating mode.
It is not displayed when System Parameter Pass == 0.
Interval between stopping of the output of one material and the activation of the output of the
next material, in seconds.
Value: 0,0 .. 10,0 Default: 0,0
"FALL": Product in fall,
It applies only in “weighing formula” operating mode.
It is not displayed when System Parameter Pass == 0.
Quantity of material (per output) that falls further after the closing of the corresponding output.
Value: 0 .. 19990 Default: 0 (decimal point depending on setting)
12
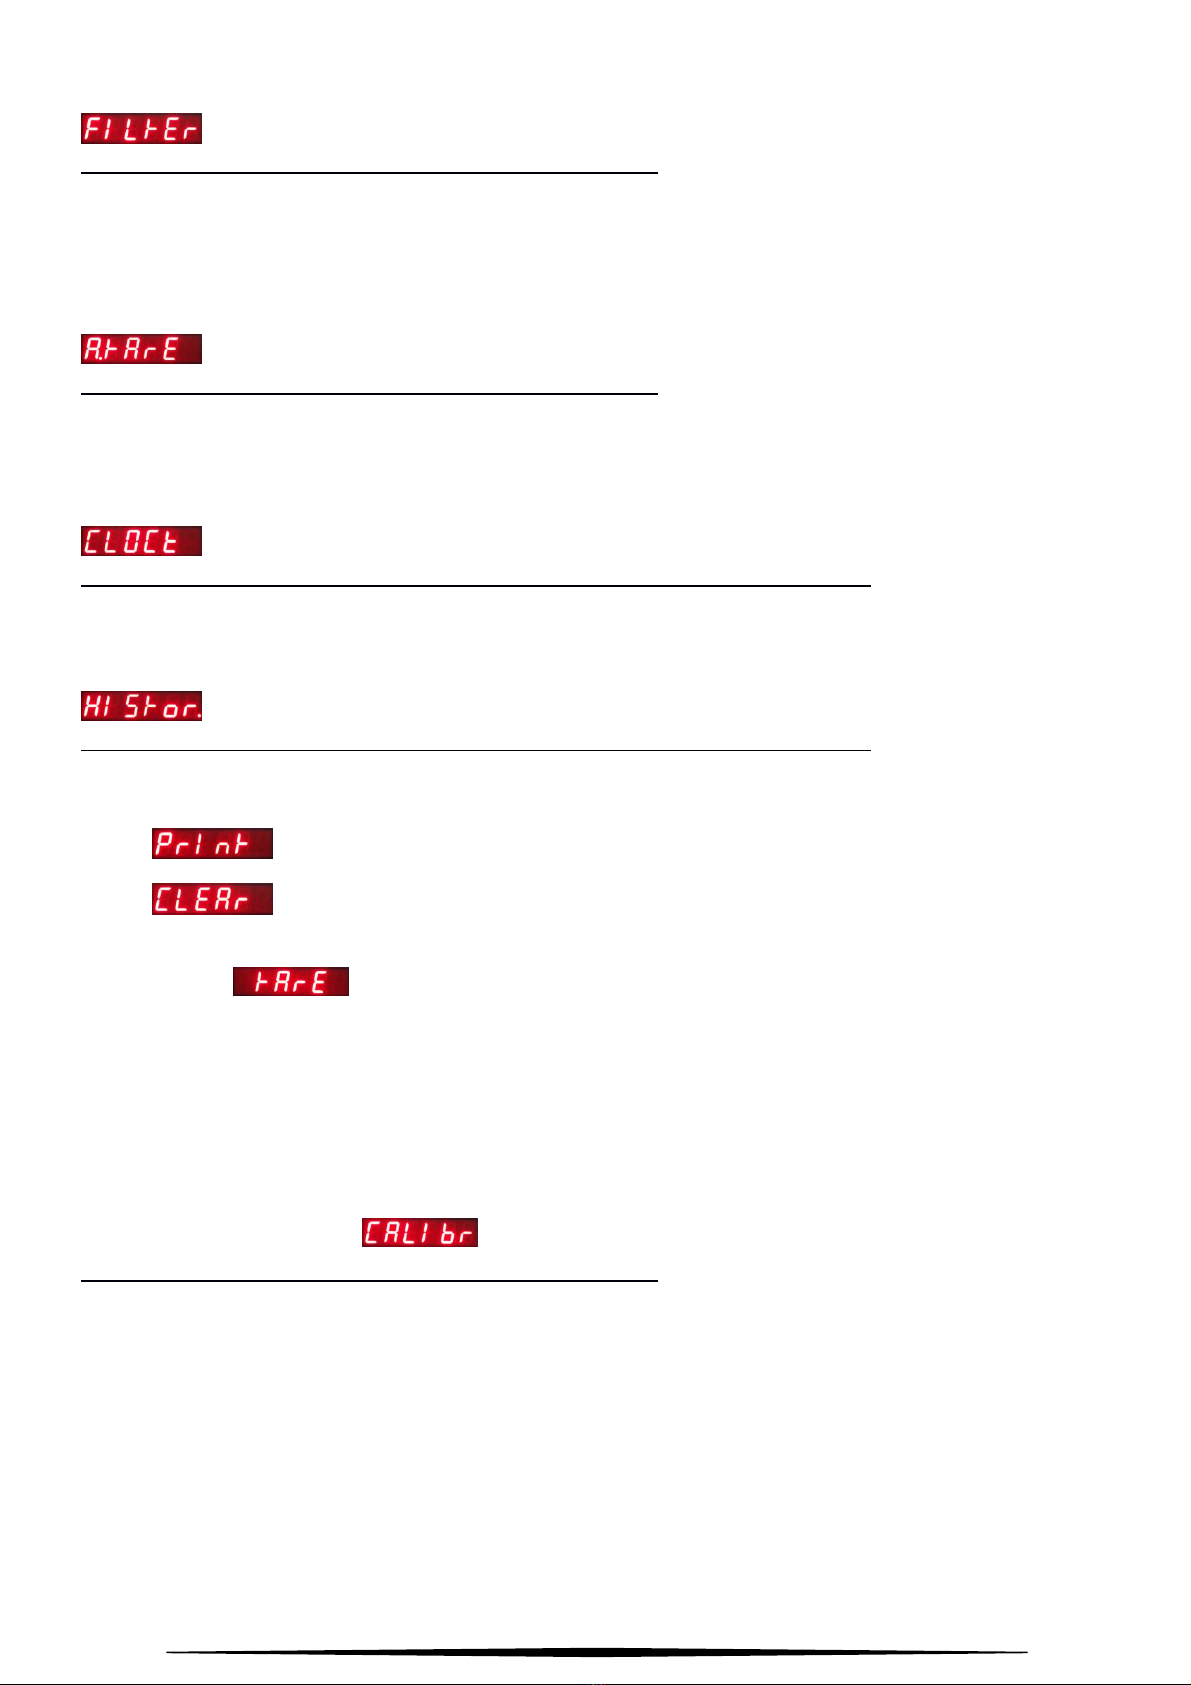
“FILtEr”: Filter,
It is not displayed when System Parameter Pass == 0.
Integration filter for algorithm approximation of weight and vibration / noise rejection, the higher it
is, the slower the weight approximation.
Value: 0 .. 10 Default: 1
“A.tArE”: Auto Tare.
It is not displayed when System Parameter Pass == 0.
When it is "1" automatic tare zeroing is done at the start of the weighing process.
Value: 0 .. 1 Default: 0
“CLOCk”: Clock
It is not displayed when printing is not On ( System Parameter Print == 0 ).
The user checks / corrects the time and the date of the device, which is useful in printing.
“HIStor.”: History
It is not displayed when printing is not On ( System Parameter Print == 0 ).
It leads to a sub-menu of 2 choices:
“PrInt”: Print, Printing of all saved weighings
“CLEAr”: Clear, Clearing of the saved weighings
TARE ZERO
When the system is at weighing mode, we press the “ARROW UP", the indication “tArE“
appears on the screen and then we press "ENTER" for validation or “MENU” for cancelation.
Alternatively, we press continuously “ARROW UP" for 1 second.
Tare (Zero) lasts from 1..3 seconds and the display turns zero. In case of weight instability or
overweight tare (inability to zeroing) there will be an error message (see below).
WEIGHT CALIBRATION
It is not displayed when System Parameter Pass == 0.
When the system is at weighing mode, we place on the scale a known weight (higher, if it is
possible, than the half of the maximum weight). With the weight display stable, we press
“ARROW DOWN",“CALIbr.” appears on the screen and then we press "ENTER". With the
keys “ΝΕΧΤ” / "UP" / “DOWN” we correct the display to the desired weight, and we press
"ENTER" ("MENU" for cancellation). In the case that the calibration is impossible we get an
error message (see below).

13
AUTOMATED WEIGHING COUNTER
The counter increases its value every time a successful automated weighing procedure start
occurs.
In order to be seen, the user should press for an instant the “NEXT” key, while the indicator
shows the current weight, or the scale is empty, or during an automated weighing procedure.
The indication shows “Cn xxx” for approximately 1.5 sec and then returns to the current weight
indication.
For the counter to be reset, the user either should press long(over 1.2 sec) the “NEXT” key while
the device is not executing an automated weighing procedure, or restart the indicator.
ERROR CODES
If the device detects any malfunction, the message “Er. X” appears on the screen, where X is
the code of the error.
By pressing “MENU” the error turns to zero and the device continues from where it stopped or it
performs a restart.
In many errors, some bad or incorrect connections are responsible so we recommend checking
of the wiring / topology connections.
#
Description
1
System Parameters Error
Possible reasons:
High instability of the power supply line.
Excessive electrical interference in the installation, poor cable shielding ground.
Power switching off at a critical time (during the correction of parameters).
Solution: Correction of system parameters.
2
User Parameters Error
Possible reasons: Similar to error 1.
Solution: Reset / Corrections of user parameters.
( System Parameter Reset = 3 )
3
Weight Calibration Error
Possible reasons: Similar to error 1.
Solution: Reset / Corrections of weight parameters.
( System Parameter Reset = 1 )
4
Formula Memory Error
Possible reasons: Similar to error 1.
Solution: Reset / Corrections of formulas.
( System Parameter Reset = 2 )

14
5
ADC Converter Error
Possible reasons: Similar to error 1.
Solution: If the problem persists after restart, it possible that the converter AD is
damaged.
6
System parameters of corresponding outputs error ( Output ID Error )
Possible reasons:
Some parameters that correspond to automation outputs with the Relay of the device
have a value error (overlays, two outputs addressed to the same Relay).
Solution:
Correction of system parameters.
7
External Output Boards Error
Possible reasons / Solutions:
If it appears during the start of the device the system parameters that may be wrong that
define the number of the total automation outputs.
If it appears randomly there is a problem with the wires.
8
Over-Weight Error
It appears when a formula has weight higher than the permitted one or in case that the
actual weight on the scale is over the limit.
9
Out of Range
During tare zeroing: Too much weight on the scale.
During calibration: Incorrect matching of the displaying parameters or gaining converter
AD.
10
Weight Instability
During tare zeroing.
11
Real Time Clock Error
Possible reasons: Similar to error 1.
Solution: Time / date adjustment.
12
Records Error
Possible reasons: Similar to error 1.
Solution: Resetting of records ( User Menu - History - Clear ).

15
BASIC TECHNICAL CHARACTERISTICS OF THE UNIT WS-2
Power Supply :
10 ... 24Vac, 10 ... 32Vdc (+/- 10% )
Maximum consumption:
500mA @ 10Vac / 10Vdc, 200mA @ 32Vdc / 24Vac
„LOAD CELL‟ :
Type of connection:
Power supply:
Sensitivity:
6or 4 cables
5Vdc ±5%, 120mA ( up to 8 load cells of 350Ω )
1,5mV/V ... 80mV/V
Outputs
Type:
Resistance:
4 * Relay, 2 * SPDT, 2 * SPST
3A @ 120Vac, 2A @ 32Vdc
Input
automation
„REMOTE‟ :
“START”/”STOP”:
“FORMULA SELECT”:
5Vdc / 10mA
5Vdc / 20mA
Serial port „SERIAL‟ :
RS232 bidirectional port @ 9600bps
Extension connections „EXP.‟ :
I2C 5Vdc / 20mA

16
CONNECTIONS
DIAGRAM 1
Thread “SERIAL”: Connection of serial port RS-232.
Thread “EXP.”: Connection of expansion units
Thread “LOAD CELL”: Connection of load cell with 6 cables (compensates the weighing error
due to the cable).
Thread “REMOTE”: Connection of buttons START and STOP in the automation input. The
weighing procedure starts with an instant touch of START and instantly stops by pressing
STOP. Optional connection of formula selector.
Thread “SUPPLY”: Power supply connection, either AC from transformer, or DC from DC
power supply.

17
DIAGRAM 2
Thread “LOAD CELL”: Load cell connection 4 cables. The connections S-,S+ must be
bridged with the I-, I+ equivalently ( with short cables on the thread).
Thread “REMOTE”: Connection of switch START/STOP in the automation input. The
weighing procedure starts by turning off the switch and stops immediately by turning it on.
Optional connection of formula selector.
Thread “SUPPLY”: Connection of DC power supply, the negative pole is connected directly to
the „earth‟ of the device. This connection is recommended when other units are connected to
the same power supply or expansions units or other automation units that are connected with it.

18
DIAGRAM 3: CONNECTION OF OUTPUT UNIT EXPANSIONS WSXT-2
Up to three WSXT-2 units, which supply 4 Relay outputs each, can be connected. These units
can have the same power supply with the unit WS-2, if it is capable of supplying power to them.
They‟re controlled via the 3-pole terminal „EXP.‟ which the WS-2 displays, by connecting the
connections one by one, as they are numbered. The cable must be as short as possible and it
should not be running along the power cables, to prevent the possibility of being affected by
parasites.
The address in every unit WSXT-2 should be set by the microswitch „ADDRESS‟ as shown in the
diagram.
BASIC TECHNICAL CHARACTERISTICS OF WSXT-2 UNIT
Power Supply:
10 ... 24Vac, 10 ... 32Vdc (+/- 10% )
Maximum consumption:
100mA @ 10Vac / 10Vdc, 40mA @ 32Vdc / 24Vac
Outputs
Type:
Resistance:
4 * Relay SPST
3A @ 120Vac, 2A @ 32Vdc
Extension connections:
I2C 5Vdc
Table of contents
Other Fobitec Measuring Instrument manuals


