Focupix Grey1.8 Series User manual

Quick Installation Guide
Focupix Grey1.8TM High Gain-High Contrast Grey Electric Screen
Thank you for purchasing the Grey1.8TM Series High Gain-High Contrast Grey Electric
Screen. Focupix screen is your ideal solution for home theatre, conference room, classroom
and other projection needs. This guide will walk you through the screen basics and the easy
installation process.
1. Screen components
•Control panel is also the remote receiver.
How to distinguish between the IR and RF remote?
IR remote has 2 small LED light on the front, while the RF has 1 LED light.
2. Screen features
•Premium quality electric screen
•High Gain - High Contrast Grey screen surface gives you darker black and perfect
contrast level, without sacrificing the adaptability to your lighting environment
•18-inch user adjustable drop (* 8-inch adjustable drop on 130 inch 4:3 model only)
•Stylish, heavy duty metal screen case
•Easy-mounting design (no professional installation required)
•Long lasting, fire-resistant screen case and fabric
•Remote control provides ultimate convenience
•Premium Dual Remote: RF remote for long range control, and IR remote is ready to
be integrated with universal home theater learning remote
•Advanced anti-static fabric processing prevents dust accumulation
•Cleanable screen surface

3. Screen installation
The screen can be installed in 3 different ways with common household tools.
a) Wall mounting a) Ceiling mounting c) Rack mounting
•An optional bubble level is recommended for all installations.
•An optional stud-finder is recommended for wall and ceiling mounting.
4. Screen operations:
Warning: Operating the screen prior to properly mounting screen is prohibited. Such
Operation can cause permanent damage to screen and motor. Such damages are not covered
by warranty.
1) Operation: Please make sure the screen is mounted properly before operation. You can
now easily operate your screen with the 3 buttons of the two remote controls(IR and RF
dual remotes)or the remote receiver/control panel.
a) Press the “ ” button to pull down the screen, the screen will stop automatically
when itisfullyopened.
b) Press the “ ” button to roll back the screen, the screen will stop automatically when
it is fully closed.
c) Press the “ ” button to stop the screen at any position.
Note: When the screens is rolling back, if you want to pull it down again, you can press
the “ ” button and then press the“ ” button. Or you can also press the “ ”button
twice.
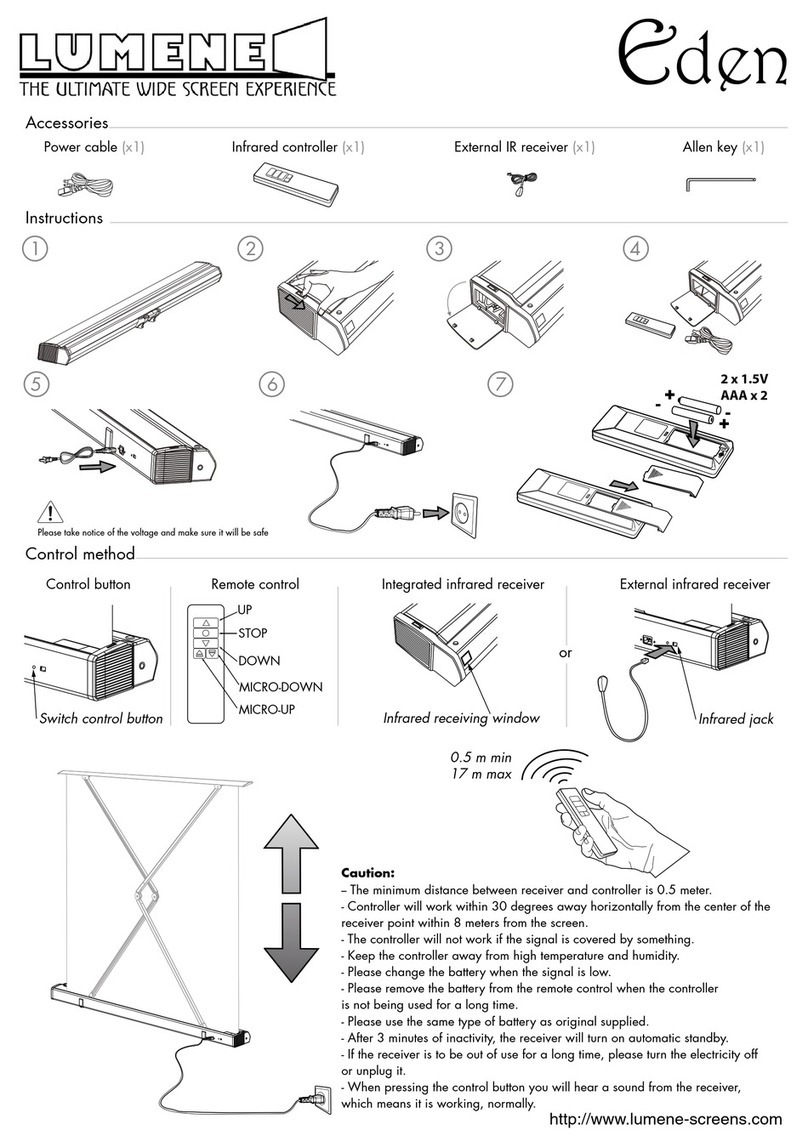
2) Dual remote operation: Each of the projection screens can be controlled by the included
dual remote system (IR or RF). Both remotes can be used to control the screen.
a) Replacing/adding remote control: If a remote control needs replacement, or you
simply need to add one additional remote control, please first press and hold the
stop key “ ” on the remote receiver for 5 seconds, and then press any key on the
new remote control, the new remote can now be used to control all screen
features.
b) Disable remote control: If you want disable all remote controls, press and hold the
stop key “ ” in the remote receiver for 15 seconds. Then no remote control can
control the projection screen. Use operation a) to enable remote control again.

5. User adjustable stop position:
(Feature also known as “user adjustable drop”)
The screen Top Limit and Bottom Limit position can be adjusted using a regular Philips
screwdriver, please see the illustration below
Top Limit is the stop line when using remote to fully close the screen.
Bottom Limit is the stop line when using remote to fully open the screen.
Trouble shooting:
1) If the screen is fully closed, but the screen can not stop rolling back action, please turn the
Top Limit screw clockwise to restore stop position.
2) If the screen is fully opened, but the screen can not stop pulling down action, please turn
the Bottom Limit screw counter-clockwise to restore stop position..
6. Power specification
110V 60Hz
a) Adjusting top limit - 1st make sure that screen is fully closed!
The screw for Top Limit adjustment:
a. Turn screw clockwise to lower the top limit;
b. Turn screw counterclockwise to raise the top limit.
b) Adjusting Bottom Limit – 1s
t
make sure the screen is fully opened!
The screw for Bottom Limit adjustment:
a. Turn screw clockwise to lower bottom limit;
b. Turn screw counterclockwise to raise bottom limit.

7. Safety instructions
•Warning: Improper handling on electric cause damage and personal injury. If you do
not feel comfortable performing installation or other operations related to screen
product, consult a qualified professional.
•Please handle with care during transportation and installation. Seek professional help
if are having problem in installation.
•Please do not fold the screen fabric. Keep screen surface away from sharp objects.
•Use only clear water and clean soft cloth for screen cleaning.
•Keep screen surface away from liquid, smog and chemical.
•Keep screen away from high temperature.
•Please store the screen in dry environment, be sure to clean the screen before storage.
8. Dimensions
Diagonal
(Viewable) Format A B C D L E F G H K M
80" 16:9
59.69 72.95 39.21 69.72 18.11 1.57 2.36 3.66 0.79 83.31 76.61
92" 16:9
65.59 83.43 45.12 80.20 18.11 1.57 2.36 3.66 0.79 93.39 78.82
100" 16:9
69.49 90.39 49.02 87.17 18.11 1.57 2.36 3.66 0.79 100.31 93.62
106" 16:9
72.44 95.55 51.97 92.40 18.11 1.57 2.36 3.66 0.79 105.79 99.09
120" 16:9
79.33 107.83 58.82 104.61 18.11 1.57 2.36 3.66 0.79 117.95 111.26
80" 4:3
68.46 67.24 47.99 64.02 18.11 1.57 2.36 3.66 0.79 77.32 70.63
90" 4:3
74.49 75.24 54.02 72.01 18.11 1.57 2.36 3.66 0.79 85.35 78.66
100" 4:3
80.47 83.23 60.00 80.00 18.11 1.57 2.36 3.66 0.79 93.39 86.69
110" 4:3
86.46 91.14 65.98 87.99 18.11 1.57 2.36 3.66 0.79 101.38 94.69
120" 4:3
89.33 95.98 68.86 92.83 18.11 1.57 2.36 3.66 0.79 105.79 99.09
130" 4:3
88.20 107.09 77.95 103.94 7.87 1.57 2.36 3.66 0.79 117.95 111.26
Table of contents
Popular Projection Screen manuals by other brands

Da-Lite
Da-Lite DESIGNER DA-TAB ELECTROL Instruction book
Elite Screens
Elite Screens DIY Wall 2 Series user guide
Elite Screens
Elite Screens VMAX Tab-Tension 3 Series user guide

Draper
Draper Envoy Installation & operating instructions
Celexon
Celexon HomeCinema CLR UST operating instructions

Grandview
Grandview CB-Mxx user manual

Elite Screens
Elite Screens AEON series user guide

Da-Lite
Da-Lite TENSIONED EXECUTIVE ELECTROL Instruction book

Synergy Global Technology
Synergy Global Technology ID-17A user manual

Celexon
Celexon Economy 1090019 operating instructions
displayit
displayit 1020A-01 General assembly instructions
RUSTA
RUSTA 626701380102 manual
