Order Express—Shelving
Assembly
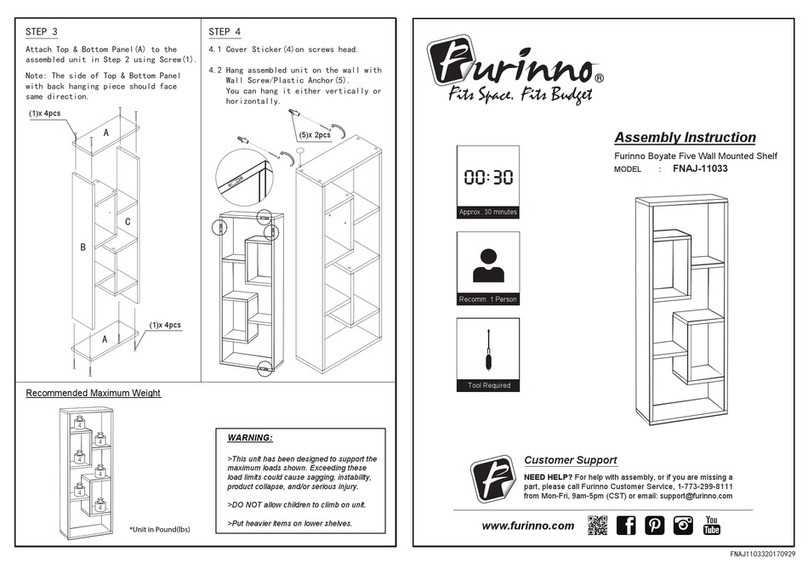
Step 3: Add Shelves
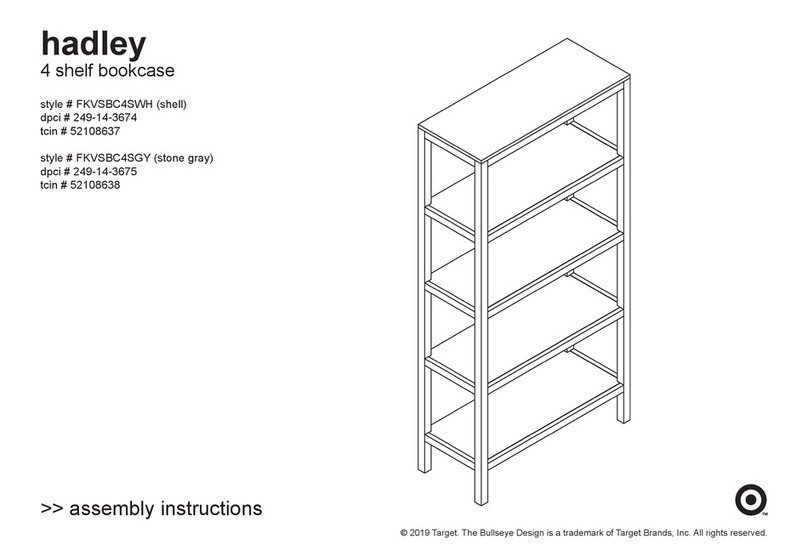
a. Slide the top shelf into place. It should be flush at the front and back and have
a slight gap on the ends. Using (6) #8 x 0.625” Phillips pan head screws fasten
the shelf into place. Repeat this for the other 3 shelves, working your way from
the top down to the boom.
Step 2: Assemble Frames
a. You should have 2 ladder frame ends and 3 stretchers. The
stretchers will have the 3/8‐16 x 2.5” Hex Head Cap Screw
threaded into them. Remove the hex head cap screws and
use them to assemble the frame.
b. Aach the stretchers to the ladder frames. You should have
2 at the top and 1 at the boom back.
Page 3 of 3
Step 4: Fasten Glides to the Floor
a. Rotate glides so that the mounng hole is poinng towards the center of the unit.
b. With a pencil, mark the hole locaon on the floor using the holes in the glide.
c. Turn the glide away 90 degrees from its current posion to expose the mark on the floor.
d. Using a hammer drill and a 1/4” masonry bit, drill a 1 1/4” deep hole on the pencil mark.
e. Place a plasc anchor in the hole and then rotate glide back so its hole lines up with the
plasc anchor in the floor.
f. Insert a #10 x 1.00” screw through the hole in the glide and se‐
cure into the plasc anchor.
Note: Take‐Out Order Shelving must be anchored to the floor to
maintain stability and prevent personal injury.
Big gap to angles
at the boom
