manuals.online logo
Brands
  1. Home
  2. •
  3. Brands
  4. •
  5. Fontana Showers
  6. •
  7. Plumbing Product
  8. •
  9. Fontana Showers BST-D627GM User manual

Fontana Showers BST-D627GM User manual

Plumbers Tape Tape Measure Adjustable Wrench
Screwdriver
Drill
Hex Wrench
Level
Pencil or Marker
Thread Sealant
*not included
POSSIBLE TOOLS REQUIRED*
Please read installation instructions below. All plumbing should be
installed in accordance with applicable building codes and regulations.
Unpack and inspect the items for any shipping damages. If you find
damages, do not install.
All products must be installed by a professional and certified plumber
otherwise warranty may be voided.
PRIOR TO INSTALLATION
FONTANA COMMERCIAL BRUSHED GOLD TOUCHLESS
AUTOMATIC SENSOR FAUCET & MANUAL SOAP
DISPENSER INSTALLATION INSTRUCTIONS
Product code:
BST-D627GM
1
FontanaShowers©
FontanaShowers©
FontanaShowers
FontanaShowers Customer Service: 800-684-4489
fontanashowers.com
All dimensions and specifications are nominal and may vary. Use actual products for accuracy in critical situations.
Technical Information
Power: DC:6V(4AA alkaline battery)
AC:220V-240V; 50/60HZ
Water Consumption: 0.05Mpa-0.6Mpa
Detection Zone: 16-32 cm or adjustable
Motor valve lifespan: up to 500000 flushes
Battery lifespan: 100000 cycles
Static Power Consumption: 0.36mw
Working Power consumption: 0.5mw
Inductive Opening Time: < 1 second
Inductive Closing Time: < 2 second
Dia.of inlet / outlet pipe: G1/2"
Flux: ≥0.07L/S
Temperature: 0.1-50°/C
Faucet Size
Max counter top thickness without
deck plate:
1.38”/35mm
Pre-drilled hole size requirements:
Min: 1.26”/32mm - Max: 1.38”/35mm
Hole Size Chart
Washer
Rubber Washer
Nut and locking bolts
Threaded Tube
Faucet Body
O ring
Faucet Deck Mount Installation Water Pipe Connection
Washer
Rubber
Washer
Nut and
locking bolts
Water
flexible pipe
Sensor Cable
O ring
FontanaShowers©
FontanaShowers©
FontanaShowers
FontanaShowers Customer Service: 800-684-4489
fontanashowers.com
2
Outlet
Inlet
This way up
G1/2
4.7 inch
5 inch
G1/2
1. Remove Control Box Cover
Remove all four screws in each corner of the control
box and remove the cover.
2. Remove Battery Box & Insert Batteries
Remove the battery case from the control box and
remove the screw from the center of the battery
case. Insert 4 AA batteries (batteries not included)
into the battery box ensuring they are inserted the
correct way.
3. Reinstall Battery Box & Control Box Cover
Re-install the battery box cover, matching the
alignment arrows together. Set the battery box back
into the control box, and re-assemble the control
box cover using the previously removed screws
ensuring they are all fully tightened.
Cover
Battery case
Battery Connector
Cover screws
Battery compartment
4a. Placement and Mounting Installation
Choose a location under the sink basin to mount the
control box, such that the sensor cable, flexible hose,
and incoming water supply all connect to the
control box. Under the sink basin, drill a hole
minimum 3/4” to fit the sensor cable and flexible
hose from the spout. Feed the sensor cable and
flexible hose through the hole.
Control Box Installation Instructions
FontanaShowers©
FontanaShowers©
FontanaShowers
FontanaShowers Customer Service: 800-684-4489
fontanashowers.com
3
4b. Mount the control box on the wall. Drill two 1/8"
(3mm) holes as shown, and push drywall anchors
into each hole. Secure the control box to the wall
with the drywall screws.
5. Connect The Sensor Cable
Plug the sensor cable from the faucet into the
control box to activate the infrared sensor.
6. Water Pipe Connections
Connect the incoming water supply line to the
control box, at the connection marked Inlet. Thread
on the swivel nut to the hose by hand. Tighten with
a wrench.
Connect the faucet hose to the control box, at the
connection marked Outlet.
Water Supply
Outlet Water Supply
Inlet
Please wait approximately 60 seconds after
connecting the sensor cable for sensor calibration to
complete and to begin using the faucet.
or
Temp. Control Thermostatic Mixer
Many automatic faucets do not have hot & cold
handles to adjust the water temperature coming
out of the spout, and normally installed to a single
water supply only. This valve is used for automatic
faucet to mix hot and cold water and to control
water temperature. Normally it would be mounted
under the sink with required temperature set.
Working Pressure: 0.05MPa-0.5MPa
Cold Water Temp: 0°C
Hot Water Temp: 85°C
Outlet Flow Rate: 20m3/h
Cold Water in
NPS male G1/2
Mixer Water out
NPS female G1/2
Hot Water in
NPS male G1/2
FontanaShowers©
FontanaShowers©
FontanaShowers
FontanaShowers Customer Service: 800-684-4489
fontanashowers.com
4
Battery (DC 6V) & AC 220V Control Box
Normal Water Connection Hot & Cold Water Connection
Battery (DC 6V) Only Control Box
1. Screw the hose into the corresponding screw-hole of the faucet body. Fix the O-ring into the
bottom groove of the faucet body.
2. Insert hose, threaded pipe, and sensor cable through the drilled hole of the countertop. Put
rubber washer and metal washer onto the threaded pipe, screwing in mounting nut. Adjust the
faucet body correctly and tighten the mounting nut with screws.
3. Install the control box to the faucet.
4. Then connect the battery cable to the control box.
5. Make Connections to water supplies. Turn on the water supply and flush water lines into a
container for one minute.
Important: This flushes away any debris that could cause damage to faucet internal parts.
6. Connect waterlines to angle stops. Turn on the angle stops and check for leaks (DO NOT TURN
FAUCET ON).
7. Turn the faucet on for 1 minute to flush any debris.
FontanaShowers©
FontanaShowers©
FontanaShowers
FontanaShowers Customer Service: 800-684-4489
fontanashowers.com
5
Sensor Range
This sensor faucet can automatically adjust the
inductive range within 10 seconds of electrification.
Do not use inductor during this period so that the
inductor can automatically adjust to a suitable
inductive range.
Set Water Flow Time-Out
The sensor faucet will shut off the water when
washing time exceeds 1.5 minutes. If follow-up
washing is needed, re-induce after removing hands
for 2 seconds.
Notes
1. Please use the AA type alkaline battery (1.5v for
each).
2. Place batteries into each indicated spot. Utilizing
new batteries of the same brand is best. If mixed, it
could shorten the battery life to 1-2 months.
3. After installation of the battery, the solenoid valve
will do its self-testing.
4. Wait ten seconds for power to be applied and
allow the sensor faucet to self-adjust sensor
distance. Do not use your faucet during this time.
5. If the sensor distance is too short, please move the
barrier from the faucet for 5-6 mins and allow the
sensor faucet to adjust to normal.
6. If the sensor distance is too far, and water flows
continuously, the sensor faucet will self-adjust the
distance after 5 mins.
Incorrect Placement
Keep sensor range adjustment
within 4 inches away from center
of spout. This can only be done
with optional remote control.
Installing electronic soap dispenser
& faucet with intersecting centerline
might lead to accidental activation
of either or both.
Faucet FaucetSoap
Dispenser
Soap
Dispenser
Correct Placement
Keep sensor ranges
factory preset.
Keep soap spout & faucet
centerline parallel.
Faucet Faucet
Soap
Dispenser
Soap
Dispenser
General Information
Our sensor spouts have a non-touch control which
uses infrared sensing technology to detect human
presence. Once detected, the spout instantly
dispenses water and automatically stops once the
user moves their hands away to eliminate
unnecessary water wastage, whilst creating a more
hygienic washroom solution.
All products manufactured and supplied by Fontana
are safe and comply to legislative requirements.
Providing they are installed correctly and receive
regular maintenance in accordance with these
instructions your user experience will not be
affected.
Battery Override
In the event of a power failure, the sensor faucet will
automatically switch to battery-operated mode to
ensure the faucet continues to function. The sensor
faucet can also operate on the battery alone if no
main power source is available.
Hygienic
The proximity sensor faucet removes the need to
touch the faucet body, reducing the spread of
germs and the chance of cross-contamination.
FontanaShowers©
FontanaShowers©
FontanaShowers
FontanaShowers Customer Service: 800-684-4489
fontanashowers.com
6

Other Fontana Showers Plumbing Product manuals
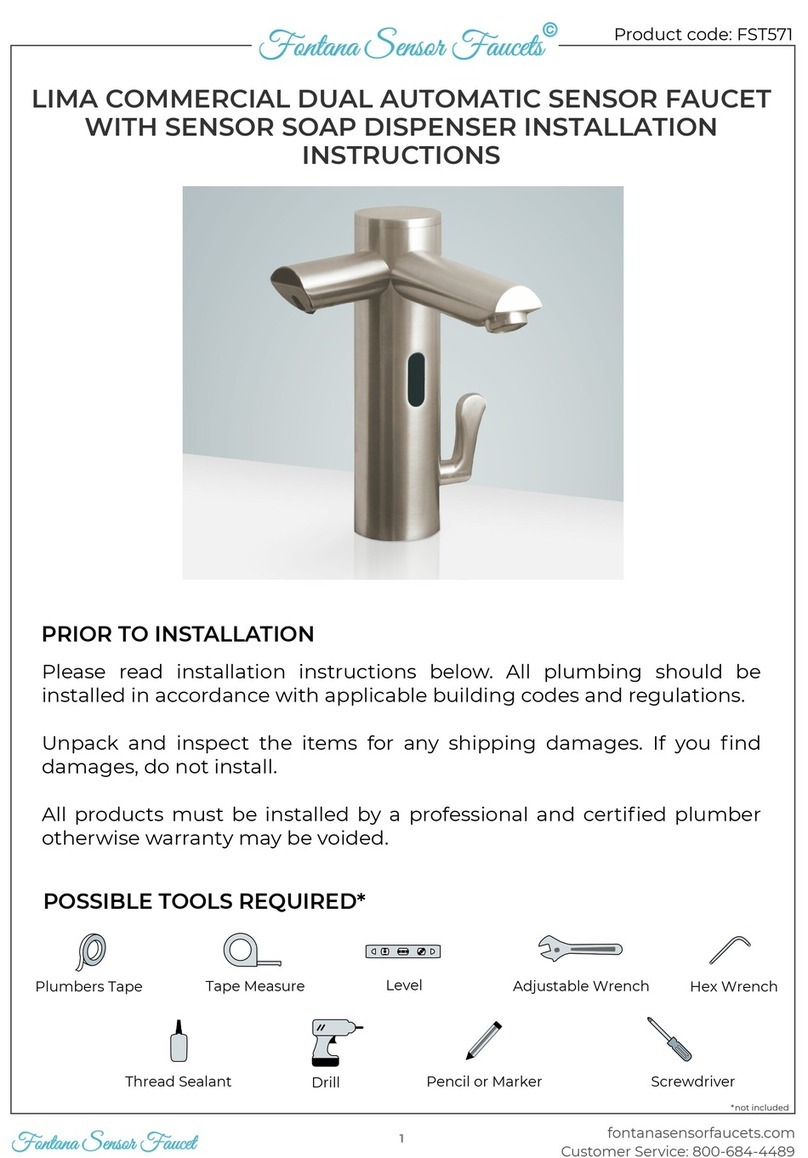
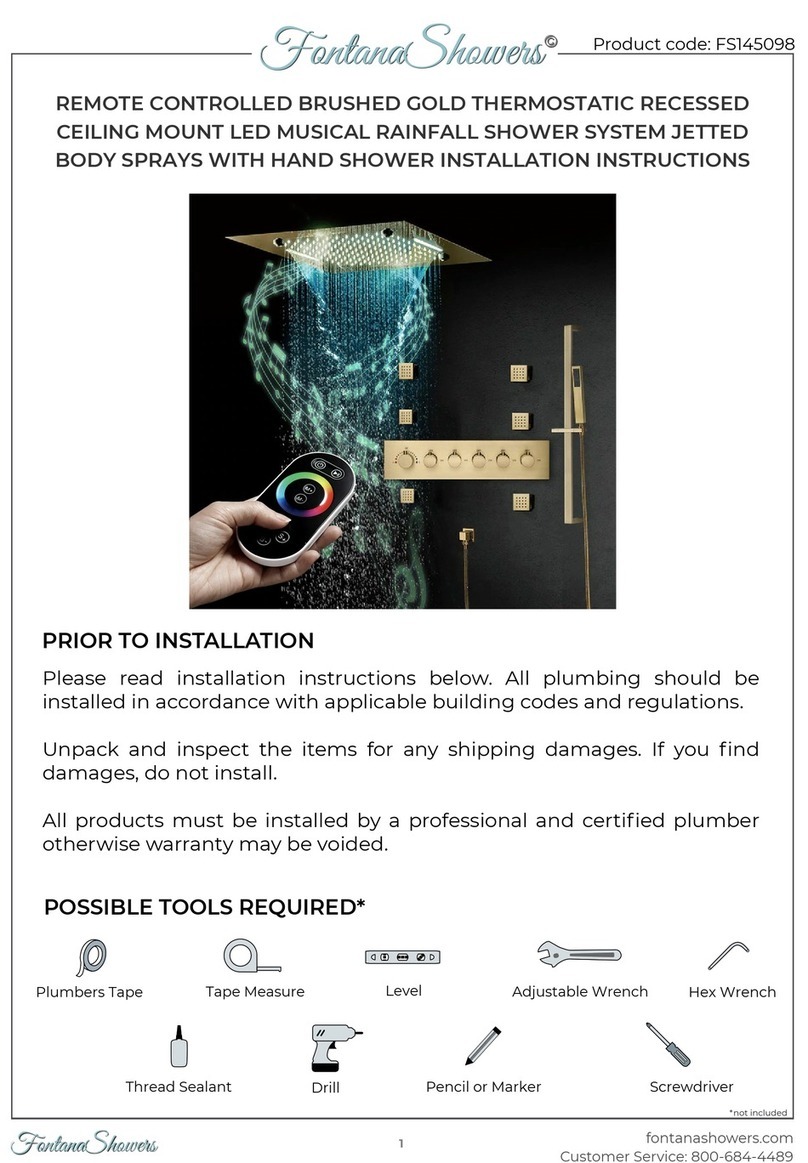
Fontana Showers FS145098 User manual

Fontana Showers

Fontana Showers FS145098 User manual

Fontana Showers FS147SBG User manual

Fontana Showers

Fontana Showers FS147SBG User manual

Fontana Showers NOLA BRASS FS194N User manual

Fontana Showers

Fontana Showers NOLA BRASS FS194N User manual

Fontana Showers LIMA FST571 User manual
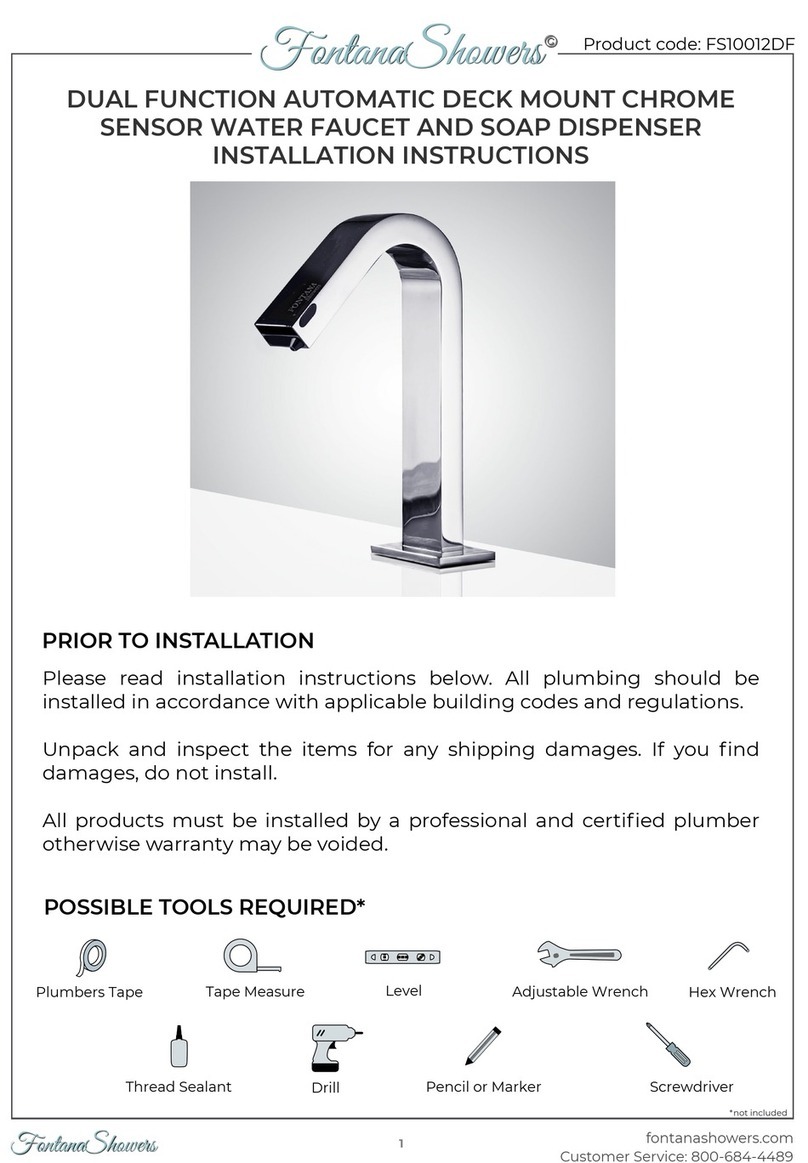
Fontana Showers

Fontana Showers LIMA FST571 User manual

Fontana Showers FS147SG User manual

Fontana Showers

Fontana Showers FS147SG User manual

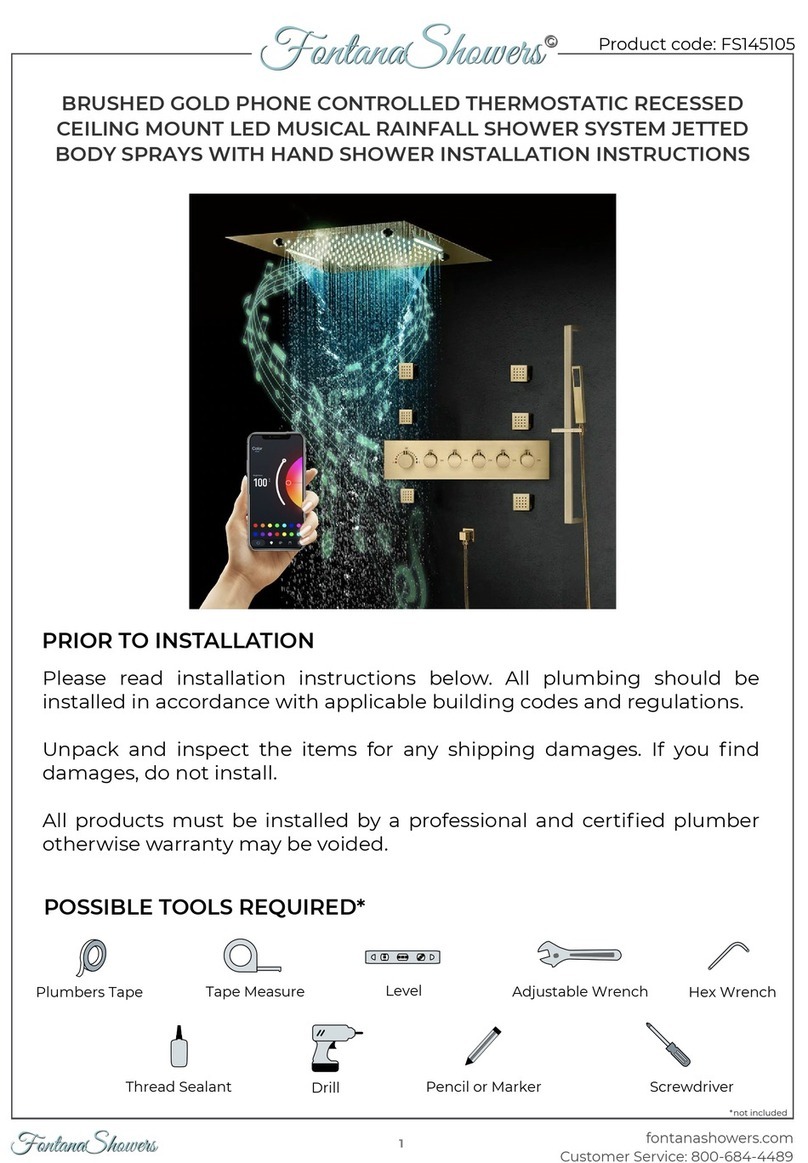
Fontana Showers FS145105 User manual

Fontana Showers

Fontana Showers FS145105 User manual

Fontana Showers FS10012DF User manual

Fontana Showers

Fontana Showers FS10012DF User manual
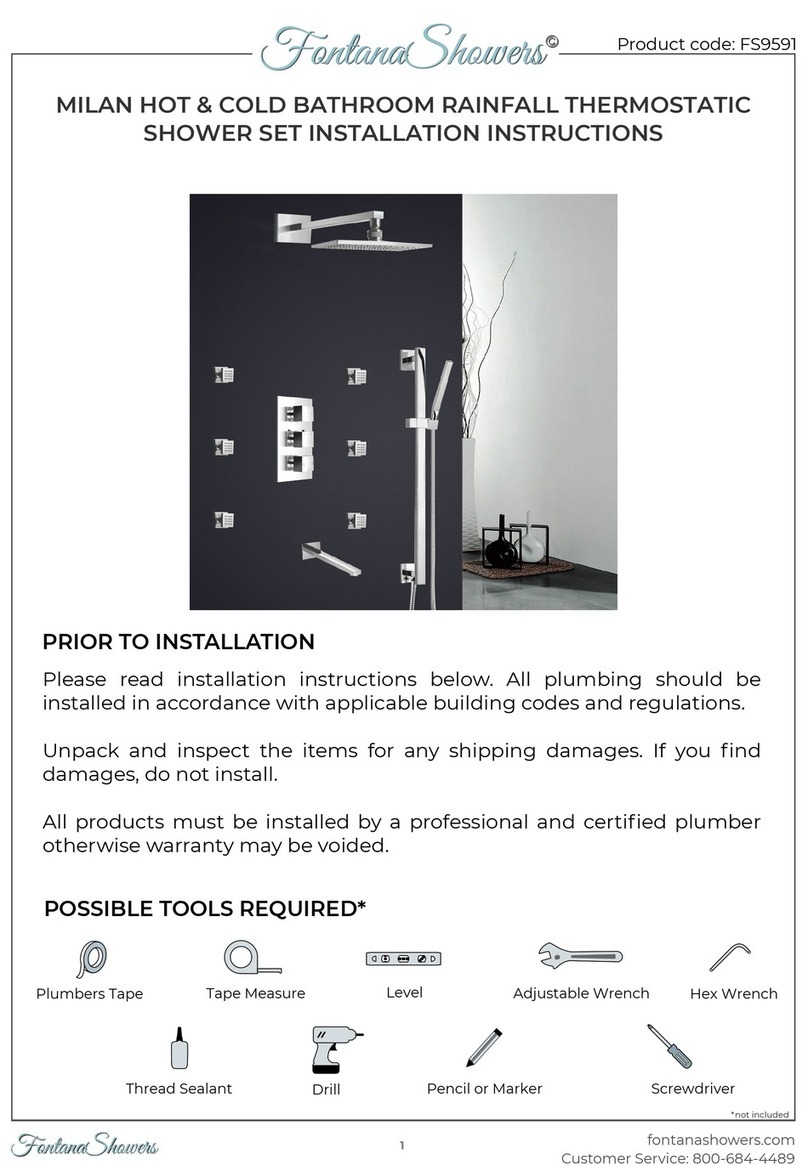
Fontana Showers FS9591 User manual

Fontana Showers

Fontana Showers FS9591 User manual

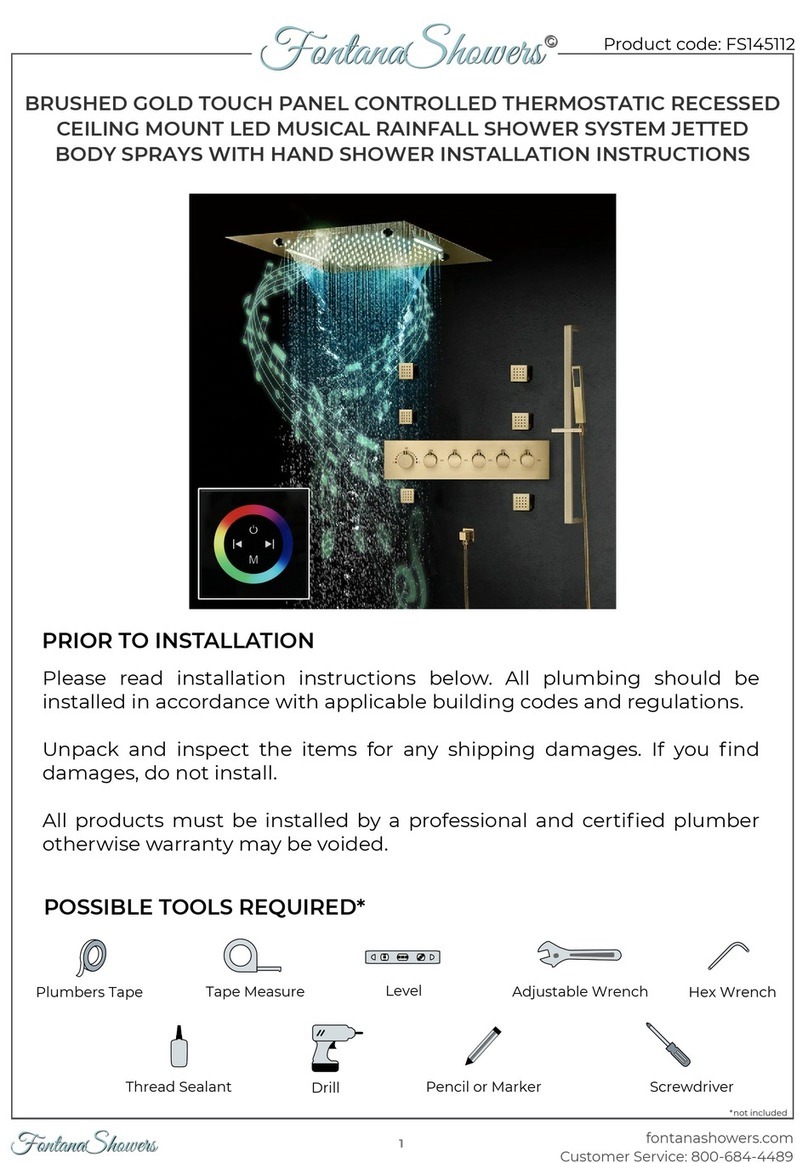
Fontana Showers FS145112 User manual

Fontana Showers

Fontana Showers FS145112 User manual

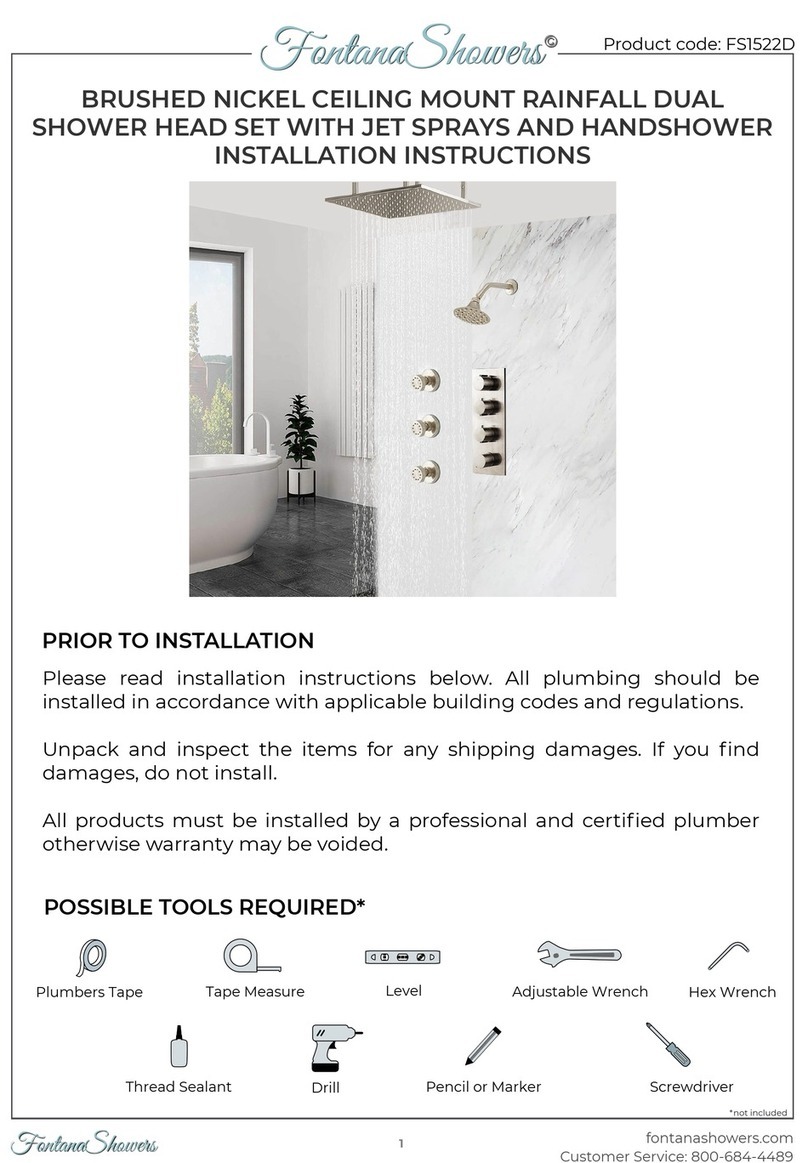
Fontana Showers FS1522D User manual

Fontana Showers

Fontana Showers FS1522D User manual
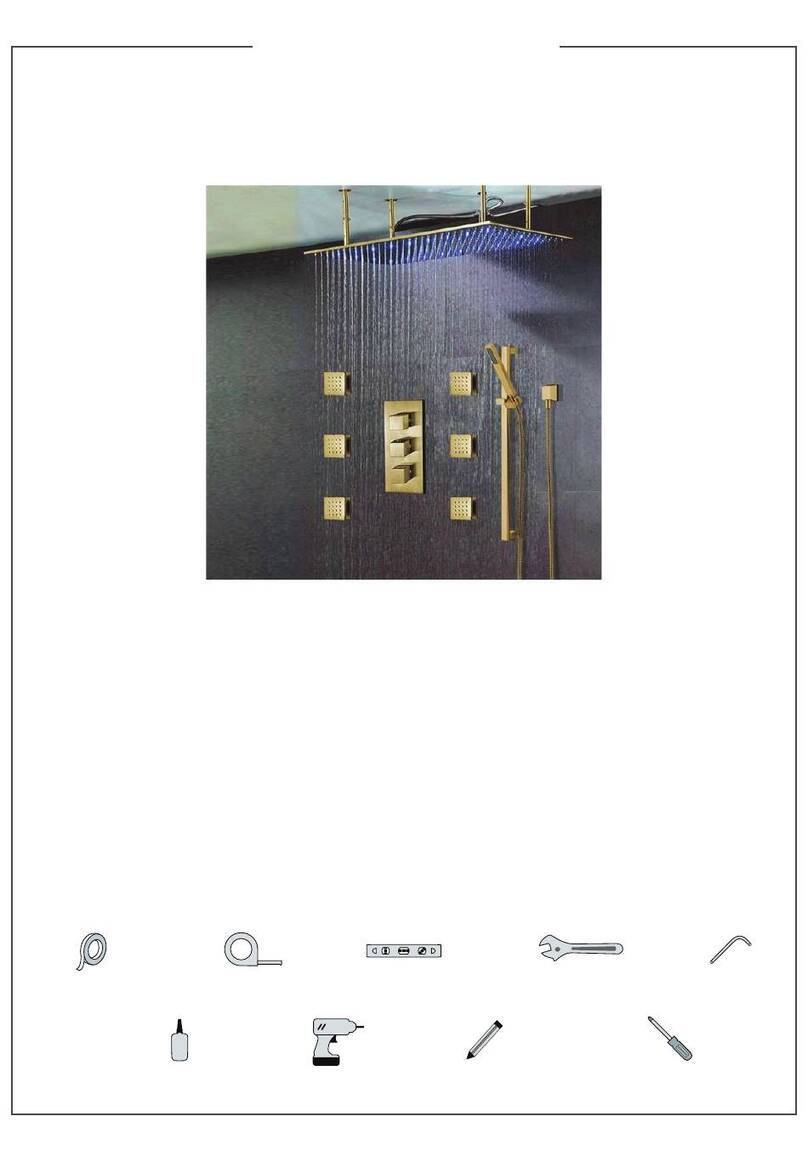
Popular Plumbing Product manuals by other brands

Grohe EUROSMART COSMOPOLITAN E 36 332 manual

Grohe

Grohe EUROSMART COSMOPOLITAN E 36 332 manual

Moen Legend Moentrol 3285 Specification sheet

Moen

Moen Legend Moentrol 3285 Specification sheet

Kraus KBU44 installation manual

Kraus

Kraus KBU44 installation manual

newform CLASS-X Series instructions

newform

newform CLASS-X Series instructions

Toto GB TBG10306U Installation and owner's manual

Toto

Toto GB TBG10306U Installation and owner's manual

inventum IMK500RVS instruction manual

inventum

inventum IMK500RVS instruction manual

Spectrum Brands Pfister Avalon RT6-5CB1 Quick installation guide

Spectrum Brands

Spectrum Brands Pfister Avalon RT6-5CB1 Quick installation guide

newform PARK Limited Edition 69789C instructions

newform

newform PARK Limited Edition 69789C instructions

Speakman SF-9100 instructions

Speakman

Speakman SF-9100 instructions

Elkay LKD2423 Specifications

Elkay

Elkay LKD2423 Specifications

Hans Grohe Raindance Showerpipe Eco Instructions for use/assembly instructions

Hans Grohe

Hans Grohe Raindance Showerpipe Eco Instructions for use/assembly instructions

Hans Grohe Crometta S 240 1jet Showerpipe 27269000 Instructions for use/assembly instructions

Hans Grohe

Hans Grohe Crometta S 240 1jet Showerpipe 27269000 Instructions for use/assembly instructions

Hans Grohe Metropol 74515 Series Instructions for use/assembly instructions

Hans Grohe

Hans Grohe Metropol 74515 Series Instructions for use/assembly instructions

Luxart Poydras PO341-LFDV Installation

Luxart

Luxart Poydras PO341-LFDV Installation

Hans Grohe Aqittura M91 210 1jet sBox SodaSystem 76806... Instructions for use/assembly instructions

Hans Grohe

Hans Grohe Aqittura M91 210 1jet sBox SodaSystem 76806... Instructions for use/assembly instructions

Hans Grohe Talis Select S Series Instructions for use/assembly instructions

Hans Grohe

Hans Grohe Talis Select S Series Instructions for use/assembly instructions

Hans Grohe AXOR Starck 27830 Series Instructions for use/assembly instructions

Hans Grohe

Hans Grohe AXOR Starck 27830 Series Instructions for use/assembly instructions

Hans Grohe Metropol 32532 Series Instructions for use/assembly instructions

Hans Grohe

Hans Grohe Metropol 32532 Series Instructions for use/assembly instructions

manuals.online logo
manuals.online logoBrands
  • About & Mission
  • Contact us
  • Privacy Policy
  • Terms and Conditions

Copyright 2025 Manuals.Online. All Rights Reserved.