manuals.online logo
Brands
  1. Home
  2. •
  3. Brands
  4. •
  5. FoodSaver
  6. •
  7. Food Saver
  8. •
  9. FoodSaver VS2198 Series User manual

FoodSaver VS2198 Series User manual

Other FoodSaver Food Saver manuals

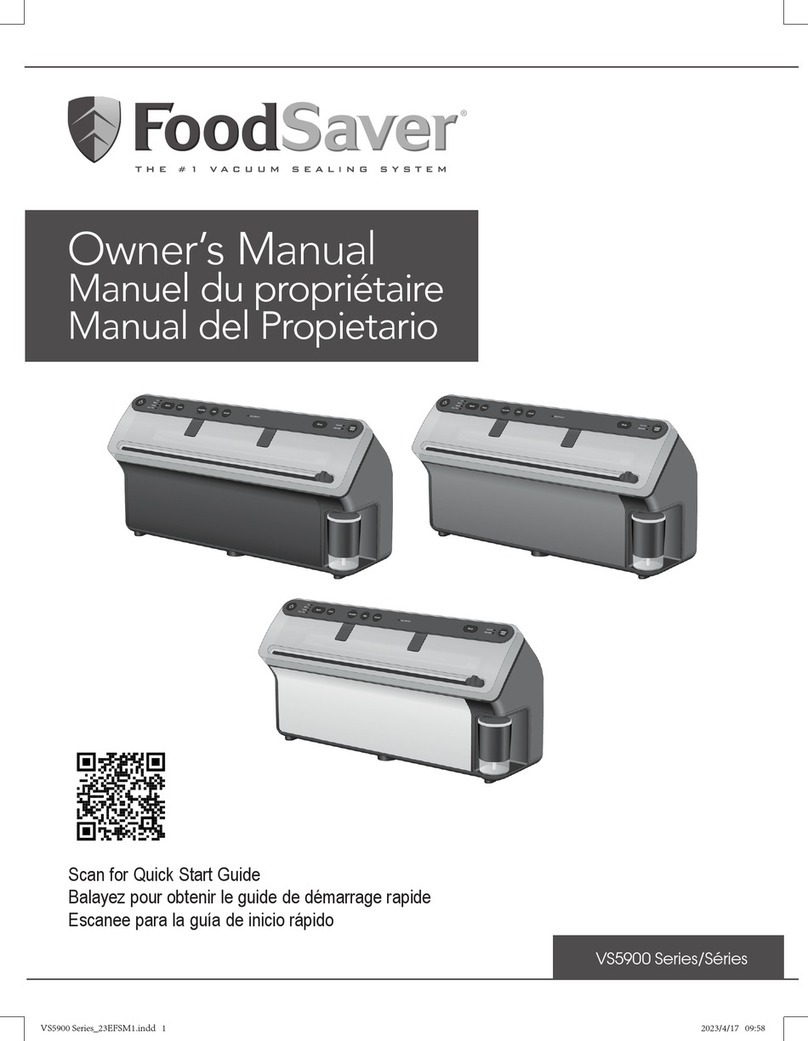
FoodSaver V325 User manual

FoodSaver

FoodSaver V325 User manual

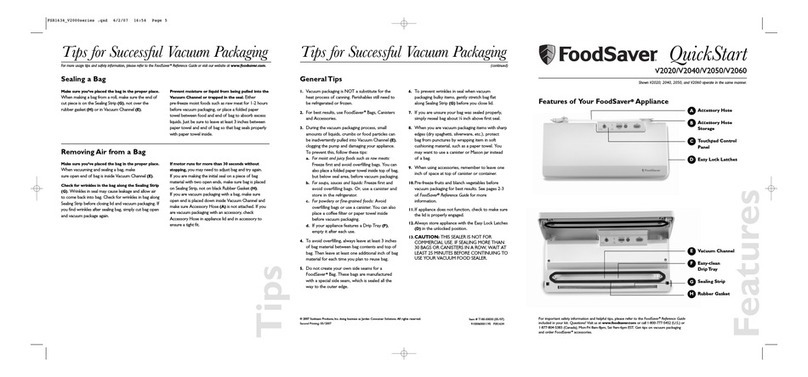
FoodSaver V1085 User manual

FoodSaver

FoodSaver V1085 User manual

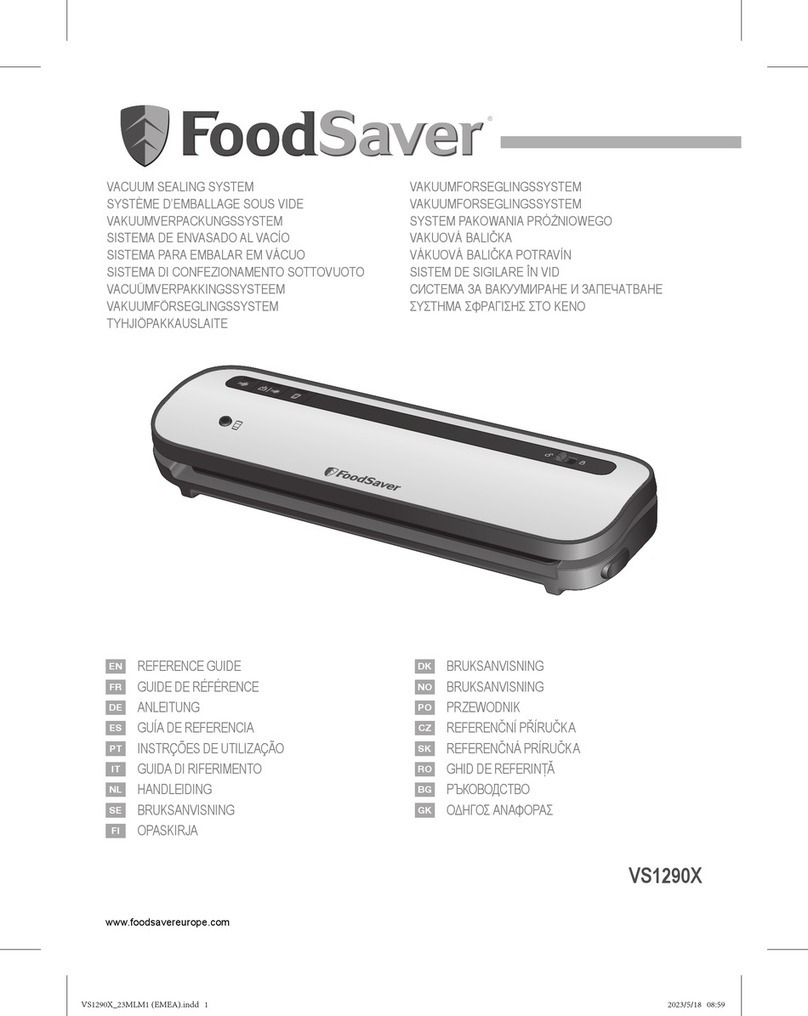
FoodSaver V2240-CN User manual

FoodSaver

FoodSaver V2240-CN User manual

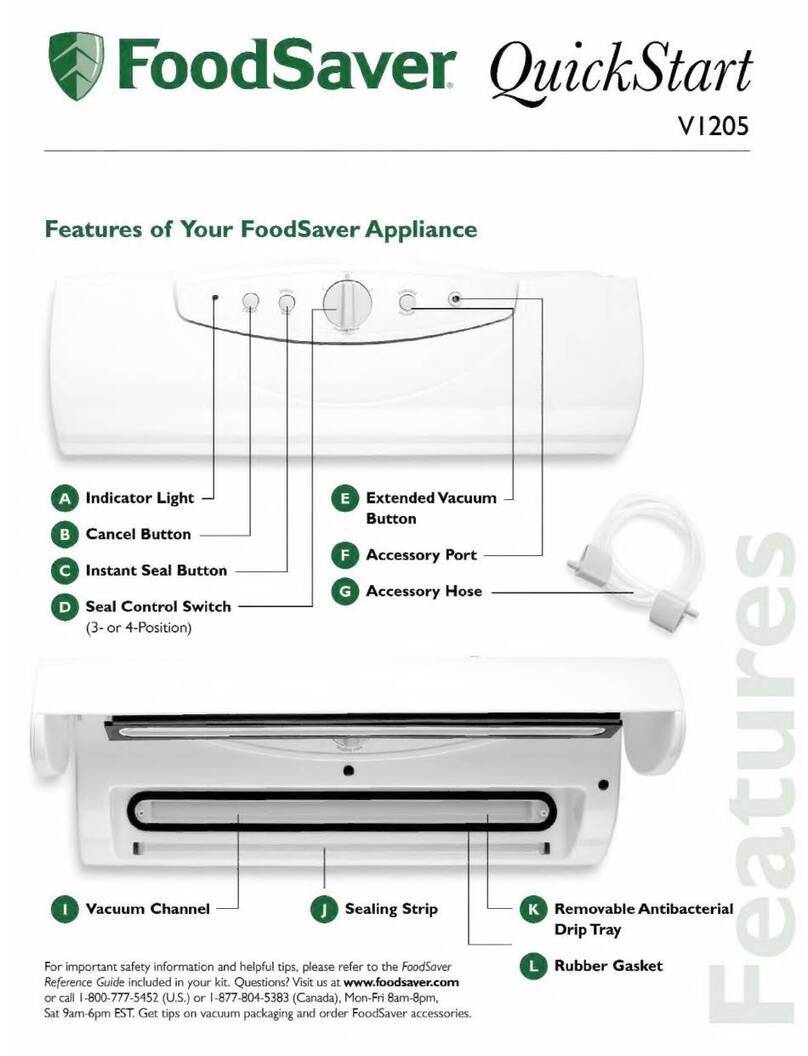
FoodSaver Vac800/Vac820 User manual

FoodSaver

FoodSaver Vac800/Vac820 User manual

FoodSaver VS7800 User manual

FoodSaver

FoodSaver VS7800 User manual

FoodSaver FFS006X User manual

FoodSaver

FoodSaver FFS006X User manual

FoodSaver Vac350 User manual

FoodSaver

FoodSaver Vac350 User manual

FoodSaver V2860 User manual

FoodSaver

FoodSaver V2860 User manual

FoodSaver V2200 Series User manual

FoodSaver

FoodSaver V2200 Series User manual

FoodSaver V875 User manual

FoodSaver

FoodSaver V875 User manual

FoodSaver Vac 1050 User manual

FoodSaver

FoodSaver Vac 1050 User manual

FoodSaver V1020-I User manual

FoodSaver

FoodSaver V1020-I User manual

FoodSaver VS5000 User manual

FoodSaver

FoodSaver VS5000 User manual

FoodSaver VS5900 Series User manual

FoodSaver

FoodSaver VS5900 Series User manual

FoodSaver GameSaver Turbo Plus User manual

FoodSaver

FoodSaver GameSaver Turbo Plus User manual

FoodSaver MealSaver User manual

FoodSaver

FoodSaver MealSaver User manual

FoodSaver Vac 550 User manual

FoodSaver

FoodSaver Vac 550 User manual

FoodSaver VS3198 User manual

FoodSaver

FoodSaver VS3198 User manual

FoodSaver GameSaver Deluxe V1095 User manual

FoodSaver

FoodSaver GameSaver Deluxe V1095 User manual

FoodSaver MealSaver User manual

FoodSaver

FoodSaver MealSaver User manual

FoodSaver FSFRSH0050 User manual

FoodSaver

FoodSaver FSFRSH0050 User manual

FoodSaver VS3000 Series User manual

FoodSaver

FoodSaver VS3000 Series User manual

FoodSaver GameSaver Pro User manual

FoodSaver

FoodSaver GameSaver Pro User manual

FoodSaver FM2900 Series User manual

FoodSaver

FoodSaver FM2900 Series User manual

Popular Food Saver manuals by other brands

Vollrath JUNIOR Operating and service manual

Vollrath

Vollrath JUNIOR Operating and service manual

Eltac VC 85 instruction manual

Eltac

Eltac VC 85 instruction manual

ABGENE ALPS 50V user manual

ABGENE

ABGENE ALPS 50V user manual

Atmovac Santa Ana user manual

Atmovac

Atmovac Santa Ana user manual

Teknika MUL-331 Operation manual

Teknika

Teknika MUL-331 Operation manual

MELAG MELAseal 200 operating manual

MELAG

MELAG MELAseal 200 operating manual

Thermopatch NL-30 user manual

Thermopatch

Thermopatch NL-30 user manual

Signode B-250 Operation, parts and safety manual

Signode

Signode B-250 Operation, parts and safety manual

AmeriVacS AVS-20 owner's manual

AmeriVacS

AmeriVacS AVS-20 owner's manual

Deni Freshlock 1831 Use and care guide

Deni

Deni Freshlock 1831 Use and care guide

CASO DESIGN VC150 Original operating manual

CASO DESIGN

CASO DESIGN VC150 Original operating manual

WAAGE SV-FOOD Instruction handbook

WAAGE

WAAGE SV-FOOD Instruction handbook

VacuWare Fresh Instruction handbook

VacuWare

VacuWare Fresh Instruction handbook

Melissa 16310179 manual

Melissa

Melissa 16310179 manual

Heinner HAV-130WH manual

Heinner

Heinner HAV-130WH manual

NUTRICHEF PKVS50STS user manual

NUTRICHEF

NUTRICHEF PKVS50STS user manual

U-Line H-57 Operation

U-Line

U-Line H-57 Operation

Klarstein 10029742 manual

Klarstein

Klarstein 10029742 manual

manuals.online logo
manuals.online logoBrands
  • About & Mission
  • Contact us
  • Privacy Policy
  • Terms and Conditions

Copyright 2025 Manuals.Online. All Rights Reserved.

User Guide
VS2198 Series
Printed in China. PN PKG0001207491
GCDS-FSV-SL
Newell Australia Pty Ltd. ABN 68 075 071 233
Made in China to FoodSaver’s specification.
Due to minor changes in design or otherwise, the product you
buy may differ slightly from the one shown here.
Approved by the appropriate electrical regulatory authorities.
© Copyright FoodSaver 2021.
Need help with your appliance?
Contact our Customer Care Team or
visit our website for information and tips
on getting the most from your appliance.
AUSTRALIA
Visit:
Phone:
Mail:
NEW ZEALAND
Visit:
Phone:
Mail:
foodsaver.com.au
1300 881 861
Suite 1, Level 1, 13 Lord Street,
Botany NSW 2019
foodsaver.co.nz
0800 786 232
Level 6, Building 5, Central Park,
660–670 Great South Road, Greenlane, Auckland
CUT & SEAL VACUUM SEALER
For more usage tips and safety information, please refer to this Reference Guide or visit
our website.
AU: foodsaver.com.au 1300 881 861
NZ: foodsaver.co.nz 0800 786 232
3
2
AU: foodsaver.com.au 1300 881 861
NZ: foodsaver.co.nz 0800 786 232
Contents
Important Safeguards & Tips
Welcome/Registration
Product Features
“How To” Section
How To Make A Bag From A FoodSaver®Roll
How To Vacuum Seal with FoodSaver®Bags
How To Use Handheld Sealer Hose with FoodSaver®Vacuum Containers
How To Use Handheld Sealer with Vacuum Zipper Bags
How To Open FoodSaver®Containers After Sealing
Care & Cleaning
Guidelines For Successful Sealing
Food preparation and reheating tips
Troubleshooting
Warranty
3
5
6
8
12
13
14
17
19
. . . . . . .
. . . . . . .
. . . . . . .
. . . . . . .
. . . . . .
. . . . . .
. . . . . .
. . . . . .
. . . . . .
1. Read all instructions before using
this product.
2. For bag sealers: To reduce the
risk of burns, do not touch the
sealing strip while using the
appliance.
3. To protect against electric shock,
do not place or immerse cord,
plugs, or appliance in water or
other liquid.
4. This appliance is not to be used
by children or by persons with
reduced physical, sensory or
mental capabilities.
5. Close supervision is necessary
when any appliance is used near
children. Children should not play
with the appliance.
6. Unplug from outlet when not in
use, before putting on or taking
off parts and before cleaning.
Allow to cool before putting on
or taking off parts, and before
cleaning. To disconnect, unplug
power cord from outlet. Do not
disconnect by pulling on cord.
7. Do not operate any electrical
appliance with a damaged
cord or after the appliance has
been damaged in any manner.
If damage is suspected, return
the appliance to the nearest
FoodSaver Appointed Service
Centre for examination, repair or
adjustment.
8. The use of an accessory not
recommended by the appliance
manufacturer for use with this
appliance may result in fire,
electric shock or injury to persons.
9. Do not use in wet locations or
leave outdoors. Do not use for
commercial purposes.
10. Do not let cord hang over edge
of table or counter, or touch hot
surfaces.
11. Place cord where it cannot be
tripped over, pulled on, cause
user to become entangled with,
especially by children, or cause
the appliance to be overturned.
12. Do not place on or near wet
surfaces, or heat sources such
as a hot gas or electric burner,
or heated oven. Always use
appliance on a dry, stable, level
surface.
13. Extreme caution must be used
when sealing bags or moving an
appliance containing hot liquids.
14. Always attach plug to appliance
first, then plug cord into outlet
(for appliances with detachable
cords).
15. Use appliance only for its
intended use.
16. Vacuum packaging is not a
substitute for the heat process of
preserving. Perishables still need
to be refrigerated or frozen.
Important Safeguards
When using electrical appliances, basic safety precautions should always
be followed to reduce the risk of fire, electric shock, and/or injury to persons
including the following:
3
2
AU: foodsaver.com.au 1300 881 861
NZ: foodsaver.co.nz 0800 786 232
Contents
Important Safeguards & Tips
Welcome/Registration
Product Features
“How To” Section
How To Make A Bag From A FoodSaver®Roll
How To Vacuum Seal with FoodSaver®Bags
How To Use Handheld Sealer Hose with FoodSaver®Vacuum Containers
How To Use Handheld Sealer with Vacuum Zipper Bags
How To Open FoodSaver®Containers After Sealing
Care & Cleaning
Guidelines For Successful Sealing
Food preparation and reheating tips
Troubleshooting
Warranty
3
5
6
8
12
13
14
17
19
. . . . . . .
. . . . . . .
. . . . . . .
. . . . . . .
. . . . . .
. . . . . .
. . . . . .
. . . . . .
. . . . . .
1. Read all instructions before using
this product.
2. For bag sealers: To reduce the
risk of burns, do not touch the
sealing strip while using the
appliance.
3. To protect against electric shock,
do not place or immerse cord,
plugs, or appliance in water or
other liquid.
4. This appliance is not to be used
by children or by persons with
reduced physical, sensory or
mental capabilities.
5. Close supervision is necessary
when any appliance is used near
children. Children should not play
with the appliance.
6. Unplug from outlet when not in
use, before putting on or taking
off parts and before cleaning.
Allow to cool before putting on
or taking off parts, and before
cleaning. To disconnect, unplug
power cord from outlet. Do not
disconnect by pulling on cord.
7. Do not operate any electrical
appliance with a damaged
cord or after the appliance has
been damaged in any manner.
If damage is suspected, return
the appliance to the nearest
FoodSaver Appointed Service
Centre for examination, repair or
adjustment.
8. The use of an accessory not
recommended by the appliance
manufacturer for use with this
appliance may result in fire,
electric shock or injury to persons.
9. Do not use in wet locations or
leave outdoors. Do not use for
commercial purposes.
10. Do not let cord hang over edge
of table or counter, or touch hot
surfaces.
11. Place cord where it cannot be
tripped over, pulled on, cause
user to become entangled with,
especially by children, or cause
the appliance to be overturned.
12. Do not place on or near wet
surfaces, or heat sources such
as a hot gas or electric burner,
or heated oven. Always use
appliance on a dry, stable, level
surface.
13. Extreme caution must be used
when sealing bags or moving an
appliance containing hot liquids.
14. Always attach plug to appliance
first, then plug cord into outlet
(for appliances with detachable
cords).
15. Use appliance only for its
intended use.
16. Vacuum packaging is not a
substitute for the heat process of
preserving. Perishables still need
to be refrigerated or frozen.
Important Safeguards
When using electrical appliances, basic safety precautions should always
be followed to reduce the risk of fire, electric shock, and/or injury to persons
including the following:
5
4
AU: foodsaver.com.au 1300 881 861
NZ: foodsaver.co.nz 0800 786 232
Important Safeguards
Important Tips
1. Vacuum sealing is NOT a substitute for the heat process of canning.
Perishables still need to be refrigerated or frozen.
2. For best results, use only with FoodSaver®Bags, Rolls, Containers and
Accessories.
3. During the vacuum sealing process, small amounts of liquids, crumbs or
food particles can be inadvertently pulled into the Vacuum Channel. Empty
the Drip Tray after each use.
4. Avoid overfilling, always leave at least 7.5cm of bag material between bag
contents and top of bag. This allows room for the bag material to cinch
tightly against the food and prevents the bag from pulling out of the
Vacuum Channel during the sealing process. Then leave an additional 2.5cm
of bag material for each time you plan to reuse bag.
5. Do not create your own side seams for a FoodSaver®Bag. These bags are
manufactured with a special side seam, which is sealed all the way to the
outer edge.
6. To prevent wrinkles in the seal when vacuum sealing bulky items, gently
stretch bag flat while inserting bag into Vacuum Channel and continue to
hold bag until vacuum pump starts.
7. When you are vacuum sealing items with sharp edges (dry spaghetti,
silverware, etc.), protect bag from punctures by wrapping item in soft
cushioning material, such as a paper towel. You may want to use a
FoodSaver container instead of a bag.
8. When using accessories, remember to leave 2.5cm of space at top of the
container.
9. Pre-freeze fruits and blanch vegetables before vacuum sealing for best
results.
10. Wait 20 seconds between seals to allow appliance to cool.
11. Never store lid in OPERATE position as gaskets may become compressed.
For Household Use Only
GROUNDED PLUG
To reduce the risk of electric shock, this appliance has a grounding type cord and plug
that has a third grounding pin (3-prong plug). The plug must be plugged into an outlet
that is properly installed and grounded in accordance with all local codes and ordinances.
If the plug does not fit into the outlet or if in doubt as to whether the outlet is properly
grounded, contact a qualified electrician to install the proper outlet. Do not alter the plug
in any way.
Welcome to FoodSaver®Vacuum Sealing
System
Congratulations…
You are about to enjoy the freshness benefits of FoodSaver®, The #1 Selling Brand
of Vacuum Sealing Systems. For years, the FoodSaver®Vacuum Sealing System has
helped millions of households keep food fresh longer in the refrigerator, freezer
and pantry. Keep your FoodSaver®appliance on your bench top, and you’ll soon
discover its convenience and versatility all through the year.
Register Now!
AU: foodsaver.com.au
NZ: foodsaver.co.nz
Questions?
Contact customer service:
AU: foodsaver.com.au 1300 881 861
NZ: foodsaver.co.nz 0800 786 232
7
6
AU: foodsaver.com.au 1300 881 861
NZ: foodsaver.co.nz 0800 786 232
FoodSaver®VS2198 Model
A. Vacuum Button
C. Seal Button
D. Dry/Moist Mode
B. Easy Lock Latch
Rotate up to open
E. Accessory Port
F. Upper Foam Gasket
G. Roll Storage
H. Cutter Bar
I. Lower Foam
Gasket
J. Extra Wide
Sealing Strip
K. Vacuum
Channel
L. Removable Drip
Tray
Handheld Sealer Hose
1. Use with FoodSaver®Zipper Bags and
Containers
1Seal Indicator Light
Flashes when sealing process is engaged and becomes constant when sealing process is finished.
2Vacuum Indicator Light
Flashes when vacuum cycle is engaged and becomes constant when vacuum cycle is finished.
3Seal Button
This button has three uses:
1. Press to create a seal when making bags from a FoodSaver®Roll.
2. Press to immediately stop the vacuum process and begin sealing the bag. This prevents
crushing delicate items such as bread, cookies and pastries.
3. Press to create a seal on multilayer film bags (such as a potato chip bag) to keep food
sealed airtight.
4Vacuum Button
This button has three uses:
1. Press to vacuum seal food airtight. Motor will continue to run until bag is fully vacuumed, then
will automatically seal.
2. Press to pause vacuum process at any point.
3. Press to use the Handheld Sealer Hose.
4Dry/Moist Mode Button
For optimal vacuuming and sealing of moist or juicy foods, press the Dry/Moist Food Settings Button
until the Moist Indicator Light is illuminated. Choose the Dry Food Setting for foods without liquid.
The user-friendly, intuitive control panel makes it easy
for you to get the most out of your FoodSaver®System:
Vacuum Button
Seal Button
Dry/Moist Mode
9
8
AU: foodsaver.com.au 1300 881 861
NZ: foodsaver.co.nz 0800 786 232
1. Make a Bag from a FoodSaver®Roll
1. Open lid and place roll into Roll Storage.
2. Lift up Roll Cutter Bar and place bag material
beneath the Cutter Bar. Pull bag material to edge until
it is on top of the sealing strip and close lid.
3. Turn Easy Lock Latch to the OPERATE position and
Press the SEAL Button. When the seal indicator light
turns off, sealing is complete.
4. Turn Easy Lock Latch to the OPEN position, open
lid and pull bag material out to desired length.
5. Slide bag cutter across cutter bar.
Now you are ready to vacuum seal with your new bag
(see next page).
Place Bag on Sealing Strip
Close and slide Lock Latch to OPERATE position
Press Seal Button
How to...
1. Place item(s) in bag, allowing at least 7.5 cm
of space between bag contents and top of bag.
2. Open appliance lid and place open end of bag into
Vacuum Channel.
3. Close lid and turn Easy Lock Latch to OPERATE
position.
4. Press Vacuum button to begin vacuum and sealing
process. Motor will continue to run until bag is fully
vacuumed, then will automatically seal.
5. When Seal Indicator Light stops flashing and
becomes constant, slide Latch to OPEN position, lift
lid and remove bag.
NOTE: Let appliance cool down for 20 seconds after
each use.
2. Vacuum Seal with FoodSaver®Bags
Place Bag in Vacuum Channel
Close and Latch Lid
Press Vacuum Button
Important Tips:
To minimize bag waste, do not insert bags too
far into the appliance. Only insert bag just over
the edge of the removable drip tray.
OPEN END
SEALED END
11
10
AU: foodsaver.com.au 1300 881 861
NZ: foodsaver.co.nz 0800 786 232
3. Use Handheld Sealer with
FoodSaver®Vacuum
Containers
Connect Accessory Hose to both accessory
port on appliance & port on accessory
Close and slide Lock Latch to the
OPERATE position
Press Vacuum Button
1. Prepare container according to FoodSaver®Container
Guidelines (see manual that comes with your
FoodSaver®Containers).
2. Insert one end of the Handheld Sealer Hose into
Accessory Port on appliance until it clicks into
place. Connect other end to the Container per the
FoodSaver®Container manual.
3. Close lid and turn Easy Lock Latch to OPERATE
position. Press the Vacuum button.
4. When the light becomes constant, the vacuum
process is complete. Note that the appliance will still
go through the sealing cycle when vacuum sealing
an accessory. You can turn the Easy Lock Latch to
OPEN position if you want to stop the sealing cycle,
but it is not necessary.
5. Remove Handheld Sealer Hose from the container
and appliance.
6. To test vacuum, simply tug on container lid.
It should not move.
How to...
FoodSaver®Preserve & Marinate Containers
To release vacuum and open, turn valve to Marinate/
Open position.
5. Open FoodSaver®Containers After Sealing
Handheld sealer can be used with Vacuum Zipper Bags.
1. Fill zipper bag, lay flat with grey circle facing upwards.
Squeeze air out, zip 3/4 of the way closed and squeeze any
remaining air out before zipping completely.
2. Press Handheld Sealer over gray circle on bag and press
Vacuum button.
4. Use Handheld Sealer with
Vacuum Zipper Bags