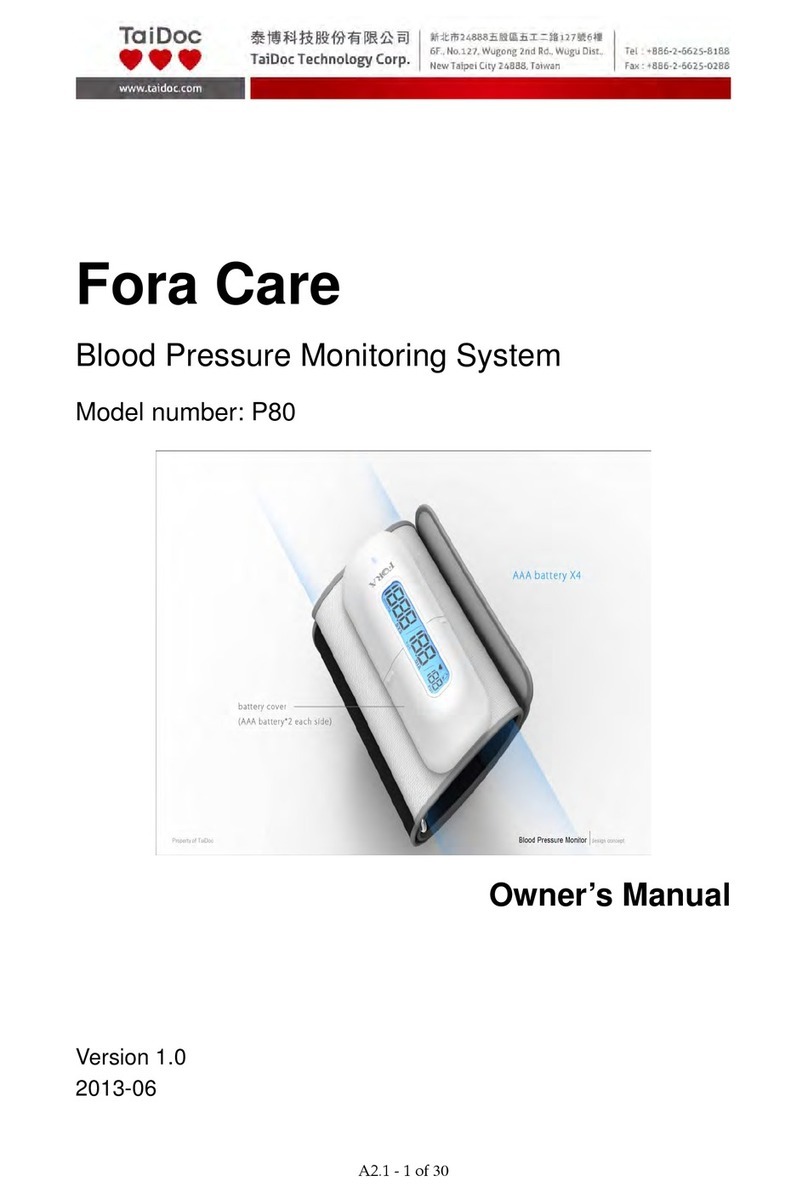
ForaCare FORA P30 Plus User manual

Blood Pressure Monitoring System
Sistema de Monitoreo de Presión Arterial
Owner’s Manual
Manual del Propietario


Dear FORA P30 Plus System Owner:
Thank you for purchasing the FORA P30 Plus Blood Pressure
Monitoring System. This manual provides important information to help
you use the system properly. Before using this product, please read and
follow the instructions in this Owner's Manual.
According to the clinical studies from the American Diabetes
Association, elevated blood pressure often accompanies adult diabetes
patients. These studies also suggest that diabetes patients could
reduce the risk of cardiovascular diseases by managing their blood
pressure. With the use of this FORA P30 Plus Blood Pressure
Monitoring System, you can easily monitor your blood pressure by
yourself. In addition, this system can help you and your healthcare
professionals monitor and adjust your treatment plans, and keep your
blood pressure under control.
If you have questions, just call ForaCare Customer Care Service Center
toll-free at 1-888-307-8188 (8:30 am - 5:00 pm PST, Mon. - Fri.). You
can also visit www.foracare.com.
Version 2.0 2018/03
311-3129200-008
English

IMPORTANT SAFETY PRECAUTIONS
READ BEFORE USE
1. Use this device ONLY for the intended use described in this manual.
2. Do NOT use accessories which are not specified by the
manufacturer.
3. Do NOT use the device if it is not working properly or if it is
damaged.
4. Do NOT under any circumstances use the device on newborns or
infants.
5. This device does NOT serve as a cure for any symptoms or diseases.
The data measured is for reference only.
6. Keep the device and its flexible cord away from hot surfaces.
7. Do NOT apply the cuff to areas other than the place directed.
8. Use of this instrument in a dry environment, especially if synthetic
materials are present (synthetic clothing, carpets etc.) may cause
damaging static discharges that may cause erroneous results.
9. Do NOT use this instrument in close proximity to sources of strong
electromagnetic radiation, as these may interfere with the accurate
operation.
KEEP THESE INSTRUCTIONS IN A SAFE PLACE

TABLE OF CONTENTS
BEFORE YOU BEGIN 1
Intended Use 1
Test Principle 1
Contents of System 2
Monitor Overview 3
Screen Display 4
Setting the Monitor 5
MEASURING THE BLOOD PRESSURE 7
Before Measurement 7
Fitting the Cuff Correctly 7
Proper Measurement Position 9
Taking Measurements 9
MONITOR MEMORY 13
Reviewing Test Results 13
Reviewing Day Average Results 14
MAINTENANCE 15
Battery 15
Using an AC Adapter (Optional) 16
Caring for Your Monitor 17
SYSTEM TROUBLESHOOTING 18
Error Messages 18
Troubleshooting 19
DETAILED INFORMATION 20
Reference Values 20
SPECIFICATIONS 22


1
BEFORE YOU BEGIN
The FORA P30 Plus Blood Pressure Monitoring System is intended for
use in measuring the systolic and diastolic blood pressure and pulse
rate using a non-invasive technique in which an inflatable cuff is
wrapped on the upper arm. This system should only be used on people
who are 18 years old or older.
Blood pressure is measured non-invasively at the arm based on the
oscillometric method. Blood pressure measurements determined with
this device are equivalent to those obtained by a trained observer using
the cuff/stethoscope auscultation method, within the limits prescribed
by the American National Standard, Electronic or automated
sphygmomanometers.
This device is NOT able to take measurements in the presence of
common arrhythmia, such as atrial or ventricular premature beats or
atrial fibrillation. It may produce reading errors.
Intended Use
Test Principle

2
The FORA P30 Plus system kit includes:
○
1Monitor Device ○
54 x AA Alkaline Batteries
○
2Owner’s Manual ○
6Pressure Cuff
○
3Protective Wallet
○
4Quick Start User Guide /
Warranty Card
NOTE:
If any items are missing from your kit or opened before use, please contact
local customer service or place of purchase for assistance.
Contents of System

3
○
1Display Screen
○
2M Button
To view the monitor memory.
○
3ON/OFF Button
To start a single non-invasive
blood pressure
measurement.
○
4AVG/S Button
Blood pressure average
mode / Enter and confirm
the monitor settings.
○
5Battery Compartment
○
6AC/DC Adapter Port
Optional for in-wall power
supply.
○
7Air Jack
○
8Pressure Cuff
○
9Air Tube
○
10 Air Plug
Connect to air jack.
Monitor Overview

4
○
1Date ○
8Day Average Result
○
2Systolic Pressure Value ○
9Day / Night-Time Symbol
○
3Diastolic Pressure Value ○
10 Diastolic Pressure Symbol
○
4Unit for Blood Pressure ○
11 Battery Symbol
○
5Memory Mode Symbol ○
12 Systolic Pressure Symbol
○
6Heart Symbol- for IHB
Detection (Irregular Heart
Beat)
○
13 Time
○
7Pulse Rate
Screen Display

5
Before using your monitor for the first time, or if you change the monitor
battery, you should check and update these settings. Make sure you
complete the steps below and have your desired settings saved.
Entering the Setting Mode
Start with the monitor off. Press and
hold AVG/S button until the monitor
turns on.
1. Setting the date
With the year flashing, press Mbutton
until the correct year appears. Press
AVG/S.
With the month flashing, press Mbutton
until the correct month appears. Press
AVG/S.
With the day flashing, press Mbutton
until the correct day appears. Press
AVG/S.
2. Setting the time
With the hour flashing, press Mbutton
until the correct hour appears. Press
AVG/S.
With the minute flashing, press M
button until the correct minute appears.
Press AVG/S.
Setting the Monitor

6
3. Setting the time format
Press Mbutton to select the desired
time format --- 12h (AM/PM) or 24h.
Press AVG/S.
4. Deleting the memory
If you do not wish to delete the saved
results, press AVG/S to skip this step.
Otherwise, with "dEL" and " " flashing
on the display, press the Mbutton twice
to delete ALL results.
Congratulations! You have completed all settings!
NOTE:
These parameters can ONLY be changed in the setting mode.
If the monitor is idle for 3 minutes during the setting mode, it will switch off
automatically.

7
MEASURING THE BLOOD PRESSURE
Avoid caffeine, tea, alcohol and tobacco at least 30 minutes before
measurement.
Wait 30 minutes after exercising or bathing before measurement.
Sit or lie down for at least 10 minutes before measurement.
Do not measure when feeling anxious or tense.
Take a 5-10 minute break between measurements. This break can
be longer if necessary, depending on your physical conditions.
Keep the records for the doctor as reference.
Blood pressure varies between each arm. Always measure your
blood pressure on the same arm.
1. Connect the air plug of the tubing to
the air jack of the monitor.
2. Assemble the cuff as shown. The
smooth surface should be inside the
cuff loop and the metal D-ring should
not touch the patient’s skin.
Before Measurement
Fitting the Cuff Correctly

8
3. Stretch the left (or right) arm in front
with the palm facing up. Slide and place
the cuff onto the arm with the air tube
and artery mark region (in red) toward
the lower arm.
Wrap and tighten the cuff above the
elbow. The red line on the edge of the
cuff should be approximately 0.8 to 1.2
inches (2 to 3 cm) above the elbow.
Align the tube over the main arteries on
the inside.
4. Leave a little free space between the
arm and the cuff; you should be able to
fit 2 fingers between them. Clothing
must not restrict the arm. Remove all
clothing covering or constricting the
measurement arm.
5. Press the hook material firmly
against the pile material. The top and
bottom edges of the cuff should be
tightened evenly around the upper arm.

9
1. Sit down for at least 10 minutes
before measuring.
2. Place the elbow on a flat surface.
Relax the hand with the palm facing up.
3. Make sure the cuff is about the
same height as the location of your
heart. Remain still and do not talk or
move during the measurement.
This monitor provides three different ways to measure the blood
pressure.
●Taking a Single Measurement
Always apply the pressure cuff before turning on the monitor.
1. Press . All the LCD symbols will
appear. The cuff will begin to inflate
automatically.
2. The heart symbol “ ”will flash when
a pulse is detected during the inflation.
3. After the measurement, the monitor
displays the systolic pressure, diastolic
pressure and pulse rate.
4. Press to switch off. Or it will
switch off automatically after 3 minutes
if left idle.
Proper Measurement Position
Taking Measurements

10
NOTE:
If you press during measurement, the monitor will be turned off.
If the pulse rate symbol is shown as “ ” instead of “ ”, that means the
heart beat period deviated from the mean heart beat by greater than 25%.
●Average Measurement Mode
Always apply the pressure cuff before turning on the monitor.
1. Press AVG/S button. The monitor will
turn on and enter the averaging mode.
The cuff will begin to inflate
automatically.
2. After the first measurement is
complete, the monitor will start counting
down before the second measurement
begins. The number on the right
represents the remaining countdown
between each measurement. The
monitor will take three (3)
measurements consecutively with an
interval of 20 seconds.
3. After taking three measurements, the
results are averaged to produce the
blood pressure measurement. Press
to turn off the monitor.

11
●Auscultatory Mode
Only trained healthcare professionals may perform this manual blood
pressure measurement.
This manual method involves applying a stethoscope to patient’s arm
and listening to the pulse while the air is slowly let out again.
The systolic pressure is the maximum pressure in an artery at the
moment when the heart is beating and pumping blood through the body.
The diastolic pressure is the lowest pressure in an artery in the
moments between beats when the heart is resting.
1. Place a stethoscope on the patient’s
arm where there is a pulse. Apply the
cuff to the patient’s upper arm and hold
in place with Velcro.
2. Start with the monitor off. Press and
hold button until the monitor turns
on. An AU symbol will appear on the
display with a beep. The cuff begins to
inflate automatically.
3. After reaching the cuff pressure, the
deflation begins. The operator can
adjust the inflation pressure if
necessary. During the measurement,
press and hold Mbutton at any time to
keep inflating, release at the desired
pressure.
4. The systolic pressure is measured
when the operator first hears the pulse.
Take the reading according to the value
on the display. This reading indicates
the patient’s systolic pressure.

12
5. The diastolic pressure is measured
from the moment the operator is unable
to hear the sound of the pulse. Take the
reading according to the value on the
display. This reading indicates the
patient’s diastolic pressure.

13
MONITOR MEMORY
Your monitor stores the 60 most recent test results along with
respective dates and times in its memory. To recall the memory, start
with the monitor off.
1. Press and release M.
“ ” will appear on the display.
2. Press M. Review all test results
stored in the monitor.
3. Exit the memory. Press and the
monitor will turn off.
Reviewing Test Results

14
1. Press and hold M button until the
monitor turns on.
Release Mbutton and then the days
average result measured in general
mode will appear on the display.
2. Press M button again to review the
Day-time average result
3. Press M button again to review the
Night-time average result
4. Exit the monitor memory
Press button and the monitor will
turn off.
NOTE:
Any time you wish to exit the memory, press button or leave the monitor
idle for 3 minutes. The monitor will turn off automatically.
If there are no records in memory, “---“displays when you recall the test
results or review the average results. This indicates that there is no test
result in the memory.
Day-time average means the average records for measurements taken
between 4:00 A.M. and 11:59 A.M.
Night-time average means the average records for measurements taken
between 6:00 P.M. and 11:59 P.M.
Reviewing Day Average Results
Other manuals for FORA P30 Plus
1
Table of contents
Languages:
Other ForaCare Blood Pressure Monitor manuals