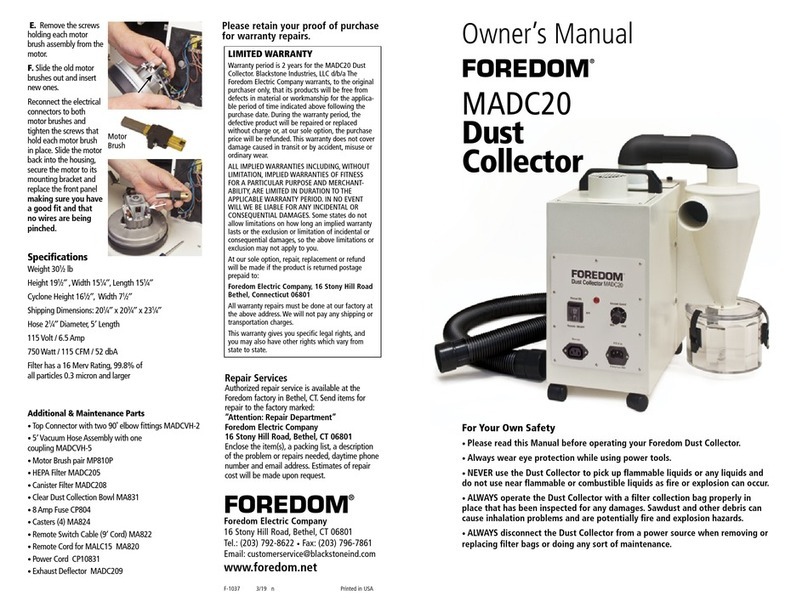
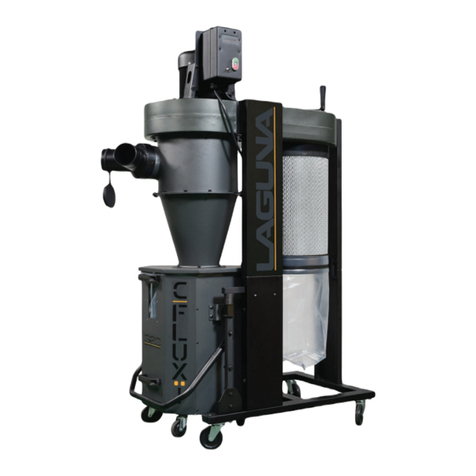
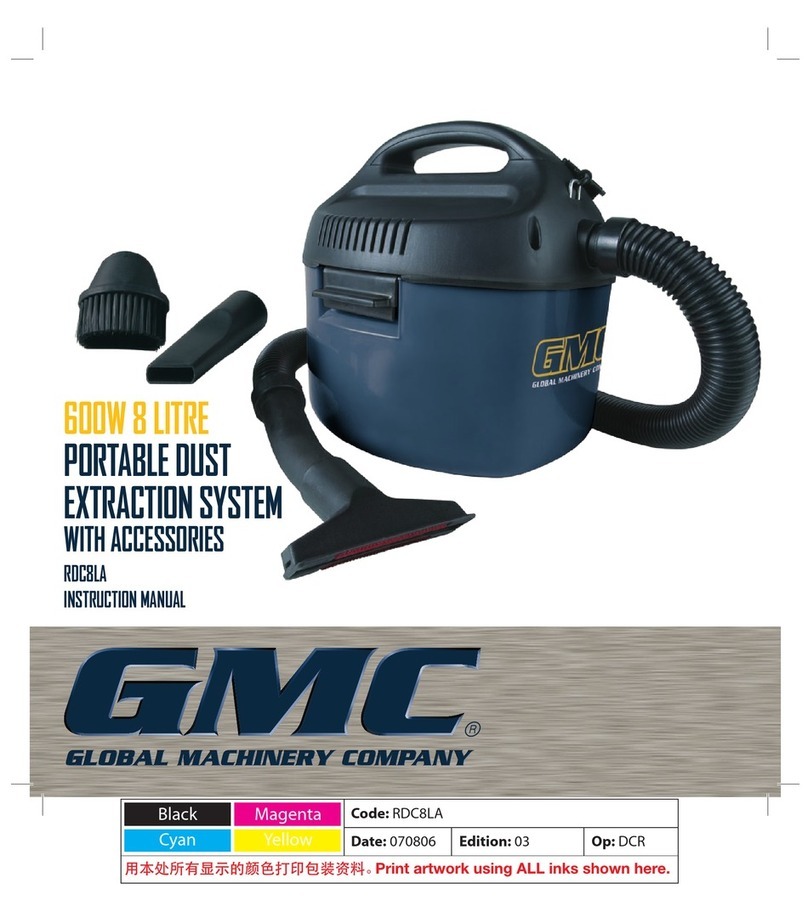
MADC20 Dust Collector
Includes:
• Cyclone dust collector with
collection bowl
• 5′ Vacuum Hose Assembly
• Top Connector
• 2 HEPA Filters
• Remote Cord for MALC15
• Remote Switch with 9′Cable
• Power Cord
Operation
Use the Dust Collector for ltering dust and
debris from grinding, sanding, bufng ling
and polishing on wood, stone, diestone, metal
and plastic. The unit is designed to run with the
cyclone which gives you ten times the lter bag
life, decreases maintenance and improves the
performance of the unit.
1. Periodically check the Clear Dust Collection
Bowl for build up.When it is half full you need to
empty it. Precious metals will be collected here
for later rening. Other debris should be disposed
of properly. To release the bowl, ip up the three
spring latches.When the bowl is clean, place it
back into position and reattach spring latches.
2. To change the HEPA Filter Bag, loosen (do
not remove), the four thumb screws located on
the top of the dust collector and turn the cover
clockwise to release the cover slots from the
thumb screws. Pull the lid with the lter bag from
the dust collector.
Next, unscrew and remove the two thumb screws
that hold the lter bag in place. Pull off the
old lter bag and insert the new bag over the
mounting tube and screw on the thumb screws
to hold the new lter in place.
Retighten the thumb screws.
Maintenance
1. Changing a Fuse
If the unit is not powering on, you should
check the fuse. The fuse and spare fuse
(8 amp, 5 x 20mm, medium time delay,
Bussman GMC-8A or equivalent) are stored in
the AC power cord receptacle on the front of the
unit. To check or change the fuse, follow these
directions:
Remove the power
cord from the Power Inlet to ex-
pose the fuse holder drawer. Use
the blade of a small screwdriver
in the slot of the fuse holder and
gently pry outward.The active
fuse is in the back of the drawer
and a spare fuse is in the front
compartment. If the glass case of
the active fuse is darkened, the
fuse is blown. From the underside
of the drawer, push out the blown
fuse using a small screwdriver.
Do not use a higher
ampere fuse.
MAX Fuse size is 8 Amps.
2. Changing Motor Brushes
Power decreases or inter-
mittent power may be a
sign that the motor brushes
need to be replaced.
To replace them be
sure to unplug the
power plug and the
remote plug.
A. Use a 2mm hex key to unscrew the 10 screws
holding the front panel on the unit, placing it to the
side without disconnecting
the wires.
B. Remove the two
Philips head motor mount-
ing screws on the motor
mounting bracket.
C. Carefully slide the
motor out of the housing.
Motor with
mounting
bracket
removed
D. Gently
remove the
electrical
connectors to
both motor
brushes.
Cyclone
dust
collector
Clear Dust
Collection
Bowl
Top Connector
Vacuum Hose
Assembly 5ft
MADCVH-5
2 HEPA Filters
MADC205
Hose Port
4 Mounting holes for Cyclone
Remote
Switch
with 9′
Cable
Assembly
1. Remove the unit and all components from box
and cross check with list above to make sure that
there is nothing missing.
2. Lay the dust collector on its left side and
remove the four screws to mount the cyclone
with bowl.
3. Align the mounting holes of the cyclone with
the dust collector, insert screws and tighten.
4. Place the dust collector upright on its casters.
5. Insert the Top Connector into the top of the
cyclone and top of the dust collector.
6. Connect the Vacuum Hose into the Hose
Port on the cyclone and the other end into a work
chamber, shmouth or other dust
collection device.
7. Check to make sure that the power switch is
in the off position and plug the power cord into
Power Inlet.The Power Switch has 3 positions
with ‘Manual On’ at the top, ‘Off’ in the center,
and ‘Remote On/Off’ for the bottom.The red light
is illuminated when the unit is on.
8. Plug the Remote Switch Cable into the Inlet
labelled ‘Remote’ and turn on the unit. Turning
the Vacuum Speed knob clockwise will increase
the speed of the motor and cfm of air moving
through the unit. The fan speed selected will
depend on the job at hand.
9. The dust collector is best used near the work
area, usually on the oor beneath your bench.
A 5’ long vacuum hose is supplied with the dust
collector. Additional extension hoses are available
(see back), but keep in mind that longer hose
lengths will reduce the suction of
the unit.
10. The remote control switch has a holder that
has a (PSA) pressure sensitive adhesive backing.
Just peel off the paper and press down the
remote holder in a convenient out of the way
location near your work area.
HEPA Filter
MADC205
Pry open
fuse drawer
Active
Fuse
Spare
Fuse
Power
Cord
Remote Cord for
connecting to
Foredom MALC15
or other compat-
ible equipment for
remote activation
Power
Inlet
with fuse
receptacle


