manuals.online logo
Brands
  1. Home
  2. •
  3. Brands
  4. •
  5. Forever Redwood
  6. •
  7. Lawn And Garden Equipment
  8. •
  9. Forever Redwood GARDEN PERGOLAS User manual

Forever Redwood GARDEN PERGOLAS User manual

Garden Pergolas www.foreverredwood.com
______________________________________________________
866.332.2403 (Toll Free); 8am-5pm Pacific Time, Monday-Friday
Assembly instructions for:
GARDEN PERGOLAS
Garden Pergolas www.foreverredwood.com
CONTENT OF BOXES
QUANTITY
DESCRIPTION
DRAWING
4
Posts
4
Dual Support Beams
(usually ship in 2 parts
that include blocking
timber(s) attached to
one of the 2 dual
supports
Quantity will vary
depending on size
Rafters
Quantity will vary
depending on size
Roof Slats
Quantity will vary
depending on size (if
you ordered with
lattice panels)
Roof Lattice Panels
4
Main Knee Braces
(strengthen union
between posts and
dual support timbers)
4
Secondary Knee
Braces (strengthens
union between posts
and rafters)
4
Trim pieces for
bottom of posts
Depending on size
Hardware: Bolts and
deck screws
Deck Screws Bolts, washers and nuts
4
(if you ordered)
Anchors (U brackets,
Gale Wind or
hurricane anchors)
Hurricane anchors
1
(if you ordered)
Ceiling Fan base
U
brackets
Gale
Wind
Garden Pergolas www.foreverredwood.com
ASSEMBLY INSTRUCTIONS
All Pergolas are completely erected in the shop prior to crating for shipping. All hardware is included. All parts
are fully sanded, routered, notched, drilled and numbered for ease of reassembly. The parts that go together
have the same numbers/letters written next to the predrilled holes they attach to.
All Pergola parts are notched into the part they connect to. You'll find the numbers next to the notches and/or
drill holes. Before beginning re-assembly, place the parts that go together on the ground with one another so
you don't have to be searching around in the middle of the reassembly. Most pergolas take less than one day
to reassemble with one helper. Very large pergolas (6 posts or larger) usually require a second day to finish up.
Note: print the drawings that you approved before start the construction, they are needed to see the
distances between the posts.
Step 1.Attach the post to the ground. There are different ways to do it. Please see the How to anchor
your pergola document.
Garden Pergolas www.foreverredwood.com
Step 2. Attach dual support beam to posts with four bolts (6 ”x 3/8”) washers & nuts. (Match numbers).
Tap the bolt all the way into the wood to set it, then add a washer and nut and lightly tighten.
Repeat this step with the other dual support beam.
One the 2 supports have one large beam already attached or a few 18” pieces depending on size, this add
support and strength to the structure. This beam must be in the interior of the support and bolted after you
attach the supports to posts as shown below:
Beam between the
supports
Attach with carriage bolts, washers
and nuts. The quantity of bolts
depends on supports length.
Garden Pergolas www.foreverredwood.com
Step 3. Attach corner rafter to posts with one bolt per post (6 ”x 3/8”) washers & nuts. (Match
numbers).Tap the bolt all the way into the wood to set it, then add a washer and nut and lightly tighten.
Repeat this step in the other side (Rafter and Posts).
Step 4. Attach secondary knee brace to post & rafter with two bolts, washers & nuts. (Match
numbers).Tap the bolt all the way into the wood to set it, then add a washer and nut and lightly tighten.
Repeat this step with the other end arch.
NOTE: if your pergola is with lattice roof , you will attach the secondary knee brace like this:
8”x 3/8” Bolt,
washers & nut.
4 ½” x 5/16” Bolt,
washers & nut.
8”x 3/8” Bolt,
washers & nut.
Garden Pergolas www.foreverredwood.com
Step 5. Attach main knee brace to post & dual support beam with two bolts, washers & nuts. (Match
numbers).Tap the bolt all the way into the wood to set it, then add a washer and nut and lightly tighten.
Repeat this step with the other main knee braces.
OPTION A: GARDEN PERGOLA WITH RAFTERS AND SLATS
Step 6. Attach rafters to dual support beams with galvanized deck screws (3" x #8) at 45 degree angles to
attach to the dual support beams. There are 8 screws used per rafter (2 per dual support beam). Make sure
each rafter's notches are snuggly into the dual support beams before adding the deck screws. The dual support
beams have lines marking the exact spot to attach the rafter. The interior rafters do not have numbers. They
are all cut identically and are interchangeable. Just make sure to stay to the markings on the dual support
beams to keep the spacing exactly the same (default rafter spacing is 18” on center unless custom ordered
differently). Start at one end and attach one rafter at a time from both sides and on both ends before moving
to the next rafter.And repeat the process in all Rafters.
8”x 3/8” Bolt,
washers & nut.
6”x 3/8” Bolt,
washers & nut.
Garden Pergolas www.foreverredwood.com
Step 7. Attach roof slats to rafters & with deck screws (3" x #8). The roof slats are all notched identically.
The roof slats are notched to mesh with the rafters. The rafter tops are marked in ink every 18 inches with 2
lines. Place one roof slat into the lines on one end and begin to attach. And repeat the process in all roof slats.
OPTION B: GARDEN PERGOLA WITH LATTICE PANELS
Step 8. Check you set of drawings and see if right on the center atop the rafters there is a roof lattice
panel or a slat. You must attach this piece first, and then continue attaching the side panels and slats. Use the
deck screws supplied. Attach each rafter to dual support beams, and attach the roof lattice panels to both dual
support beams and to the sides of the rafters. A screw every 2 or 3 feet is enough.
Thank you. If you have any questions, please call or email us.

Other Forever Redwood Lawn And Garden Equipment manuals
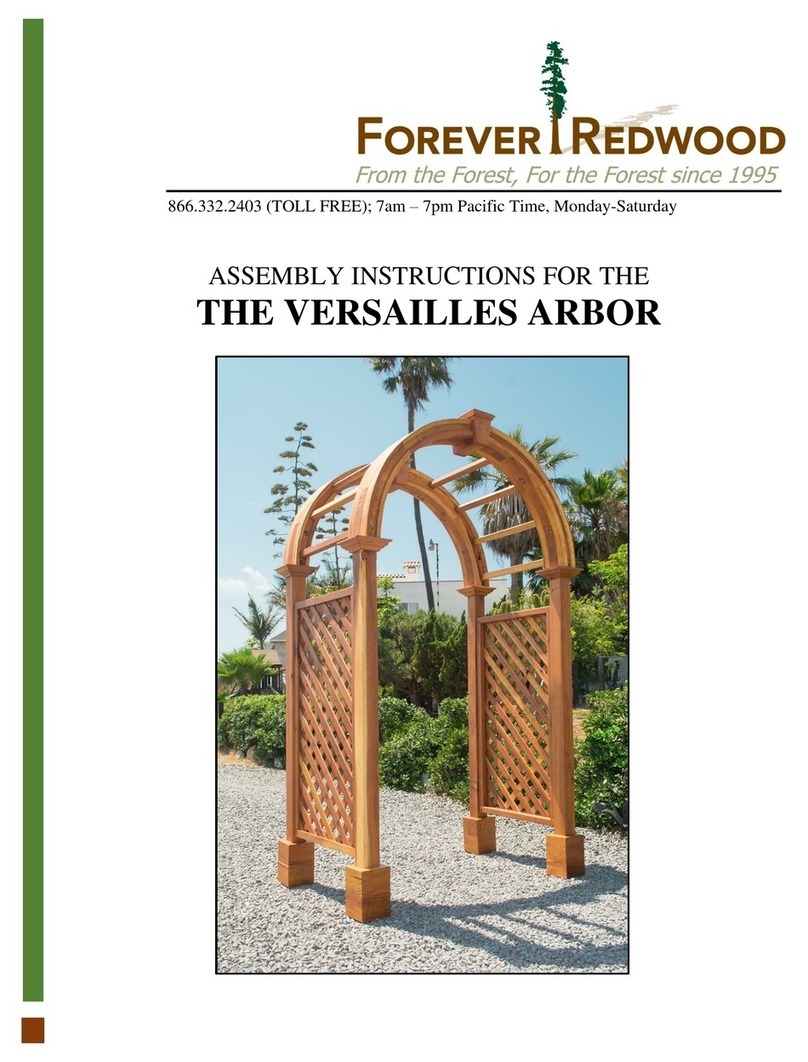
Forever Redwood THE VERSAILLES ARBOR User manual

Forever Redwood

Forever Redwood THE VERSAILLES ARBOR User manual

Forever Redwood Annapolis Arbor User manual

Forever Redwood

Forever Redwood Annapolis Arbor User manual

Forever Redwood CUSTUM THE BREEZY SMALL PAVILION User manual

Forever Redwood

Forever Redwood CUSTUM THE BREEZY SMALL PAVILION User manual

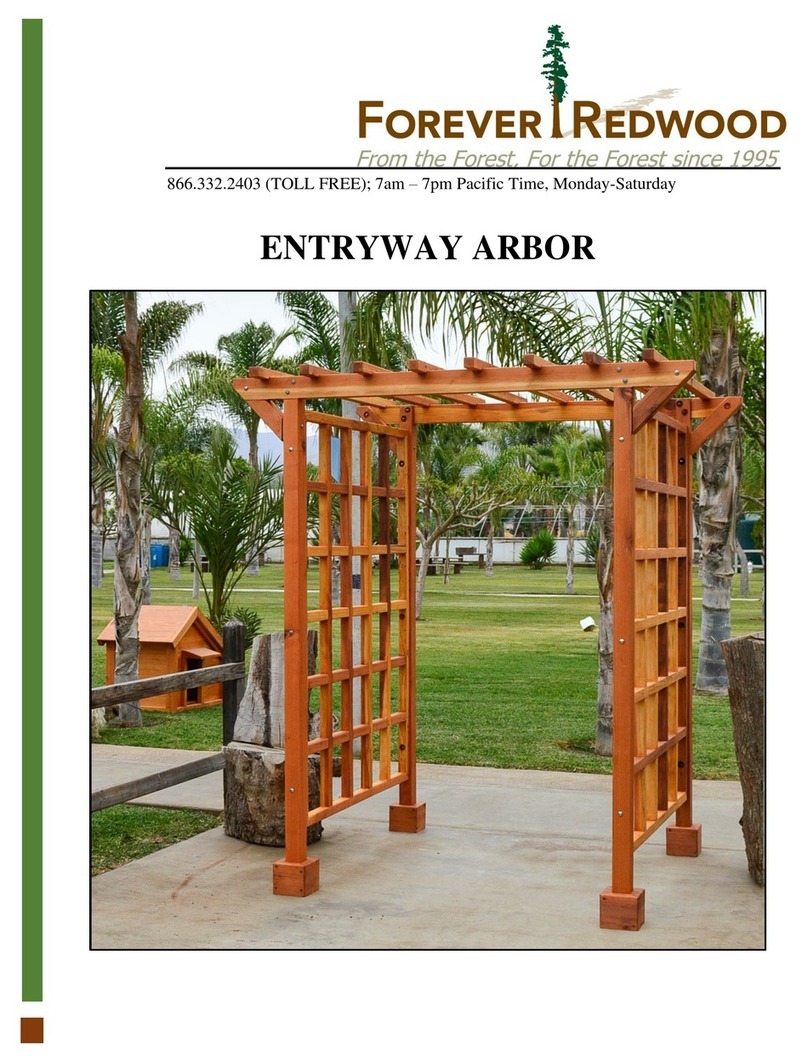
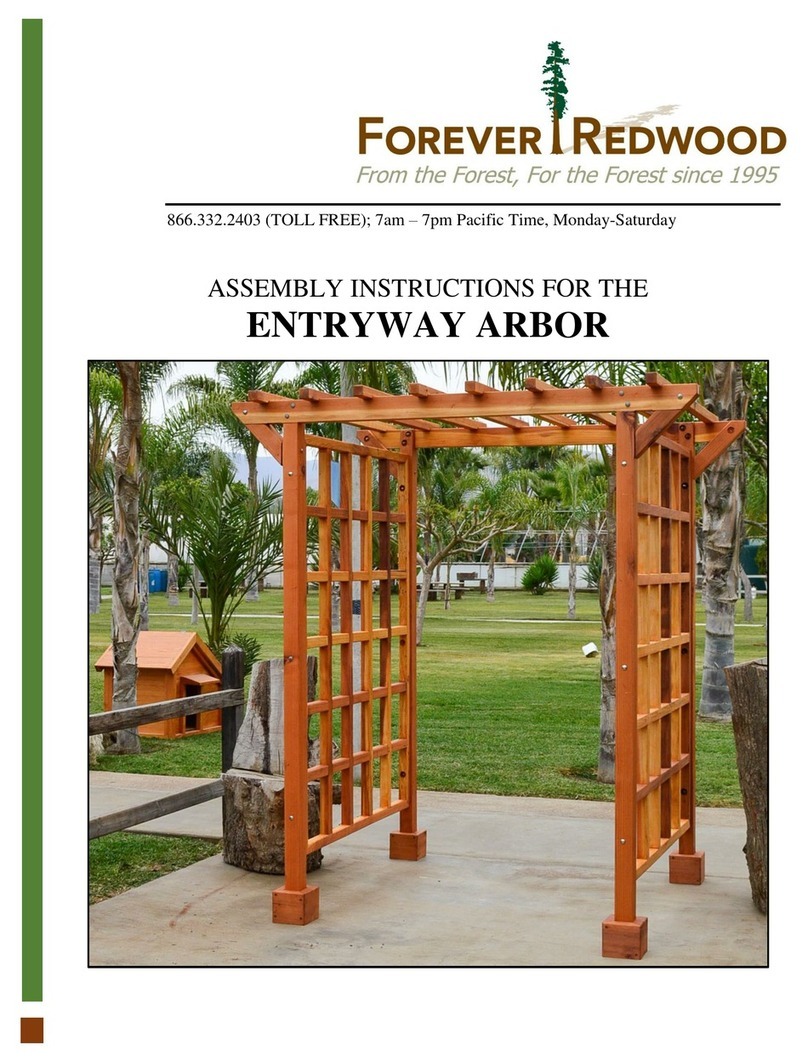
Forever Redwood ENTRYWAY ARBOR User manual

Forever Redwood

Forever Redwood ENTRYWAY ARBOR User manual

Forever Redwood SEBASTOPOL User manual

Forever Redwood

Forever Redwood SEBASTOPOL User manual

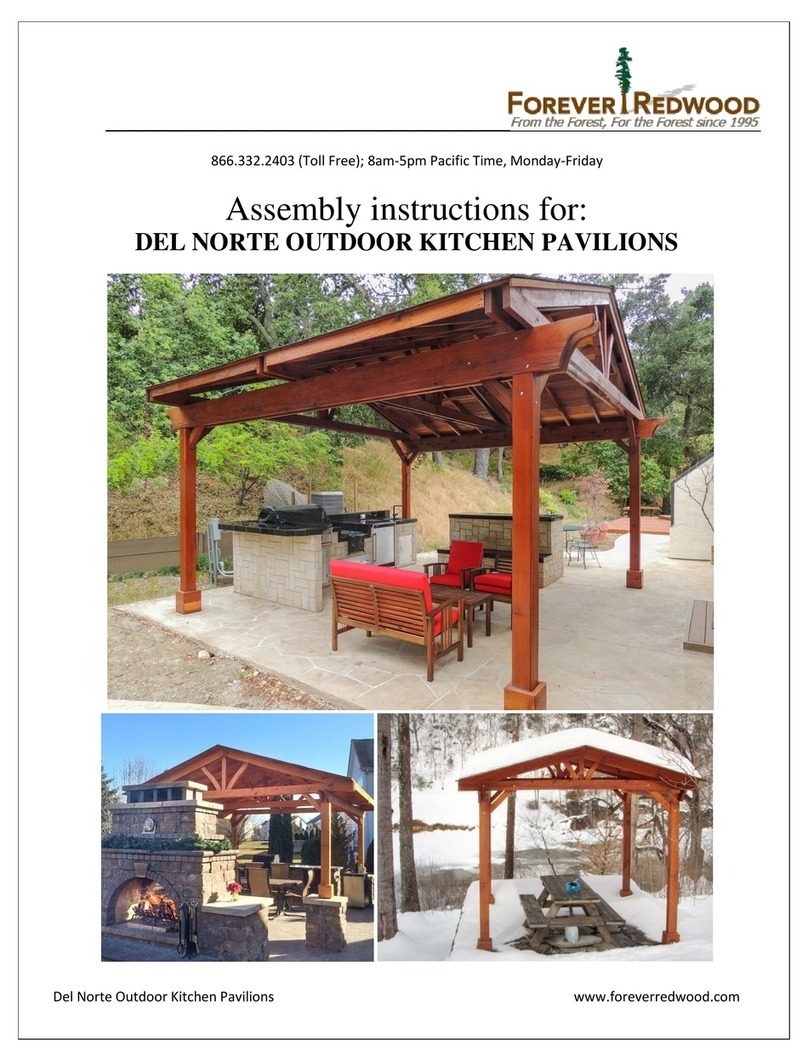
Forever Redwood DEL NORTE User manual

Forever Redwood

Forever Redwood DEL NORTE User manual
Forever Redwood ARCHED GARDEN ARBOR User manual
Forever Redwood

Forever Redwood ARCHED GARDEN ARBOR User manual

Forever Redwood ARCHED GARDEN ARBOR User manual

Forever Redwood

Forever Redwood ARCHED GARDEN ARBOR User manual

Popular Lawn And Garden Equipment manuals by other brands

Erskine Attachments EA10 Operator's manual

Erskine Attachments

Erskine Attachments EA10 Operator's manual

P.Lindberg Halley 2214 S Original manual

P.Lindberg

P.Lindberg Halley 2214 S Original manual

juwel PROFILINE Assembly instructions

juwel

juwel PROFILINE Assembly instructions

Coopers 10546 Instructions for use

Coopers

Coopers 10546 Instructions for use

Ribimex PRA/PB.1386 User and maintenance manual

Ribimex

Ribimex PRA/PB.1386 User and maintenance manual

Moskitrap GM968 instruction manual

Moskitrap

Moskitrap GM968 instruction manual

EINHELL GE-CR 30 Li Original operating instructions

EINHELL

EINHELL GE-CR 30 Li Original operating instructions

Gardena AccuCut Li Operator's manual

Gardena

Gardena AccuCut Li Operator's manual

aivituvin AIR 19 instruction manual

aivituvin

aivituvin AIR 19 instruction manual

Green Frog Designs green house staging user manual

Green Frog Designs

Green Frog Designs green house staging user manual

Stihl HSE 61 instruction manual

Stihl

Stihl HSE 61 instruction manual

Garland ULTIMATE KEEPER 20V 140 instruction manual

Garland

Garland ULTIMATE KEEPER 20V 140 instruction manual

Thulos TH-MK111 instruction manual

Thulos

Thulos TH-MK111 instruction manual

BCP SKY6598 instruction manual

BCP

BCP SKY6598 instruction manual

Grange CONTEMPORARY ARBOUR Assembly instructions

Grange

Grange CONTEMPORARY ARBOUR Assembly instructions

RainPoint ITV201P Faqs

RainPoint

RainPoint ITV201P Faqs

Isotronic 60020 Instructions for use

Isotronic

Isotronic 60020 Instructions for use

Ecotec Water Drops operating instructions

Ecotec

Ecotec Water Drops operating instructions

manuals.online logo
manuals.online logoBrands
  • About & Mission
  • Contact us
  • Privacy Policy
  • Terms and Conditions

Copyright 2025 Manuals.Online. All Rights Reserved.