manuals.online logo
Brands
  1. Home
  2. •
  3. Brands
  4. •
  5. Forever Redwood
  6. •
  7. Lawn And Garden Equipment
  8. •
  9. Forever Redwood CUSTUM THE BREEZY SMALL PAVILION User manual

Forever Redwood CUSTUM THE BREEZY SMALL PAVILION User manual

ASSEMBLY INSTRUCTIONS FOR THE
CUSTUM THE BREEZY SMALL
PAVILION
866.332.2403 (TOLL FREE) (707) 640.29.05 (Option 4) Direct Line for the
Design Department; 7am –7pm Pacific Time, Monday-Saturday
P| 1
CUSTOM THE BREEZY SMALL PAVILION
www.ForeverRedwood.com
NOTE: Assembly is best done by two people. To assemble your product, you need a Hammer, a Ratch or a wrench and if
required a Drill.
PROCESS TO INSTALL THE HARDWARE PROVIDED.
Required Tools (Are not included in your hardware packing).
To install the bolts.
Insert the carriage bolts into the holes and lightly tap with a hammer until the square neck fit in the wood piece and the bolt
head must flush with the wood piece. Finally, place the washer and the nut and carefully tighten it using a ratchet with the
necessary socket or a wrench.
P| 2
CUSTOM THE BREEZY SMALL PAVILION
www.ForeverRedwood.com
To install the lag bolts.
Place the washers in their lag bolts. After that, insert the lag bolts into the holes and carefully tighten it using a ratchet with
the necessary socket.
Use the washers only for the Wood Pieces.
To install the deck screws.
Insert the deck screws into the holes and carefully tighten it using a drill.
P| 3
CUSTOM THE BREEZY SMALL PAVILION
www.ForeverRedwood.com
CONTENT OF BOXES
No.
1
2
3
4
5
6
7
Drawing
Description
Posts
Single Supports
Supports with
In-Between Blocking
Roof Trusses
Main Knee Braces
Secondary Knee
Braces
Roof Panels
Qty.
4
2
2
3
4
4
4
P| 4
CUSTOM THE BREEZY SMALL PAVILION
www.ForeverRedwood.com
CONTENT OF BOXES
No.
8
9
10
Drawing
Description
Metal plaques
Boots
High wind anchor
Bases
Qty.
2
4
4
Note: Part numbers in the Content of Boxes Table are for reference only. These do not match to the numbers marked on the parts sent.
P| 5
CUSTOM THE BREEZY SMALL PAVILION
www.ForeverRedwood.com
HARDWARE LIST
No.
A
B
C
D
E
F
G
Drawing
Description
3/8'' X 3'' Lag Bolts
(To attach the posts to the anchor bases to the post/ To attach the
metal plates to the supports).
3/8´´ X 7 1/2´´ Bolts
(To attach the single supports to the posts. / To attach the single
supports to the supports with in-between blocking/ To attach the
knee braces to the supports and roof trusses).
5/16'' X 3'' Lag Bolts
(To attach the metal plaques to the supports/To attach the metal
plaques to the central roof trusses/to attach the central roof trusses to
the supports).
3/8´´ X 9 1/2´´ Bolts
(To attach the knee braces to the posts/To attach the roof panels to
the perimeter roof trusses).
3/8´´ X 9´´ Bolts
(To attach the roof panels to the central roof trusses).
3/8´´ x 10 1/2´´ bolts
(To attach the roof panels to the perimeter roof trusses).
3´´ deck screws
(To attach the roof boards to the roof trusses/to attach the boots to
the post).
Qty.
32
30
12
4
8
4
220
Note: Dimensions of your hardware will vary depending on size.
P| 6
CUSTOM THE BREEZY SMALL PAVILION
www.ForeverRedwood.com
No
1
2
3
4
5
6
7
8
9
10
DESCRIPTION
Posts
Single Supports
Supports with
In-Between Blocking
Roof Trusses
Main Knee Braces
Secondary Knee Braces
Roof Panels
Metal plaques
Boots
High wind bases
Note: Part numbers in the Drawing
are for reference only. These do not
match to the numbers marked on
the parts sent.
P| 7
CUSTOM THE BREEZY SMALL PAVILION
www.ForeverRedwood.com
NOTE: In order to know where the post needs to be placed, check the numbers on them. If the post is not marked, then place the
single Supports on the ground to locate the markings for each post position and clearly set your bearings. (“Don´t attach yet, only
place them on the ground to begin with”).
Note: Before install the anchor bases make sure that the ground is level using a carpenter's level or hydro-level (water level).
Step 1: Install the anchor bases (10). After that, set your post (1) in the saddle of the anchor bases (10). Drill a ø ¼´´ hole in the
post prior to anchoring to facilitate the ratcheting of the hardware. After that, use a 3/8´´ X 3´´ lag bolts (A) to attach each post to
its respective anchor bases (10).
Step 2: Attach the single supports (2) to the posts with 3/8´´´x 7 1/2´´ bolts (B). Check the marked on each support and place as
drawings shown.
Note: Don’t completely tighten yet the bolts –you will need the install the supports with in between blocking first.
SP-1
SP-2
P-4
P-1
P-2
P-3
10
3/8´´ X 3´´ Lag Bolts
3/8´´ X 7 1/2´´ Bolts
P| 8
CUSTOM THE BREEZY SMALL PAVILION
www.ForeverRedwood.com
Step 3: Put up the supports with in-between blocking (3), into the post notches as shown and attach to the posts with the single
support bolts. Check the marked on each support with in-between blocking and place as drawings shown.
Step 4: Attach the single supports to the supports with in-between blocking, use 3/8´´ X 7 1/2´´ bolts (B).
Note: return to the bolts described in the step 2 and tighten fully.
Note: put silicone in the support joins.
ISP-1
3/8´´ X 7 1/2´´ Bolts
ISP-4
P| 9
CUSTOM THE BREEZY SMALL PAVILION
www.ForeverRedwood.com
Step 5: Attach the Roof Trusses (4) to the posts with 3/8´´ x 7 1/2´´ bolts (B). Check the marked on each roof trusses and place
as drawings shown.
Note: put silicone in the roof trusses joins.
Step 6: Attach the metal plaques (8) to the supports with in-between blocking with 5/16´´ x 3´´ Lag Bolt (C).
GR-1
3/8´´ X 7 1/2´´ Bolts
8
5/16´´ X 3´´ Lag Bolt
GR-3
GR-2
GR-4
P| 10
CUSTOM THE BREEZY SMALL PAVILION
www.ForeverRedwood.com
Step 7: Attach the central Roof Trusses (4) to the metal plaques with 5/16´´ x 3´´ Lag Bolt (C). Check the marked on each roof
trusses and place as drawings shown.
Step 8: Attach the main knee braces (5) to the supports with 3/8´´ x 7 1/2´´ Bolts (B) and to the posts with 3/8´´ x 9 1/2´´ bolts
(D).Check the marked on each main knee braces and place as drawings shown.
3/8´´ X 7 1/2´´ Bolts
3/8´´ X 9 1/2´´ Bolts
BR-2
5/16´´ x 3´´ Lag Bolt
GR-5
GR-6
BR-7
BR-3
BR-6
P| 11
CUSTOM THE BREEZY SMALL PAVILION
www.ForeverRedwood.com
Step 9: Attach the secondary knee braces (6) to the Roof Trusses with 3/8´´ x 7 1/2´´ Bolts (B) and to the posts with 3/8´´ x 9
1/2´´ bolts (D).Check the marked on each secondary knee braces and place as drawings shown.
Step 10: Use 3/8´´ x 9´´ bolts (E) to attach the roof panels (7) to the perimeter Roof Trusses and 3/8´´ x 10 1/2´´ bolts (F) to
attach the roof panels (7) to the central Roof Trusses, as shown below. Check the marked on each roof panels and place as
drawings shown (PN-1 at PN-4).
3/8´´ X 7 1/2´´ Bolts
3/8´´ X 9 1/2´´ Bolts
3/8´´ X 9´´ Bolts
3/8´´ X 10 1/2´´ Bolts
PN-1
BR-1
BR-8
PN-4
P| 12
CUSTOM THE BREEZY SMALL PAVILION
www.ForeverRedwood.com
Step 11: Attach the roof boards to the Roof Trusses with 3´´ deck screws (G).
Step 12: Finally, attach the boots (9) to each post with 3´´ deck screws (G).
3´´ Deck Screws
3´´ Deck Screws
9
P| 13
CUSTOM THE BREEZY SMALL PAVILION
www.ForeverRedwood.com
This completes the Pavilion Assembly. Hope you enjoy your set for many decades. If you ever have a problem or a question,
don't hesitate to call us (866 332 2403) or email us. We are here to support you.

Other Forever Redwood Lawn And Garden Equipment manuals

Forever Redwood DEL NORTE User manual

Forever Redwood

Forever Redwood DEL NORTE User manual

Forever Redwood GARDEN PERGOLAS User manual

Forever Redwood

Forever Redwood GARDEN PERGOLAS User manual

Forever Redwood ARCHED GARDEN ARBOR User manual
Forever Redwood

Forever Redwood ARCHED GARDEN ARBOR User manual

Forever Redwood Annapolis Arbor User manual

Forever Redwood

Forever Redwood Annapolis Arbor User manual

Forever Redwood THE VERSAILLES ARBOR User manual

Forever Redwood

Forever Redwood THE VERSAILLES ARBOR User manual

Forever Redwood ARCHED GARDEN ARBOR User manual

Forever Redwood

Forever Redwood ARCHED GARDEN ARBOR User manual

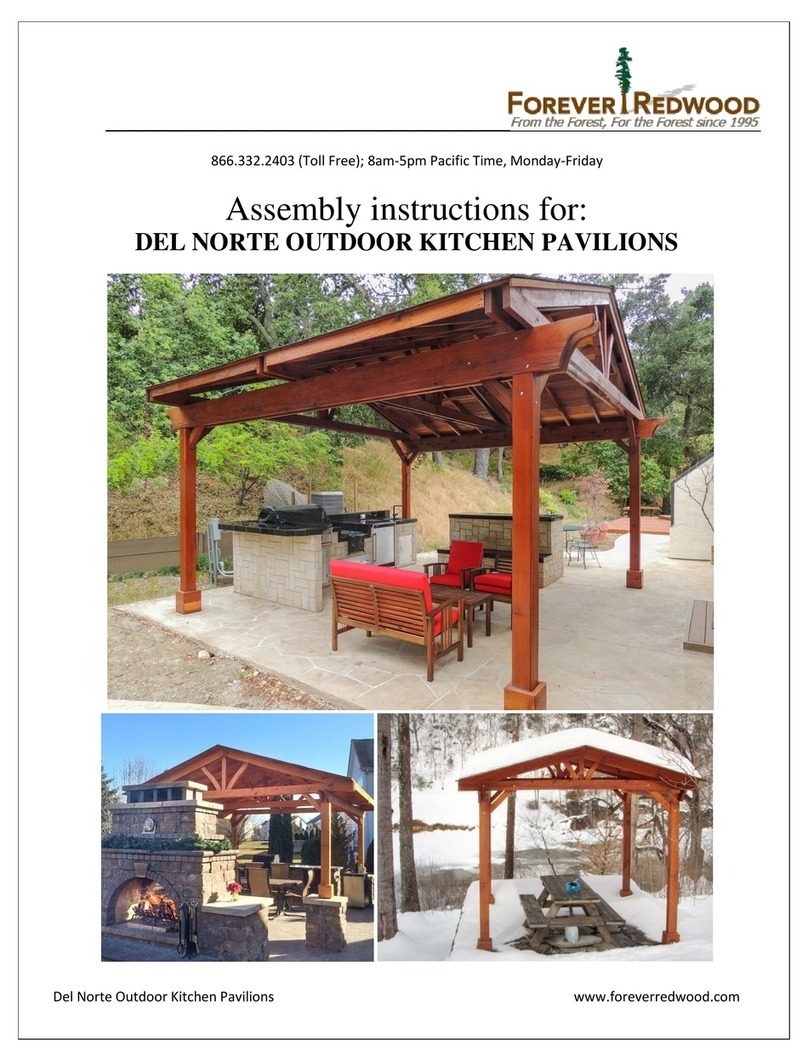
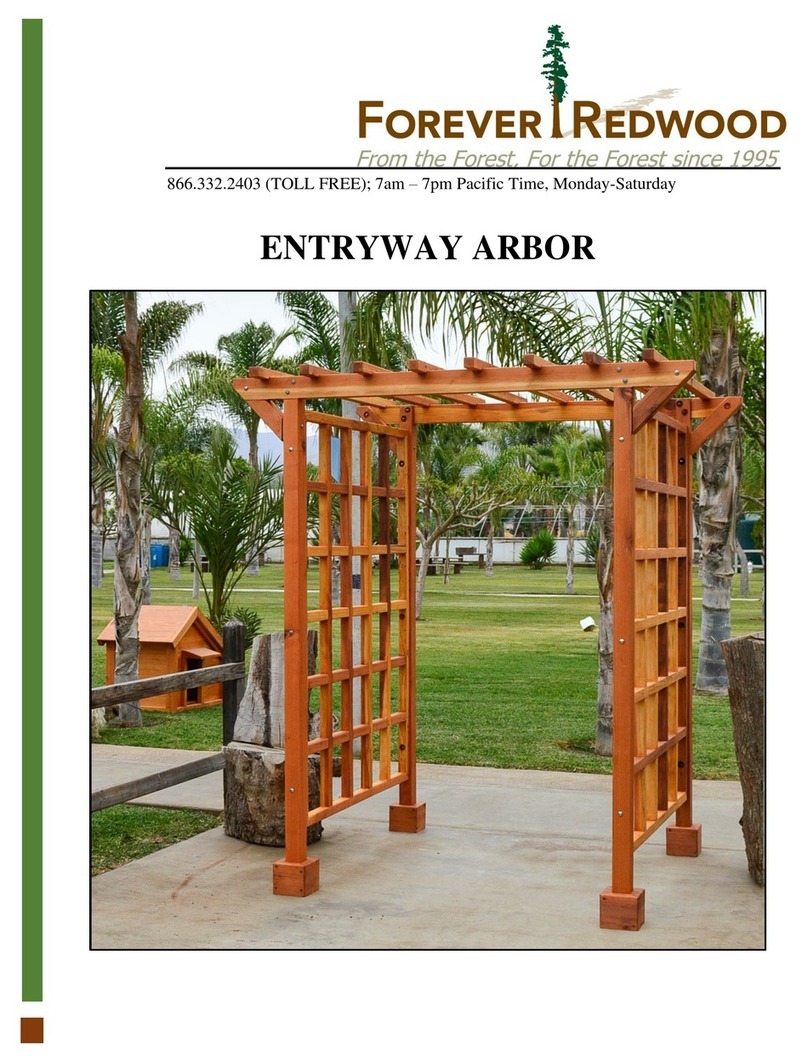
Forever Redwood ENTRYWAY ARBOR User manual
Forever Redwood

Forever Redwood ENTRYWAY ARBOR User manual

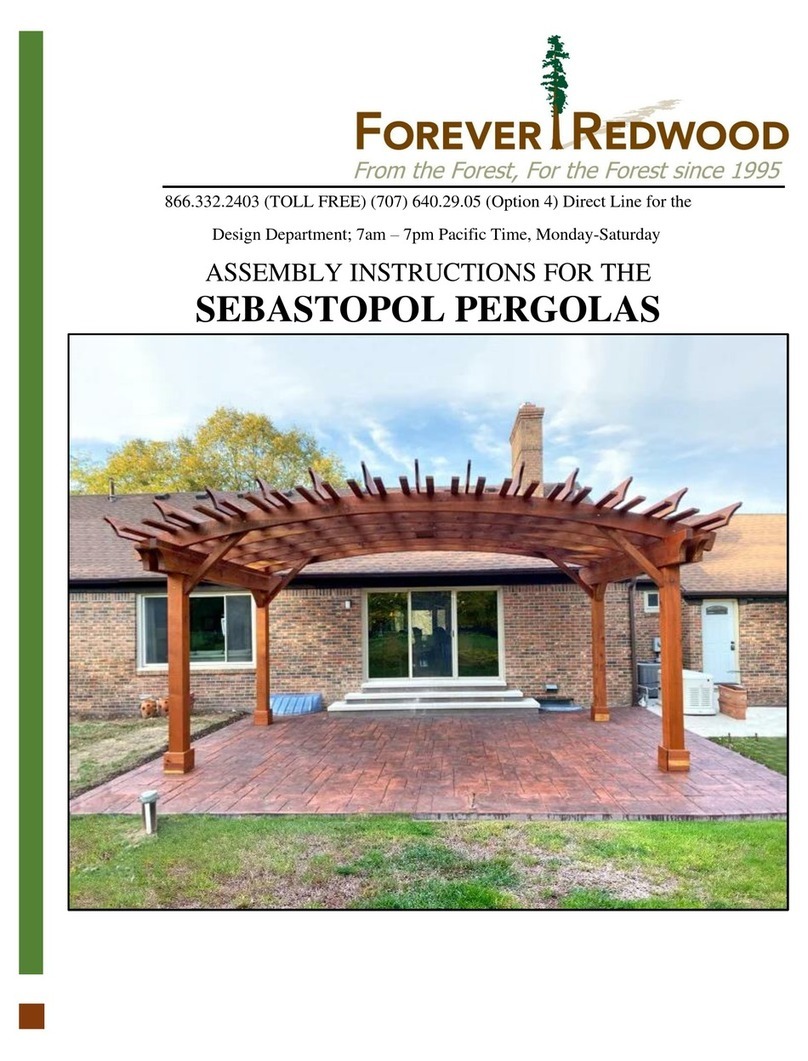
Forever Redwood SEBASTOPOL User manual
Forever Redwood

Forever Redwood SEBASTOPOL User manual

Popular Lawn And Garden Equipment manuals by other brands

Liberty Garden 1180 owner's manual

Liberty Garden

Liberty Garden 1180 owner's manual

Efco TR 1540 Operators instruction book

Efco

Efco TR 1540 Operators instruction book

Allied 295 Operator and parts manual

Allied

Allied 295 Operator and parts manual

Makita XGD01 instruction manual

Makita

Makita XGD01 instruction manual

ROQUES LECOEUR RL340 instruction manual

ROQUES LECOEUR

ROQUES LECOEUR RL340 instruction manual

Snapper Thatcherizer 63120 Operating & maintenance instructions

Snapper

Snapper Thatcherizer 63120 Operating & maintenance instructions

Bird Control Group Agrilaser Lite user manual

Bird Control Group

Bird Control Group Agrilaser Lite user manual

Vitavia Curve 401 Assembly instructions

Vitavia

Vitavia Curve 401 Assembly instructions

VEVOR GM61010-H user manual

VEVOR

VEVOR GM61010-H user manual

AeroGarden Farm 12 Assembly guide

AeroGarden

AeroGarden Farm 12 Assembly guide

Land Pride RTR1042 Operator's manual

Land Pride

Land Pride RTR1042 Operator's manual

Biogents Mosquitaire instruction manual

Biogents

Biogents Mosquitaire instruction manual

Aquatec Aquapro instruction manual

Aquatec

Aquatec Aquapro instruction manual

Hendi 270004 user manual

Hendi

Hendi 270004 user manual

Stihl SR 440 instruction manual

Stihl

Stihl SR 440 instruction manual

Connected Essentials CEP-30 user manual

Connected Essentials

Connected Essentials CEP-30 user manual

Craftsman 358.795630 Operator's manual

Craftsman

Craftsman 358.795630 Operator's manual

Oase Lunaqua 35 operating instructions

Oase

Oase Lunaqua 35 operating instructions

manuals.online logo
manuals.online logoBrands
  • About & Mission
  • Contact us
  • Privacy Policy
  • Terms and Conditions

Copyright 2025 Manuals.Online. All Rights Reserved.