FUNCTION
BURSTER
Moore 676/680 Burster bursts (breaks apart) single
and multi-part continuous forms and feeds them
sequentially onto the stacker.
SEQUENCE STACKER
Sequence stacker allows continuous runs of
forms without stopping burster to unload stacker
Web belts carry forms from burster output onto a
slanted grill where they are partially jogged for
removal.
SLITTER/TRIM CHOPPER
Slitter/trim chopper operates like the slitter unit
but also chops trim into short pieces, 4 to 5
inches long. The advantage in using the trim.
chopper is that it compacts trim in the
wastebasket.
MODEL NUMBERS
FD 676 Burster/Tractor Feed/Slitters/Base
FD 680 Burster/Imprinter/Tractor Feed/Slitters/
Base
DESCRIPTION
1
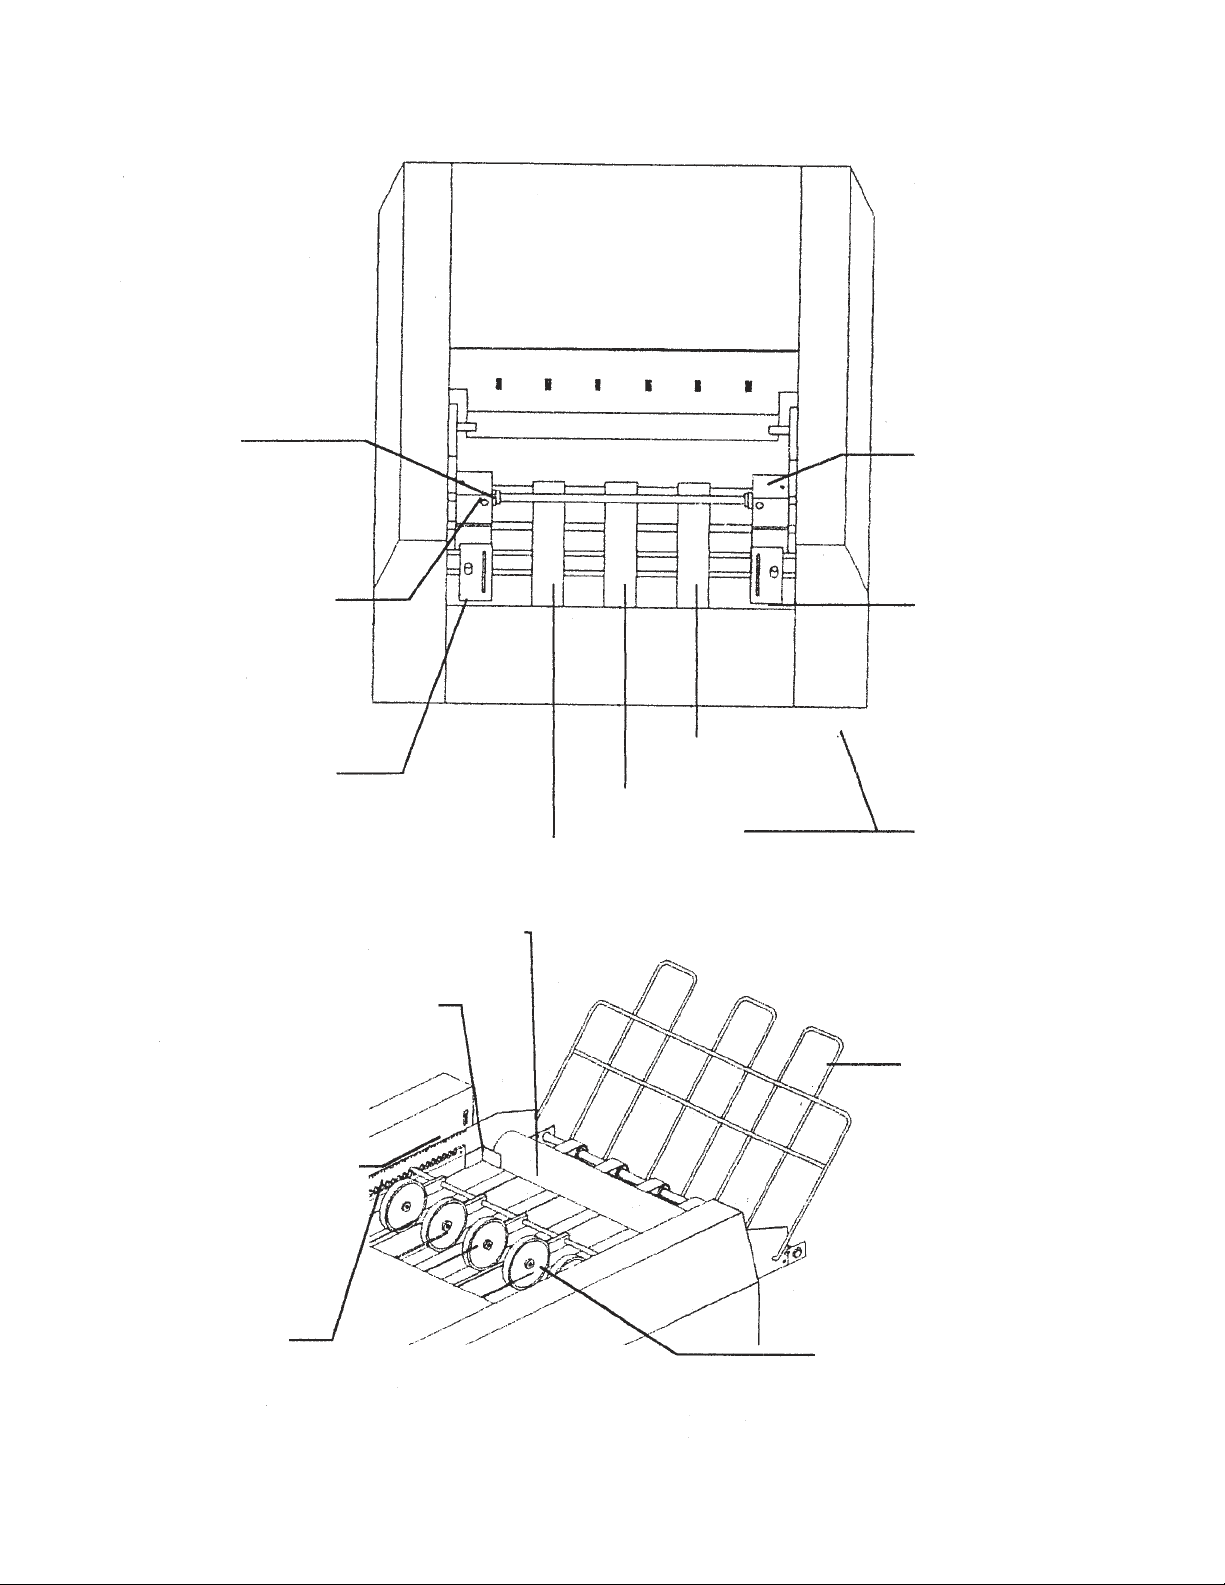
SLITTER
Slitter enables the operator to remove trim at
same speed forms are being burst.
IMPRINTER
Imprinter unit enables operator to print
signatures at same speed forms are being
burst.
POWER DROP STACKER
Optional power drop stacker collects forms in
one neat stack without need for operator
intervention at ouffeed end of the machine
during processing of each box of forms. The
power drop stacker has automatic, presetable,
shutoff.
BURSTER TABLE
Burster table has casters which allows
freedom of movement. Enclosed in the table
is a wastebasket to catch trim while slitting.
CENTER SLITTER
Makes a mid-form cut in forms as they are
burst.
OPTIONAL ACCESSORIES
FD680-06 Imprint Module (8”)
FD630-22 Tri-Color Ink Roller FD680-07 Imprint Module (8-1/2”)
FD630-31 Violet Ink Roller FD680-08 Imprint Module (10”)
FD630-32 Green Ink Roller FD680-09 Imprint Module (11”)
FD630-33 Red Ink Roller FD680-10 Imprint Module (12”)
FD670-10 Power on-off Key Lock FD680-11 Imprint Module (14”)
FD670-18 Last Form Switch FD680-14 Imprint Module (10-1/2”)
FD670-19 Last Form Timed Out FD680-15 Imprint Module (7-1/4”)
FD670-24 Photo Cell Counter FD680-21 Signature Saddle (6”)
FD670-40 Extra Wide Slitter L. FD680-22 Signature Saddle (6-1/2”)
FD670-42 Extra Wide Slitter R. FD680-23 Signature Saddle (6-2/3”)
FD670-44 Vertical Folder FD680-24 Signature Saddle (7”)
FD670-70 Margin Trim Chopper FD680-25 Signature Saddle (7-113”)
FD670-77 Center Slitter FD680-26 Signature Saddle (8”)
FD670-80 Power Slacker (17”) FD680-27 Signature Saddle (8-1/2”)
FD670-87 Stacker Control Wheel Assy. FD680-28 Signature Saddle (10”)
FD670-88 Infeed Static Eliminator FD680-29 Signature Saddle (11 “)
FD680-01 Imprint Module (6”) FD680-30 Signature Saddle (12”)
FD680-02 Imprint Module (6-1/2”) FD680-31 Signature Saddle (14”)
FD680-03 Imprint Module (6-2/3”)
FD680-04 Imprint Module (7”)
FD680-05 Imprint Module ( 7-1/3”)