3
3RIVERSTM PEDESTRIAN
SURFACE MOUNT INSTALLATION & WIRING INSTRUCTIONS
page 1 of 4 | 10-07-20
© 2020 Forms+Surfaces® | All dimensions are nominal. Specifications and pricing subject to change without notice. For the most current version of this document, please refer to our website at www.forms-surfaces.com.
T 800.451.0410 | www.forms-surfaces.com
TOOLS NEEDEDMATERIALS INCLUDED
STEP BY STEP
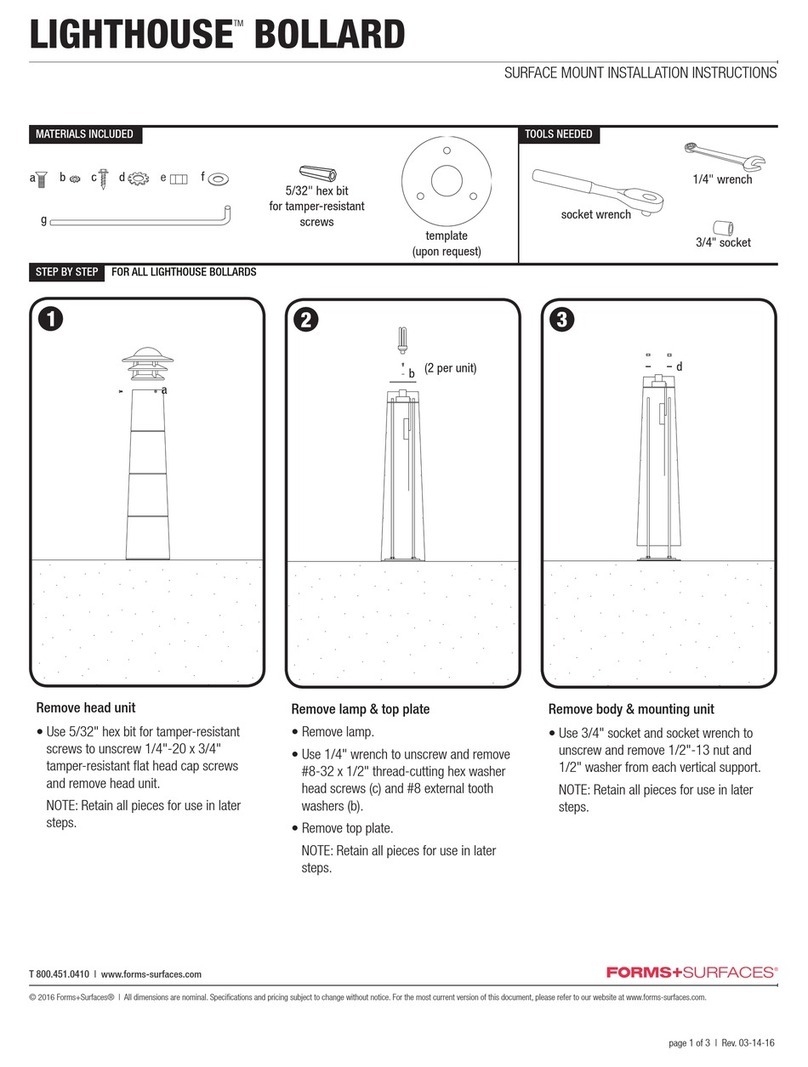
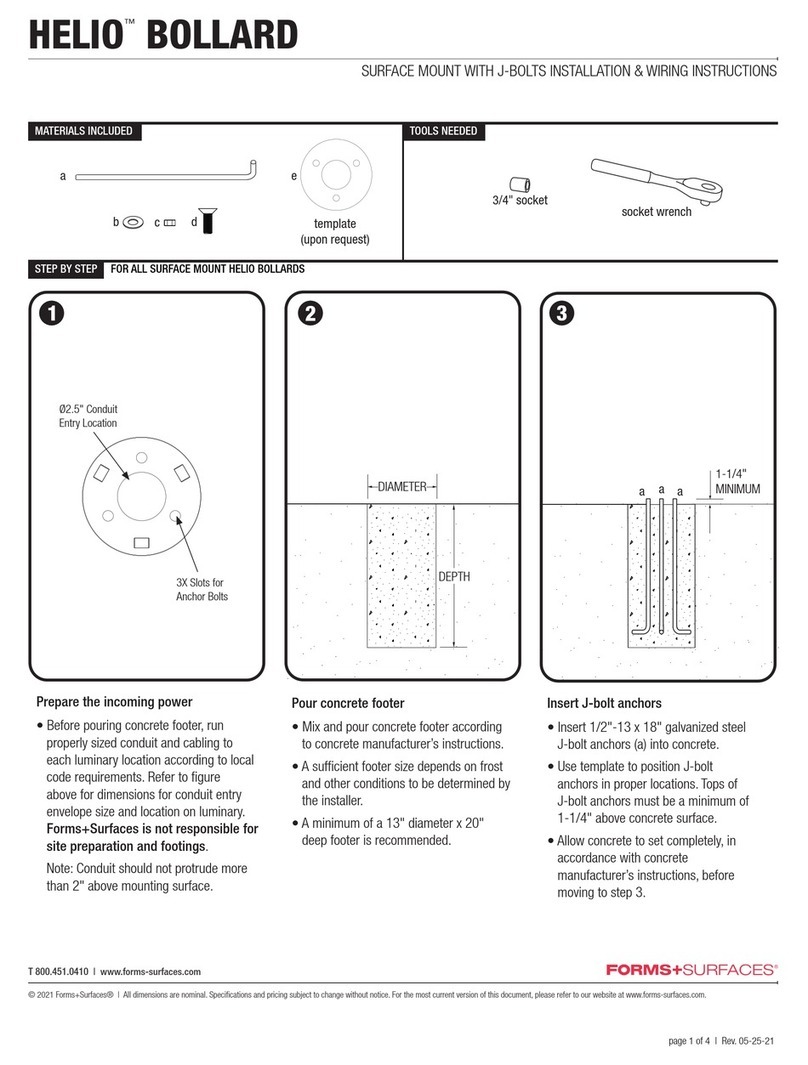
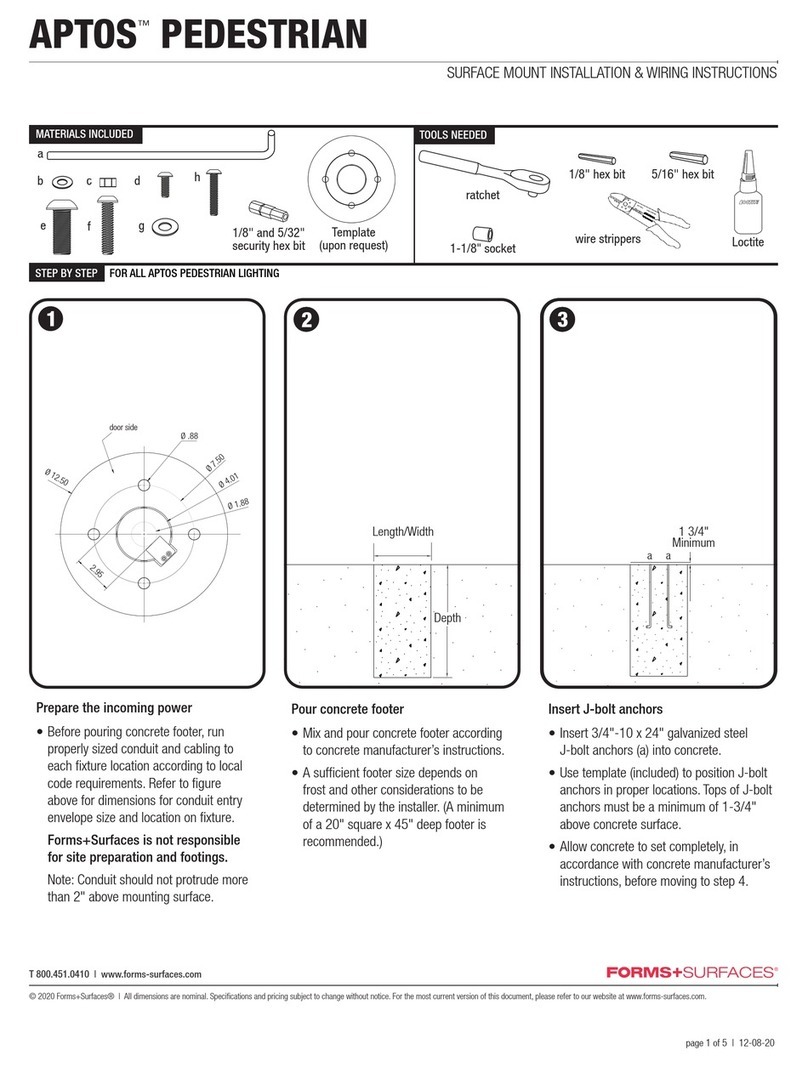
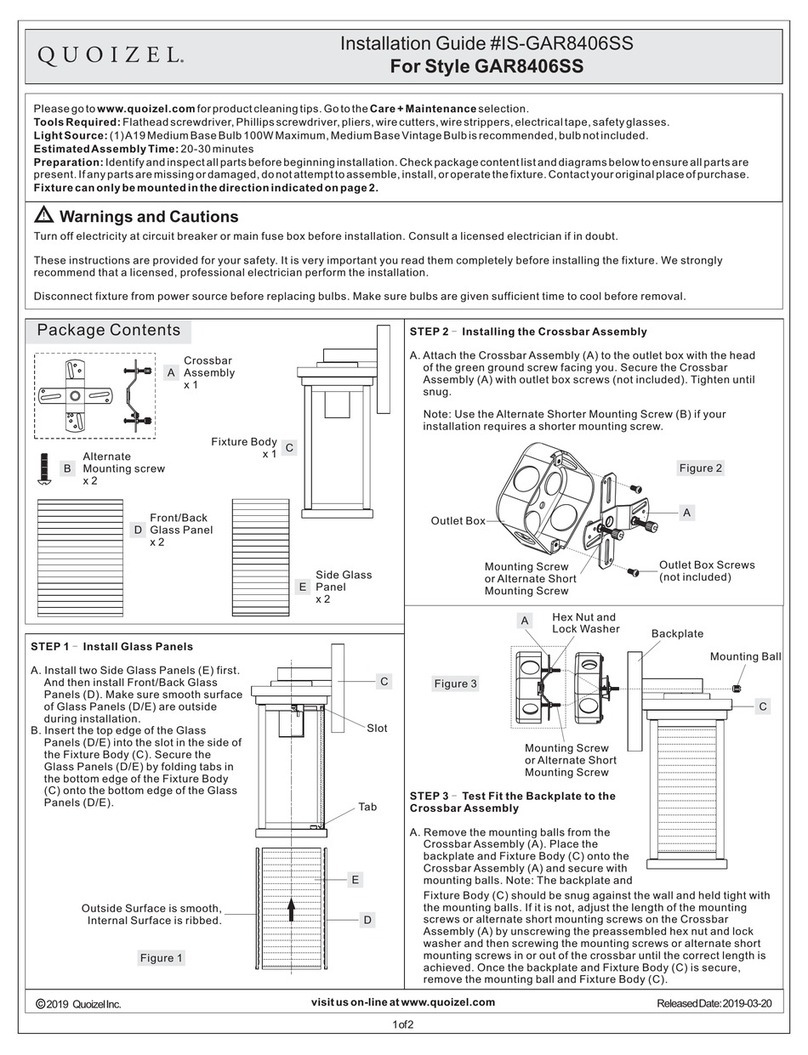
Prepare the incoming power
• Before pouring concrete footer, run
properly sized conduit and cabling to
each luminary location according to local
code requirements. Refer to figure above
for dimensions for conduit entry
envelope size and location on luminary.
Forms+Surfaces is not responsible
for site preparation and footings.
Note: Conduit should not protrude more
than 2” above mounting surface.
FOR ALL 3RIVERS PEDESTRIAN LIGHTING
ratchet
wire strippers 1-1/8"socket
c
b
a
template
(upon request)
1/8" hex bit 5/32" hex bit
de
5.5"
J-bolt
anchor
6"
11"
Conduit entry
location
(center inside
J-bolt)
f
g
h
i
1/2" hex bit
3/8" hex bit
5/16" hex bit
LOCTITE®243TM
thread locker
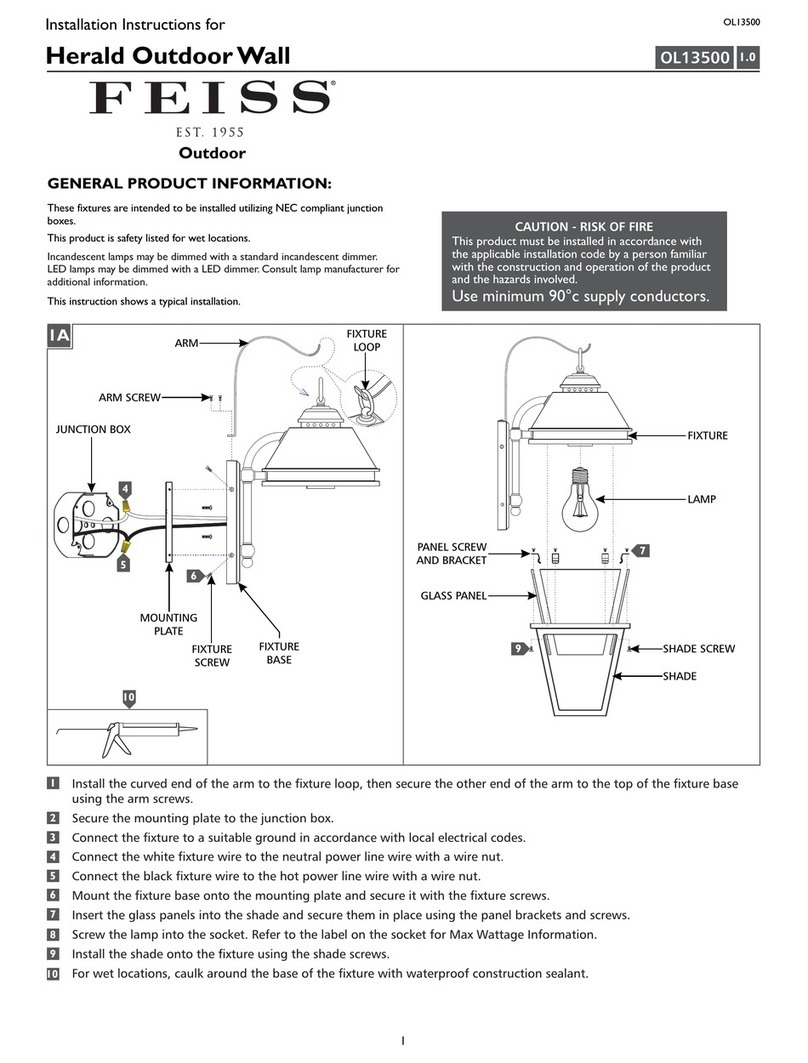
Attach reflector arm
• Position reflector arm on fixture.
• Install 1/2” -13, 1-3/4” socket head
screw (f) with 3/8” hex bit and ratchet,
using LOCTITE®243TM thread locker
or similar on fastener threads. Hand
snug only; do not overtighten.
• Install 1/2”-13, 2-1/2” flat head screw
(g) with 5/16” hex bit and ratchet, using
LOCTITE®243TM thread locker or similar
on fastener threads. Hand snug only; do
not overtighten.
Attach reflector
• Position reflector on reflector arm,
ensuring that 3/4” star washer (h) is
between the parts.
• Install 3/4-10, 2” flat head screw with
1/2” hex bit and torque wrench, using
LOCTITE®243TM thread locker
or similar on fastener threads. Torque
to 70 ft-lbs; do not overtighten.
2
