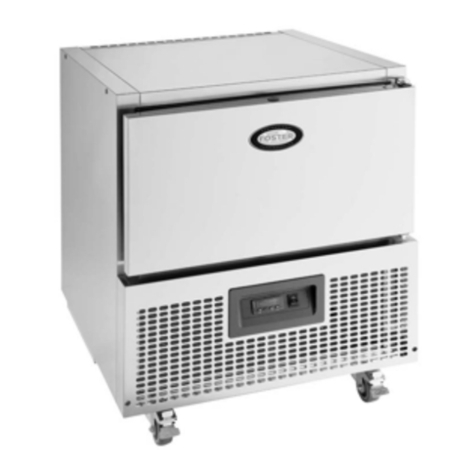
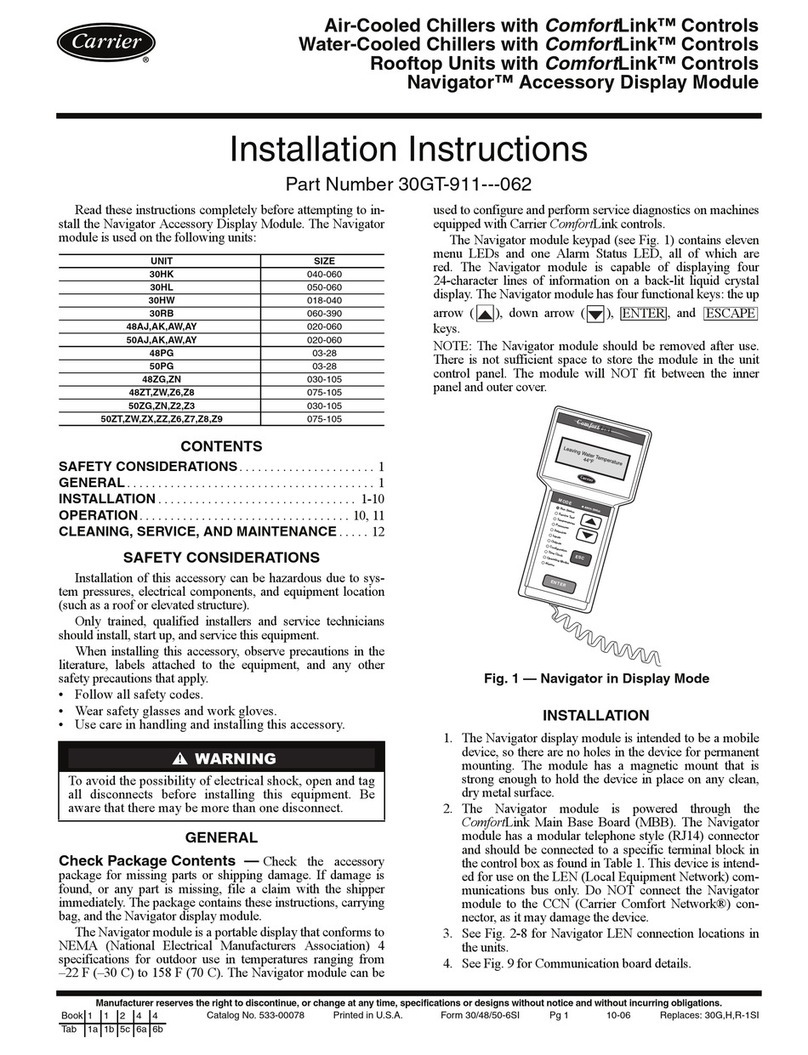
Foster FMPRO900NG User manual

Muldeck Display Chillers
Slim 700, 900, 1200, 1500 & 1800 NG & RF models,
Pro 900, 1200, 1500 & 1800 NG & RF models
AD2-28 Controller & RU33 Display
By Appointment to
Her Majesty Queen Elizabeth II
Suppliers of Commercial Refrigeraon
Foster Refrigerator, King’s Lynn
Foster Refrigerator
Oldmedow Road
King’s Lynn
Norfolk, PE30 4JU
United Kingdom
A division of ITW Ltd
ISO 9001
ISO 14001
English
00-556423 December 2019 Issue 6
Call: +44 (0)1553 691 122 www.fosterrefrigerator.co.ukEmail: support@foster-gamko.com
Original Instrucons

English
Models Applicable to This Manual
FMPRO900NG FMSLIM700NG
FMPRO1200NG FMSLIM900NG
FMPRO1500NG FMSLIM1200NG
FMPRO1800NG FMSLIM1500NG
FMSLIM1800NG
FMPRO900NGSTB
FMPRO1200NGSTB FMSLIM1200NGSTB
FMPRO900RF FMSLIM700RF
FMPRO1200RF FMSLIM900RF
FMPRO1500RF FMSLIM1200RF
FMPRO1800RF FMSLIM1500RF
FMSLIM1800RF
FMPRO1200RFSTB
Climate Class
Climate class is indicated on the serial plate, shows the temperature & humidity at which this appliance has
been tested, for the purposes of establishing values in line with European standards.
Important Note to the Installer:
Please ensure that this document is passed to the user as it
contains important guidelines on operaon, loading, cleaning and
general maintenance and should be kept for reference.
Electrical Safety
Foster Refrigerator recommends that the equipment is electrically connected via a Residual Current Device;
such as a Residual Current Circuit Breaker (RCCB) type socket, or through a Residual Current Circuit Breaker with
Overload Protecon (RCBO) supplied circuit.
Should it be necessary to replace the fuse. The replacement fuse must be of the value stated on the serial label
for the cabinet.
1
Post October 2019 Versions (Post E5562277)
Pre October 2019 Versions
FMPRO900NG FMSLIM700NG
FMPRO1200NG FMSLIM900NG
FMPRO1500NG FMSLIM1200NG
FMPRO1800NG FMSLIM1500NG
FMSLIM1800NG
FMPRO900NGSTB
FMPRO1200NGSTB FMSLIM1200NGSTB
FMPRO900RF FMSLIM700RF
FMPRO1200RF FMSLIM900RF
FMPRO1500RF FMSLIM1200RF
FMPRO1800RF FMSLIM1500RF
FMSLIM1800RF
FMPRO1200RFSTB
General Safety
Do not store explosive substances such as aerosol cans with a ammable propellant in this appliance.
Keep all venlaon openings in the appliance or in the structure of a built in unit clear of any obstrucons.
Do not use electrical appliances inside the storage compartment.
The moving of the appliance should be carried out by competent personnel, ensure that two or more people are
used to guide and support the appliance, the appliance should not be moved over uneven surfaces.
The emied sound level of this appliance is below 70db(A).

English
To ensure stability the appliance should be located on a at, level surface, correctly loaded with the castors
locked.
If the supply cord is damaged, it must be replaced by the manufacturer, it’s service agent or similarly qualied
persons in order to avoid hazards.
Care should be taken to avoid prolonged contact with cold surfaces with unprotected body parts, Correct PPE to
be used at all me.
When moving the appliance appropriate gloves should be worn, and a relevant risk assessmeny carried out.
2
Start-Up and Operaon
Aer unpacking leave to stand for 60 minutes and clean before turning on (cleaning direcons are supplied
within this manual). Posion the Muldeck with care on a level, at, solid surface area.
Avoid cold air from air condioning units & direct sunlight as these factors will aect the units’ performance.
Warm air is produced from the rear of the unit & for this reason please leave a breathing area around the unit
as follows:
Gap
Posion
Gap
Measurement
Relevant
Models
Each Side of the Unit to Wall or next Unit. 10mm Slim & Pro
Top of Unit to Ceiling (No Rear Venlaon)* 80mm Slim & Pro
Top of Unit to Ceiling (With Rear Venlaon) 10mm Slim & Pro
Rear of Units Wall Spacer to Wall 60mm Slim
Rear of Units Wall Spacer to Wall 20mm Pro
*When posioned into a recess or similar small area.
Insert the mains plug into the wall socket and switch on. Please do not plug or unplug the unit with wet hands.
The Muldeck will start automacally, displaying the actual internal temperature of the unit (area where
product is displayed). All models are pre-set at +3° C to +5°C, so no adjustments are required.
Allow the Muldeck to reach its normal operang temperature before loading.
With an interrupon to the main power supply, the Muldeck will re-start automacally aer power is restored.
The vaporiser tray (at the base of the unit) may overow during a power cut but this is dependent on the length
of me the power is o.
Standby
Pressing this buon for 3 seconds will allow the unit to be turned on or put into standby.
Display Icons and Switches
Funcon Icons
Buons/Switches
Temperature Display
Disposal Requirements
If not disposed of properly all refrigerators have components that can be harmful to the environment. All
old refrigerators must be disposed of by appropriately registered and licensed waste contractors, and in
accordance with naonal laws and regulaons.

English
3
Alarms/ Warnings
Unit Low Temperature Alarm T1 Air probe failure
Unit High Temperature Alarm T2 Evaporator probe failure
High pressure alarm (Mains lights will go o). T3 Product probe failure
Controller in Standy-by Defrost in progress
Keypad Locked
Info/Set Point Buon Increase Buon/ Lights On/O
Manual Defrost/ Decrease Buon Exit/ Standby Buon
Compressor Output Alarm
Fan Output Defrost Output
Light Output
Funcon Icons and Buons/ Switches
Set Point Display
Press buon briey (at least half a second) to display the set point.
Keypad Security Sengs
Press & release then select to show ‘LOC’. Press and hold to change from ‘YES’ to ‘NO’. Leave for 10
seconds or briey press to resume to normal operaon.
Internal Light
When pressed and released this buon will switch on and o the display lights, with the unit running or in
standby mode. If the lights do not come on this may be due to a fault warning, please see the troubleshoong
secon for more details.
Shelves and Supports
On delivery of the Muldeck these parts are supplied wrapped inside the unit on the base shelf. These will
require cleaning and ng at rst install.
Supports can be ed at three dierent angles, allowing the
shelf to be lted or level. Each shelf requires two supports
(unless on a 1500 or 1800 model then a third centre support is
also required).
Slot the rst support into one side of the ladderacking at the
height and angle the shelf will be required. Repeat this on the
opposite side at the same posion and angle (do the same for
the centre support if applicable).
Always remember that you will need to allow for breathing
space around, not only the shelves, but the product. Remember to leave enough space between the supports
when posioning on the ladderack.

English
Shelves are ed when the supports are in place. Hold the shelf level and above the supports making sure the
at surface is facing upwards. Posion the supports so that they sit in the recess between the edge of the shelf
and central moulding. When posioned correctly the shelf will drop down onto the supports and be secure.
The base shelf will already be ed but can be removed by liing straight up and away. This does not have any
supports and should not be removed when the unit is energised.
4
Ticket Strips can be ed when shelves are in situ or before
ng. These plasc mouldings are placed on the front of each
shelf by rstly hooking underneath then once gripped pushing
onto the shelf facet in an upwards moon. Make sure that all
of the strip has secured itself to the shelf and is secure.
All these parts are removable by carrying out the above
instrucons in reverse. This should be carried out at regular
intervals for cleaning purposes.
Slimline
NG & RF Models 700 900 1200 1500 1800
330ml Drink Can
Capacity
216
(54 per shelf)
288
(72 per shelf)
384
(96 per shelf)
504
(126 per shelf)
624
(156 per shelf)
Pro
NG & RF Models 700 900 1200 1500 1800
330ml drink can
capacity
420
(84 per shelf)
560
(112 per shelf)
735
(147 per shelf)
910
(182 per shelf)
(Calculated as a single stack of cans per shelf)
Make sure air can circulate around & through the product do not cover the base shelf’s front grill. Maintain
space between the top of the product and the shelf above. Product must be cold before loading - Muldecks
are designed to maintain the merchandise temperature and not chill product from room temperature.
Shuers and Nightblinds
Shuers are slaed solid covers that roll down in a single moon and then retract by being pushed upwards. To
avoid damage, do not let go of the shuer when opening or closing. To lock insert the key & turn through 180°
unl you hear the lock click into place (keys should be kept out of the reach of the general public & especially
children).
Nightblinds are fabric covers without locks and pull down in a single, smooth moon; a mechanism in the roller
and a securing latch on the front of the unit then stops the blind from retracng.
To retract, simply unhook the blind from the front securing latch and pull down gently on the blind, which in
turn triggers the mechanism to retract back up towards the top of the unit. To avoid damage, guide the blind
when retracng by gently holding onto the blind handle.
When the Muldeck is not required to display product, the shuer or blind should be closed fully. This will
conserve energy used by the unit, maintain product temperature and hide merchandise from view.

English
5
Fing Undershelf Lighng
If you are ng undershelf light to the cabinet for the rst me follow the guide below.
The Undershelf LED comes
ed with the brackets.
Hang the LED on the bracket,
in the allocated cutout
Clips should be posioned to
angle the LEDS back as shown
Ret Shelving over the bracket/LED Plug the LED into the clipped cable tree branches.
Repeat process for the remaining shelves

English
6
Defrost
The Muldeck automacally defrosts at regular me intervals, lasng a maximum of 20 minutes during which
will show. Defrost can be manually acvated by pressing and holding .
Cleaning and Maintenance
Important: Before cleaning the power supply should be turned o at the mains, please do not plug or
unplug the unit with wet hands. Only when cleaning has been completed and the unit is dry may the
Muldeck be turned back on at the mains.
Regular Maintenance:
> Air circulang in the unit should feel noceably cooler than the ambient temperature.
> As and when required, remove all product and shelving from the unit (including the base shelf – beware
of cold and or sharp components) . Clean exterior and interior surfaces with mild liquid detergent,
following the direcons on the pack at all mes. Clean surfaces with a damp cloth and clean water. Never
use wire wool or scouring pads/powders as these may cause damage.
> Clean the condenser at least once a month (it is located behind the front grille). Remove the 3 screws
at the base of the panel and drop it downwards (beware of hot and possible sharp components behind
the grille). DO NOT use a wire brush to clean the condenser only use a so brush or vacuum cleaner
to remove dirt/dust. If there are any stubborn grease deposits le on or through the condenser, call
your supplier to carry out a full service (this is normally a chargeable service). Re-t the front grille aer
cleaning.
> Failure to maintain the condenser will cause premature failure of the motor/compressor and in turn
cause premature failure of the unit. This will invalidate the warranty of the unit and its parts.
Troubleshoong
Before calling your supplier please make sure that:
> The plug is in the socket and the mains power supply is switched on i.e. are the lights and fans working?
> The fuse for the unit has not blown
> Are the lights working or able to be turned on? If not this may be due to high pressure
> The unit is posioned correctly – cold air from air condioning units & direct sunlight can aect `
performance
> The condenser is clean and not blocked
> The products are placed in the unit correctly
> The units’ air curtain is not obstructed
> Defrost is not in progress
> Check at regular intervals that the operang noise of the unit is normal and the condenser is clean
If the reason for the malfuncon cannot be idened, disconnect the electrical supply to the unit and contact
your supplier.
When requesng a service call quote the model and serial number which can be found on the silver label
located on the ceiling of the unit (starts E5…….).

UK Head Oce
Foster Refrigerator
Oldmedow Road
Kings Lynn
Norfolk
PE30 4JU
a Division of ITW (UK) Ltd
Tel: +44 (0)1553 691 122
Email: support@foster-gamko.com
Website: www.fosterrefrigerator.co.uk
Other manuals for FMPRO900NG
1
This manual suits for next models
39
Table of contents
Other Foster Chiller manuals
Popular Chiller manuals by other brands

Thermo Scientific
Thermo Scientific thermoflex Installation, Operation, Basic Maintenance
National Lab
National Lab PCGE Series Operating and maintenance manual

Lennox
Lennox WA Series Installation, operating and maintenance
York
York YCAV0157-0267 Installation operation & maintenance

Aquacal
Aquacal TropiCool TC500 quick start guide

Skope
Skope TME1000 Installation and operating instructions
